Cunningdale Plan B

Tsundere

Fat Chance Fan
Feedback
View
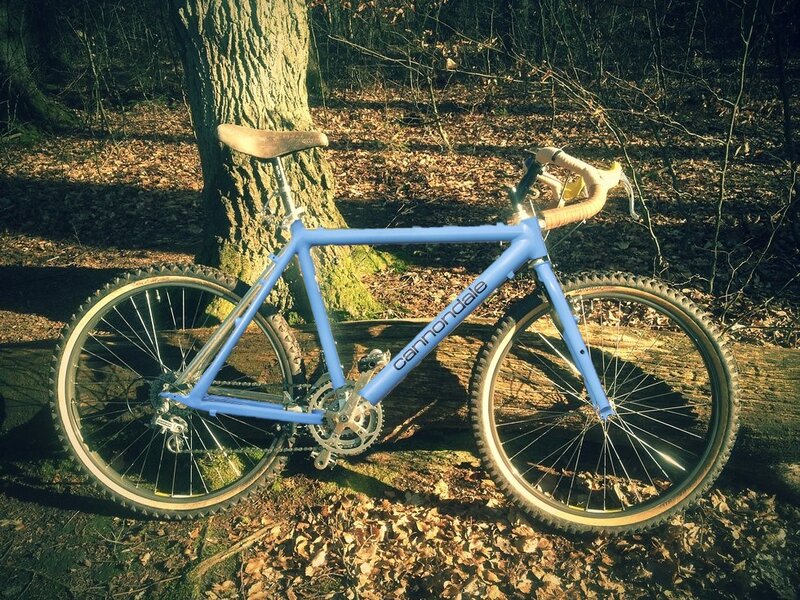
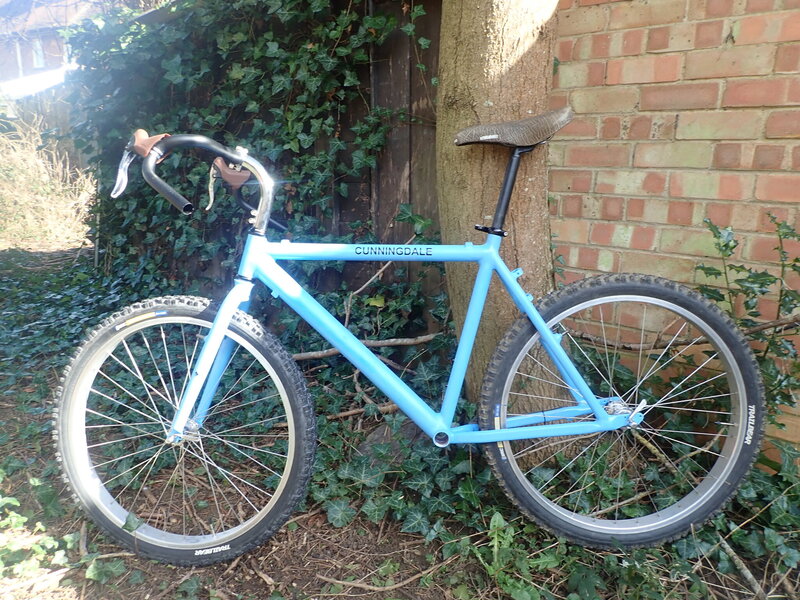
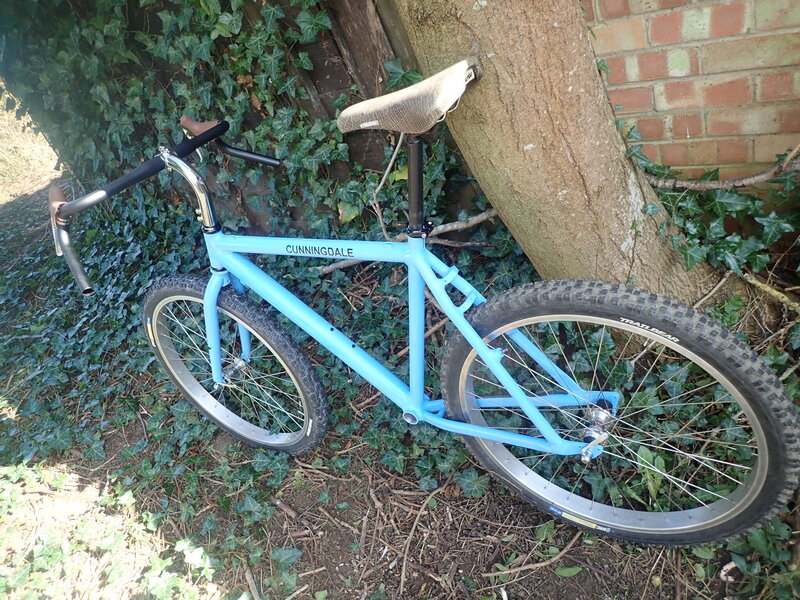
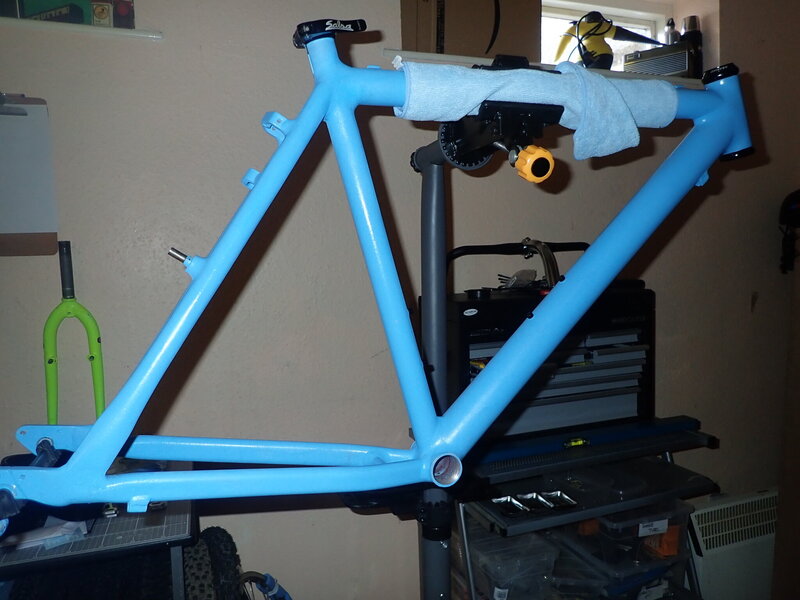
After the theft of my 1986 sm500 forced me to abandon plans for an early Cunningham inspired Cannondale build complete with rollercam brakes etc, I decided to just get the next nice reasonably priced Cannondale frameset that came along and see where it goes. Thanks to @THEFALLGUY I got my hands on this lovely M3.0, it's been given a beautiful paintjob and needs nothing doing to it, although I did peel the decals off as I have a plan in mind for that.
P2180090.JPG
P2180093.JPG

At heart it's going to be a very similar type of bike, a rigid aluminium frameset, dirt drop handlebars and a focus on creating a pure trail racing bike.

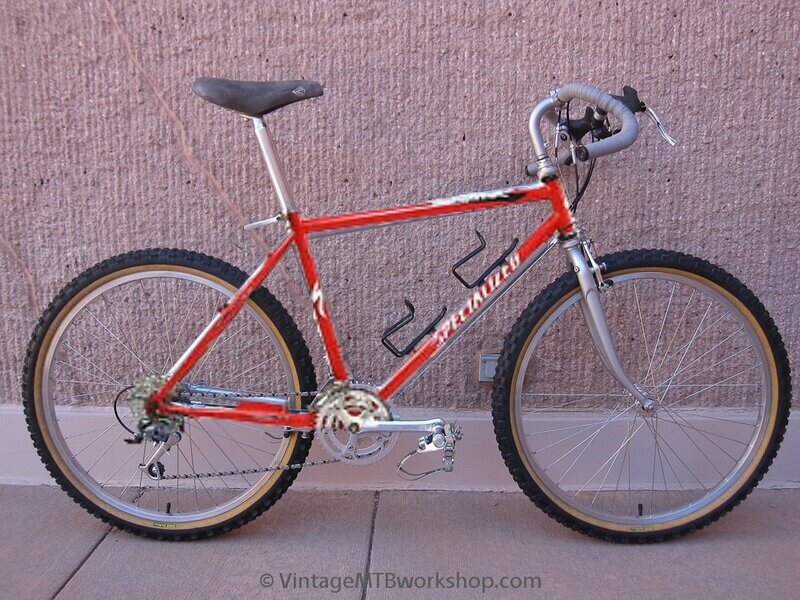
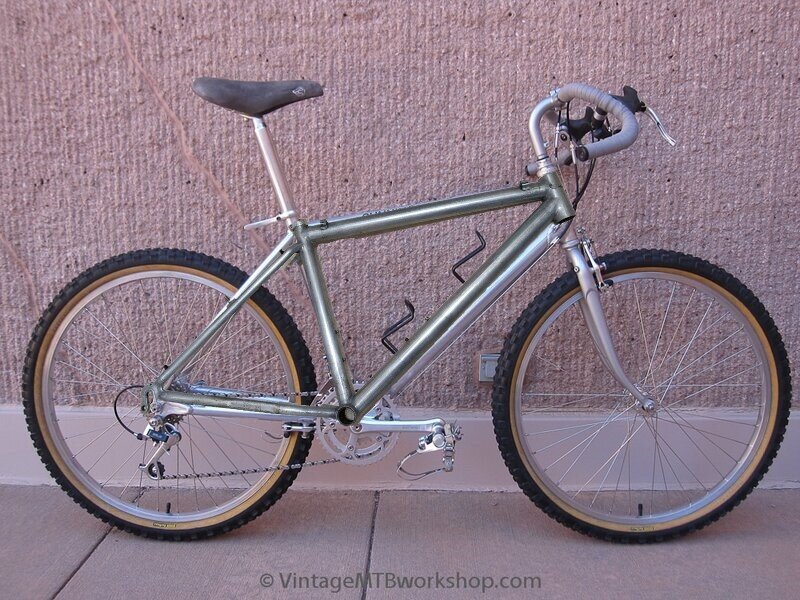
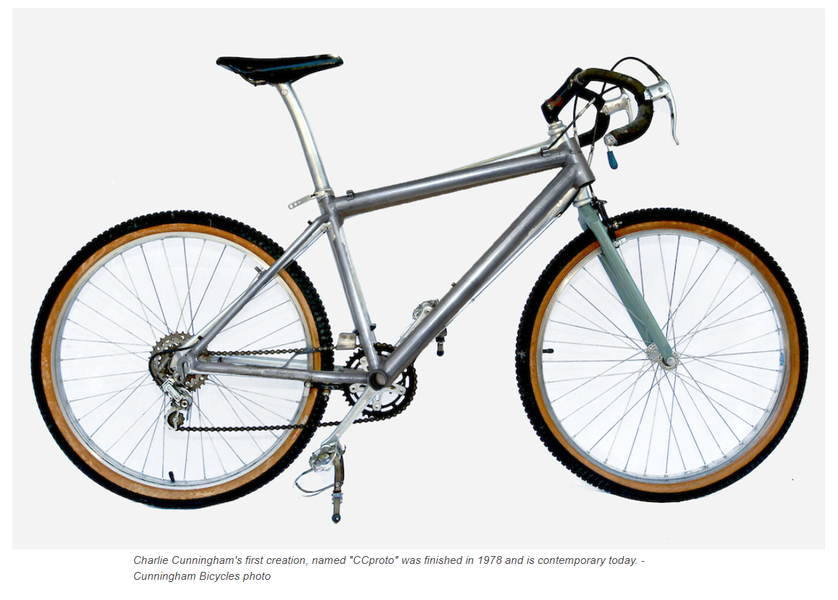
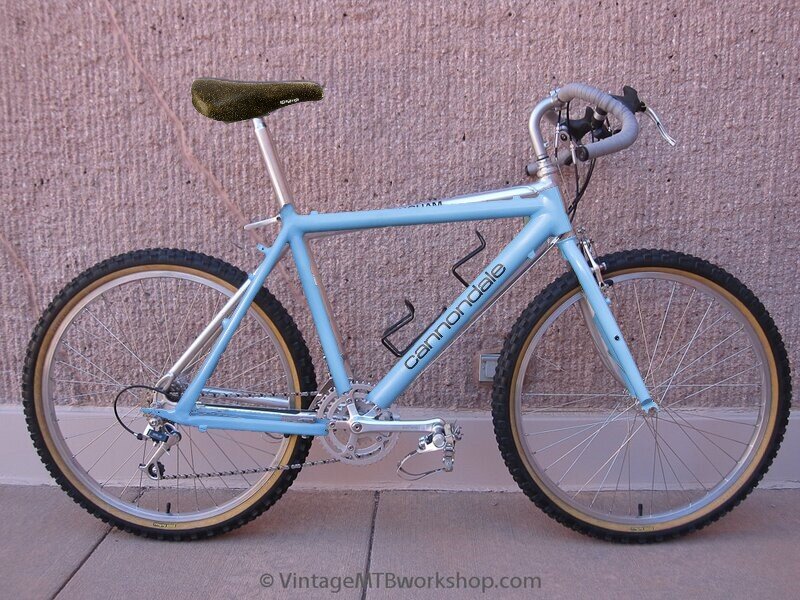
Here's an image with this frame superimposed over a Cunningham bike which shows how closely matched they are geometrically, with only the stays differing noticeably, although the extended dropouts mean relative wheel position will be pretty much bang on. and the slight difference in top tub angle, so not a perfect match but for me at least it looks like recreating something that approximates that iconic Cunningham silhouette is doable.
cunni.jpg

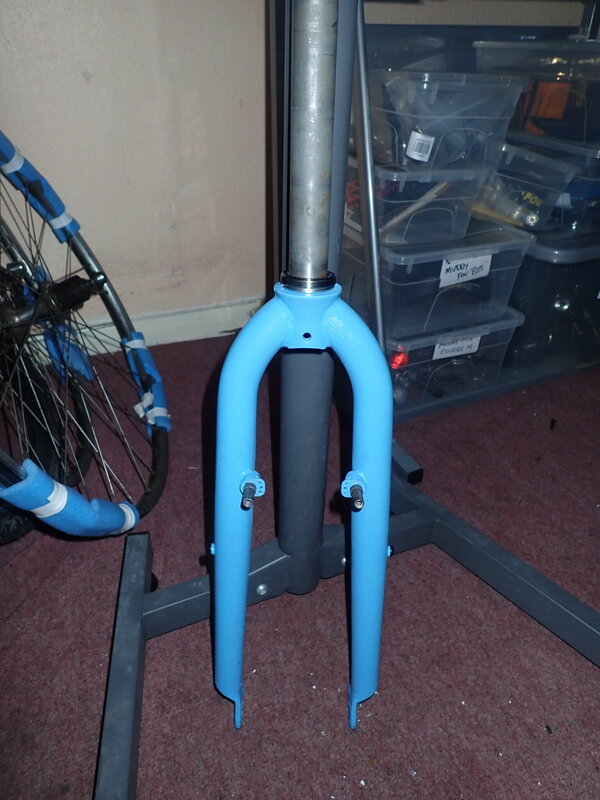
The first challenge involves the steerer tube, I need to cut about 3/4 of an inch off and reposition the star fangled nut, two things i have never attempted before. The hope is to be able to install this cockpit set up.
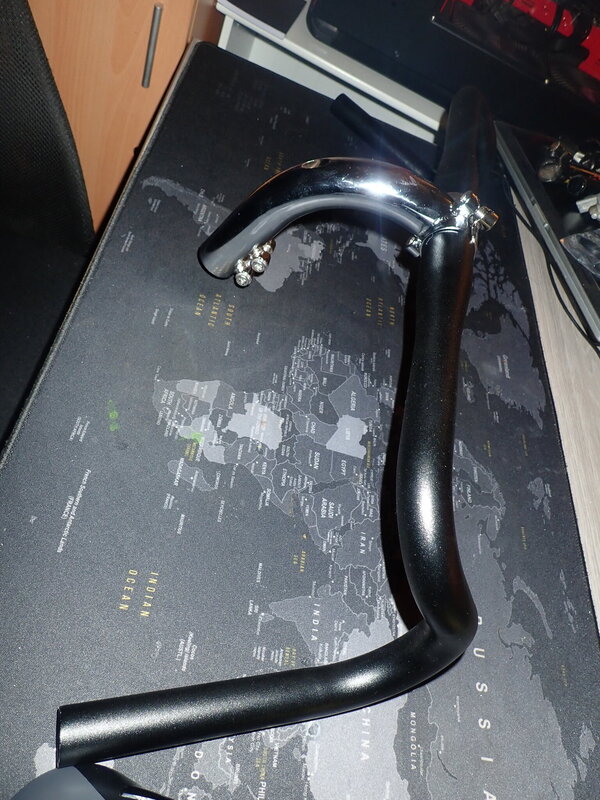
P2180097.JPG

So I call on this great community to help me figure out the best way of going about it, I'm sure there are plenty of videos and other google search results that will throw up possible solutions, but there's nothing like direct advice from those who have been there and done it.
 
Last edited:
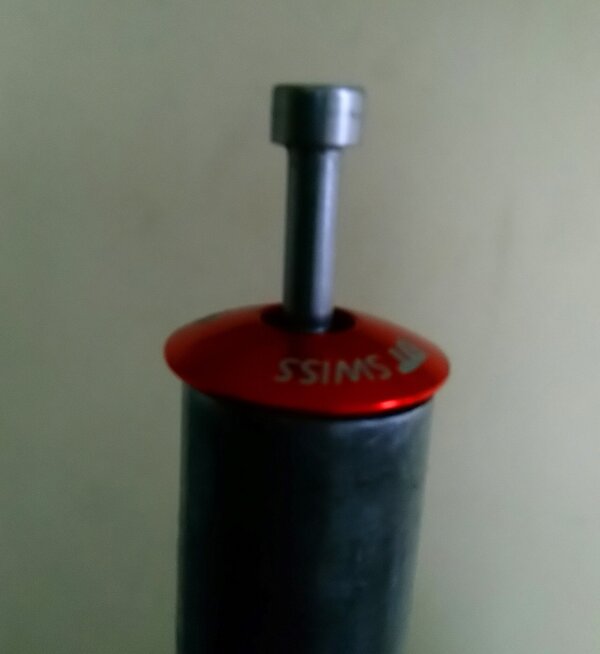
For the starnut, find a top cap and a long enough bolt to screw into the nut and protrude ¾“ then whack the bolt down with a hammer, the top cap will keep it relatively straight. _20220219_113410.JPG
Then using an old stem as a guide hacksaw ¾" off the top of the steerer (or use a pipe cutter).
 
Good to see you are back on track after the theft.

(I dig the way you check the geometry against the original; how do you capture the superimposed frame Image so neatly? I tried a similar thing but losing the background left lots of messy scars)
 
For the starnut, find a top cap and a long enough bolt to screw into the nut and protrude ¾“ then whack the bolt down with a hammer, the top cap will keep it relatively straight.
Then using an old stem as a guide hacksaw ¾" off the top of the steerer (or use a pipe cutter).
Cheers for the tips, I'll probably get a pipe cutter as I see this as something I could use again.

Good to see you are back on track after the theft.

(I dig the way you check the geometry against the original; how do you capture the superimposed frame Image so neatly? I tried a similar thing but losing the background left lots of messy scars)
First you need two pics, both from the same side on angle and of bikes of the same size, open the image of the bike you are hoping to match with Paint 3D.
Click on the 'Stickers' button at the top, this will open a side panel, click on 'Add sticker'.
Navigate to the image of the bike you are working on and select it, then click on 'Magic select'.
That's where it gets tricky, first crop the image to keep just the frameset in the picture, then click next. Now you can add or remove elements of the picture, if the bike frame really stands out against the background this part is quick and easy, however if the pic is blurry or the bike blends in with the background then this can be a bit tedious, eventually you'll get what you need and then you can click 'Done'.

You can now resize the image and rotate if necessarry to get it to match up with the other bike, sometimes it helps to keep the tyres/rims with the 'sticker' bike to help with getting the match up just right, after all the wheels are the only thing you know for sure are going to have exactly the same diameter for both bikes, however doing this isn't always easy or even possible. another way to get an accurate reading is to match up the head tube, BB and rear dropouts.

It's great fun, found a bike you love but will probably never find or be able to afford? Just play with this and try to find as close a match as possible, here's a few other examples that I considered.

Rockhopper
cunnispash.jpg
Trek 8000
mebike.jpg
cunny1.png
And here's the m3.0 over a lovely Joe Breeze joeybreeze.jpg
 
Last edited:
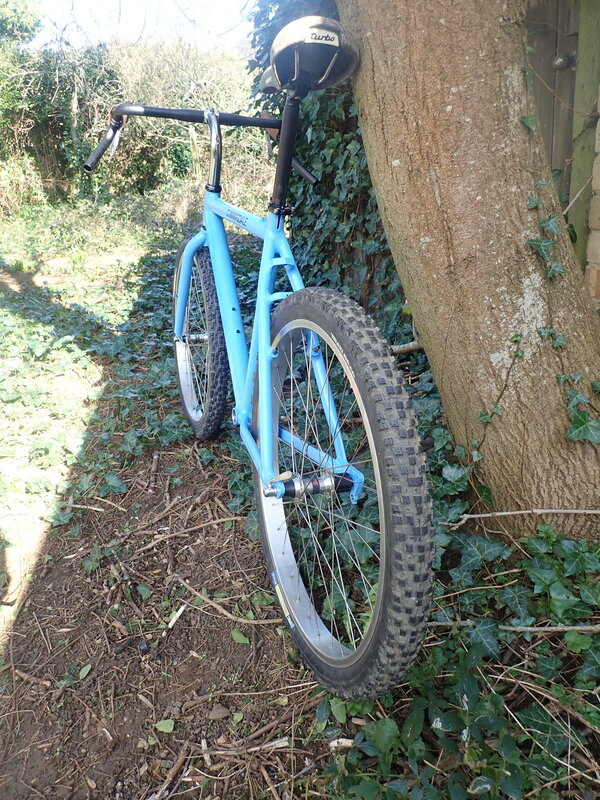
Successfully trimmed the steerer tube so now it's time put the sleleton together just to see how it's going to look.

P3090129.JPG
P3090133.JPG
P3090132.JPG

I love it, those wheels really work with the chunky frameset and the wide flare of the bars. I think I'm going to use a mix of DX and XT parts on this one, will go for light brown bar tape to compliment the saddle and lever hoods and I'm undecided on cables, yellow is something I think may work.
 
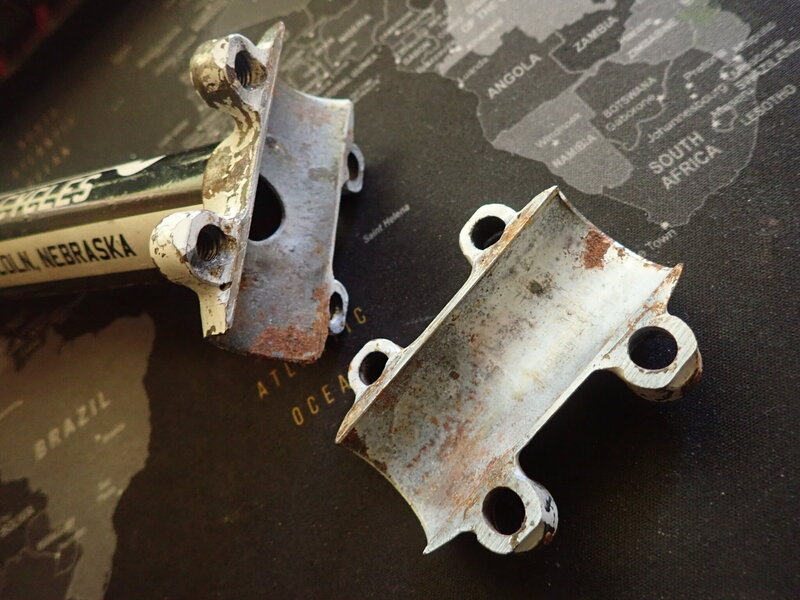
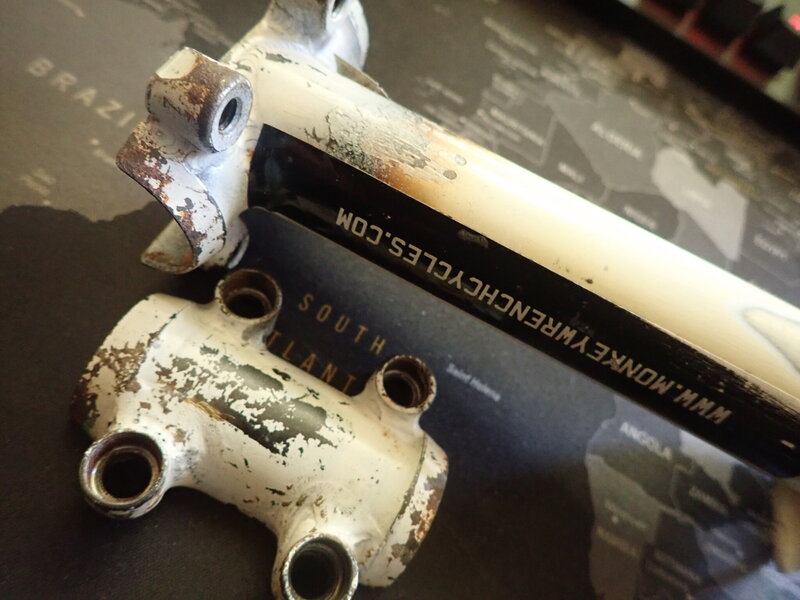
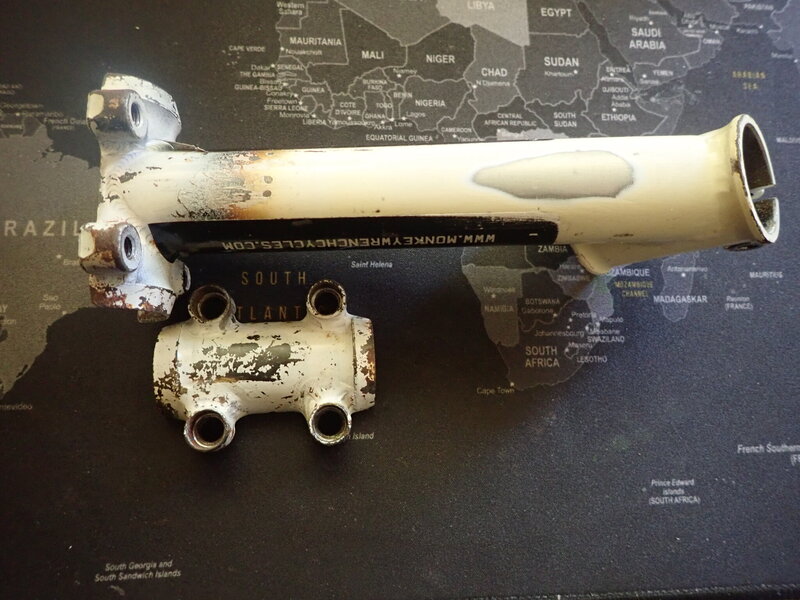
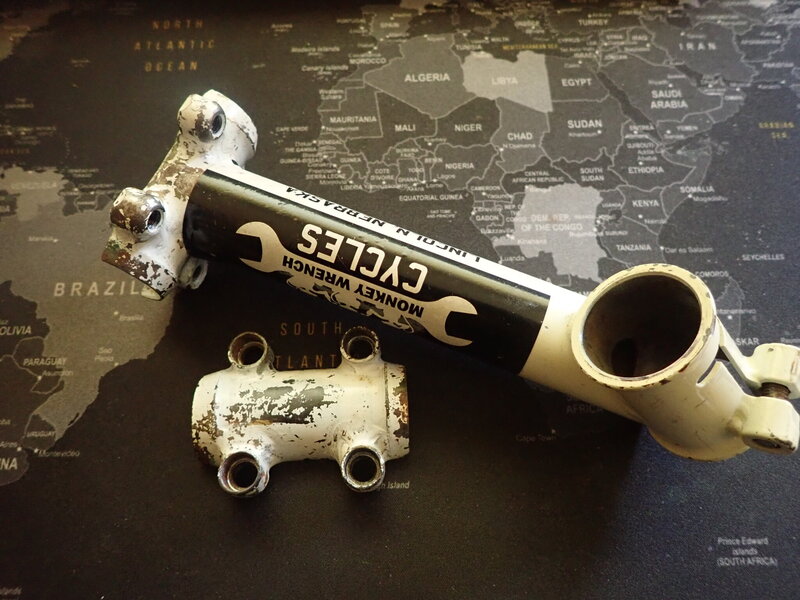
Decided to use this stem instead of the gooseneck On-One pictured above, but it'll need tidying up.

P3250146.JPG P3250145.JPG P3250144.JPG P3250143.JPG

I had to sand some of the paint away from the underside as there were some scary looking cracks in the paint, it looked like it might represent something more serious, luckily though there is no damage except a tiny pin head dink, I guess there was an impact that caused the paint to crack sometime in the past.

Also decided against the black salsa woodchipper bars and seatpost, instead I'll use silver WTB dirt drops and so I'm also on the look out for a nice silver seat post.

The sticker is in decent shape and I hope to be able to remove, preserve and reapply it. as for the stem itself I'll just strip the paint off, polish it up and if possible reapply the sticker.
I'm planning to use a heat gun to gently soften the glue and have a sheet of decal backing with which to hold it, any tips about what kind of glue would be best for reapplying would be appreciated, as would any clean silver seatposts (27.2) that you may have available for sale.
 
That stem is some serious hardware. The sticker is cool, and the shop looks pretty interesting too, from their Instagram at least.

It's steel, right? How do you plan to keep it from rusting if you just polish it? Or could you just mask the sticker and work around iy without removing it?

It kinda looks like the weight of it might cause your bike spontaneously endo when you dismount, but I like it :)
It is steel, I was planning on applying some boiled linseed oil, either that or I have some Maas metal polish which I believe leaves a decent protective film, either of those would require occasional reapplication though. It is a cool stem, has the same rise as a Salsa P-10 but cost a fraction of the price, although having said that it wasn't exactly cheap as stems go.

Perfect for what I need and I love that it's very distinctive, possibly even a one off as I've so far managed to find nothing else like it, it looks like it might have been knocked together using a length of decent top tube, a tTitec fork clamp and god know what bar clamp.
 
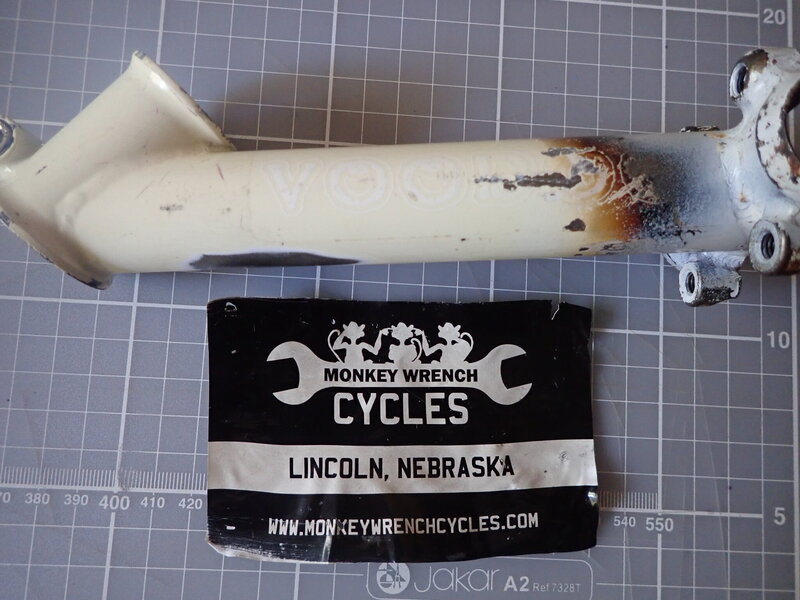
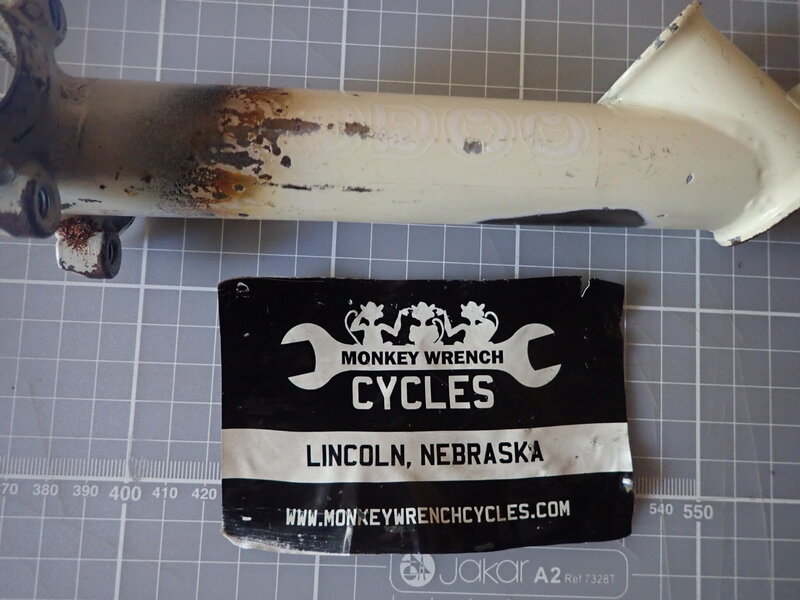
I have identified the stem, under the sticker, which came off nicely and should be reusable, there is a word, or half a word on each side...
P3250152.JPG

P3250153.JPG
So it's a Voodoo stem, or at least the tubing is : )
If anyone has any info on that I'd be very interested.

It looks like the sticker was used to hide the discoloration which look like scorch marks, perhaps from welding on that bizarre bar clamp, so even if it's not entirely a one off, it does look like something that's been modified which is just as cool, the scorching does make me wonder how feasible polishing it up will be. Only way to find out is to get the paint off.
 
Last edited:
I have identified the stem, under the sticker, which came off nicely and should be reusable, there is a word, or half a word on each side...
View attachment 613619

View attachment 613618
So it's a Voodoo stem, or at least the tubing is : )
If anyone has any info on that I'd be very interested.

It looks like the sticker was used to hide the discoloration which look like scorch marks, perhaps from welding on that bizarre bar clamp, so even if it's not entirely a one off, it does look like something that's been modified which is just as cool, the scorching does make me wonder how feasible polishing it up will be. Only way to find out is to get the paint off.
Uh oh, now you have to make the tough decision to use the Voodoo sticker or the Monkeywrench one...

Oh man, sleepless nights ahead...
 
Back
Top