Stuck Seatpost Vs Slide Hammer

weeman_mtb

Retrobike Rider
Feedback
View
I don't post much on here these days but a recent day out at LGF's gates ride and a karma Parkpre frame from Andy (Echo Beach on here) have inspired me to share with you my personal favourite stuck seatpost removal method.

I'll split this over a few posts as there are a few photos to explain what I did and it might get a bit untidy.

I'd first heard of what I think was the use of a slide hammer on here, a guy took a frame to an engineering firm who tapped out the top of the post and pulled it with something. When a friend at work bought a Muddy Fox frame to work with the stuckest of stuck posts I asked the maintenance guy if we could borrow his slide hammer. Wow, it worked, it worked so well that I just had to have one.

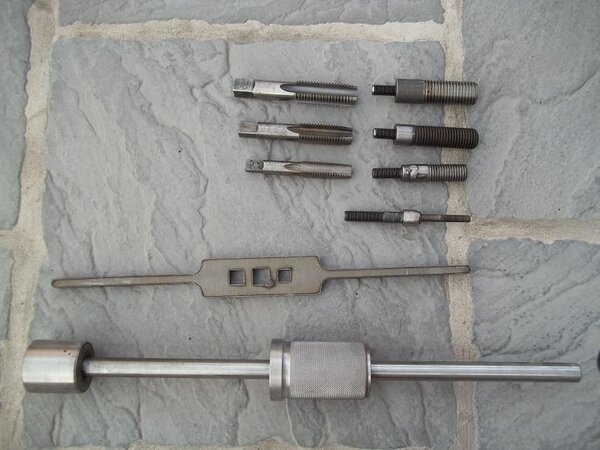
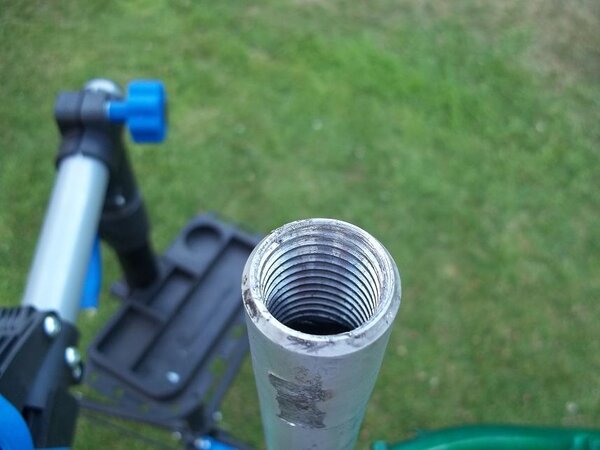
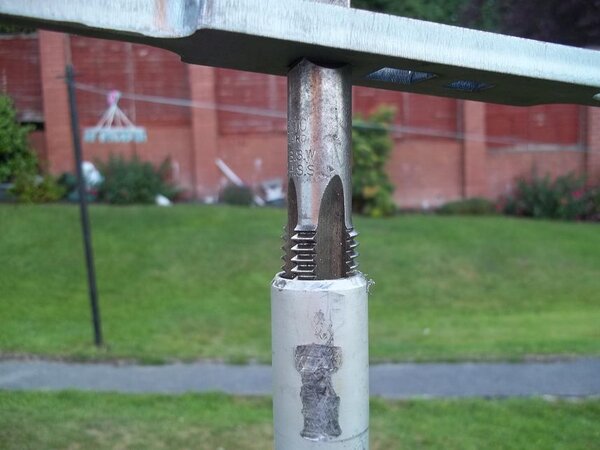
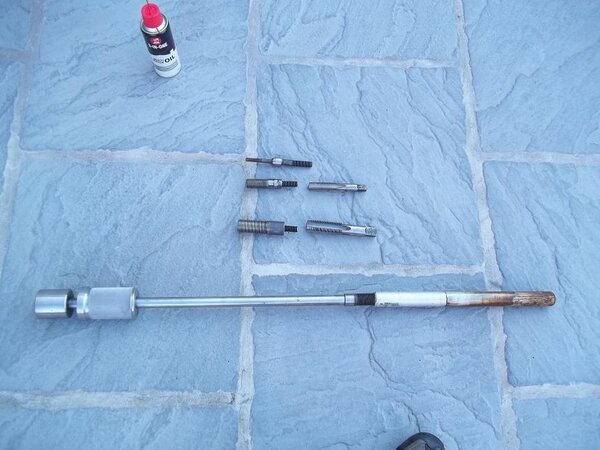
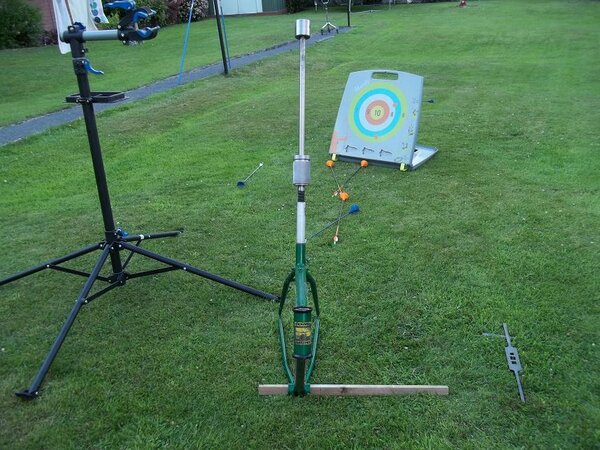
Below in the first photo is the slide hammer kit that i've made, specifically for pulling seatposts. There's the slide hammer itself, three old Whitworth taps and matching inserts 3/4", 7/8" and 1", a laser cut tap wrench to fit all three taps and finally a 6mm insert for pulling out stuck quill wedges.

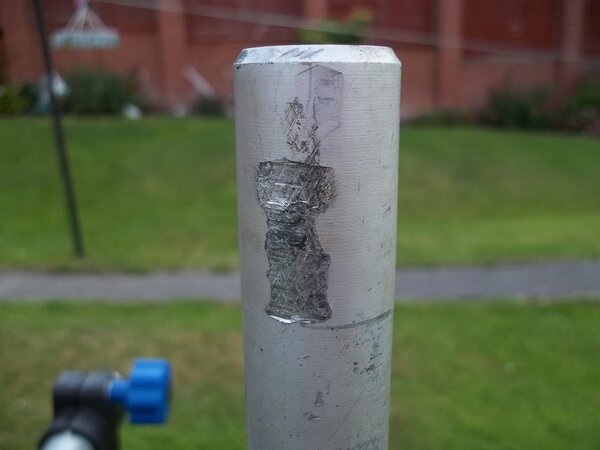
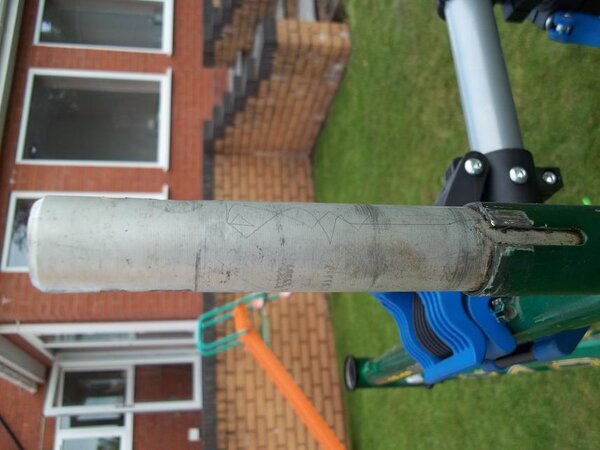
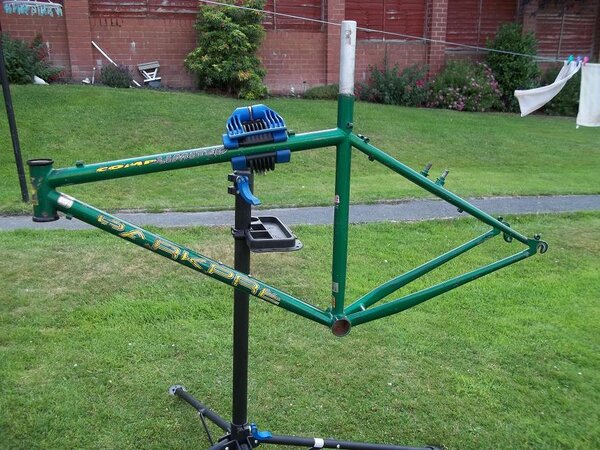
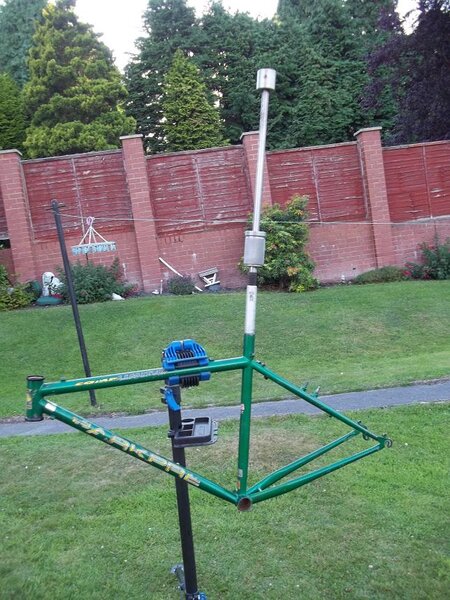
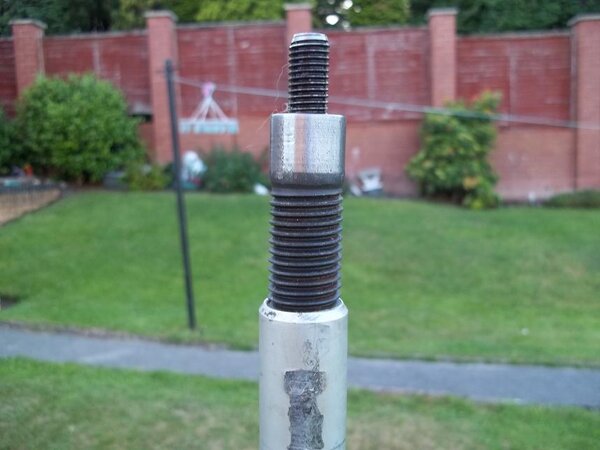
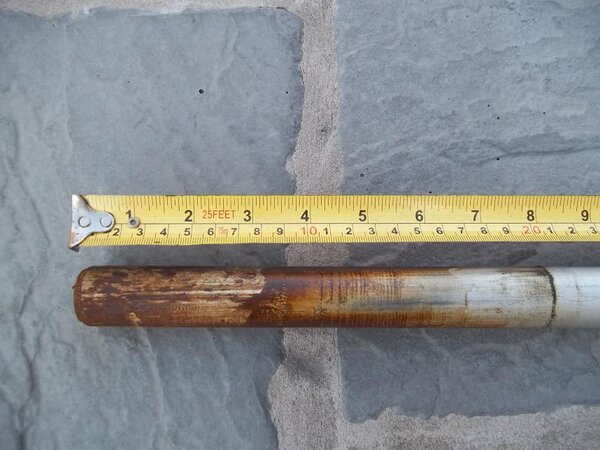
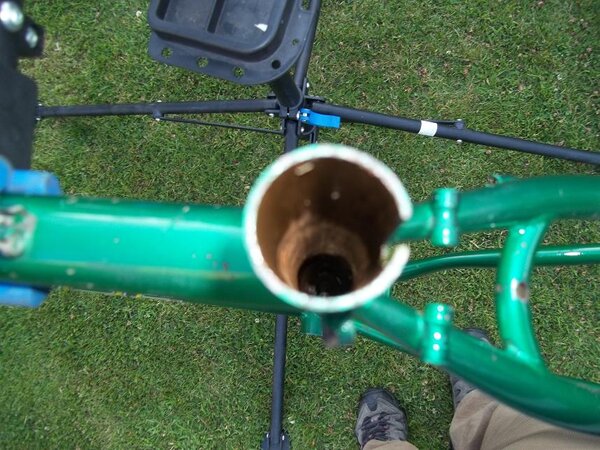
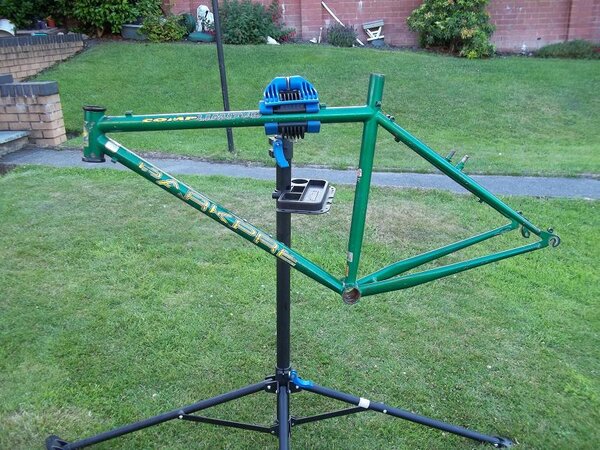
There's also a couple of photos of the frame with stuck seatpost and one of the vice marks from the last attempt at removal.
 

Attachments

  • 4 Vice marks.JPG
    4 Vice marks.JPG
    42.1 KB · Views: 1,990
  • 3 Stuck.JPG
    3 Stuck.JPG
    58.9 KB · Views: 1,987
  • 2 Frame and stuck post.JPG
    2 Frame and stuck post.JPG
    149.3 KB · Views: 1,987
  • 1 All tooled up.JPG
    1 All tooled up.JPG
    80.2 KB · Views: 1,989
Re:

First job then was to tap out the top of the seatpost for an insert. Andy, the previous owner, had had the top come off when he was trying to remove it in the vice so that was the first bit already done. I didn't bother to measure the hole, the 3/4" tap just fitted in so it was pretty obvious that the 7/8" tap would leave a good strong thread.

The first two photos show how far I got the tap down, that was about as far as I could get it to go but easily enough. Don't let the frame in the workstand photos fool you, this was done standing on the lawn with the frame between my legs and a fair bit of swearing. If you have any tapping experience you'll probably realise that tapping a 7/8" thread with a crappy old tap is pretty hard work, even in alloy.

Gave the thread a blow out, shook the swarf out of the frame and we were good to go, insert all the way in and then the slide hammer is screwed onto that......
 

Attachments

  • 8 Slide hammer added.JPG
    8 Slide hammer added.JPG
    136.5 KB · Views: 1,984
  • 7 Insert in place.JPG
    7 Insert in place.JPG
    52 KB · Views: 1,984
  • 6 Thread.JPG
    6 Thread.JPG
    49.4 KB · Views: 1,982
  • 5 Tap deep enough.JPG
    5 Tap deep enough.JPG
    55.1 KB · Views: 1,984
Re:

Here we go then, the method, nothing fancy just hit it! As you can see from the first photo I put a piece of wood through the bottom bracket shell and stood the frame up on the lawn. Next I straddled the frame and stood with a foot on the wood on each side. The slide hammer works by simply driving up the knurled part to hit the fixed part at the top. Each time you hit the top you're transfering that energy into a blow upwards like a traditional hammer blow but in reverse. The slightly larger flange at the top of the moving part was to remind me to keep my fingers beneath it, I dread to think what damage a whack off this thing would produce.

The result, well it worked! I'm not going to pretend it was easy or that it came out in three good wallops but slowly and surely it came out. Just like any stuck seatposts, initial efforts show the least results, five hits in and you could just see the dirty insertion mark had risen slightly, ten and it was possibly half an inch but by the twenties it was absolutely flying. I'd estimate it was about 25 blows all in all and it was on the lawn!

You may be able to see in the photos but I'd say this was proper stuck, there was a full 8" in the frame and I'd say that around half of that at the bottom had not seen any penetrating fluid.

This method took around half an hour all together including keep turning the camera on and trying to focus the bloody thing.

I'm not saying it's the best method but it beats hacksawing down one for two weeks worth of your lunch breaks (my last proper stuck post).
 

Attachments

  • 13 eight incher.....JPG
    13 eight incher.....JPG
    83.9 KB · Views: 1,986
  • 12 Blurred hole.JPG
    12 Blurred hole.JPG
    124.2 KB · Views: 1,985
  • 11 Just the frame.JPG
    11 Just the frame.JPG
    159.5 KB · Views: 1,984
  • 10 It's out.JPG
    10 It's out.JPG
    75.2 KB · Views: 1,988
  • 9 Ready to go.JPG
    9 Ready to go.JPG
    134.7 KB · Views: 1,987
Re:

If you need a canti cable noodle you can get these, just cut off the threaded part. > http://www.venhill.co.uk/Cables_-_Compo ... AHA__.html

FB3C_L.jpg
 
Re:

Well done !. You see it went to the right person for the job :LOL: . Spreading the Karma is good as after seeing your flexstem it reminded me i had one somewhere and after some serious rummaging it sits in my £5 stumpjumper which is only project number 10ish rather than never/ever on the park pre. ( hope its the right size now !!!)
Regards Andy
 
Back
Top