Update
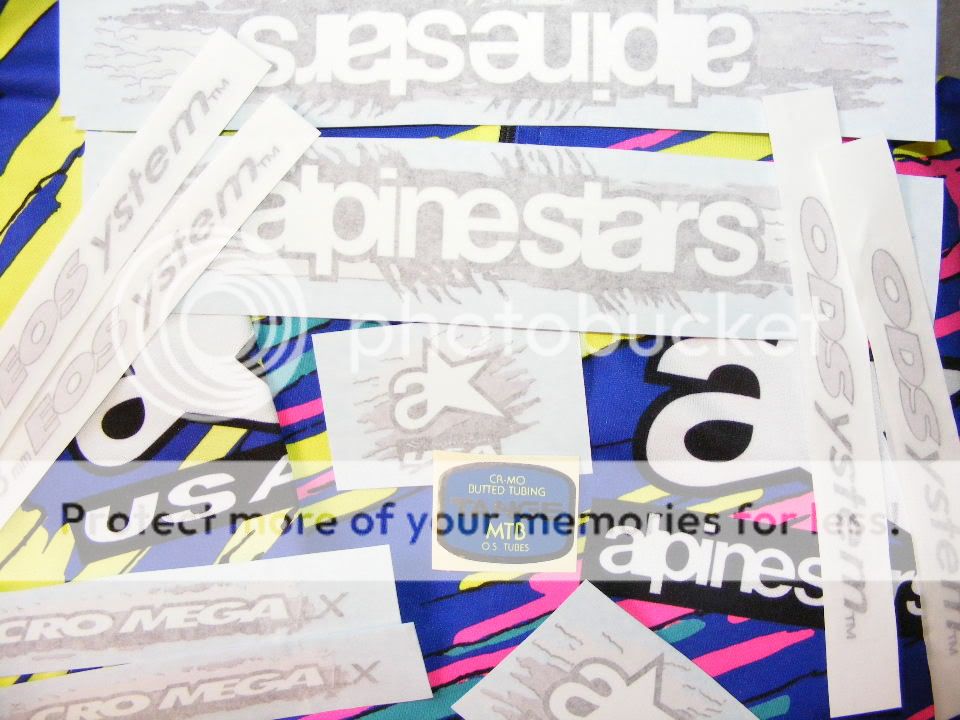
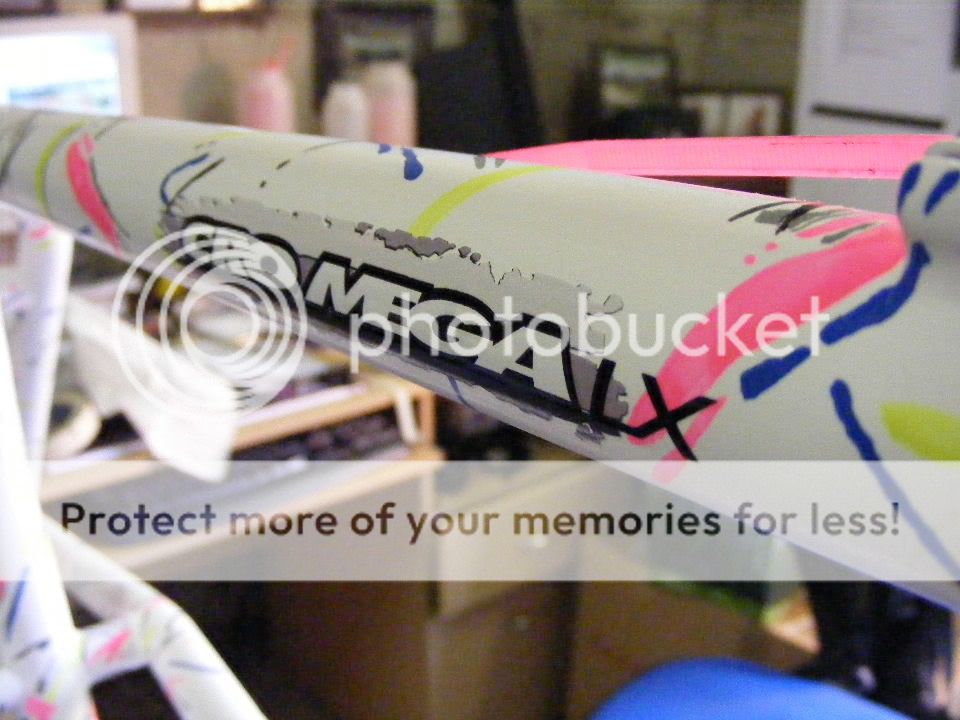
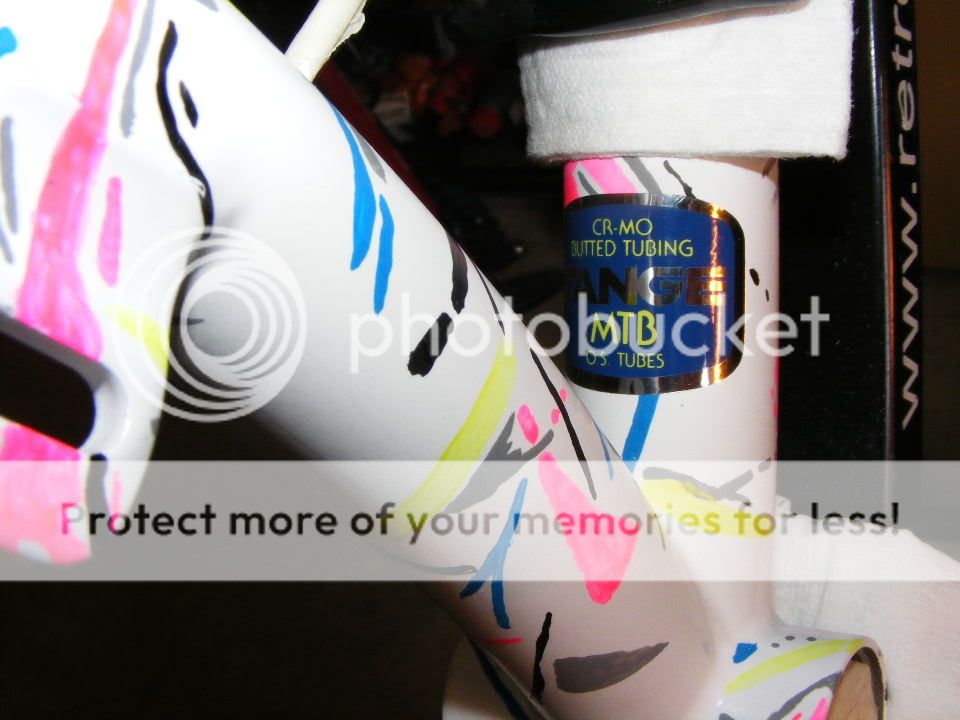
Today I picked up the decals from the post office and once more Gil has excelled himself. I asked him for a set of 1992 alpinestars cro-mega LX decals in ‘greyscale’, which basically means converting the colours into a shade of grey, rather like you’d see on a black and white TV. These along with a Tange O/S tubing sticker are shown below.
Gils’ decals are pretty easy to apply and come complete with detailed instructions, but here’s a quick guide to applying them:-
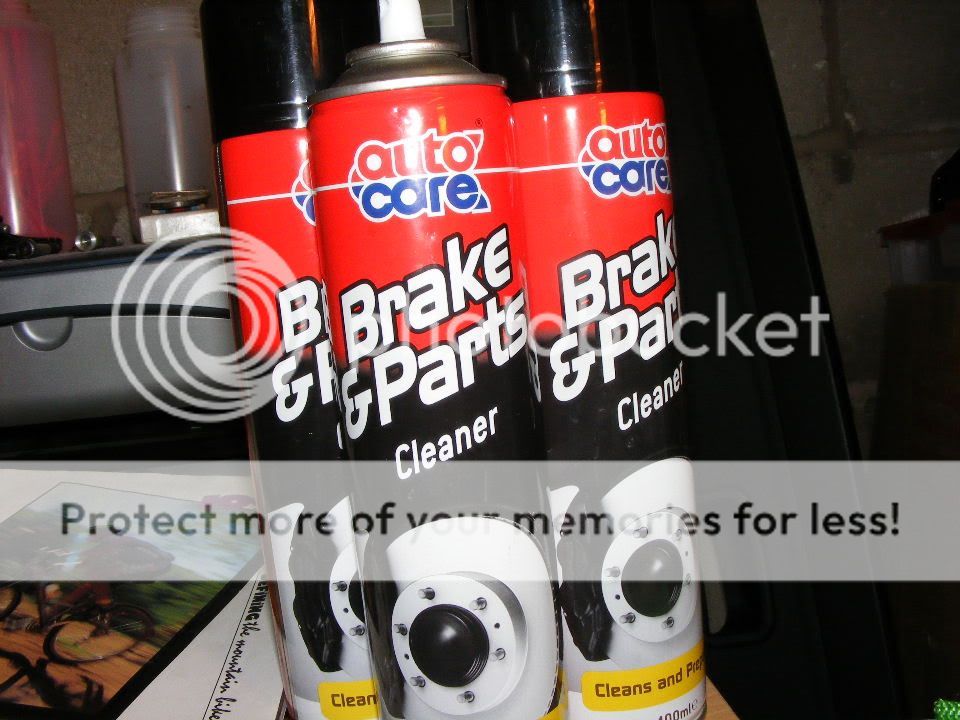
- Firstly, clean to area the decal is to be applied to. I use Brake and Parts Cleaner with a clean wipe as it evaporates to nothing.
- Secondly, position masking tape on one edge of the decal. Ideally put the tape on an edge that will remain flat and not one that will be rolled over the tube.
- Then position the decal how you want it.
- Once you're happy with the position fold back the decal and gently peel back the application paper making sure all the decal is attached to the application paper.
- Then carefully fold the decal into its intended position. I find it best to delicately rub the application paper with a soft clean cloth to ensure there is no air bubbles behind the decal. Then carefully peel away the masking tape and the application paper. You should be left with a perfect decal.
So this is the process I’ve been following this afternoon and here are some of the results:
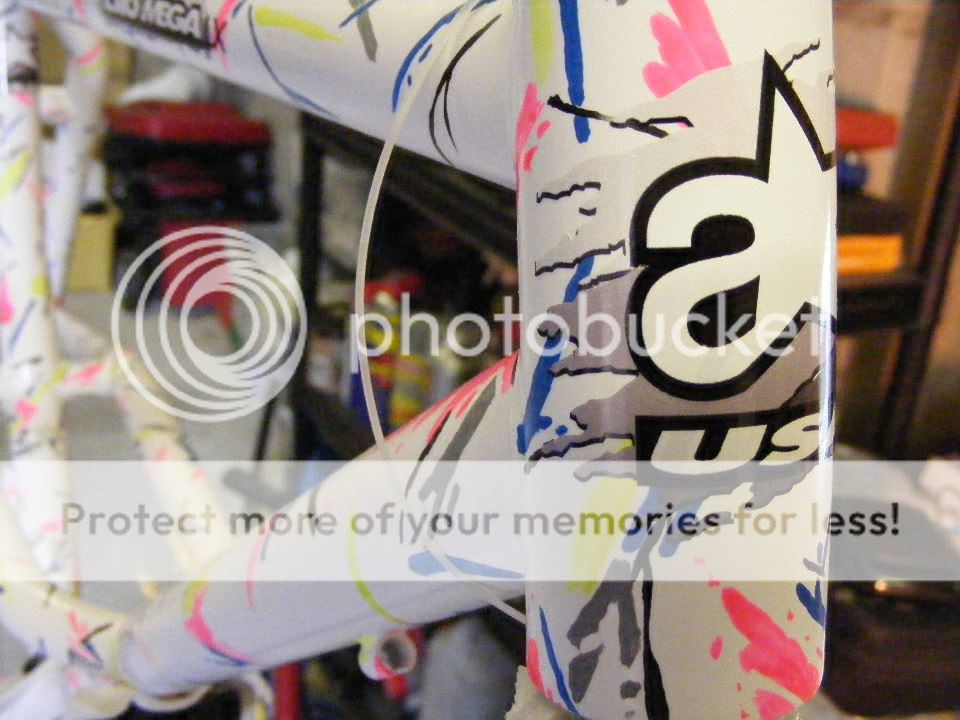
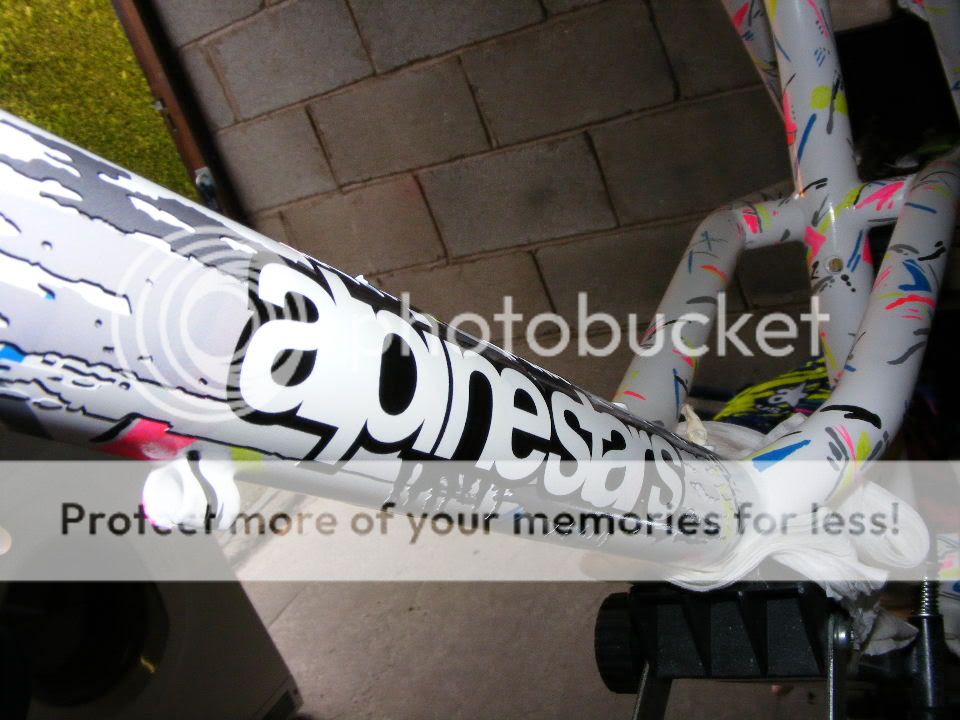
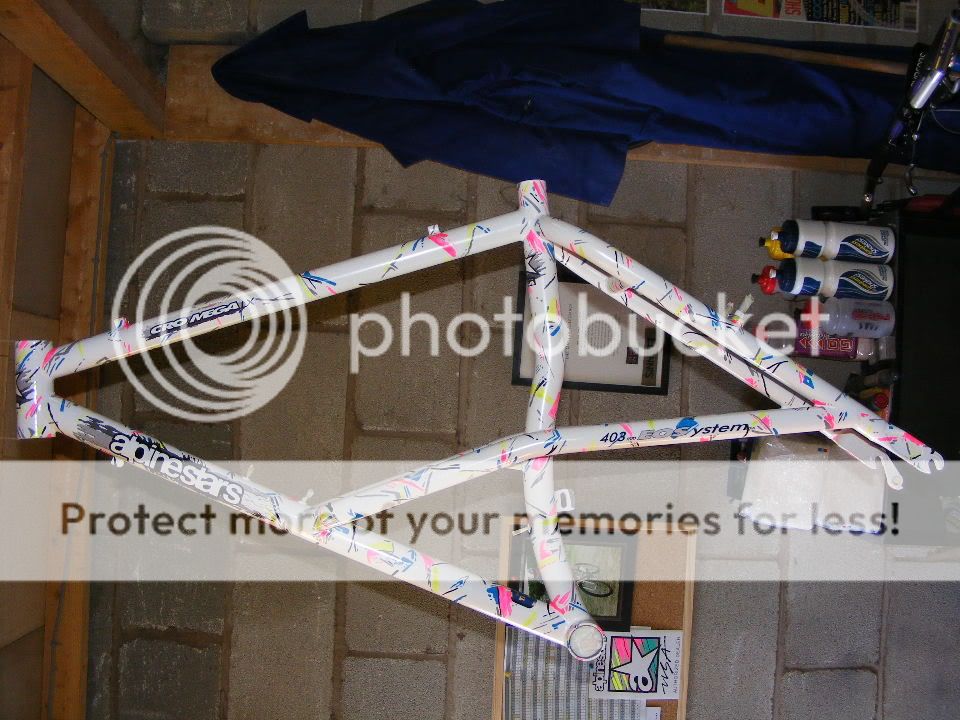
Cro-mega LX top tube.
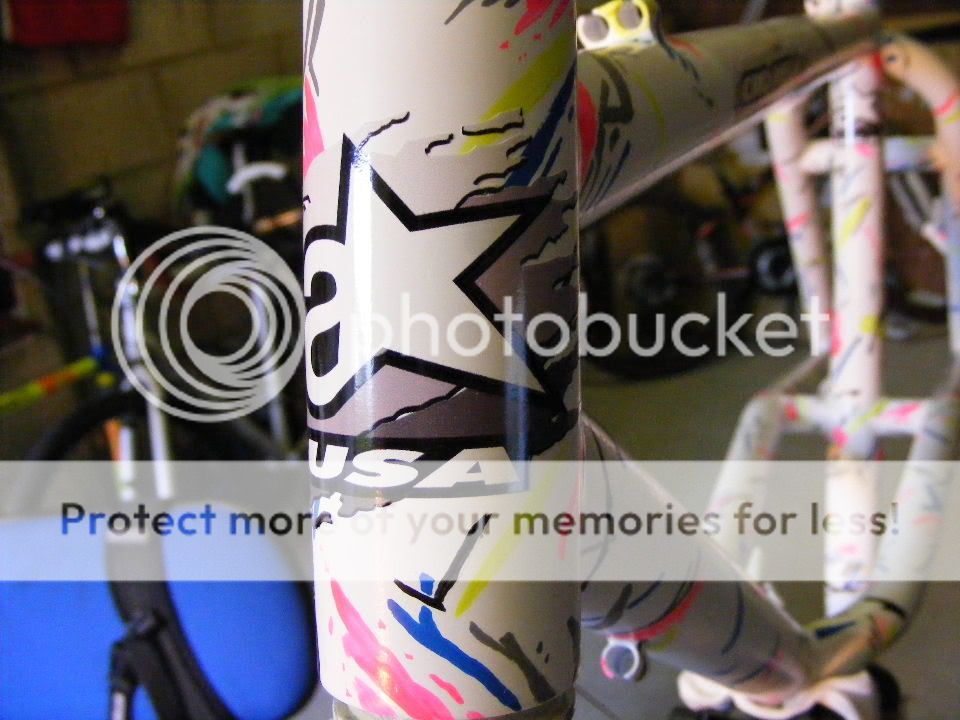
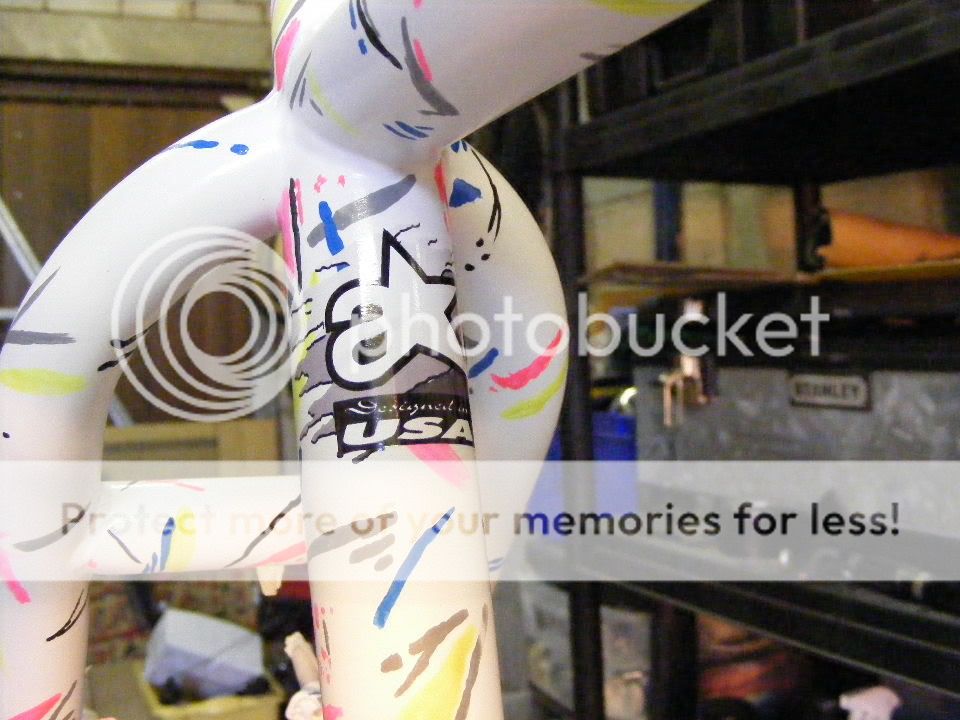
A-stars head tube.
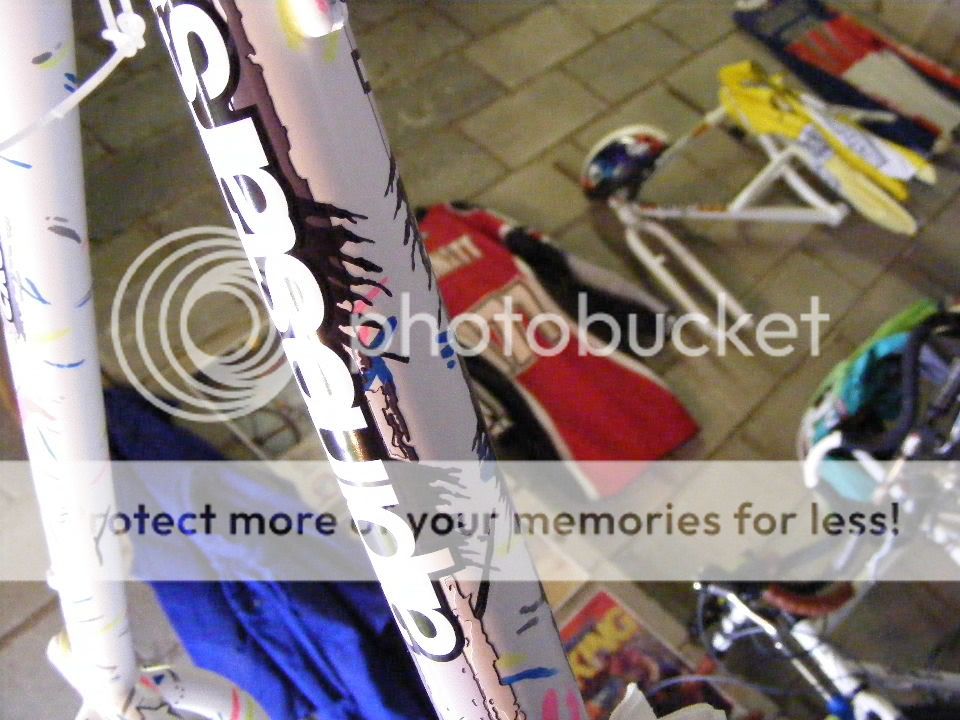
Designed in the USA seat tube.
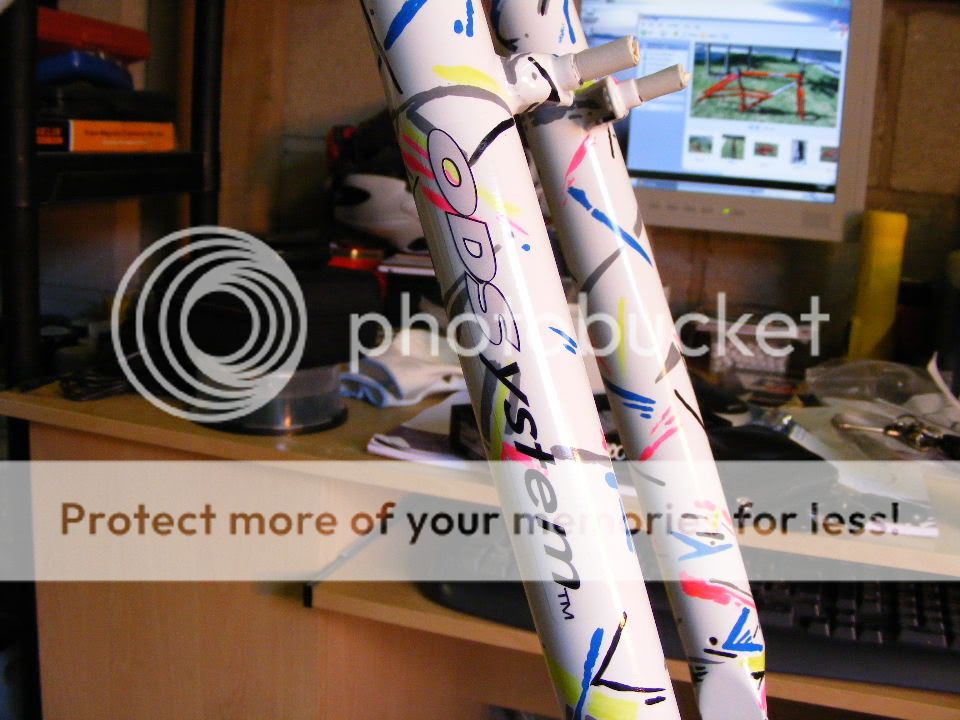
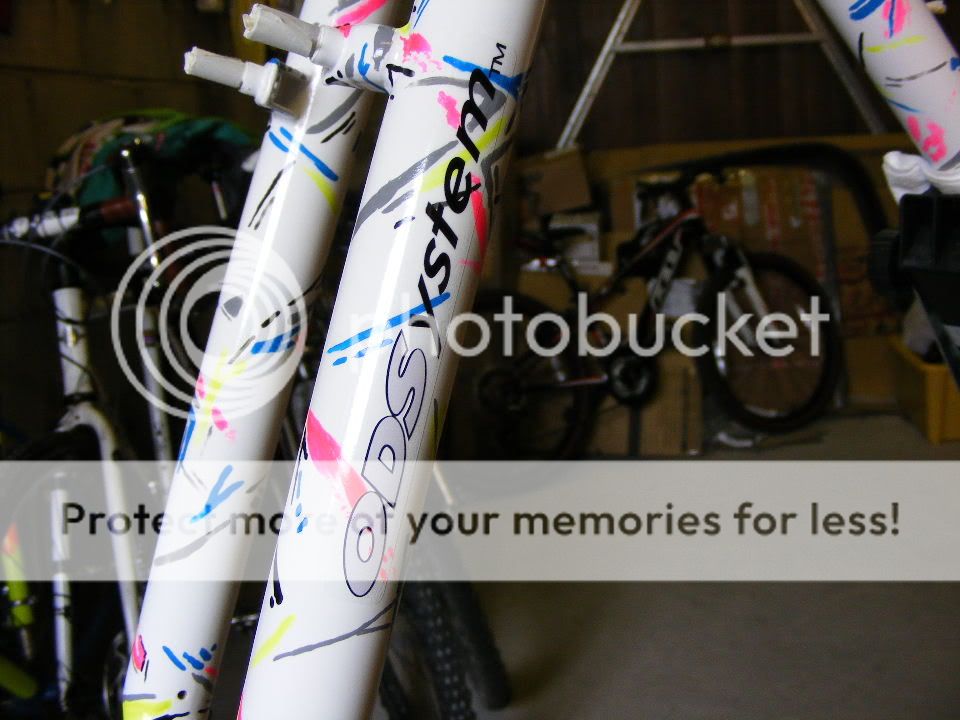
Oversize Drive System forks.
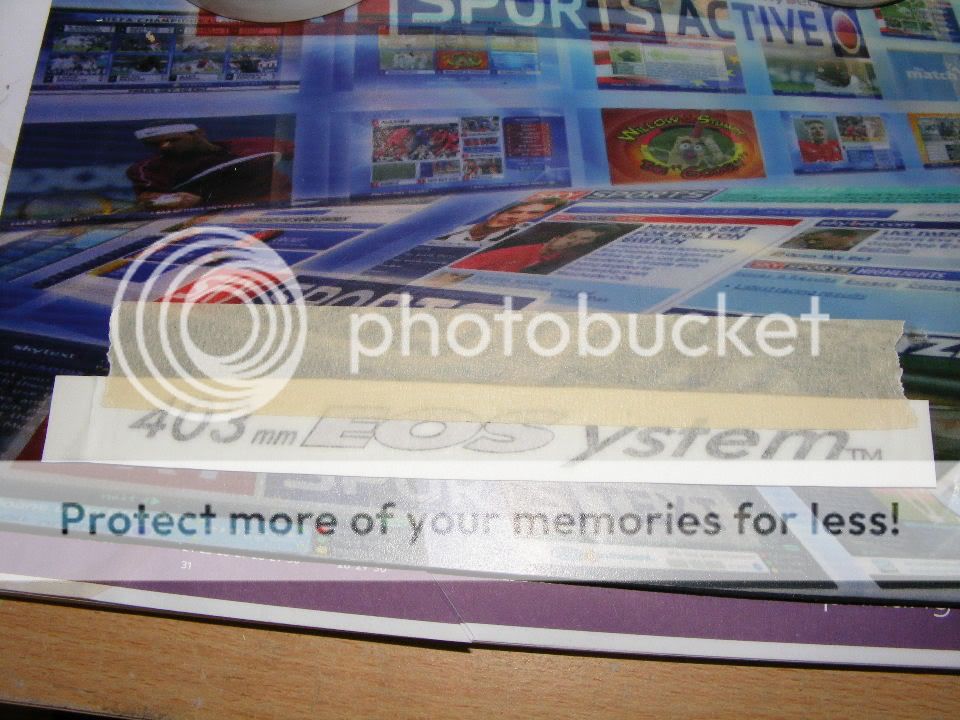
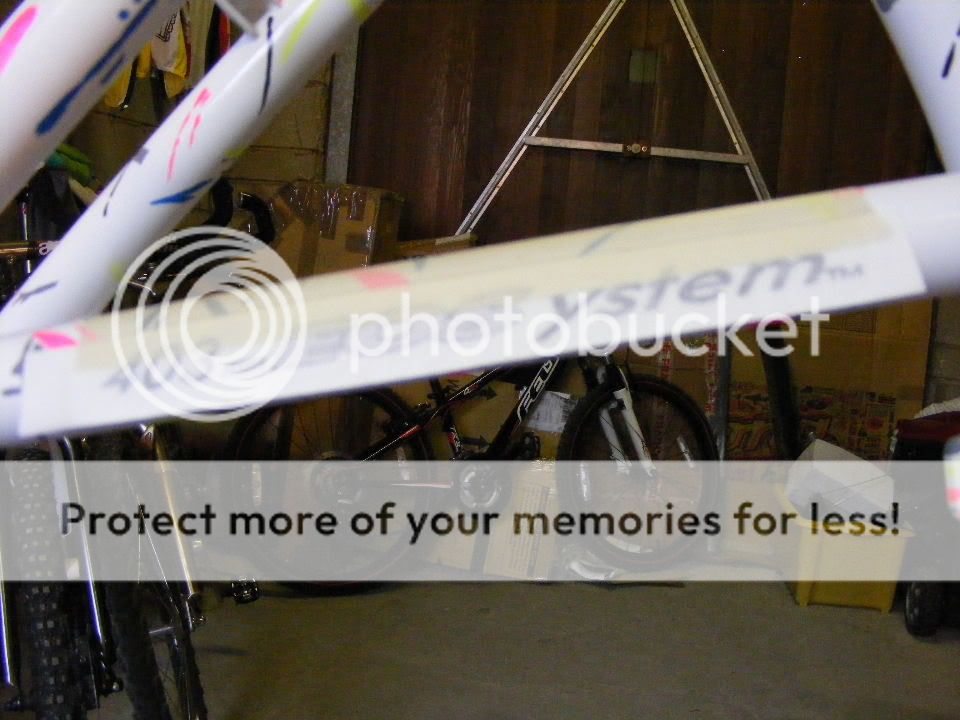
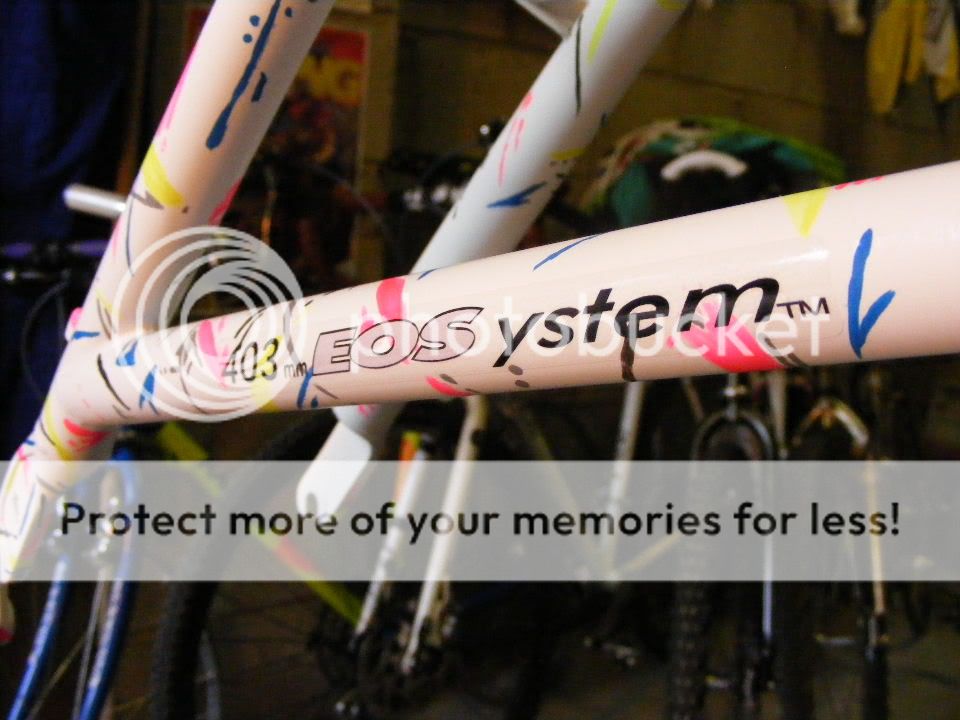
403mm Elevated Oversize System stays.
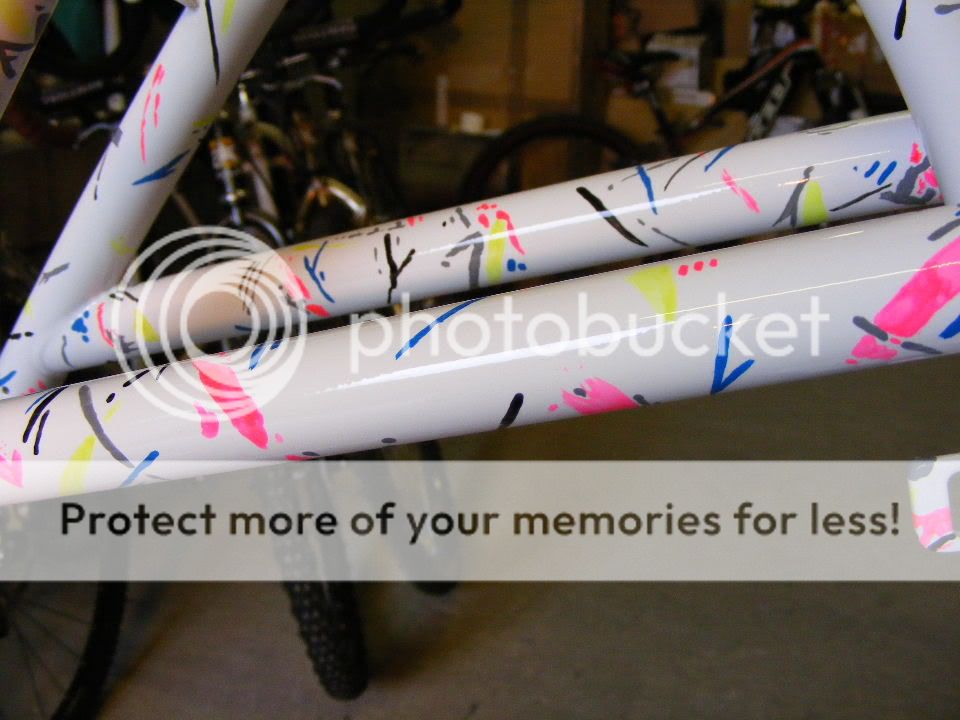
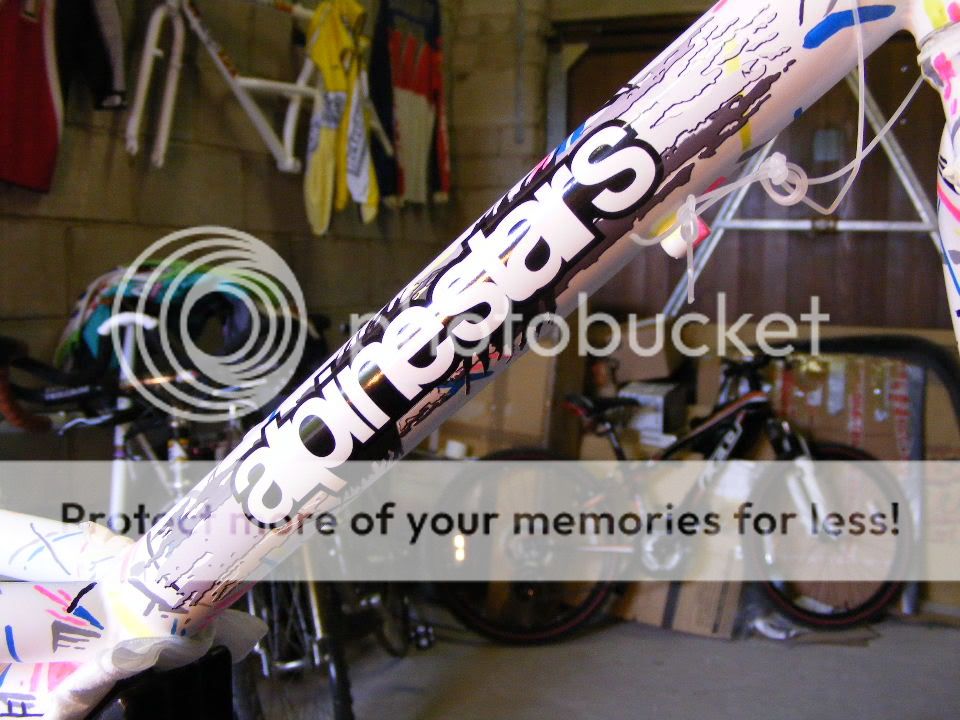
Alpinestars down tube.
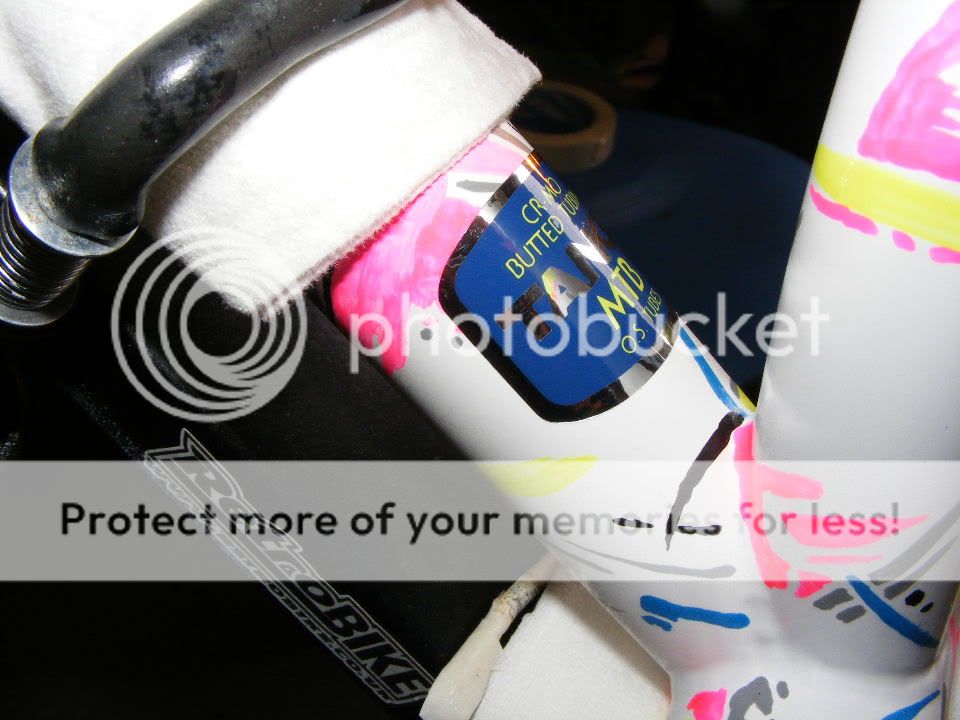
Tange O/S tubing on the down tube.
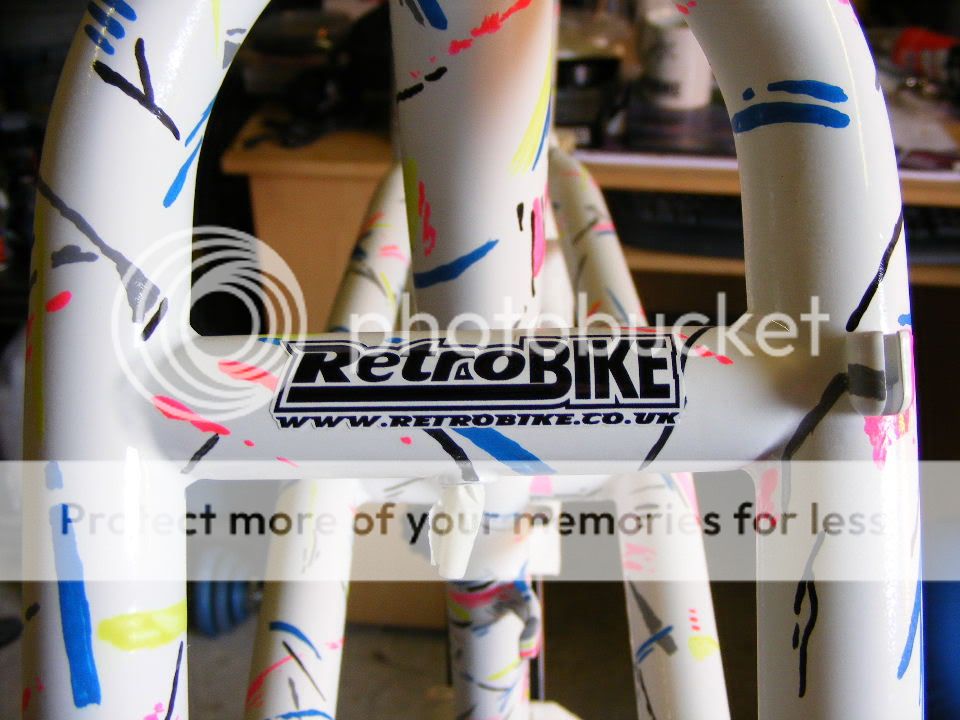
And to keep the Guv’ happy an RB sticker.
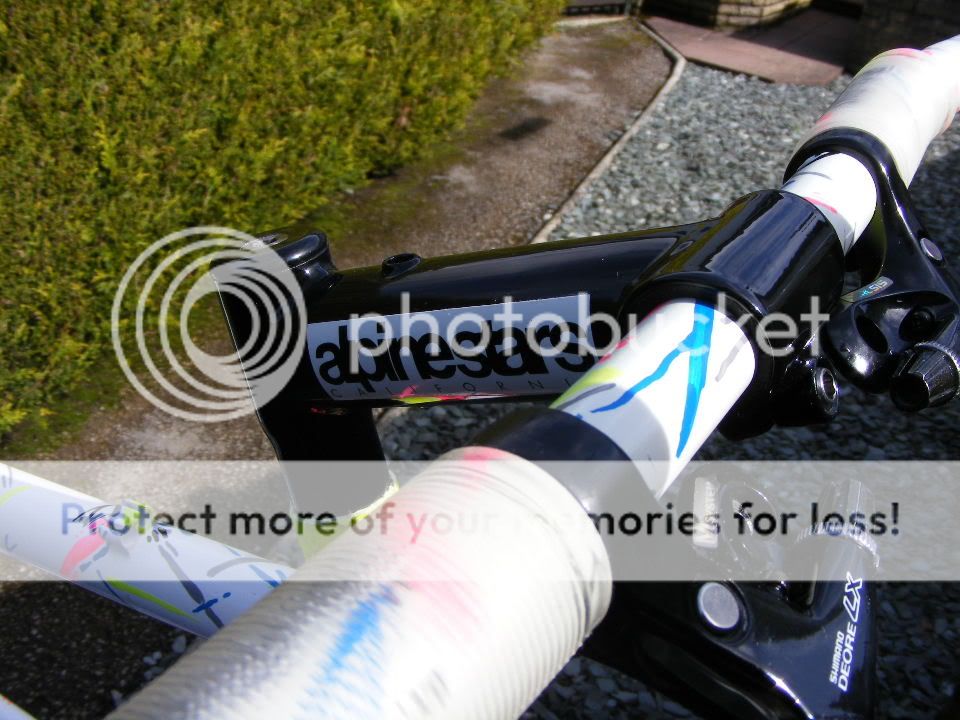
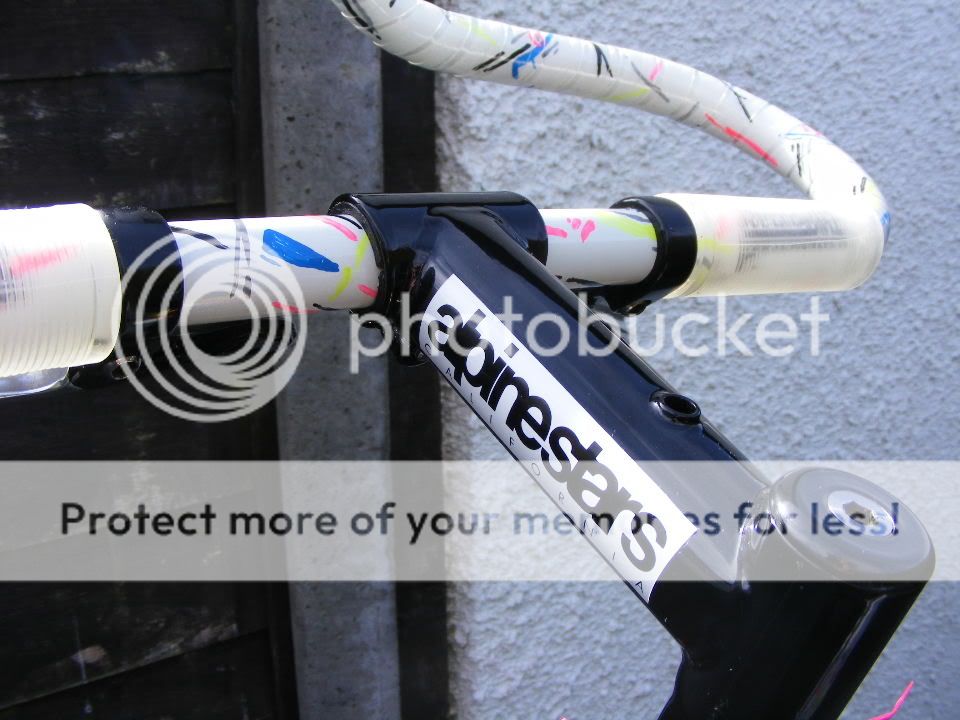
Since the last update, I’ve also cut up a couple of old alpinestars sticker to use on the stem. The bar tape has also been fitted.
Alpinestars California stickers for the stem.
I've just applied a final coat of lacquer over the decals. After that it will be time to apply some wax and build up. I've got the week off work so updates should be thick and fast.