Re:
Progress was made this weekend.
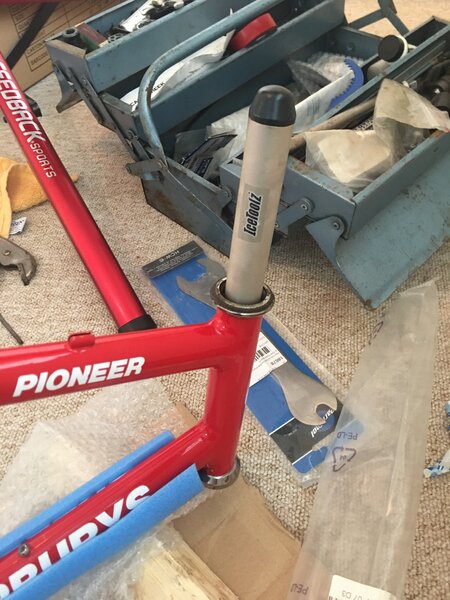
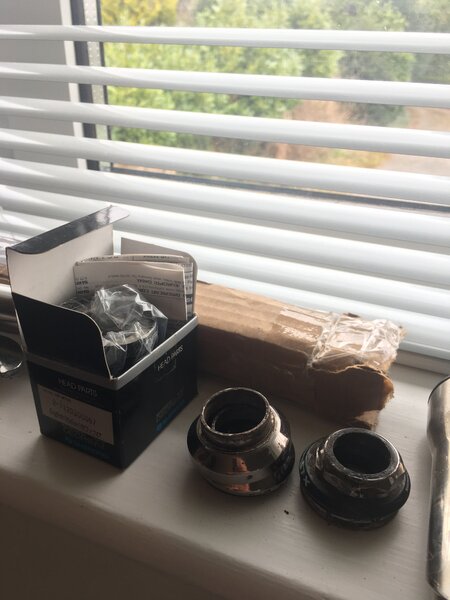
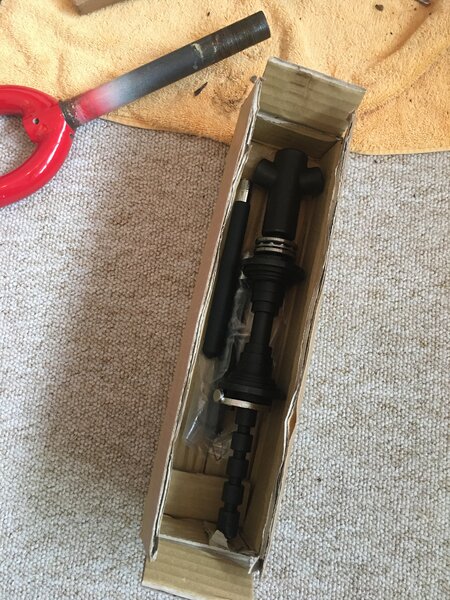
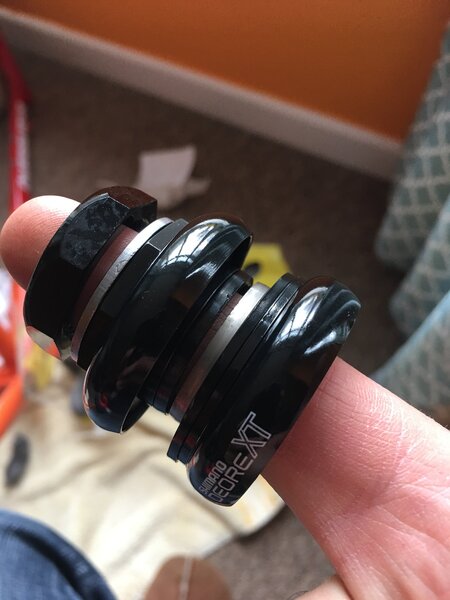
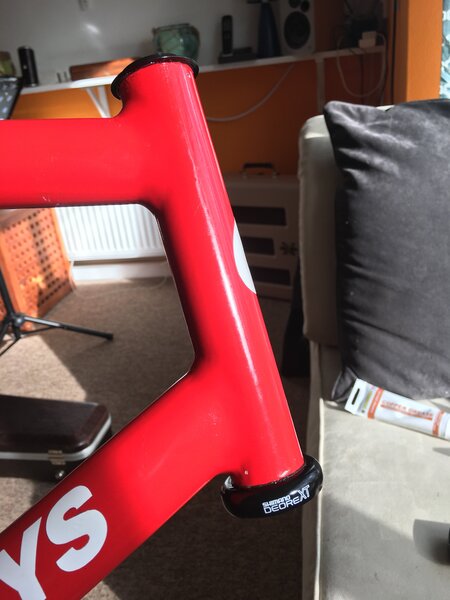
I decided to do the headset myself, properly, with the correct tools. So the old one came out with one tap, and the new one pressed in straight and true after a bit of juggling with the tool. Because the head tube is so long, I had to do the top cups first, then the bottoms, then even both out as a last step.
I found some thread daamge on the steerer. No idea how/when this was done - but on advice from my brother I carefully filed the threads back into better shape with a needle file. Still not perfect, but I can screw the locknuts on OK I think.
I also wire-wooled some surface corrosion away from the fork crown and brake studs. And I thoroughly cleaned and degreased the inside of the headtube and the BB shell, ready for new grease and parts.
Hopefully this pic attachment will work ok...