92 team marin......well....almost....

Tootyred

Old School Grand Master
Feedback
View
Finally got round to starting my 92 team marin project. Its been on the back buner as whilst its nice weather, im normally riding the days im now not back in gainful employment!

Also, tbh, its taken me a good while (a year) to work out exactly where i want to go with it. I've got zero interest in a catalogue version as I hate green paint. Plus, tbh, there is absolutely no way I could ride a catalogue bike for more than 30mins without being crippled.....so as a daily driver that's a non starter.

So, Im building using stuff I love and have rated throughout the years. Most period (more by luck then design).

Im also leaning heavily on what I learnt from my " bike I should be riding" build last year. Which turned out a fantastic tourer, I've really enjoyed in cosseted comfort .

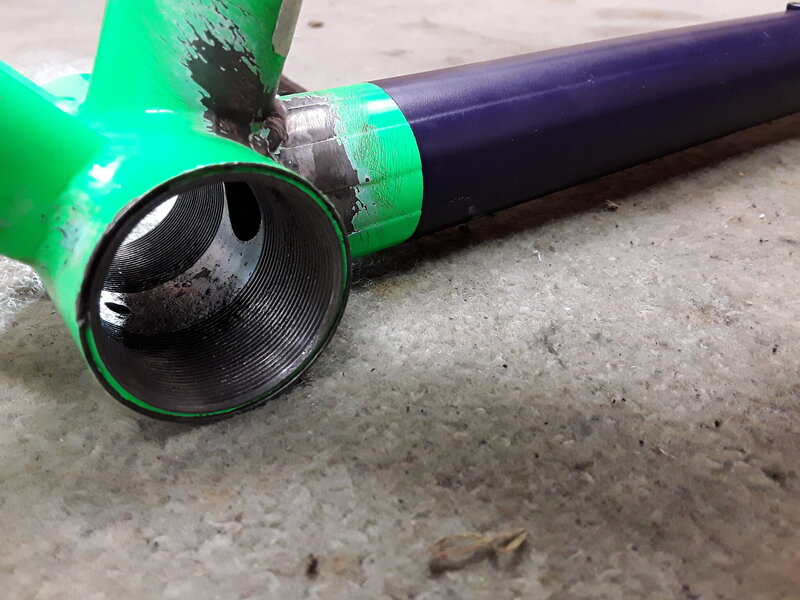
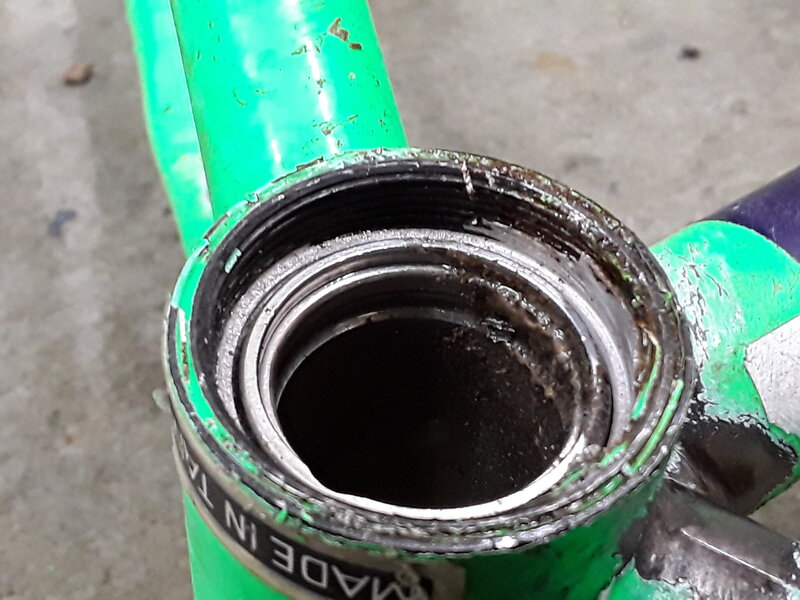
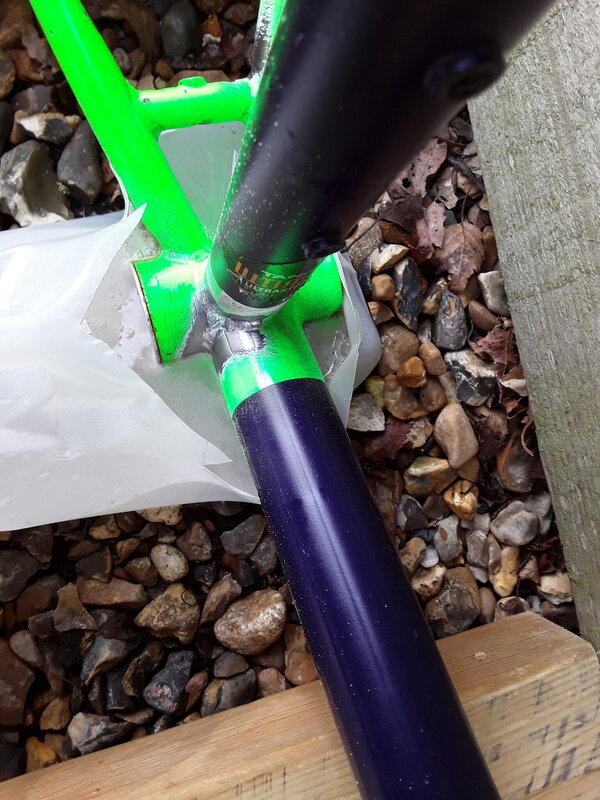
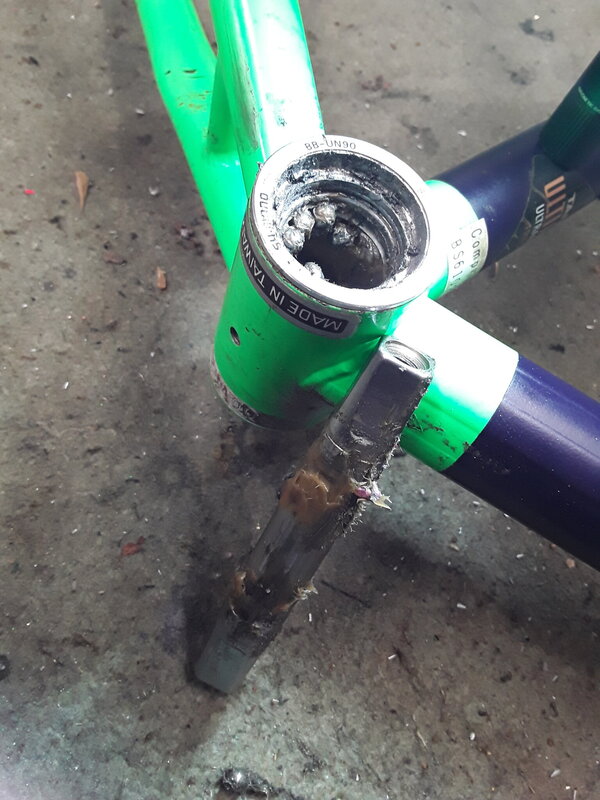
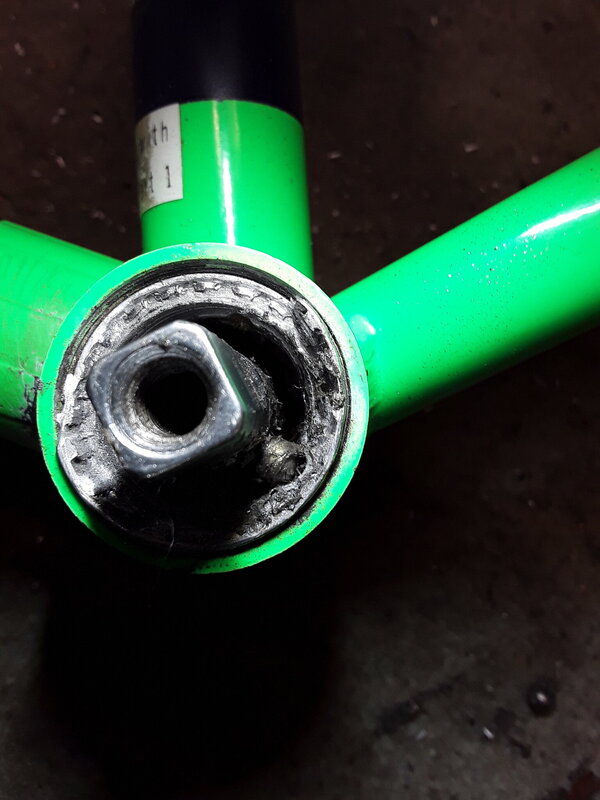
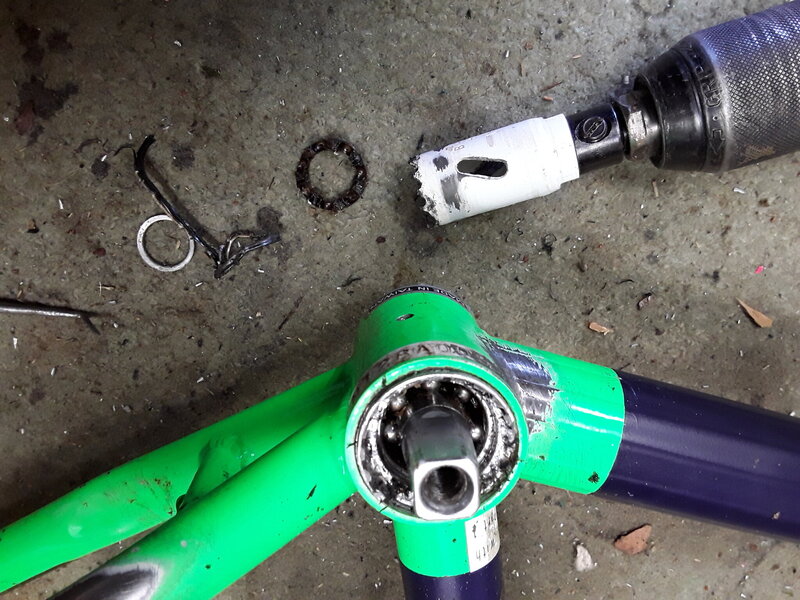
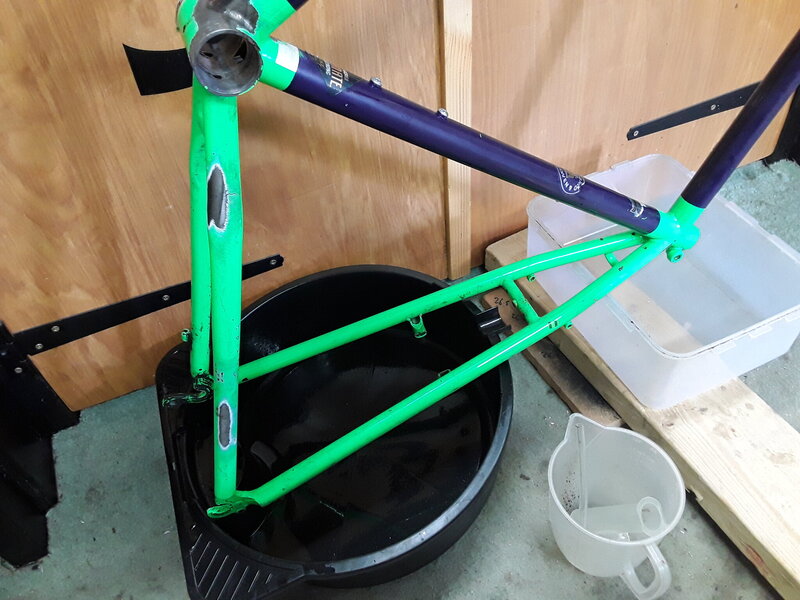
So here's the wreckage that turned up tail end of last year....

20230308_131054.jpg
 
Last edited:
The picture makes it look like ive got a good start, but most of that went into sales box/bin. Wheels shot to bits, pedals cheapo items, headset in tatters with a groove in the race you could run a tram on etc etc.

What I was left with was a frame and forks.....which is really all i wanted from it. Not that I'm using the forks either! 🤣

So why the hell bother? Well, for my money this frame is probably the zenith of both Marins output and the best tubeset Tange came up with.

For Marin it was just before they started making their own tubes and the accounts took over....and we all know where that led sadly.

This was the last ( real) incarnation of Tange Prestige, with its iconic ditched downtube. The frame is identical to the team issue model in all but nickel plating...oh and some (but not all) team issues had the rear rack mounts omitted.

20231030_120235.jpg
 
Last edited:
But before we got to here there was one major problem.....the original bottom bracket was still in and stuck fast.

Usual things no dice. Heat, freezing, 2 weeks in penetrating oil....nothing.

As its an xtr m900, its also alluminium, so the teeth are useless for grip. In the end they gradually gave way....so its direct action needed🤣

First i used a hole saw to cut the centre out of the shell. This gave me a route to drill a hole and pick out the bearings. Then the axle slid out....(please note no hammer was used).

Second, i sat the whole area in a tub of 1/3 soda and a let the alluminium dissolve over 4 hours.

The shots below show it in stages as it went.

Last was just picking out the final leftovers and cleaning it up.

No drama, do damage.
 

Attachments

  • 20230312_120030.jpg
    20230312_120030.jpg
    410.1 KB · Views: 37
  • 20230312_120131.jpg
    20230312_120131.jpg
    368.4 KB · Views: 36
  • 20230311_171148.jpg
    20230311_171148.jpg
    321.1 KB · Views: 36
  • 20230311_164536.jpg
    20230311_164536.jpg
    341 KB · Views: 30
  • 20230311_164507.jpg
    20230311_164507.jpg
    418.1 KB · Views: 33
  • 20230311_141333_001.jpg
    20230311_141333_001.jpg
    383.2 KB · Views: 33
  • 20230311_100001.jpg
    20230311_100001.jpg
    519.9 KB · Views: 34
  • 20230308_182140.jpg
    20230308_182140.jpg
    371.8 KB · Views: 33
  • 20230308_181413.jpg
    20230308_181413.jpg
    328.4 KB · Views: 33
  • 20230308_180117.jpg
    20230308_180117.jpg
    507.9 KB · Views: 33
Checked the frame over yesterday, made sure there are no cracks, sanded off some paint to check some surface rust (paint is foobar'ed as it was used as a commuter bike for many years with locks dangling on it and lean marks from street furniture).

It all looks pretty good, but to help the old girl live on into the future im going to do some pre paint preventative work. Namely soaking the inside of the tubes in evaporust.

This can be tricky, but with a few wine bottle corks, bluetak and a potato its all doable.

Basically, I plug up the holes in each tube one at a time (or the bb as a whole), pour in the evaporust and leave it for 2 days.....repeat on next tube.

I've learnt over the years to put a tray / oil pan big enough to hold the liquid under it.....soggy carpet when the potato comes adrift at 2am.....not good. Plus your going to be reusing the same liquid. Start with the worst tubes ( normally bb and chainstays for obvious gravity related reasons) and work round.

Last i bung it in the boiler room for a few days to dry.
 

Attachments

  • 20230523_083440.jpg
    20230523_083440.jpg
    390.8 KB · Views: 27
  • 20230523_083453.jpg
    20230523_083453.jpg
    286.6 KB · Views: 27
So, checks done, its off for powder coat.

Im taking it somewhere different this time, so its a trip in darkest essex! They come recommend as being able to do great things with powder.

Having had a chat with Chris and Val they seem happy they can do what a need.....its not the cheapest bit if powder ive ever had done, but then its a considerable amount more work, requires more skill and its much more expensive materials to boot.

We will see. Excited. Should be back by Christmas!

Last job was to measure the position as size of all the original decals for later.

Now i just need to decide what kit I would like on it!

Oh, where do I start! At least with catalogue, those decisions are made for you!🤣
 

Attachments

  • 20231102_150820.jpg
    20231102_150820.jpg
    330 KB · Views: 9
  • 20231102_150830.jpg
    20231102_150830.jpg
    359.7 KB · Views: 9
Last edited:
Lets start with the easy bit. Im going to run it 8 speed..1 up from oiginal, but the same as the xtr shifter clad team issue was.

Obviously its going to be Suntour xc pro thumbies for this job. Ive got box of bits I've been meaning to build up, so as its raining and building steel tree cages for Christmas presents has been put on hold as im now bloody freezing after 3 hours welding, its an ideal time.

The mounts and levers have been cerakoted in black ceramic to tidy them up in with a batch of stuff a few months ago.

Its just remembering which bit goes where.....after 33 years rebuilding them, i should know....😂......but memory is a fickle thing...

20231021_151232.jpg
 
Next..... forks....im not using the originals as i just need more hight than they will offer without some mahoosive quill stem.......even if i could put up with the odd looks, options for a long quill are seriously limited and tend to be far too heavy.

Soooooo, im going to go ahead.

HAS THE FIRING STOPPED....CAN I COME OUT NOW.....

Sadly, as you will probably have noticed finding really good quality ahead rigid forks is now impossible too. So, im contriving a pair.

A couple of years ago, I salvaged a pair of 750g rockstar team marin forks which were from a 15" frame ( remember mines 20.5" 😂). Its the only time a set if 750g rockstars will actually be anywhere close to 750g, as by the time 750g forks get to 20.5" they are 920g...🤣. Got to love some marketing bulls51t.

Anyway, i decided these would be a great candidate for an ahead transplant.....plus the thread was knackered...hence free...

At this point I start to doubt my limited material choice/ bike welding skills.....im good, but I'm not confident enough to risk my teeth (other peoples, yes....mine, no), so its over to my very friendly, local frame building genius.....welcome Gav @August Bicycles

Gav cut, plugged and welded them so well if the steer hadn't been 350mm long, i would have swore he had just handed them back to me untouched.....true craftsman.

I know people seem to worry about this process, but if its done right its really not a problem....think about it, you blades are welded to the steerer...you dont worry about that! Plus, if its good enough for paul Brodie...im ok with it.

Plus, I trust Gav as I've been riding round for a year on another pair he lengthened for me with no issues.

He does some interesting frame builds and his blog is quite enlightening too.


So here they are along with the bikes originals for comparison.

Second photo is them just back from new powdercoat.

20230325_101541.jpg

20230325_101516.jpg
 

Latest posts

Back
Top