boy"O"boy's 1991 Raleigh Dynatech Endeavour x2!!

Re:

Loving this already, always loads of attention to detail in your builds. That copy of MBi was the second bike magazine I ever bought :D


Tuned in for further updates....
 
Re: Re:

mynchiboy":9611z3kz said:
Loving this already, always loads of attention to detail in your builds. That copy of MBi was the second bike magazine I ever bought :D


Tuned in for further updates....

Cheers! There's nothing like reading that copy of MBi / MBUK you remember some 30 years later. I'm fortunate enough to have most of these (other than those in my signature) so when I saw this feature in MBi - it really stood out..... Probably more for it's review to avoid it and go for the lesser Odessey!

I've never seen another here!? - anyone else with a Dynatech Endeavour?

Day 2 update....

The paint goes on. Perfect day for drying outside. :D

Cheers,
boy"O"boy
 

Attachments

  • image.jpeg
    image.jpeg
    118.2 KB · Views: 559
  • image.jpeg
    image.jpeg
    100.9 KB · Views: 557
  • image.jpeg
    image.jpeg
    100 KB · Views: 557
  • image.jpeg
    image.jpeg
    79.7 KB · Views: 560
  • image.jpeg
    image.jpeg
    77.1 KB · Views: 559
ultrazenith":2xm63lx2 said:
Watching this with huge interest!

Thanks UZ. Here's the day 3 update.

Base coat of blush went on well.
Scuffed the surface with Scotchbite fine and onto the lacquer coats.
A perfect day for drying outdoors. Going to let this harden out for 7 days now..... But plenty of updates to come to get the Dynatech build ready.

Watch this space....

Cheers.
boy"O"boy
 

Attachments

  • image.jpeg
    image.jpeg
    73.4 KB · Views: 525
  • image.jpeg
    image.jpeg
    65.8 KB · Views: 526
  • image.jpeg
    image.jpeg
    761.6 KB · Views: 525
  • image.jpeg
    image.jpeg
    873.2 KB · Views: 523
  • image.jpeg
    image.jpeg
    1,010.3 KB · Views: 521
  • image.jpeg
    image.jpeg
    1.2 MB · Views: 522
  • image.jpeg
    image.jpeg
    1.3 MB · Views: 524
Kona-Ian":1z0tu8wi said:
Love old Dynatechs, you have made a good job.

Cheers Ian!
Dynatechs and Saabs! - you are a man of good taste Sir!
Correct rear pipe now fitted to the Carlsson. This year's plans are wheel refurb and interior, just to get it in top shape. Took it down to Caffine Machine a couple of times were its been well received.

Will keep the updates coming on the Dynatech. Hoping to get this done in the coming weeks. Watch this space!

Cheers.
boy"O"boy
 
boy"O"boy, I take it you are on uksaabs?
What's your name bud?
I found my way back here tonight after a couple of years.
Someone replied to my old thread and got a notification. Weird part is I got the bike out today to use while on this lockdown thing.
 
Kona-Ian":ju762ux7 said:
boy"O"boy, I take it you are on uksaabs?
What's your name bud?
I found my way back here tonight after a couple of years.
Someone replied to my old thread and got a notification. Weird part is I got the bike out today to use while on this lockdown thing.

Cheers Ian. You can find me here.

http://www.uksaabs.co.uk/UKS/viewtopic. ... 0&start=40

Not really an active user on there anymore though.... The name is pretty redundant too as I haven't lived in Suffolk for at least 3 years.
Nothing wrong with the site..... Just prefer it here.
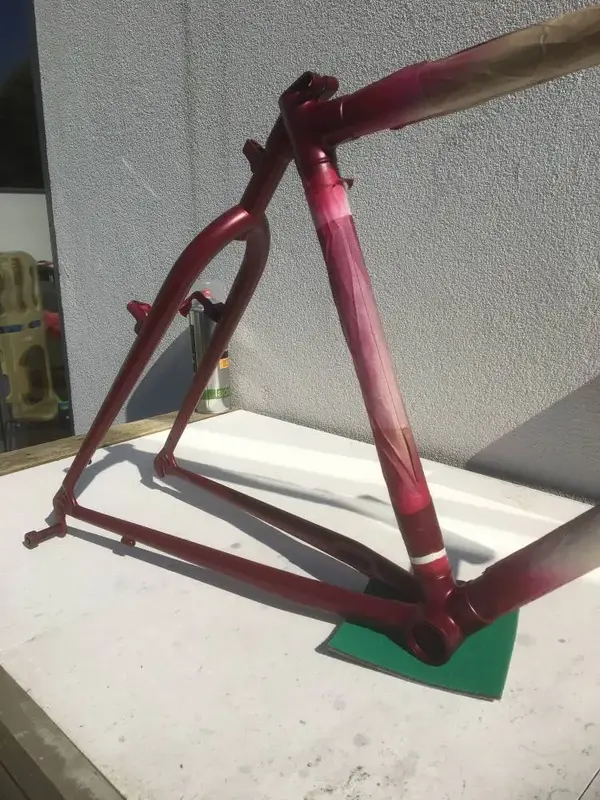
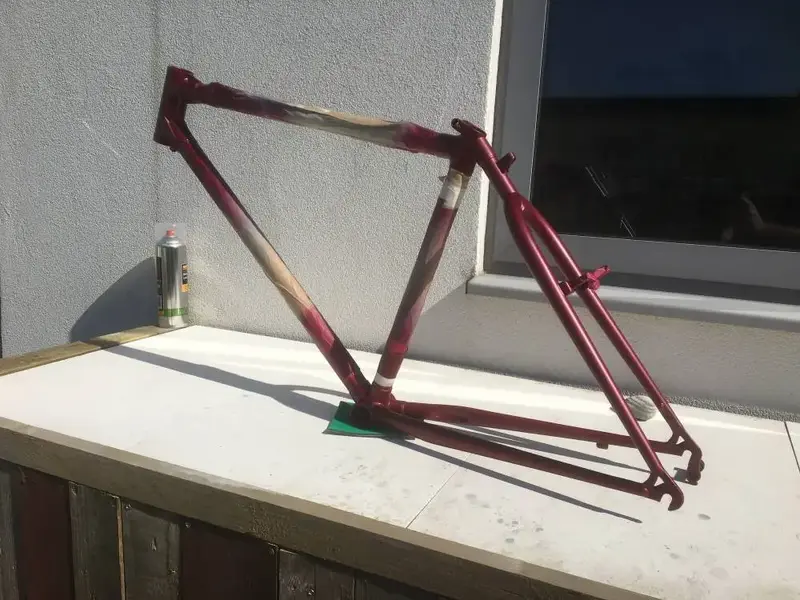
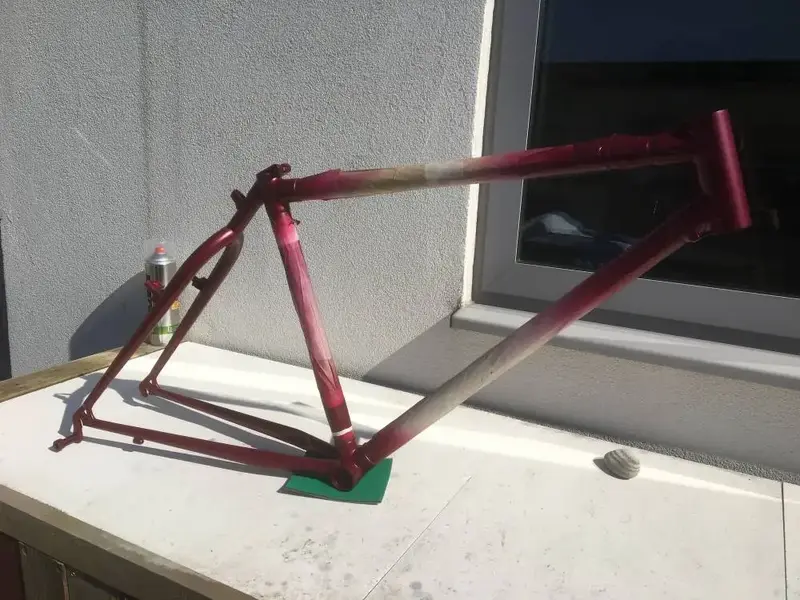
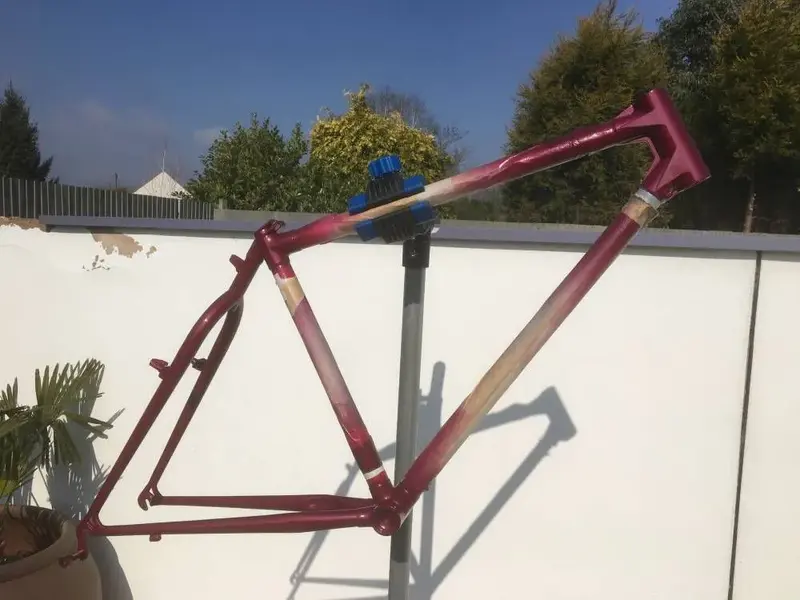
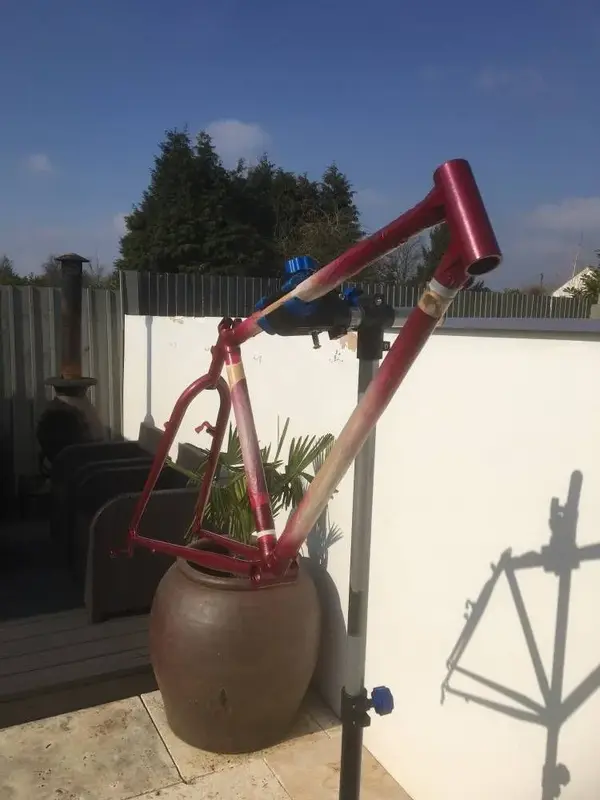
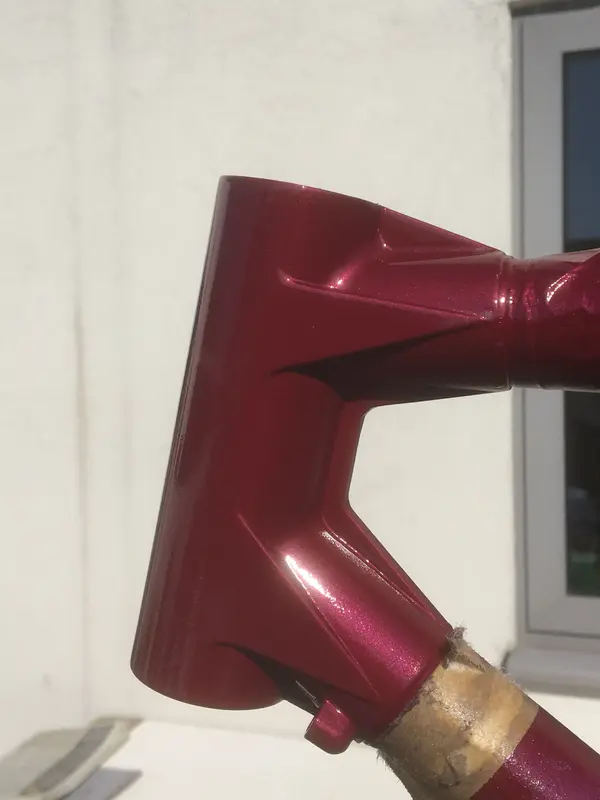
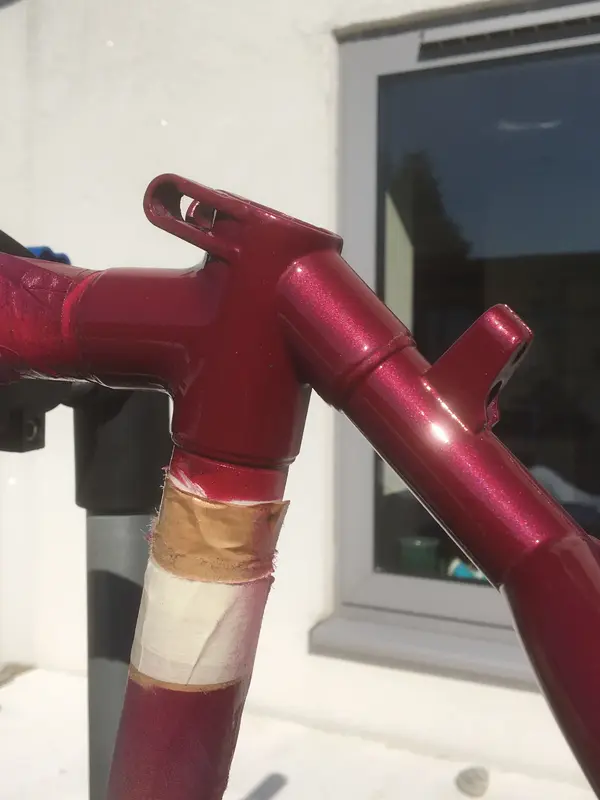
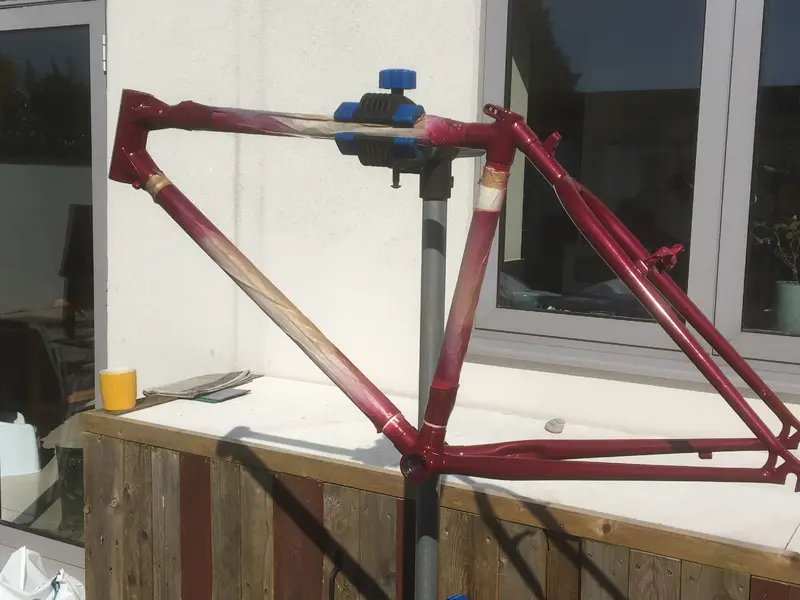
Day 4
Dynatech Endeavour

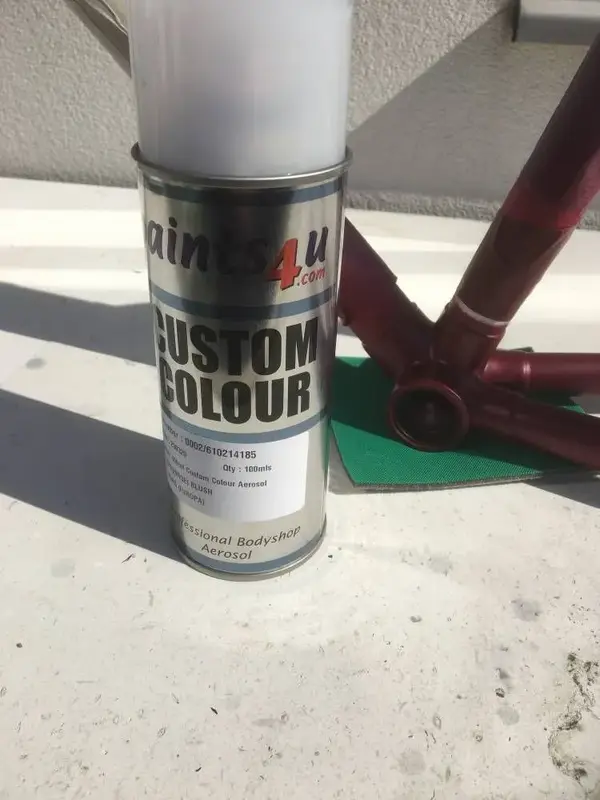
So, the clear coat/ lacquer has been left to harden for the next week.

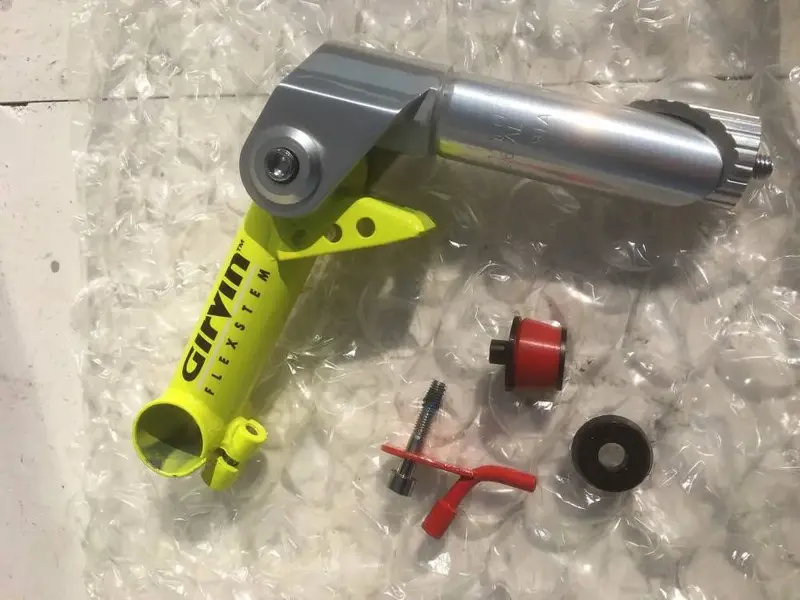
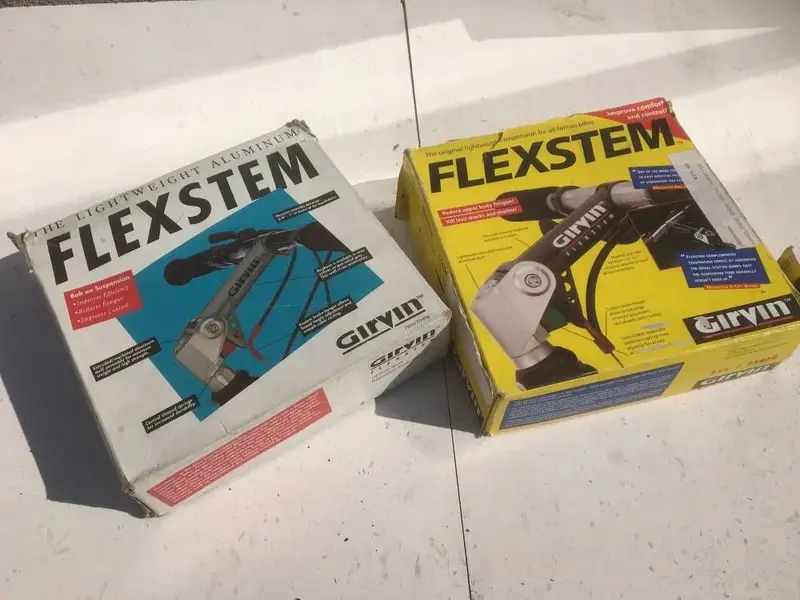
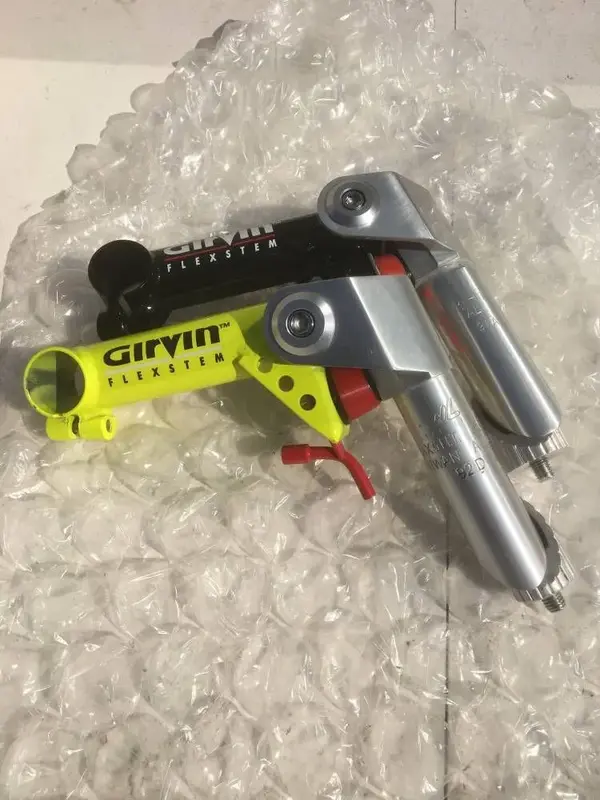
The neon yellow flexstem is an essential part of this build. The catalogue pics show the early steel flexstem whereas the MBi review shows it with a later aluminium quill version.
After much deliberation- thanks Minifreak for sourcing me a steel quill version, I've decided to opt for the aluminium quill.

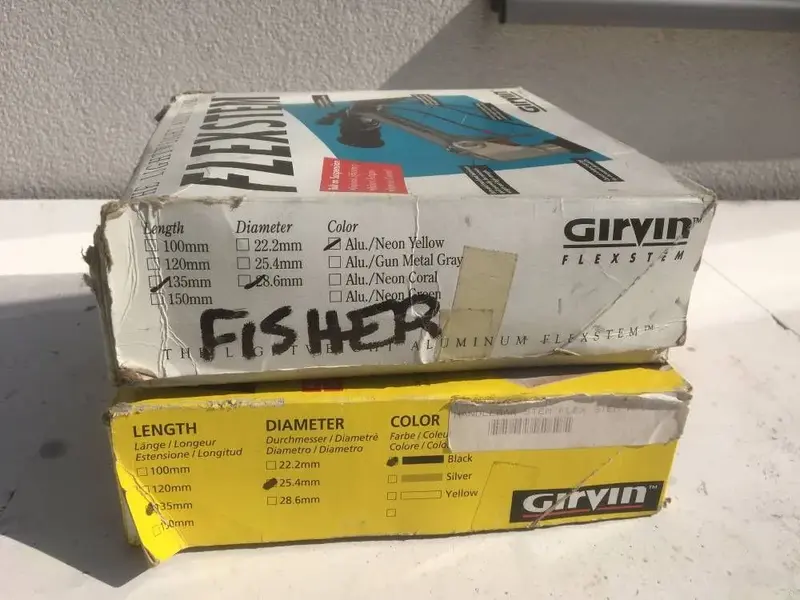
eBay served up a very nice NOS/NIB fluorescent yellow. However, not paying attention to the discription - I had purchased an 1 1/4" type.
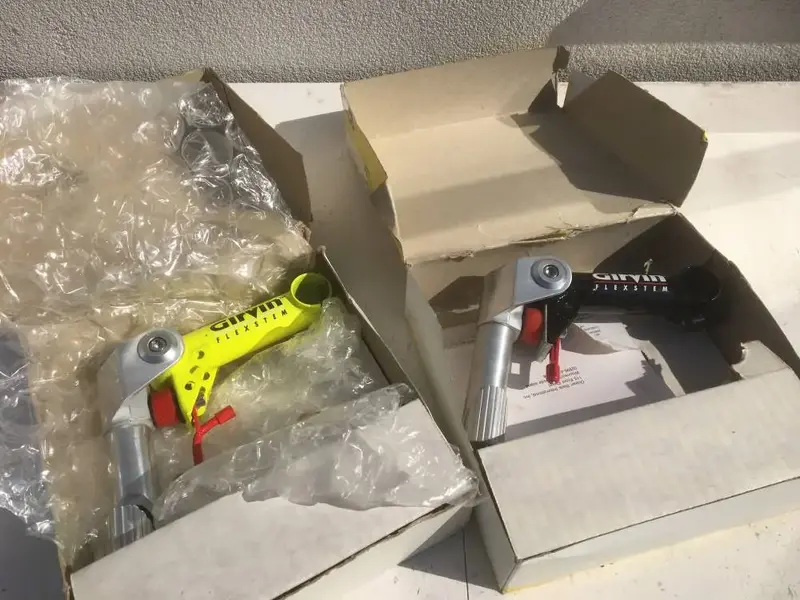
Couple of months later, eBay served up another NOS/NIB flexstem- this time in the correct 1 1/8" size, only in black.
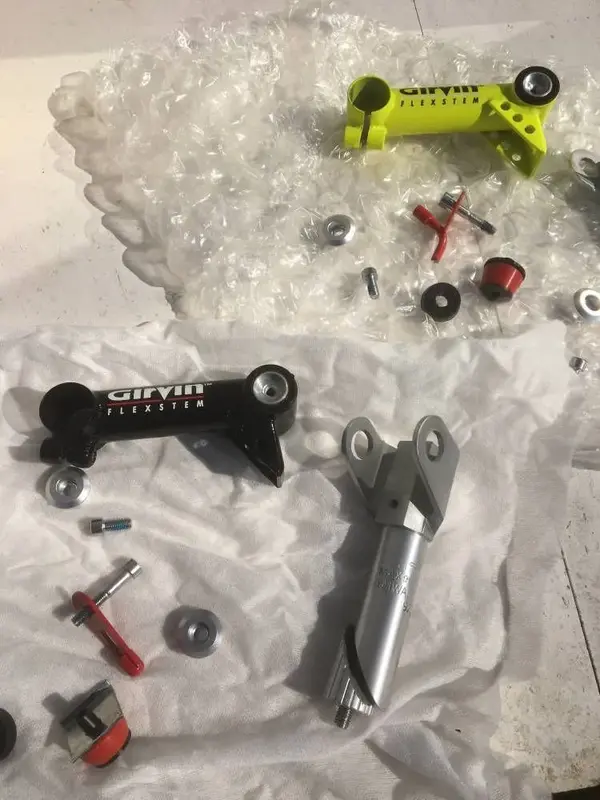
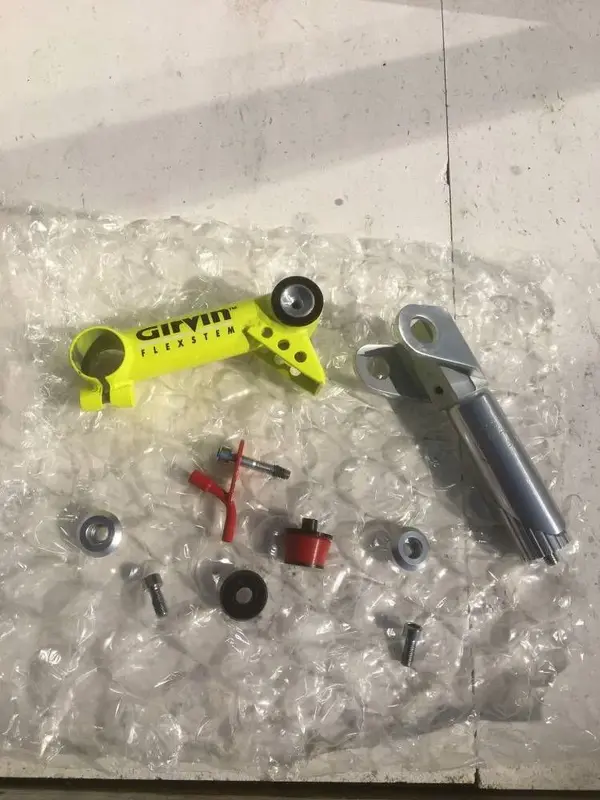
Simple solution, just swap over the quills and I've now got the correct 1 1/8" stem with a spare 1 1/4" stem to boot.

Here's some more pics of a fairly easy day waiting for the lacquer to harden.

Cheers.
boy"O"boy
 

Attachments

  • image.jpeg
    image.jpeg
    89.6 KB · Views: 464
  • image.jpeg
    image.jpeg
    98 KB · Views: 465
  • image.jpeg
    image.jpeg
    95.5 KB · Views: 464
  • image.jpeg
    image.jpeg
    90.3 KB · Views: 462
Re:

Stem quill reduction complete.

More updates to follow

Cheers.
boy"O"boy
 

Attachments

  • image.jpeg
    image.jpeg
    96 KB · Views: 458
  • image.jpeg
    image.jpeg
    101.5 KB · Views: 458
  • image.jpeg
    image.jpeg
    101.2 KB · Views: 458
  • image.jpeg
    image.jpeg
    98.7 KB · Views: 457

Latest posts

Back
Top