You are using an out of date browser. It may not display this or other websites correctly.
You should upgrade or use an alternative browser.
You should upgrade or use an alternative browser.
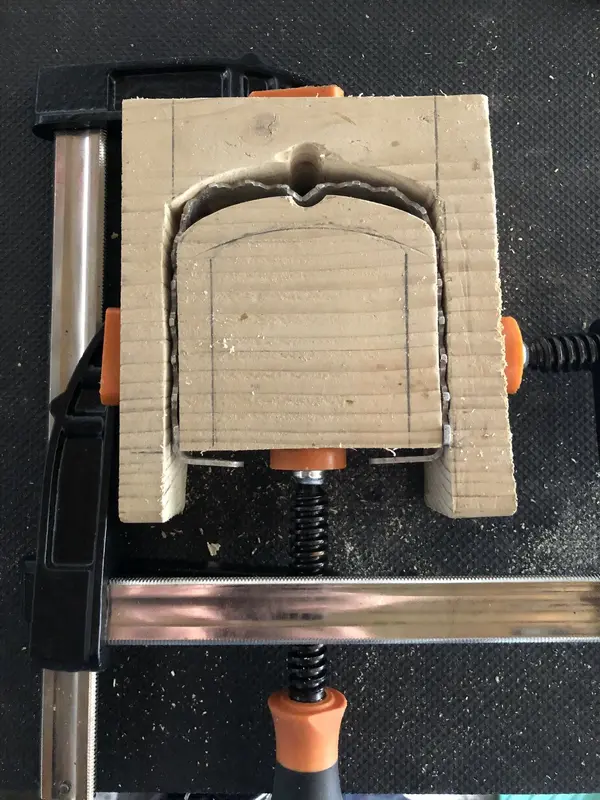
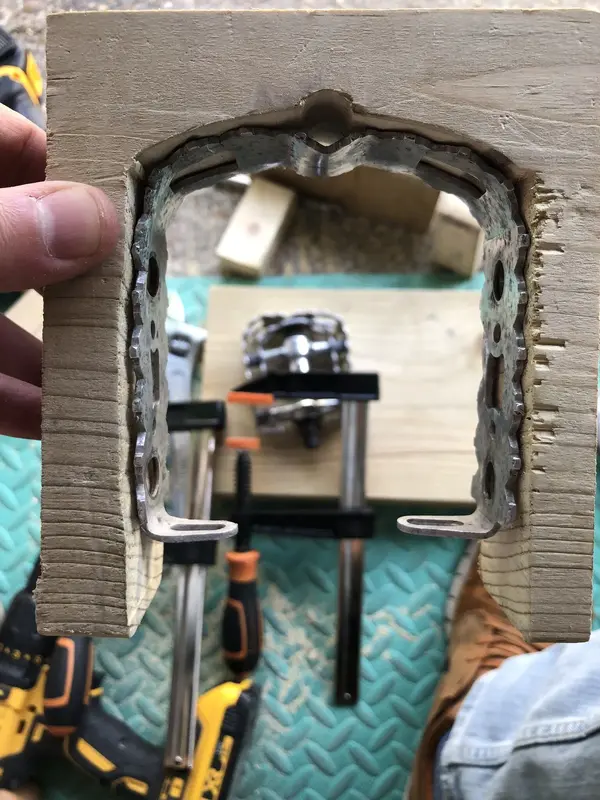
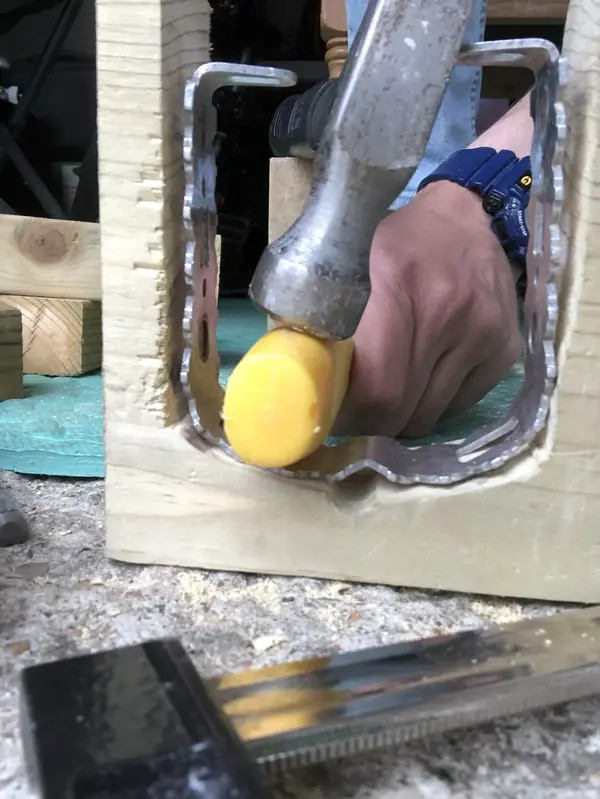
Beating metal curves tips ?
- Thread starter Joe*Pro
- Start date
Mickeyspinn
rBotM Winner
Ooh I see why they're worth the faff.....not cheap then 
Thinking out aloud here...when you've got em as good as you can..... maybe for posterity....take a paper rubbing template!
Thinking out aloud here...when you've got em as good as you can..... maybe for posterity....take a paper rubbing template!
Joe*Pro
Senior Retro Guru
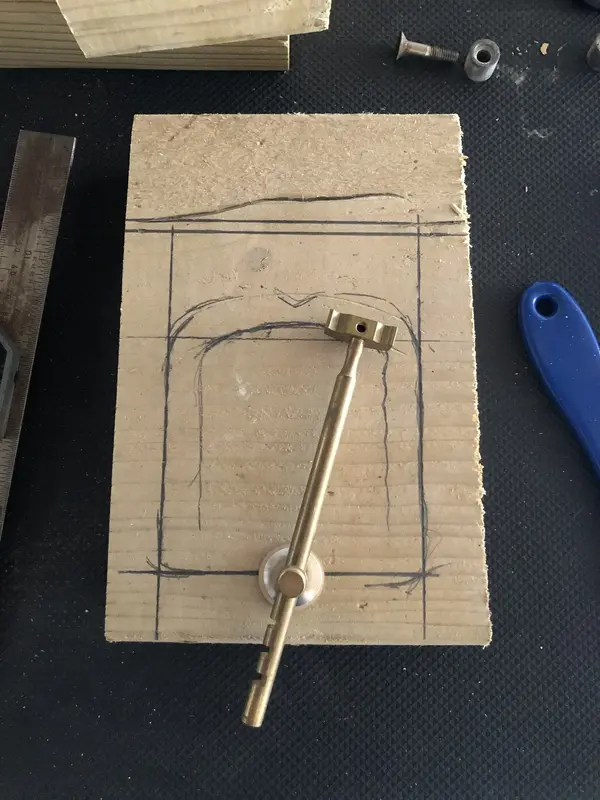
Just rare I assume, and evidently a brittle outer cage, hence me seeking some tips from you all before my DIY. These arnt too bad as you say, some pics I saw of others had them completely ripped off and still asking twice the price 5 years ago !!Ooh I see why they're worth the faff.....not cheap then
Thinking out aloud here...when you've got em as good as you can..... maybe for posterity....take a paper rubbing template!
The owner of the mint ones in the states has said he will try get me some good pics of the perfect form for comparison.
Mickeyspinn
rBotM Winner
Could be a little side earner remaking outer cages maybe?Just rare I assume, and evidently a brittle outer cage, hence me seeking some tips from you all before my DIY. These arnt too bad as you say, some pics I saw of others had them completely ripped off and still asking twice the price 5 years ago !!
The owner of the mint ones in the states has said he will try get me some good pics of the perfect form for comparison.
Joe*Pro
Senior Retro Guru
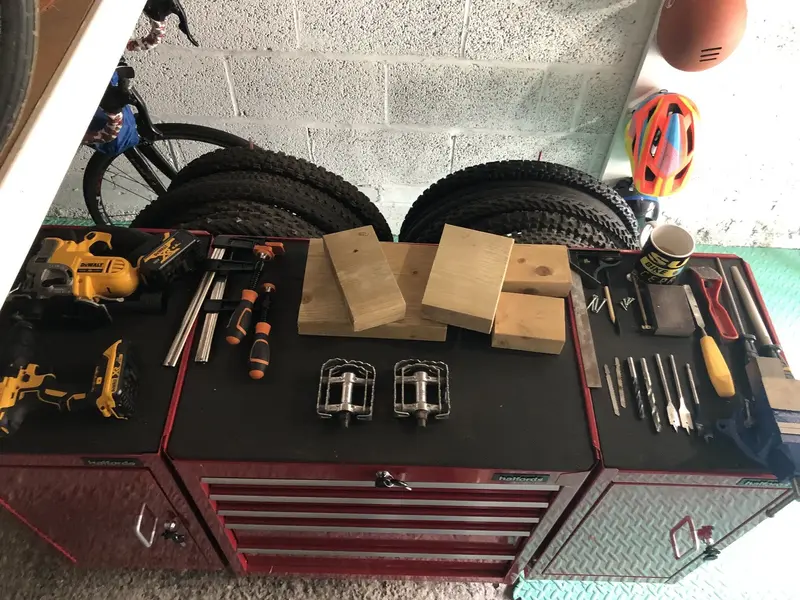
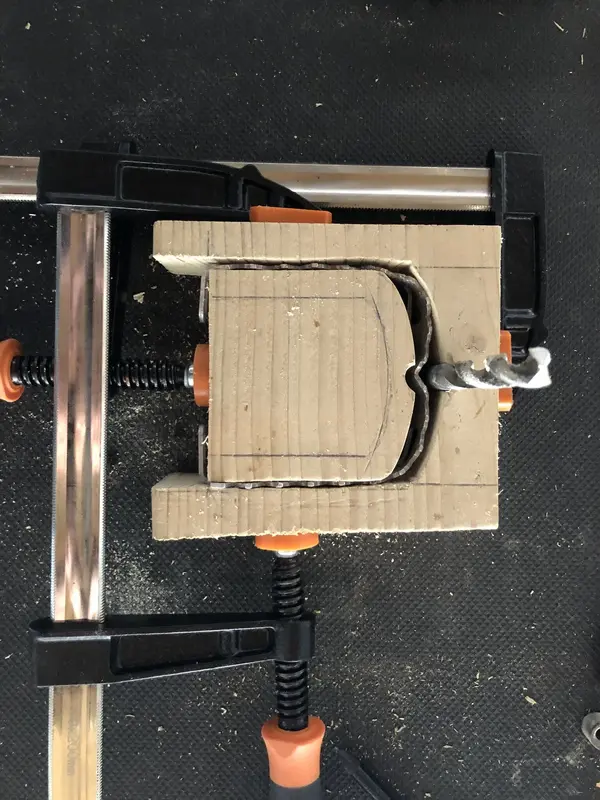
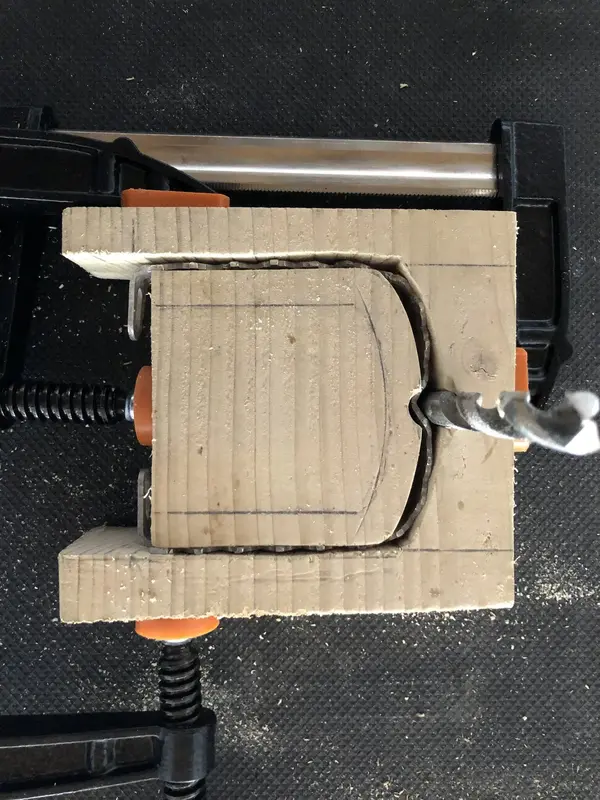
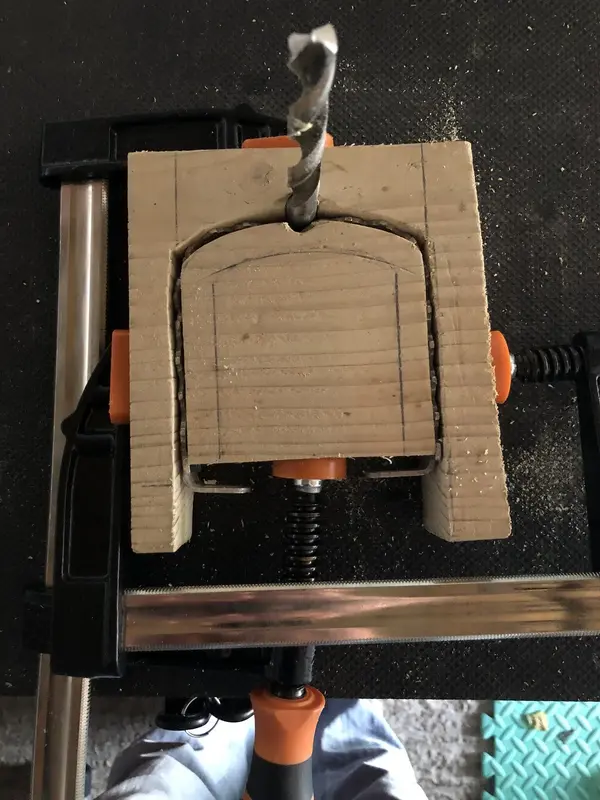
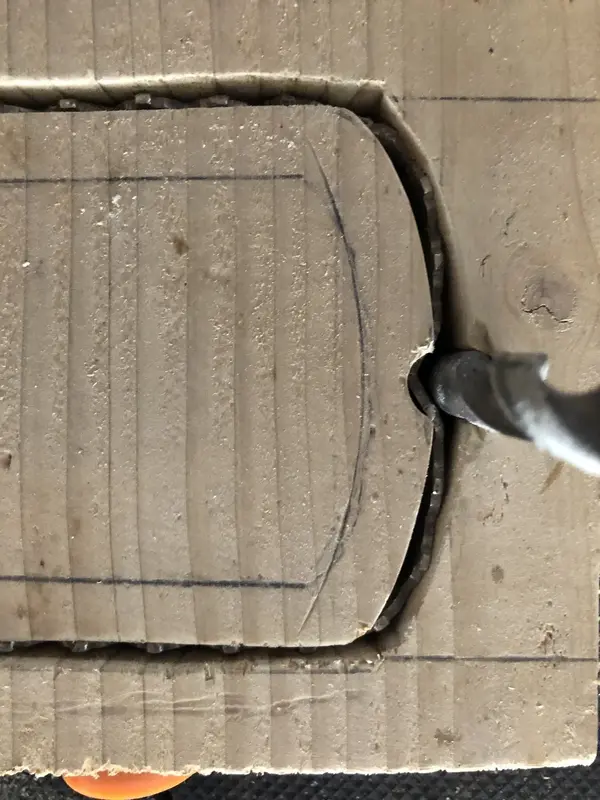
Ready for the wknd…
£13 on screwfix claps, 2 timber merchants (no success), but 1 loft conversion skip on the street later (jackpot) and we are now ready to go.
Figured really what I wanted was some floor joist off cuts, it was that or a chopping board from Sainsburys!!
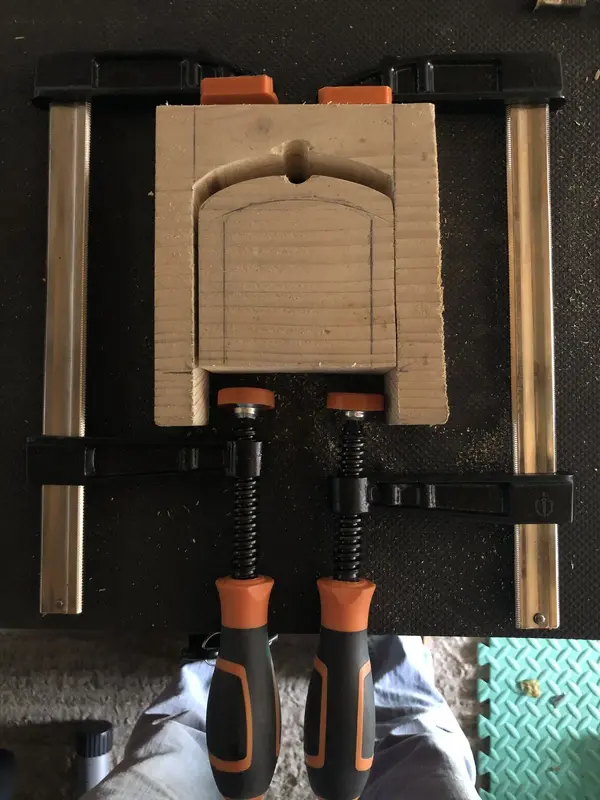
Re clamps: went for the resin tips and screw down version, thinking that would be better than trigger versions!

Last edited:
Similar threads
- Replies
- 153
- Views
- 29K
- Replies
- 61
- Views
- 18K
- Replies
- 27
- Views
- 6K
- Replies
- 24
- Views
- 7K
