2000 Marin Mount Vision Build

Re:

Hello,
I have much experience with these conversions, having made many of them now.
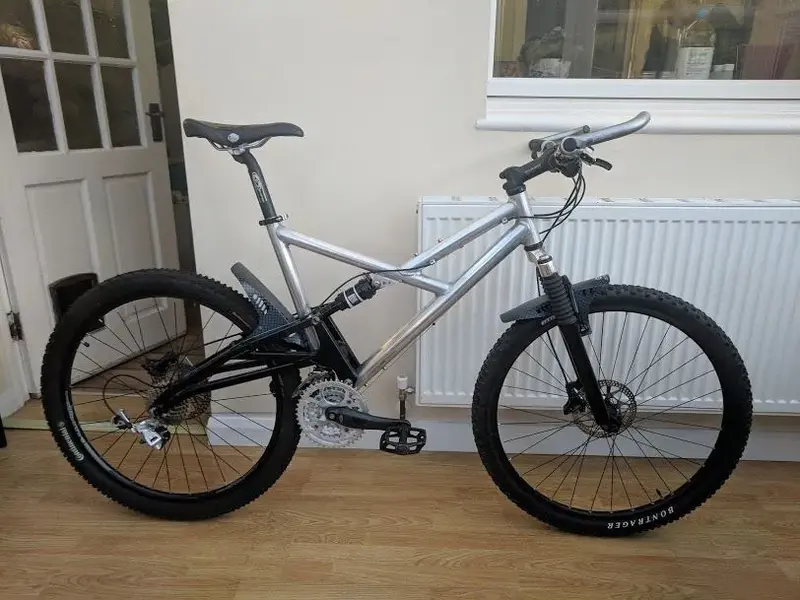
The adapter plate you're using seems to be the other version, and it's a little too long for the purpose.
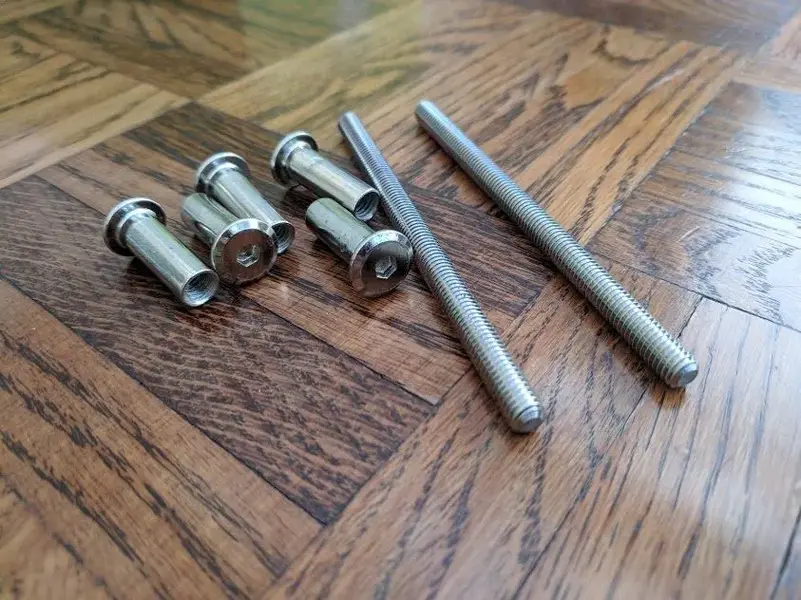
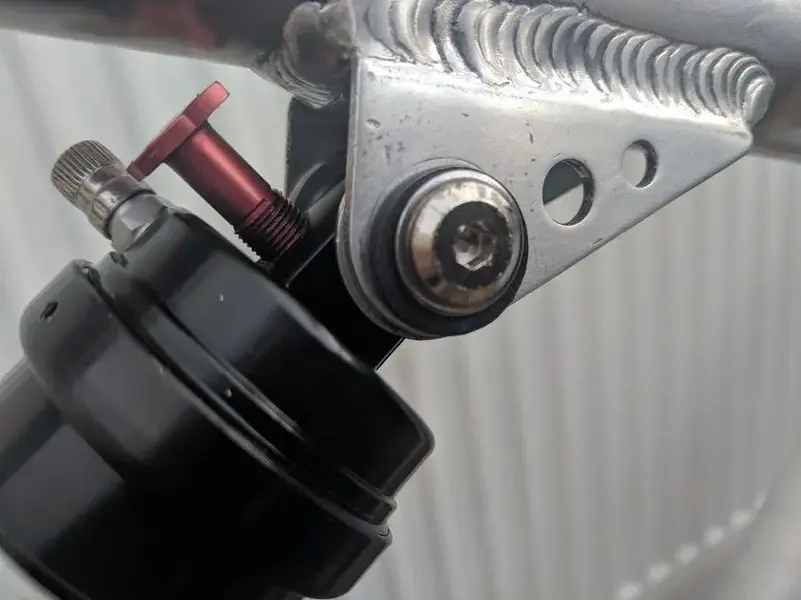
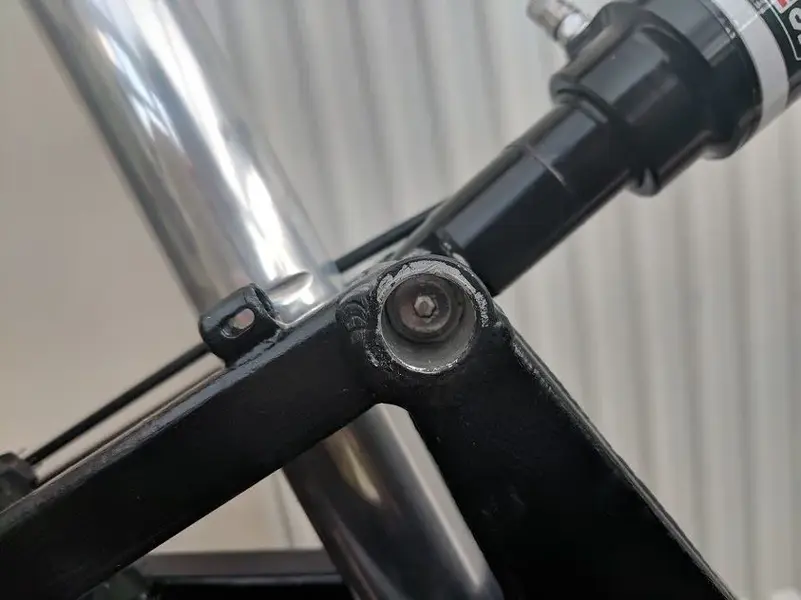
I can put you in touch with a guy who had a batch made, and that will fit perfectly. You need a rear IS to post mount 160mm adapter. These are readily available, and I usually use a branded one like Shimano. When the IS to post mount adapter is bolted on it will likely force the caliper too far outwards, and you'll need to use washers in between the Marin adapter and the IS to post mount one. I found that the lower bolt took one less washer that the upper. The rest of the adjustment you'll need can be obtained through the correct positioning of the caliper as their bolt bolts are slotted rather than round.
 
Thanks for the info Benandem - I've greatly admired the Mount Vision builds you've put up on here :)

When you say I'd need to use a washer between the adapter plate and the IS to post mount adapter, I'm assuming that's with the adapter plate mounted on the outside of the swing arm (rather than the inside as previously pictured)?

In that case I'm curious how you managed to get the caliper mounted with the adapter plate mounted on the inside of the swing arm (as in the pic I stole from your build thread).

I was looking at the height of the adapter plate I have and wondering if there is enough play in the slotted holes to get the caliper positioning right. If I can't get it to work with this one, I'll definitely take you up on the offer of a contact with access to the other style of mounting plate, thanks.
 
Re:

I don’t know if this will work for you and I have the part in question to have a look at tomorrow but carbon cycles (exotic) make a is to pm adapter for early 20mm axle forks which had the disc mount 5mm further away so you could mount your silver bracket on the outside and then use said disc mount.

https://www.carboncycles.cc/index.php?s ... 0Shop&#top

It’s hard to tell if it will work from the pics and I don’t have a frame like yours but I will try and take a few pics tomorrow.

Thanks

Tim
 
hawkhill97":2kwxiqys said:
Thanks for the info Benandem - I've greatly admired the Mount Vision builds you've put up on here :)

When you say I'd need to use a washer between the adapter plate and the IS to post mount adapter, I'm assuming that's with the adapter plate mounted on the outside of the swing arm (rather than the inside as previously pictured)?

In that case I'm curious how you managed to get the caliper mounted with the adapter plate mounted on the inside of the swing arm (as in the pic I stole from your build thread).

I was looking at the height of the adapter plate I have and wondering if there is enough play in the slotted holes to get the caliper positioning right. If I can't get it to work with this one, I'll definitely take you up on the offer of a contact with access to the other style of mounting plate, thanks.


No, follow the picture from my build. The washers are to push the IS to post mount further in if necessary, so they line up with where the caliper wants to be. It won't be necessary for all, but seem need it more than most. Remember that there wasn't a defined industry standard when these frames were made, and sometimes they're a little out!! You might be lucky enough for the adapters to be enough, but better being prepared.
 
Re:

Meant to respond sooner.
It's good that shock is holding air now, but although a lube, grease may not be the ideal lube inside the air chamber of a shock. Several years ago I bought some FinishLine synthetic fork/shock oil Halfrauds were selling off cheapo, 3 wee bottles in various weights, because I was needing to refill the shock on a Lefty fork. I've used a small amount in air shocks whenever I've put new seals in them or just taking them apart to clean seals to prolong their life. Not saying the grease will kill shock though but that a small amount of fluid may be better in there. The proper Fox shock fluid price gave me nightmares from what I remember.

The air leak when shock pump is attached happens with me as well, not every time but it happens. If putting a tube in water to check for punctures works then a shock at much higher pressure will show up any leaks no bother. :mrgreen:

Think 1 or maybe 2 of the swing arms on our bikes look squint but the mounting points and dropouts line up OK.

Can't help with brake caliper mount problem, all IS mounts on 3 of our bikes with either Hope or Shimano calipers. My Wolf Ridge is the exception, it has the swing arm off my wife's Wild Cat Trail which had Marin's weird non-IS/postmount mentalness. I swapped the swing arms between them as at the time I wasn't intending building the Wolf Ridge but needed the Wild Cat Trail completed. I knew that the arms are essentially interchangeable but there are differences according to the frames they are fitted to, one being shock length and the length of swing arm. The Wild Cat Trail and B-17 too I think not sure of others, are around 30mm longer to give more travel. Correction from an expert on this may be required. :mrgreen:

Having a bit less travel isn't a problem for my wife, but when I came to build up the Wolf Ridge I fitted a 130mm Marzocchi Z1 Wedge to balance the now around 130mm at rear, and had to get the brakes sorted. I didn't have a) Marin's mental mount, b) the thread inserts for mounts on swing arm, c) the special Hope caliper that was required for it. From threads on here found out that cut down V/canti mounts do the job for the threads inserts on arm. Using a 180mm disk as opposed to the 160mm on my wife's bike gave me more room to fabricate a mount from some aluminium angle and 5mm plate to fit a Hope Mono M4 caliper, doesn't look very attractive but it works. Had intended to find someone to weld it together but that hasn't happened, if it ever will.

Jeez, I seem to have written an essay. :roll:
 
Re:

Benandemu":fafr5rlj said:
No, follow the picture from my build. The washers are to push the IS to post mount further in if necessary, so they line up with where the caliper wants to be. It won't be necessary for all, but seem need it more than most. Remember that there wasn't a defined industry standard when these frames were made, and sometimes they're a little out!! You might be lucky enough for the adapters to be enough, but better being prepared.

I don't think I can follow the pictures in your build, quite, as the caliper is already too far inwards without any spacers added (though this would work with the silver alloy adaptor on the outside of the swing arm).

I'll have to check out the old 20mm fork mounts and see if anything suitable can be found there, as the 5mm difference would be about right.

Another option is I could move a spacer from the drive side of the rear wheel axle to the non drive side to move the disc rotor a bit further from the swing arm, and then re-dish the rim to re-centre it. I've promised to have a look at a friend's bike this weekend, but when I next get some fettling time of my own I'll have a look at the various options.

Old_coyote_pedaller, I have some finish line synthetic oil I can pop into the shock. I was already planning on adding this when I remove the schrader valve cores to check them for possible leaks as it occurred to me that the grease might not be mobile enough within the shock body to keep the seals well lubed.
 
Re:

The sleeve bolts finally arrived from China today, along with the correct size top-hat reducers I needed :)


The outer diameter of the sleeve nuts is a perfect fit for the shock mount top-hat reducers, and the allen key heads are the perfect size to fit into the rebates in the swing arm, which is all very pleasing.

I cut the threaded bar to length and hacksawed/filed the sleeve nuts to the correct lengths to span the gap between the main triangle shock mounts.


On the swing arm mount the sleeve nuts weren't long enough, so I cut the head off a third nut to provide the correct additional length of sleeve.

Also had to file down a pair of washers so that they fitted in the swing arm rebates. All told it was a pretty time-consuming job, took a little over two hours all told.


Next job will be to take a proper look at the rear disc brake mount. However, I've also promised to give a friend's bike a thorough once over (from what I've seen of it so far it needs a bit of TLC) so that might have to wait until next weekend.

Still, progress is being made!
 

Attachments

  • NutsnBolts.jpg
    NutsnBolts.jpg
    109.9 KB · Views: 622
  • Frame_mount.jpg
    Frame_mount.jpg
    51.9 KB · Views: 622
  • Swingarm_mount.jpg
    Swingarm_mount.jpg
    47.9 KB · Views: 622
Now the rear shock is installed into the frame, it looks like the positive air chamber is holding pressure fine. Hard to say if the negative chamber is still up to pressure though.
 
Re:

With the rear shock finally in place, I couldn't wait any longer to get cracking with the build, so I threw on most of the rest of the bits and pieces this evening. Think it's looking pretty good :)


Not sure about the mudguards... I've used this style before and they're quite effective at protecting the rear shock and keeping water out of your face. They'll probably stay for their practicality but they do somewhat spoil the clean look of the frame.

If the rear brake caliper mounting issue turns out to be easily soluble I reckon I can have it built and ready for a test ride next weekend.
 

Attachments

  • mockedup.jpg
    mockedup.jpg
    81 KB · Views: 596
Looks stunning, very tidy…. But I’d definitely remove the mudguards for its BotM photo’s ;)
 
Back
Top