1993 KHS Montana Comp - Complete Restoration

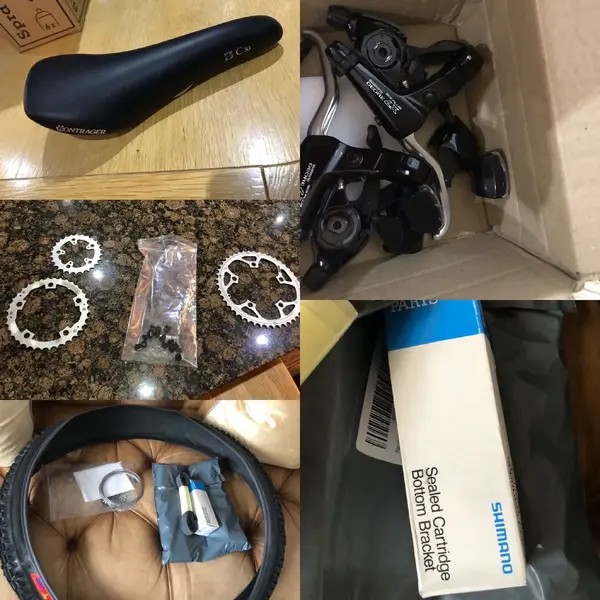
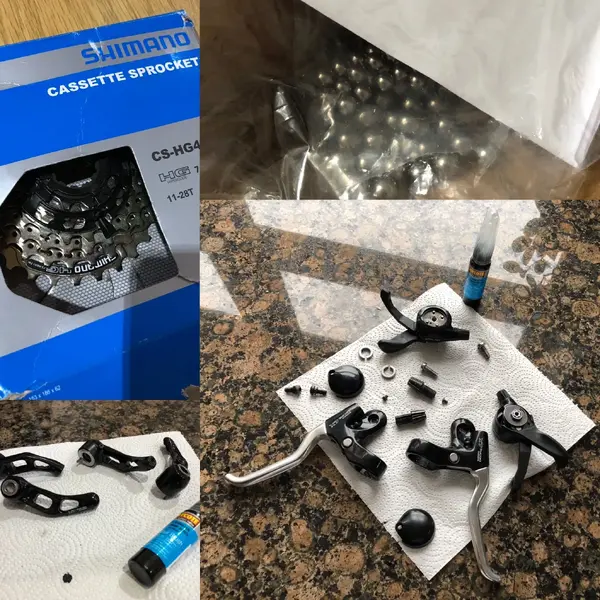
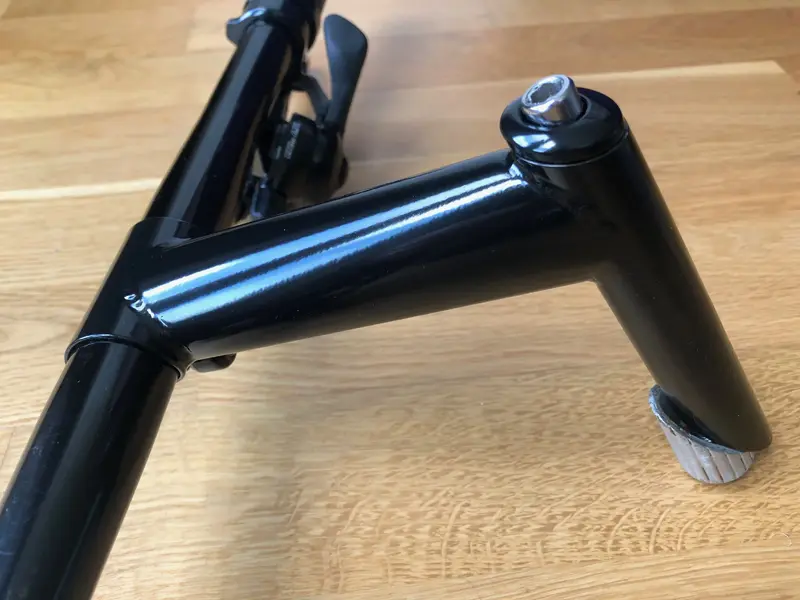
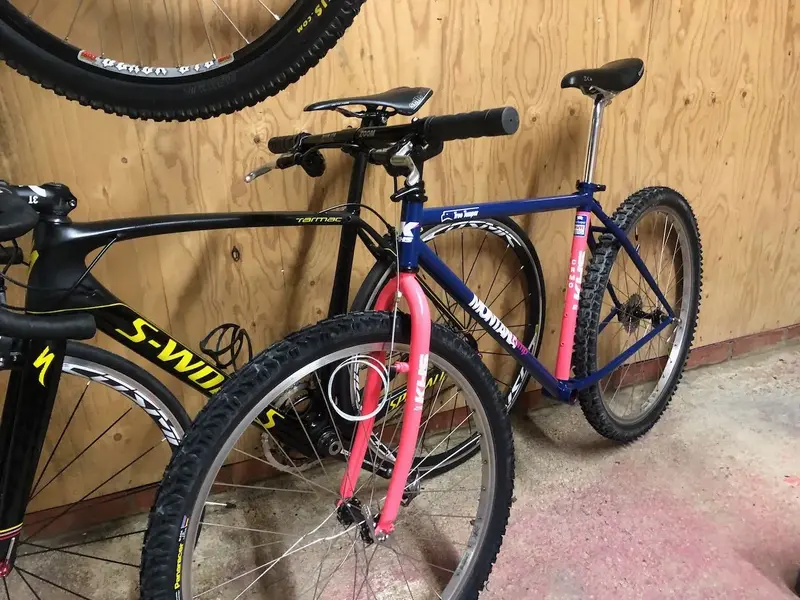
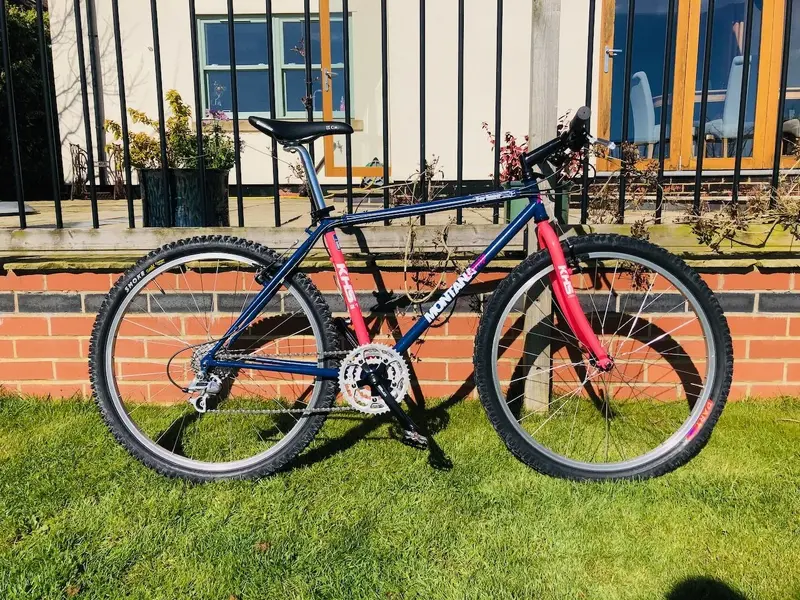
I'll do a full parts list at some point but I was able to get both new-new stock, new-old-stock and good condition used, as well as re-using what I still had, some on the bike, most in parts drawers. Very little won't be original part numbers.

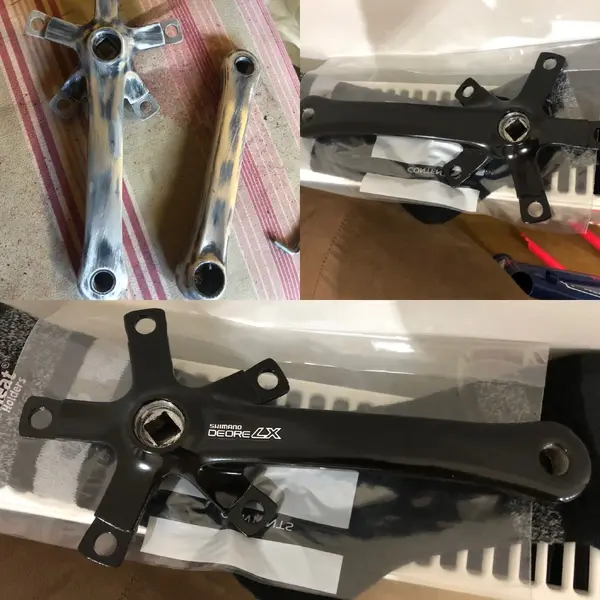
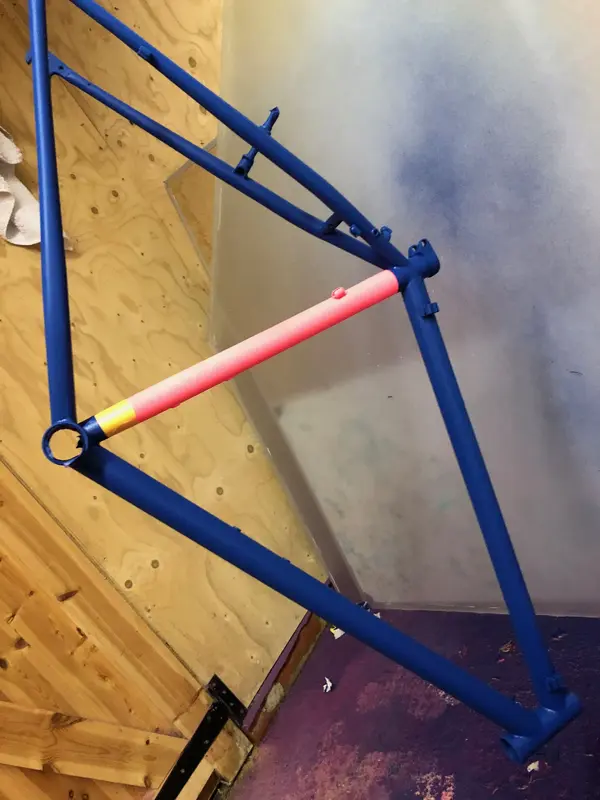
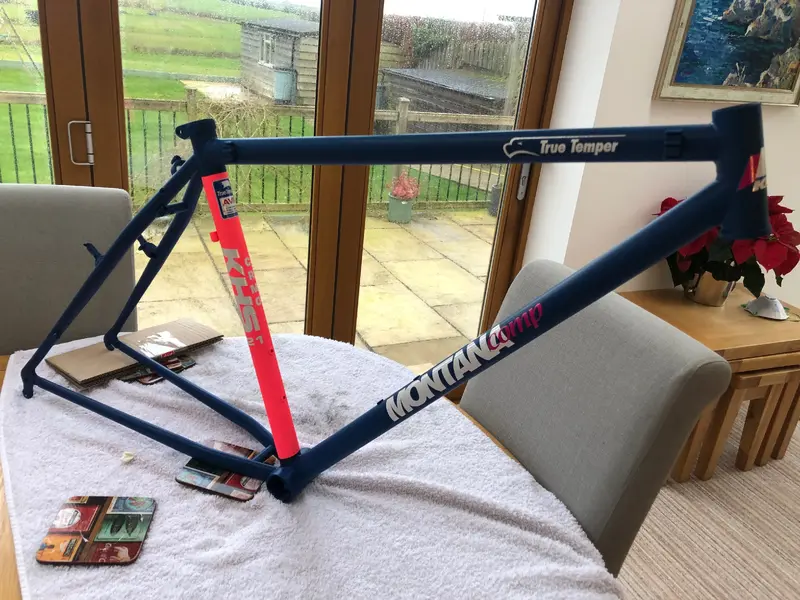
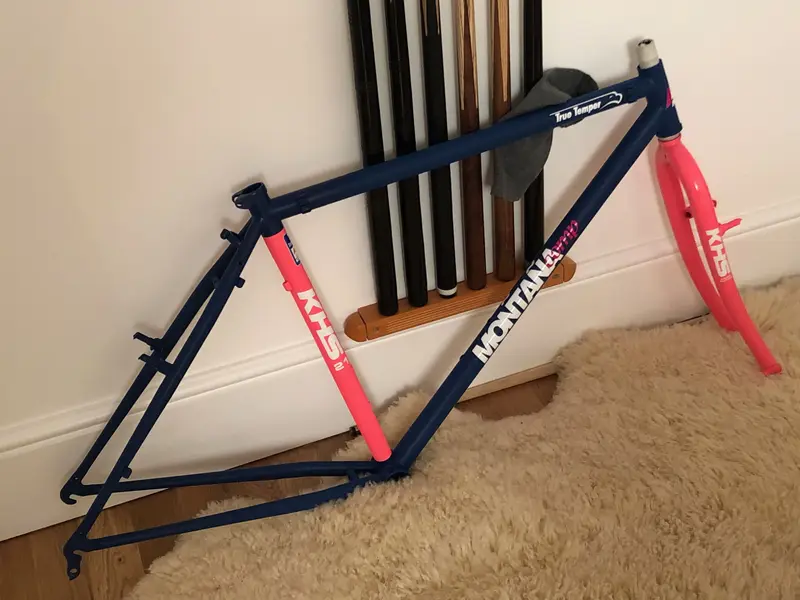
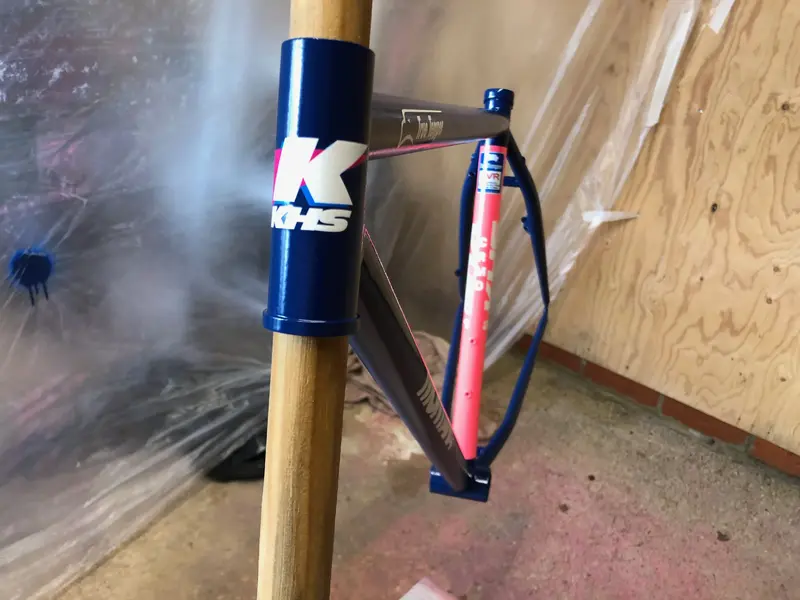
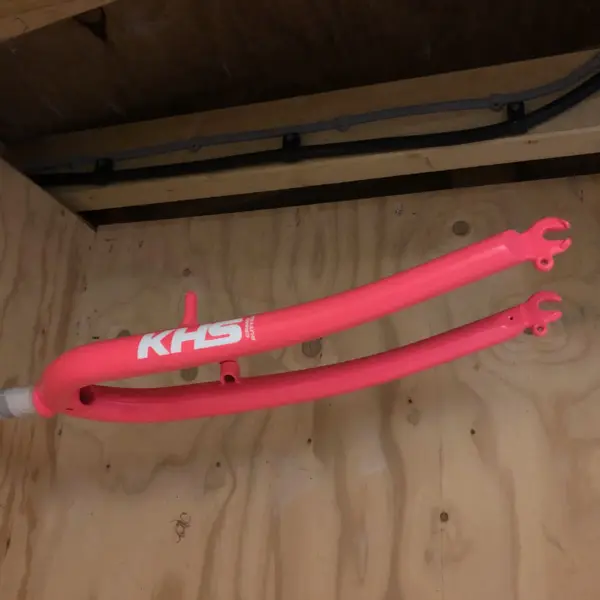
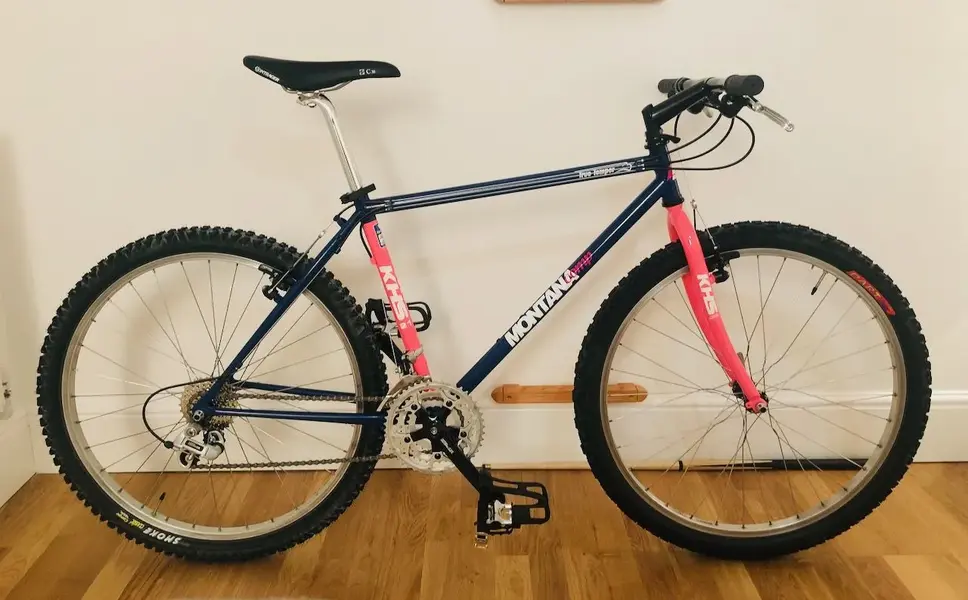
The cranks were in a draw and quite damaged after I used the wrong tools to remove them back in the day. Here with the first new decals (from Gil on here of course)
 

Attachments

  • 80DDBA9A-3AA1-43A6-B9F0-19A039E63EAC.webp
    80DDBA9A-3AA1-43A6-B9F0-19A039E63EAC.webp
    280.7 KB · Views: 262
Re:

Next up some etching primer which I fear may not have binded well with the spray.bike paint, given I easily chipped it once, to the primer in the rebuild


The spray.bike colours were perfect (though I'm slightly unconvinced by the durability but more on that later)
 

Attachments

  • IMG_3237.webp
    IMG_3237.webp
    443.6 KB · Views: 229
  • IMG_3241.webp
    IMG_3241.webp
    666.8 KB · Views: 229
  • IMG_0372.webp
    IMG_0372.webp
    552.1 KB · Views: 229
Re:

The paints went on well enough though I learned a lot that i'd do better next time
- Pay attention to the 5cm distance, you don't want to be much further and it feels really close and I did a lot further away than that before realising
- The floro pink is very grainy, spray it very close and heavy
- The tubes that are below the ones your spraying will get dry powder overspray that's grainy. Still not sure how to handle that
- You need a lot of clear coat to get a good finish. My forks are much better than the frame, but probably had 7 vs 3 coats
- The clear coat is soft, for ages, maybe forever
 

Attachments

  • IMG_3303.webp
    IMG_3303.webp
    490.6 KB · Views: 230
  • IMG_3305.webp
    IMG_3305.webp
    536.3 KB · Views: 230
Re:

I have a silver/purple Montana comp fz, beat the ever living crap out of that bike, never had a problem. I got the frame and forks new from a catalog... never knew what the original parts were supposed to be.
 
The bare frame looked ok, but once the stickers went on it started to look like the bike I remembered (spot the not so deliberate mistake)

Thanks to Gill I got a second chance with the True Temper logos and didn't damage the paint removing the first attempt
 

Attachments

  • IMG_3306.webp
    IMG_3306.webp
    660.3 KB · Views: 239
  • IMG_3310.webp
    IMG_3310.webp
    1 MB · Views: 238
  • IMG_3347.webp
    IMG_3347.webp
    450.7 KB · Views: 239
Still a little bit dull though, time for some clear coat...
 

Attachments

  • IMG_3356.webp
    IMG_3356.webp
    422.3 KB · Views: 226
  • IMG_3328.webp
    IMG_3328.webp
    347.3 KB · Views: 226
Lots of new parts arrived. Some of them not new (but all vgc) that needed deep cleaning, painting and regreasing...
 

Attachments

  • 8EA84CAE-6263-4712-91A9-512C13A56F32.webp
    8EA84CAE-6263-4712-91A9-512C13A56F32.webp
    336.5 KB · Views: 211
  • F5E0929F-E03E-4642-8846-9C2483A140A9.webp
    F5E0929F-E03E-4642-8846-9C2483A140A9.webp
    487.3 KB · Views: 211
New rubber, new bearings and lots of lovely new teflon grease. Some parts I'd never have added back if this wasn't an "as new" geeky resto, like the classic new QRs
 

Attachments

  • 65357BD1-160A-418D-B2CC-0D64BDE3CFDA.webp
    65357BD1-160A-418D-B2CC-0D64BDE3CFDA.webp
    323 KB · Views: 205
Having resprayed the stem it was time to build up the bars. I could recall the grips it came with and the spec sheet didn't say, so my only personal choice are the Onza grips which look identical to the ones I ran back in mid-90s anyway...
 

Attachments

  • IMG_3431.webp
    IMG_3431.webp
    684.8 KB · Views: 199
  • IMG_3432.webp
    IMG_3432.webp
    445.2 KB · Views: 197
At this point there was not much more to do than build it...


And this is how it stands tonight with the front mech just added...
 

Attachments

  • IMG_3485.webp
    IMG_3485.webp
    184.5 KB · Views: 207
  • IMG_3580 (1).webp
    IMG_3580 (1).webp
    374.9 KB · Views: 207
  • IMG_3616.webp
    IMG_3616.webp
    91.3 KB · Views: 209
Back
Top