Complete rebuild of 1990's MTB to 2016 XT spec 1x10

Very nice work so far. Keep it up!

(I already said it but I still feel obliged to repeat it as I fear for your safety: get better brakes ;) )
 
Thanks Dare

I am looking into alternative brake options for the future. Once the bike is up and running and a lot of practice I hope to then assess the brakes at that point.
 
Quick update.

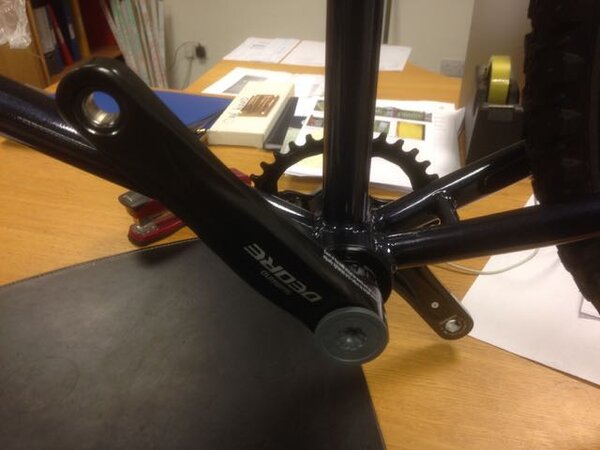
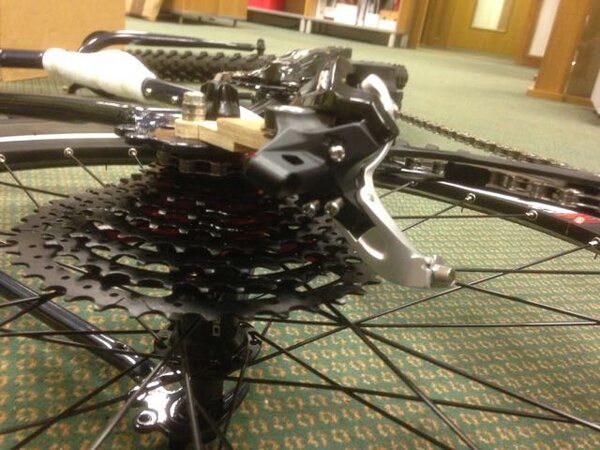
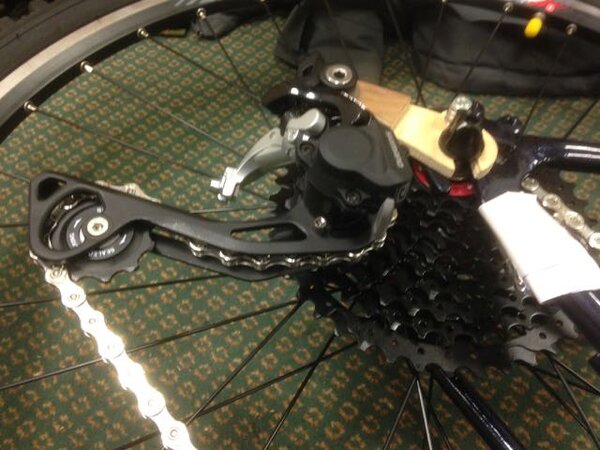
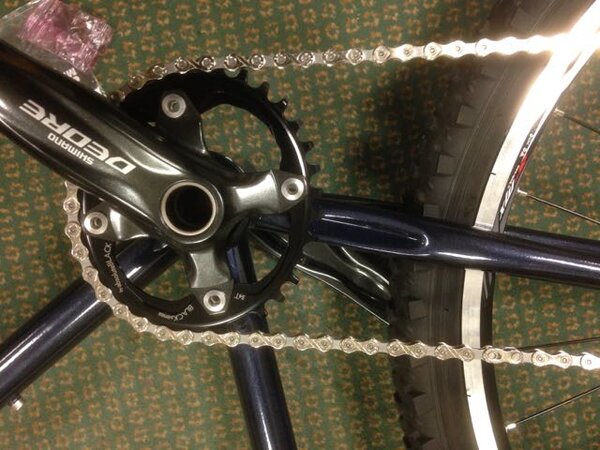
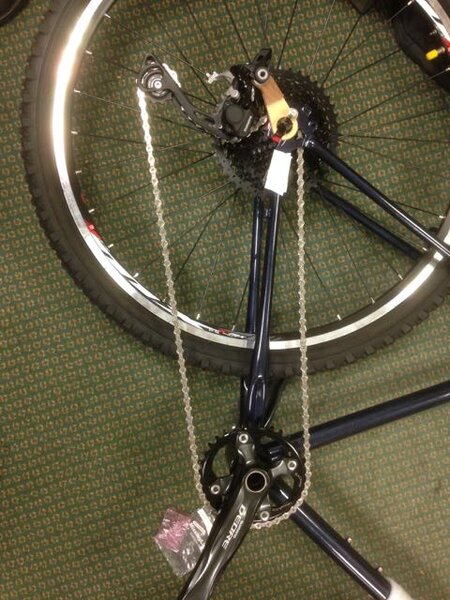
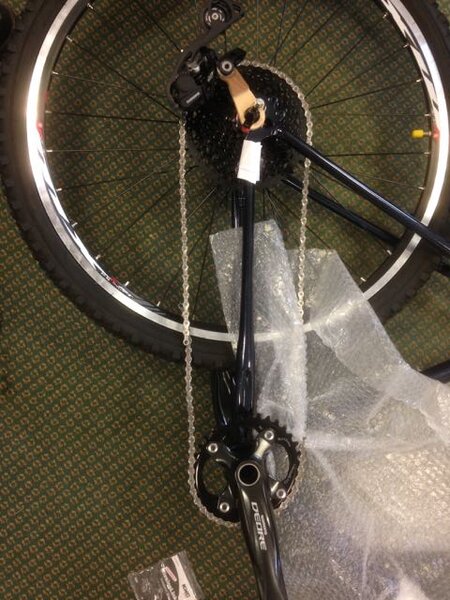
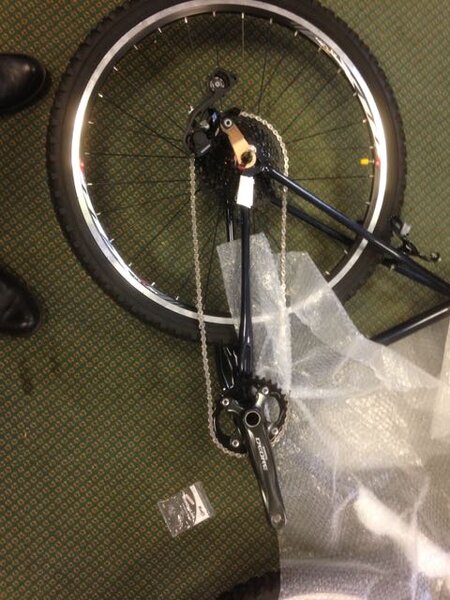
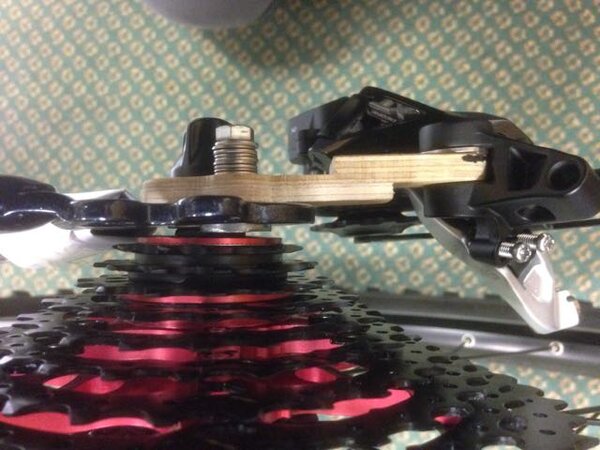
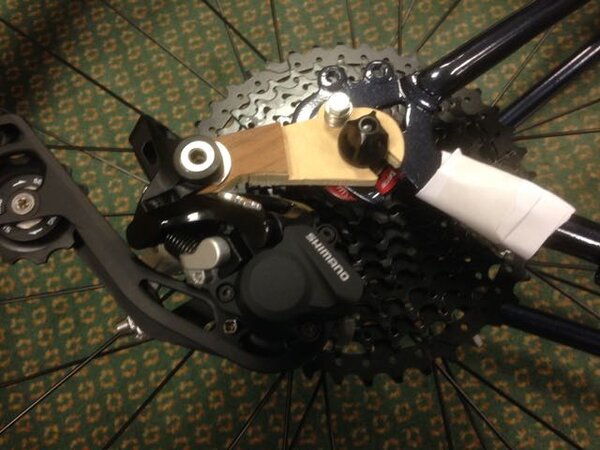
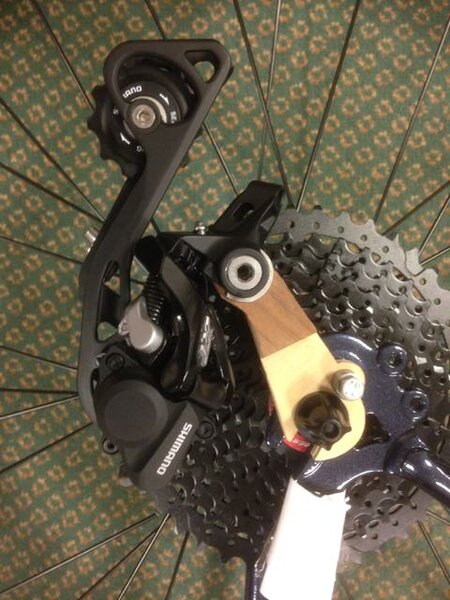
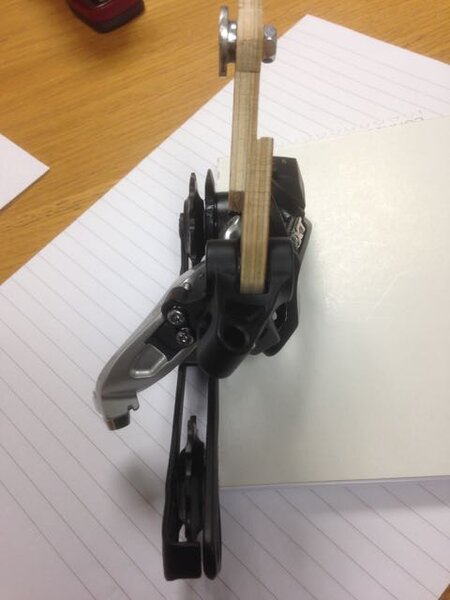
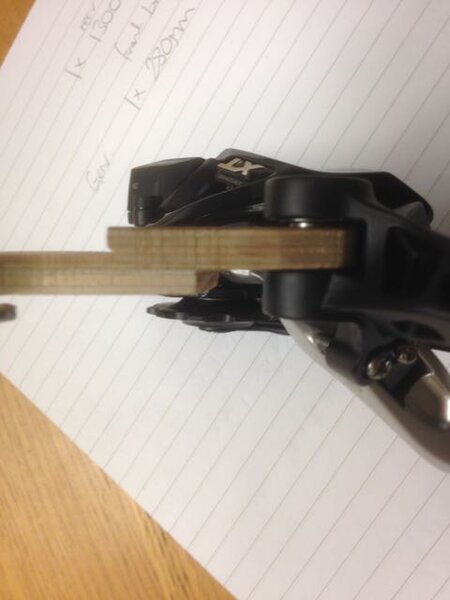
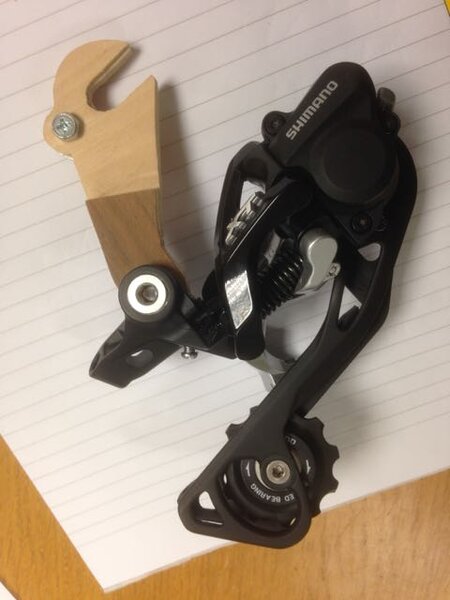
Fitted the Shimano Hollowtech 2 cranks today, together with the prototype rear derailleur hanger with derailleur attached and threaded on the chain. The hanger position has worked well as planned for the positioning of the derailleur while setting the correct horizontal measurement of it relative to the rear drop out. After setting the two limit screws for the high and low gear I moved the derailleur by hand and it reaches the 42t cog no problem with a little to spare. I then set the B screw and this easily positioned the derailleur within the 5mm - 6mm tolerance required in the derailleur set up instructions with plenty of tolerance on the B screw either way so well chuffed.

I then decided to try fitting the chain and this worked well although I will need to add a couple of links to it when I properly fitted. Also I noticed shortly after fitting it that I had threaded the chain incorrectly through the derailleur. Just shows it pays to read the instructions first...

Photos of cranks below...
 

Attachments

  • IMG_3551.jpg
    IMG_3551.jpg
    46.2 KB · Views: 417
  • IMG_3550.jpg
    IMG_3550.jpg
    51.6 KB · Views: 417
  • IMG_3549.jpg
    IMG_3549.jpg
    54 KB · Views: 417
  • IMG_3548.jpg
    IMG_3548.jpg
    35.2 KB · Views: 417
Photos of prototype hanger in situ on bike...
 

Attachments

  • IMG_3627.jpg
    IMG_3627.jpg
    40.9 KB · Views: 416
  • IMG_3626.jpg
    IMG_3626.jpg
    41.5 KB · Views: 416
  • IMG_3625.jpg
    IMG_3625.jpg
    60.5 KB · Views: 416
  • IMG_3624.jpg
    IMG_3624.jpg
    52.1 KB · Views: 416
  • IMG_3623.jpg
    IMG_3623.jpg
    59.1 KB · Views: 416
  • IMG_3622.jpg
    IMG_3622.jpg
    64.7 KB · Views: 416
  • IMG_3620.jpg
    IMG_3620.jpg
    60.7 KB · Views: 416
  • IMG_3619.jpg
    IMG_3619.jpg
    58.6 KB · Views: 416
More photos of prototype derailleur hanger...
 

Attachments

  • IMG_3618.jpg
    IMG_3618.jpg
    49.1 KB · Views: 414
  • IMG_3617.jpg
    IMG_3617.jpg
    48.4 KB · Views: 414
  • IMG_3615.jpg
    IMG_3615.jpg
    57.7 KB · Views: 414
  • IMG_3608.jpg
    IMG_3608.jpg
    30.4 KB · Views: 414
  • IMG_3607.jpg
    IMG_3607.jpg
    27.4 KB · Views: 414
  • IMG_3606.jpg
    IMG_3606.jpg
    34 KB · Views: 414
Also forgot to mention that the front wheel arrived yesterday a day earlier than expected. So fitted new rim tape and tyre and fitted onto the bike. Its amazing how adding the front wheel has transformed it looks wise and its becoming easier to see the how the finished bike will look.

Today I am hoping to clean up the original seat post and the seat fixings. While it would be easier to replace this part I like the idea of keeping some of these parts as a nod to its past. I will post some photos later
 
Re:

This build is really flying along. It's good that you're keeping some of the original components too. depending on the nature of build, I think it's good having a mix of old with well matched newer parts. I'm lovin' the monster cassette and the prototype hanger – how is the final device going to be produced?
 
Hi Groovyblueshed

The new hanger is going to made initially by laser cut from 12mm thick 316 stainless steel and then machined by hand to remove the excess material while creating the correct spacing. Once made the hanger will be given a brushed finish.
 
Back
Top