Complete rebuild of 1990's MTB to 2016 XT spec 1x10

An update...

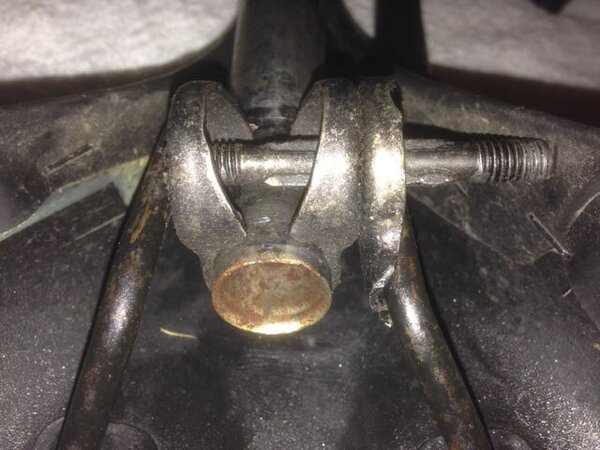
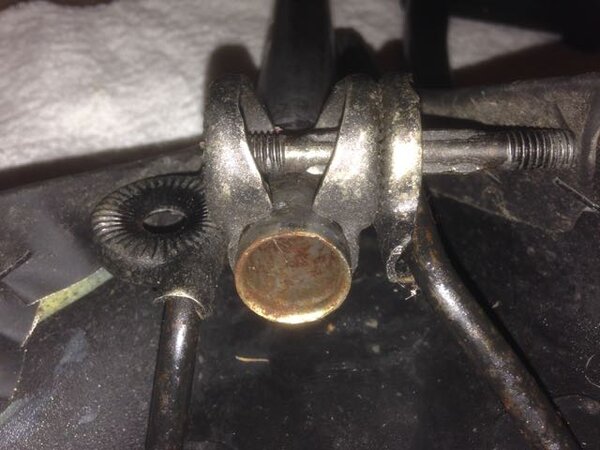
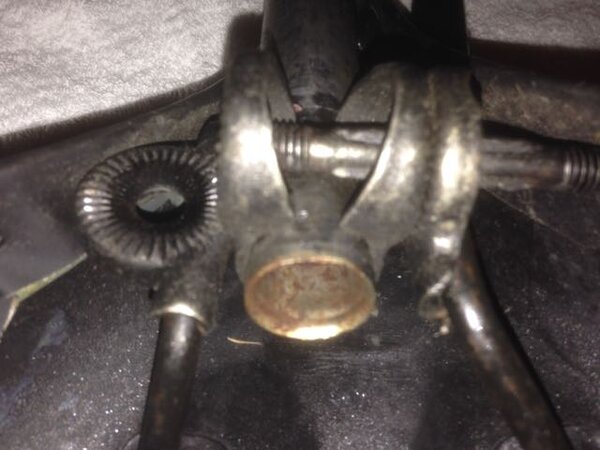
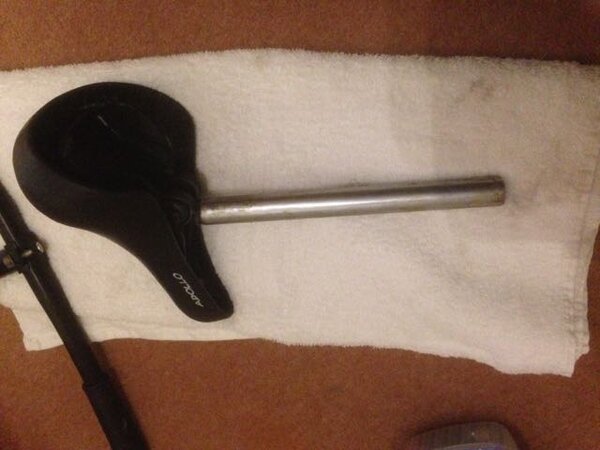
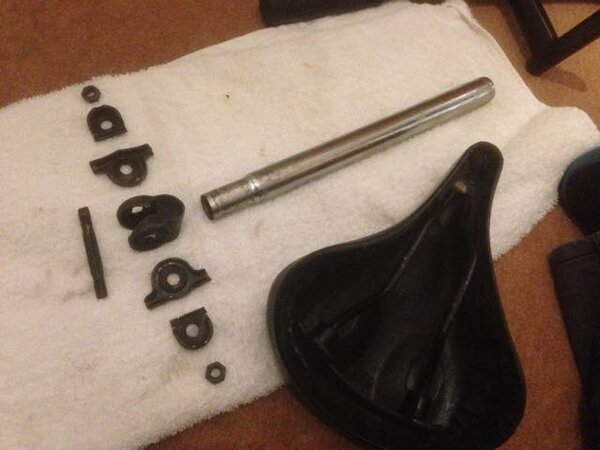
Today I striped down the original seat and seat post with clamp. Once all broken down I examined each part for damage or problems and other than a little bit of light rust at the top of the seat post everything was fine. I have placed all the parts individually in gun wash to soak, remaining all the dirt and deposits that had collected of them. After 20 minutes I removed each part and scrubbed them with an old toothbrush before having a second wash in fresh gun wash. After all parts had received the same treatment I patted them all dry. I was really pleased with the finished effect as the original paint finish has developed a quite nice patina from the last twenty years or so.

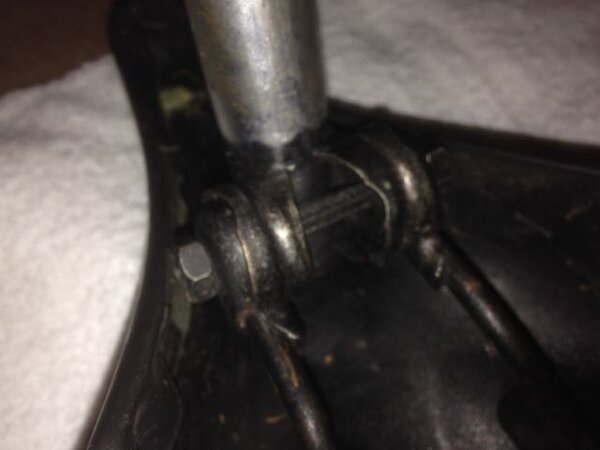
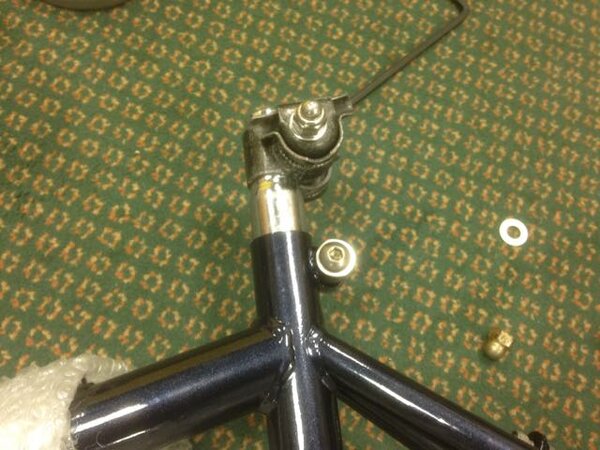
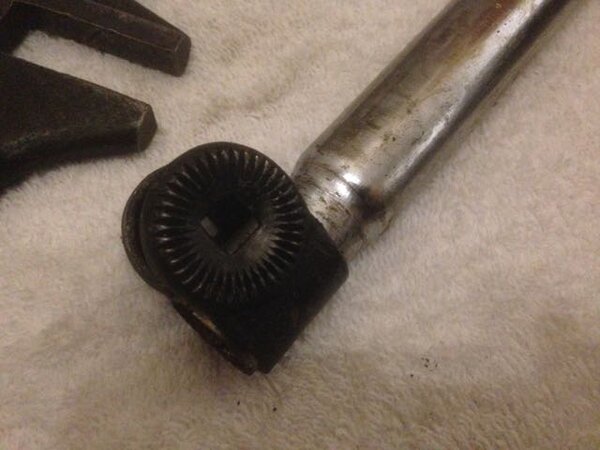
The seat post was gently sanded on the top to remove the light rust damage and I applied a coating of clear 2 pack clear lacquer on the fresh top surface of the pipe. After placing some medium machine grease in the bottom edge of the seat post and frame I refitted the part and tightened it down. I used a new 316 marine grade stainless steel bolt, washer and dome nut to tighten it down on the seat post. The original fittings were looking very rusty and a little sorry for themselves.

Photos below...
 

Attachments

  • IMG_3562.jpg
    IMG_3562.jpg
    43.9 KB · Views: 457
  • IMG_3561.jpg
    IMG_3561.jpg
    47.8 KB · Views: 457
  • IMG_3560.jpg
    IMG_3560.jpg
    43.5 KB · Views: 457
  • IMG_3559.jpg
    IMG_3559.jpg
    39.3 KB · Views: 457
  • IMG_3554.jpg
    IMG_3554.jpg
    24.7 KB · Views: 457
  • IMG_3552.jpg
    IMG_3552.jpg
    35.6 KB · Views: 457
Further photos...
 

Attachments

  • IMG_3573.jpg
    IMG_3573.jpg
    60.8 KB · Views: 455
  • IMG_3572.jpg
    IMG_3572.jpg
    57.4 KB · Views: 455
  • IMG_3571.jpg
    IMG_3571.jpg
    58.5 KB · Views: 455
  • IMG_3569.jpg
    IMG_3569.jpg
    38.3 KB · Views: 455
  • IMG_3564.jpg
    IMG_3564.jpg
    37.3 KB · Views: 455
  • IMG_3563.jpg
    IMG_3563.jpg
    37.5 KB · Views: 455
Hi xxnick1975

Thanks for the message and support. The project is coming on well and I am pleased with progress so far...Hoping that the first ride will not be too far away!
 
Today I also emailed over my DWG file for the hanger to the laser cutters so hoping that this will be cut and posted back by the end of the week. I have requested some images of the part being cut just so I can keep a reference for the future.

Tomorrow evening I will start stripping down the original handlebars ready for rubbing down and spraying in gloss black with two top coats of gloss lacquer. Phil at work has found a more modern version of my steel handlebars in aluminium so this will be used instead.
 
Re:

I have revisited and reread all this thread. Great work, your enthusiasm for engineering and problem solving is infectious.
 
NewRider":o1fi9dq9 said:
Hi Groovyblueshed

The new hanger is going to made initially by laser cut from 12mm thick 316 stainless steel and then machined by hand to remove the excess material while creating the correct spacing. Once made the hanger will be given a brushed finish.

That sounds quite robust (probably needs to be in the extended and more prominent position) but with a really smart finish. Nice one.
 
just a thought you should consider, gear hangers were made in aluminium to be weaker than the frame bitd. so the hanger would snap and the frame would survive. this may not be the case with a steel hanger, i.e. the stress would not snap the steel hanger and would be transmitted in to the frame, possibly bending the dropout, chain stay and/or seat stay. that would be a real shame considering the love this frame has acquired. if it was me, id get it machined in alloy. loving this build (from a fellow nutter who built a 21 spd bmx)
 
Re:

zetecmk2":37imbf9p said:
just a thought you should consider, gear hangers were made in aluminium to be weaker than the frame bitd. so the hanger would snap and the frame would survive. this may not be the case with a steel hanger, i.e. the stress would not snap the steel hanger and would be transmitted in to the frame, possibly bending the dropout, chain stay and/or seat stay. that would be a real shame considering the love this frame has acquired. if it was me, id get it machined in alloy. loving this build (from a fellow nutter who built a 21 spd bmx)

Hi zetecmk2

Thank you for looking at thread and your thoughts. You are spot on about the benefits of using an alloy instead of the stainless steel. When I first set out on the idea of designing my own bracket I had carried out a lot of research online and wanted to use an aircraft grade aluminium. Unfortunately none of the laser cutters I contacted kept stock of these materials, and to buy it myself required the purchase of a whole sheet. It was for this reason that 12mm 316 stainless steel is pretty much a stock size and would allow me to see if my idea works once the bike is fully built. ll goes well and it does I will look into the alloy options again.

21 speed BMX sounds interesting. Its good to know others are being creative with their bikes.
 
Re:

There used to be a scrap metal recycler down the road from where I live (two blocks from Toxic Harald's studio/shop), which yard had thousands upon thousands of various little bits and pieces of varying grades and thicknesses of aluminum that one coud purchase for a few pennies ... perhaps there is something like that hidden in your city somewhere?
 
Re: Re:

k-rod":23aotg2k said:
There used to be a scrap metal recycler down the road from where I live (two blocks from Toxic Harald's studio/shop), which yard had thousands upon thousands of various little bits and pieces of varying grades and thicknesses of aluminum that one coud purchase for a few pennies ... perhaps there is something like that hidden in your city somewhere?

Hi k-rod

Like your logic! I will look into this, many thanks
 
Back
Top