The PRO~FLEX 955 challenge.

marc two tone

Retrobike Rider
Feedback
View
From time to time we all need a job to keep us on our toes.

Not just a quick polish, two new cables and...bang! Ready.

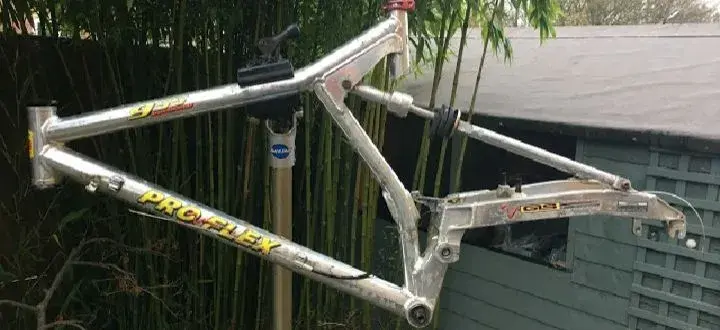
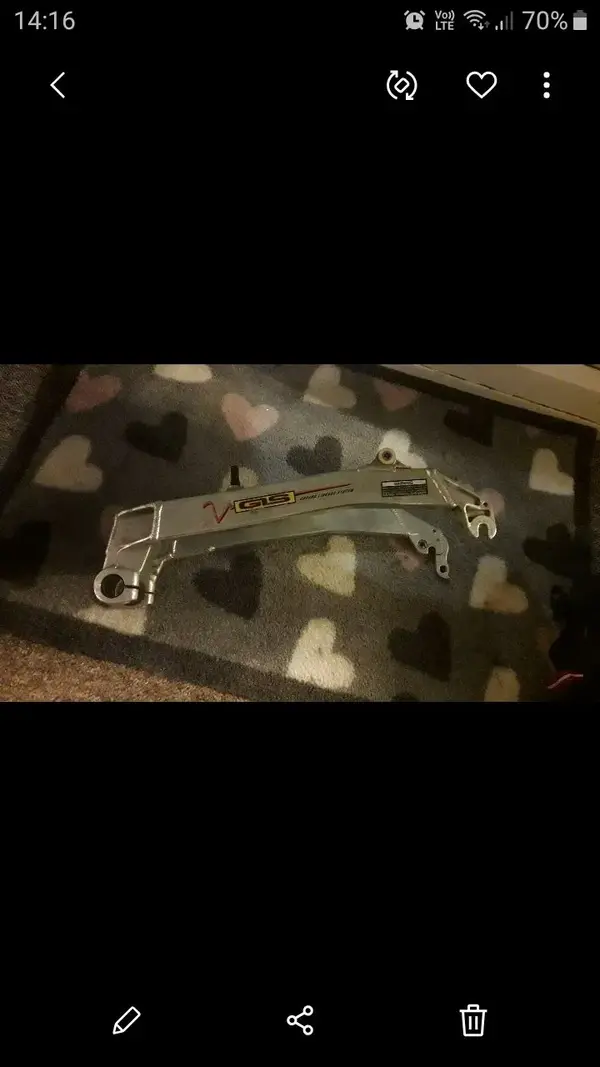
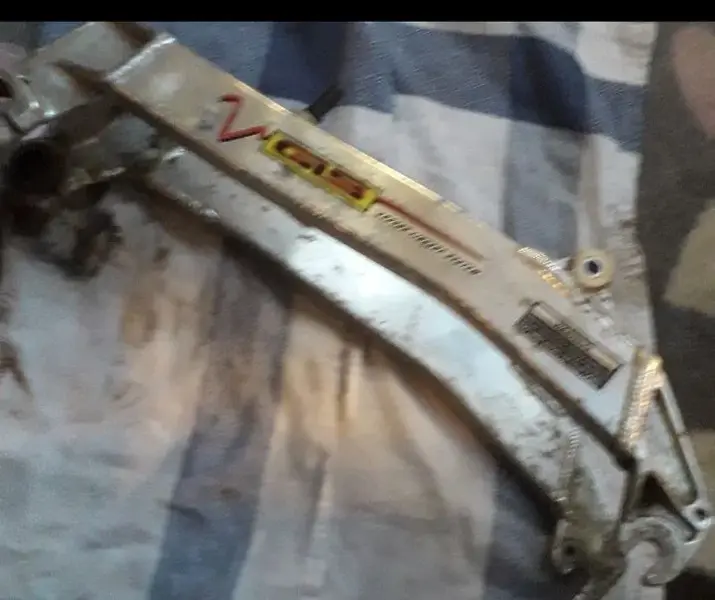
Inspired by a few slow progressing restorations, I saw this frame-only 'project'.

I have proflex and, had various other models since the nineties.
The one full suspension player that seemed to have nailed it for looks and
functionality. A purely personal opinion of course. Always room for one more.
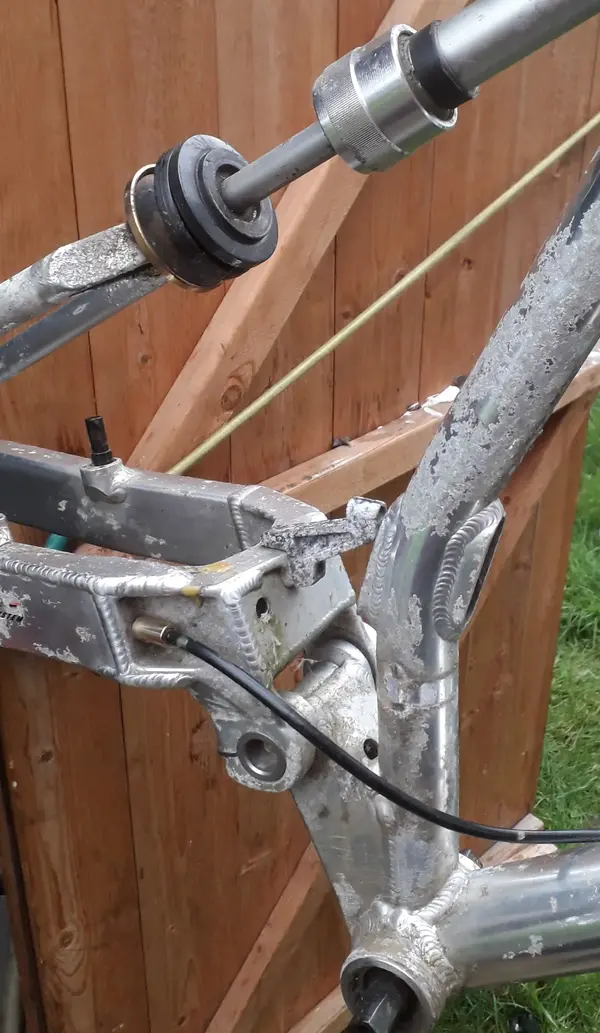
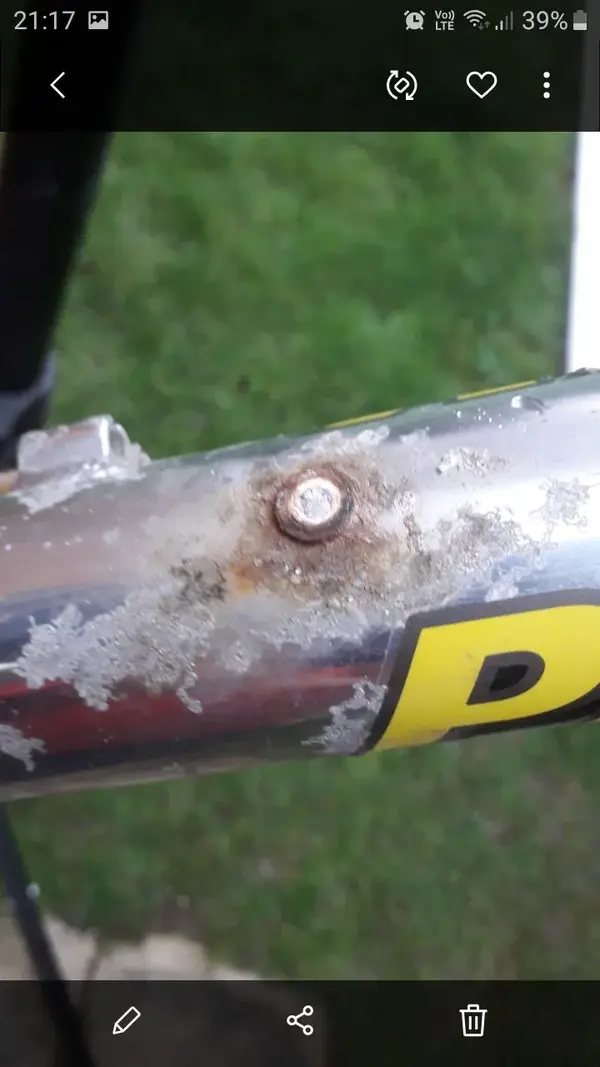
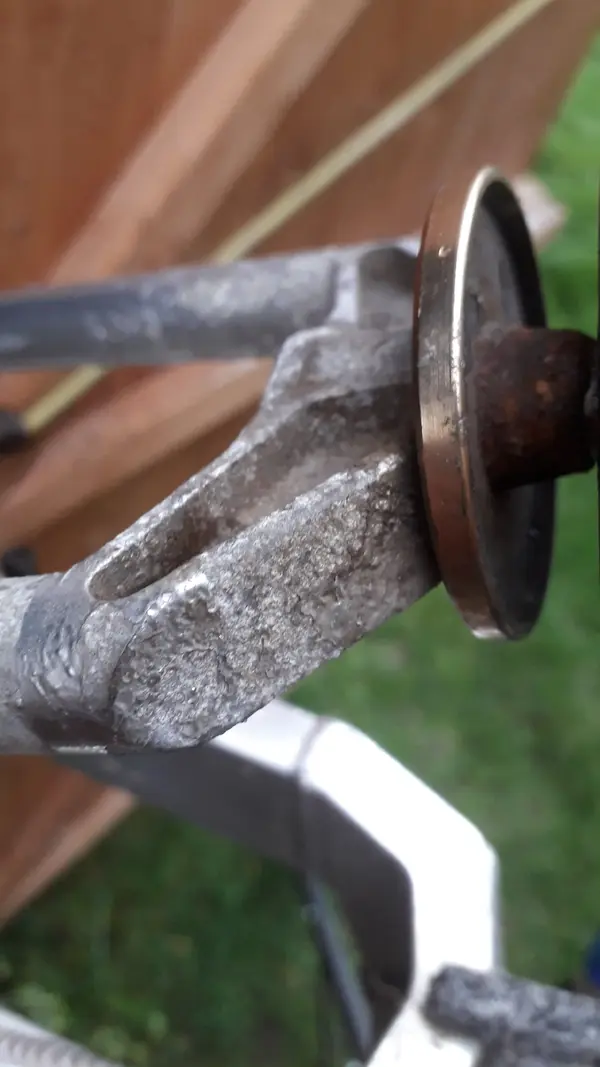
Now, this frame has really seen neglect in both its early days and more recently,
possibly festering in a damp environment, bottom of canal, type of thing.

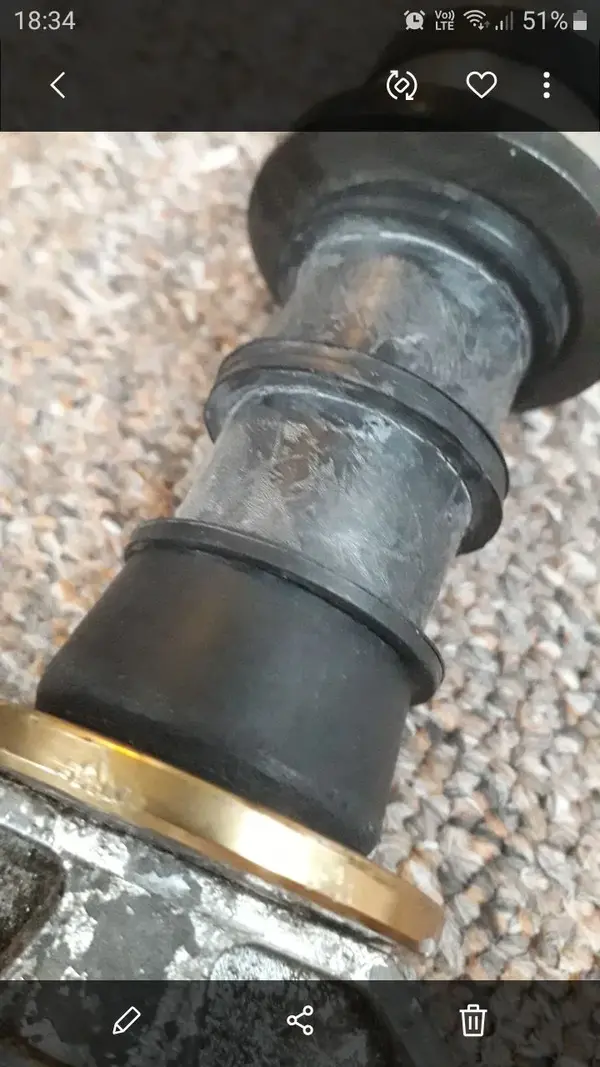
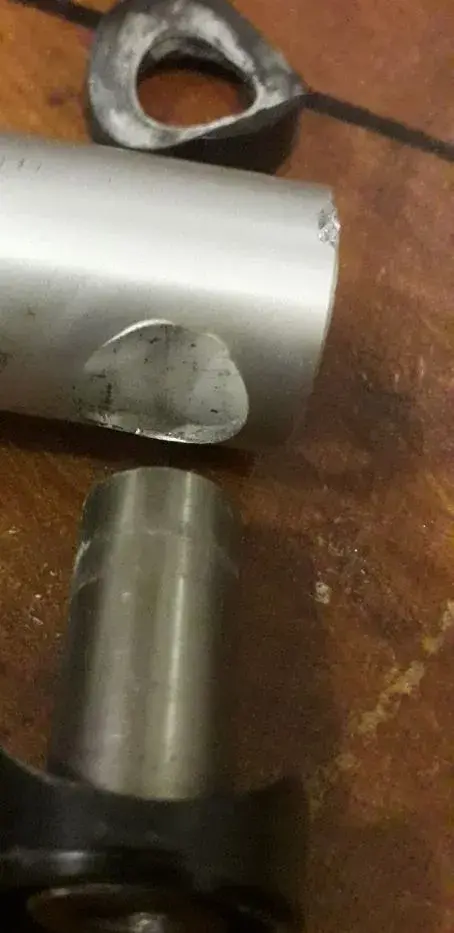
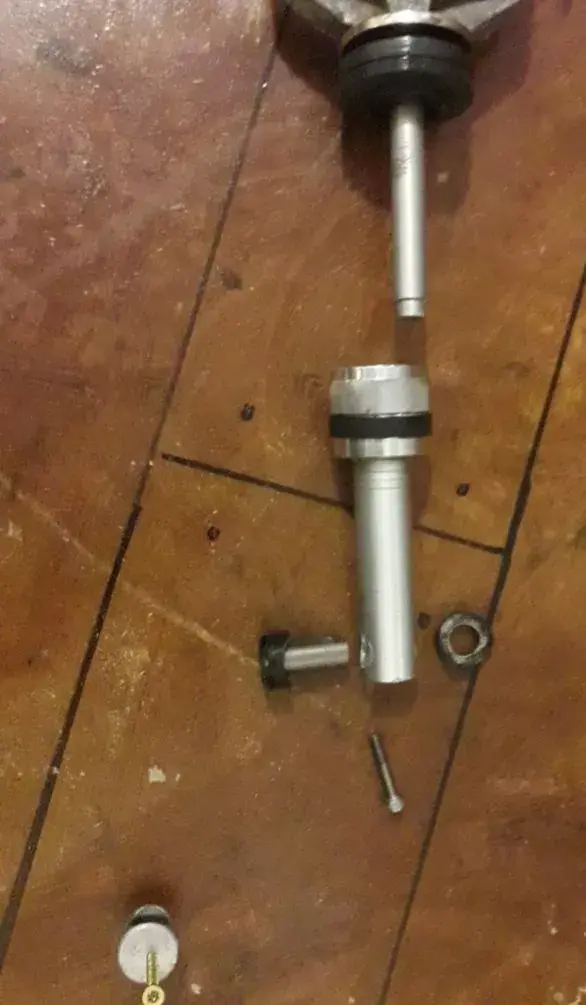
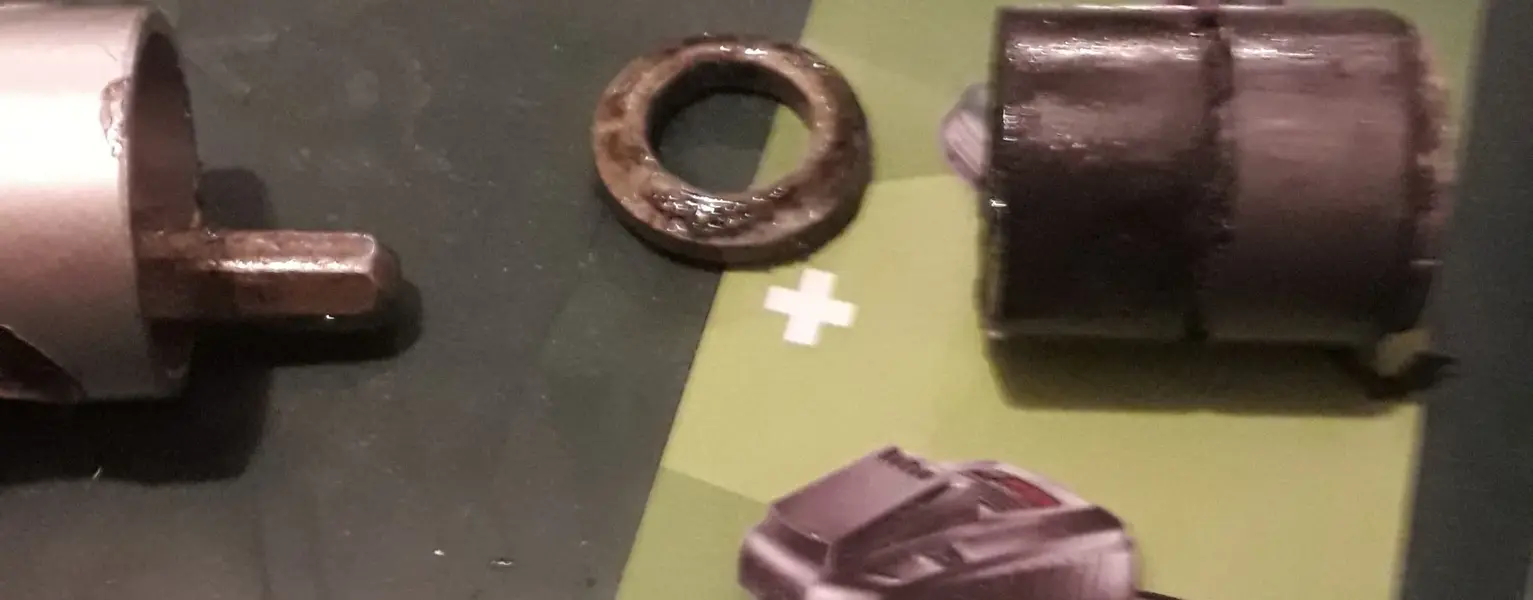
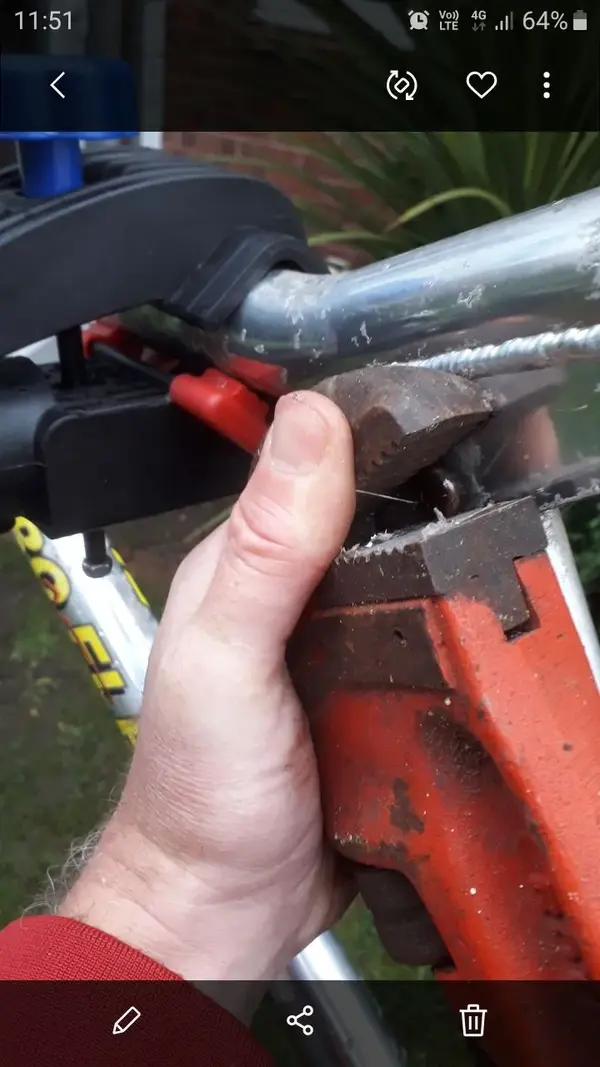
All said and done, I knew what I was in for and stood up to it. Urgent care was needed and, not a minute too soon. Every nut and bolt challenged my resolve.

All I was interested in was getting it all broke down so I could assess what I
needed to buy next, or what remedial action had to follow.
The idea is to get it all back to a ridable bike. I like the catalogue image but, dont
intend to restore to that level. Titanium trickery and m900.
I have most of what i need from a recently broke gary fisher and, shed stuff.
Considering I put alot of effort getting some rockshox sorted, they are the choice for this, not a search for girvin forks.

I will update as I go. Here's a look at the start.
 

Attachments

  • 20201212_211634.jpg
    20201212_211634.jpg
    612.3 KB · Views: 615
  • 20201212_211449.jpg
    20201212_211449.jpg
    47.1 KB · Views: 615
  • Screenshot_20201212-211700_Gallery.jpg
    Screenshot_20201212-211700_Gallery.jpg
    79.1 KB · Views: 615
  • 20201129_140938.jpg
    20201129_140938.jpg
    815.4 KB · Views: 615
giphy-6.gif
 
Re:

A couple of new cables and a quick polish and that should be good to go... :LOL:

You've certainly got a job on there :shock: are you going with keeping the raw/polished finish? Or getting it powder coated/painted?
A while back I bought myself a Rivnut kit and a Dremel type tool, it's easy enough to replace water bottle bosses now :D

These are nice bikes to ride, and come out pretty light for full suspension, so I'm looking forward to seeing more of this build :D
 
Re:

Here's the thing. I initially attacked the finish with white spirit and stainless
Scourers to clean, then see what to do...there seems to be a lacquer or clear anodized layer.

Some time later. I settled on a
...'remove grime, assess damage, gradually polish higher'

Then...it came me that blast and powder would speed it all up and give
a good finish. Then decals (££) and, I expect my standard would elevate for
the rest of the parts, again (££) maybe (£££).

I've settled on a clean and take surface corrosion to the small dark pits, then leave.
I'm actually going round the decals :LOL:
I've rebooted the shock too. Will add pics soon.

The 'shocking' shock.

Original elastomers are long gone. What is usually a easy task to undo the bolts and
reassemble with new ones...narrr...seized solid. Leaving me with a tough choice.
Either, chop the lower bolt and worry about putting it all back together later.
Meaning more drilling, and all sorts of crap I can do without.

Next is to dismantle the upper piston bit and slide the shaft out, giving total access to all the elastomer stuff. The bottom can remain seized as far as I'm concerned.

Is anything straight forward here? The only stubborn thing was the aluminium top cap. I had to improvise a removal tool.
The rest just came away with little fuss.

In order...

Opposing bush with plastic caps either side. Removed.
Remove cap.
See a rubber ball down there! Pick out with a flat drill bit.
Now see a m5 bolt head. Allen key, other will undo counter clockwise. Shaft now free.
From other end, use anything that fits to push out double piston and a washer.
Reassemble is now possible atleast.

I chose some automotive bushings that looked ok and cheap. Total of £8.01. There
Is now fome flexibility with the arrangement. I removed one plastic disc and got
all artistic to gain compromise on works and looks reasonably ok. Just had to respect the stack height so it goes back ok.

Using appropriate grease here and there just put back together.
 

Attachments

  • Screenshot_20201213-141634_Gallery.jpg
    Screenshot_20201213-141634_Gallery.jpg
    65.5 KB · Views: 586
  • 20201213_141615.jpg
    20201213_141615.jpg
    54.3 KB · Views: 586
  • Screenshot_20201213-183441_Gallery.jpg
    Screenshot_20201213-183441_Gallery.jpg
    122.5 KB · Views: 558
  • 20201213_183855.jpg
    20201213_183855.jpg
    49.5 KB · Views: 558
  • 20201207_213128.jpg
    20201207_213128.jpg
    721.1 KB · Views: 558
  • 20201213_185219.jpg
    20201213_185219.jpg
    67.8 KB · Views: 557
  • 20201213_183725.jpg
    20201213_183725.jpg
    202.2 KB · Views: 557
Re:

Yes, the little ball is the top-out buffer. Sweet.

I just don't get the lack of interest in the Pro Flex top end series and I hope that this build begins to change that.

They were incredibly capable bikes. There was much derision around the elastomer-based suspension, but most people ran the bikes far too hard...and that destroyed the dynamics. When set up with 20-30% sag, the suspension was excellent - well controlled and progressive. The forks were stiff, and tracked really well, while the J path of the forks stopped the 'over the front' feeling of bikes with Judy's and 135 stems. How do I know they were good? Because they were FAST - I could paste people downhill and with such a light overall bike - 25lbs stock - they climbed brilliantly, with the 'dig in' from the rear axle path helping traction no end. Fast down, fast up. Just FAST.

Glad you are saving this and doing such a good job - well worth it.
 
Re:

Wow, thanks for the link. Didn't know it was there.

Again for the kind comments and recognition of a quality brand.

Every nut and bolt fought me. Had to get inventive. I'm certainly enjoying all of it.

Ordered some ss bolts last night. All I want for now is a reassembled frame that has
Had the clean and light oiling, just so I can get it back in shed (been told I have to).

The captive nut was just spinning.
 

Attachments

  • Screenshot_20201214-115132_Gallery.jpg
    Screenshot_20201214-115132_Gallery.jpg
    105.4 KB · Views: 515
  • Screenshot_20201214-115124_Gallery.jpg
    Screenshot_20201214-115124_Gallery.jpg
    110.1 KB · Views: 515
Great project, just the kind of thing I'd take on; curse and swear whilst doing it but still enjoy it!
Very interested to see it progress
 
The finish on your frame looks much like my Proflex Attack LE. I've only lightly cleaned it and used wet and dry to reduce the worst of the corrosion. AFAIK mine has been kept indoors and has been barely ridden. Mine came with a Suspension Fork parts replacement elastomer but it's very stiff with no appreciable sag. I'd recommend a Girvin due to my obsession with linkage forks. I'll follow your progress keenly.
They really do ride well. I've ridden a local red graded downhill and climb and found I can go quickly enough but I was on the ragged edge, which is at least exciting! On a more gentle circuit it is really quite fast. My last ride.....https://mountainbiker.online/2020/09/15 ... -the-past/
 
Re:

Thanks for sharing that. A good read!

I can agree with you that air shocks are a considerable upgrade. No rattle and chatter. A smooth travel control.

I feel blessed that this frame is polished. On one hand begs to be ball burnished or polished to death....I cannot be arsed though.

I'm going for the 'lightly restored' version. In antique terms just a quick wax.

There will be certain nods to originality such as red bars, gripshift and the red seatpost collar remains. Apart from that, many spares from previous builds.

Off to read that link again....
 
Back
Top