AWVelocetec86
Dirt Disciple
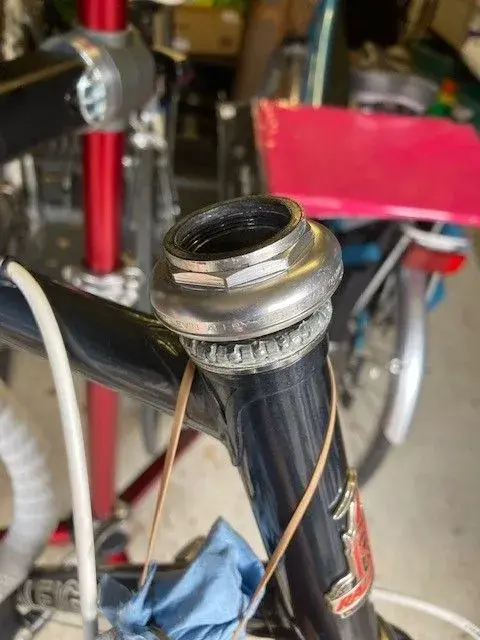
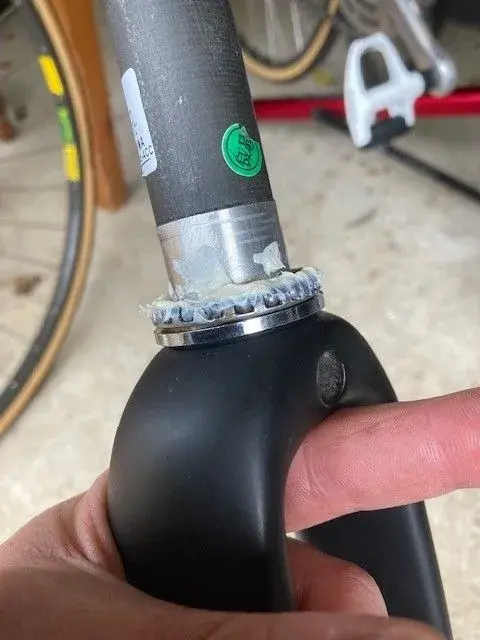
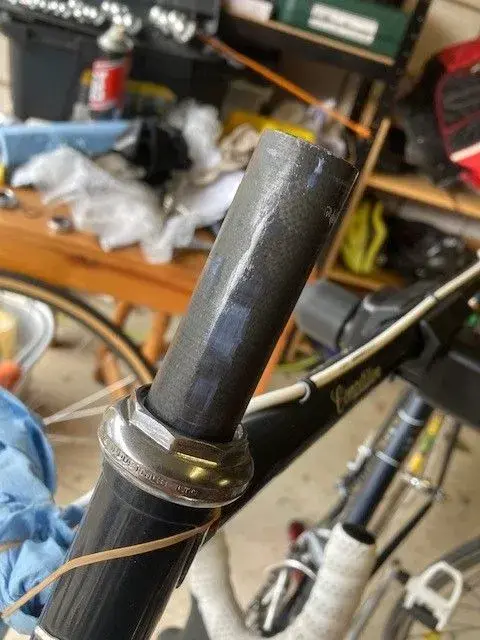
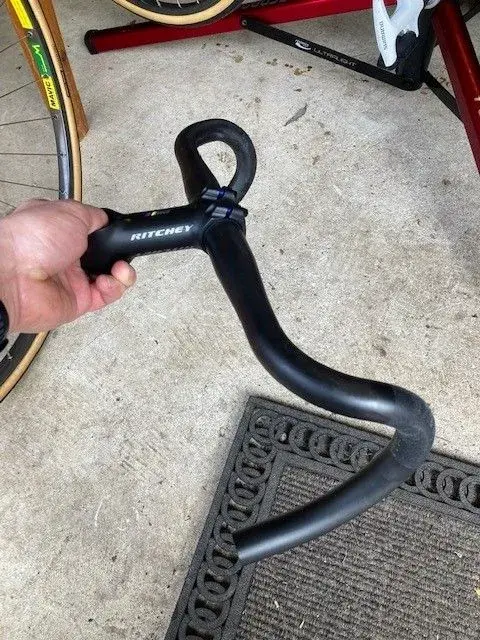
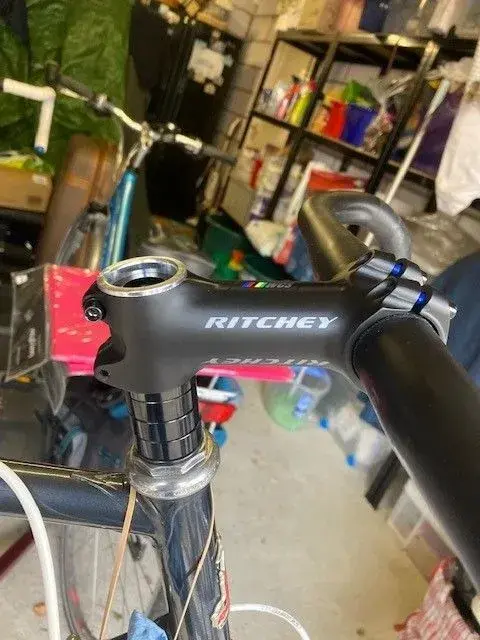
Step 2:
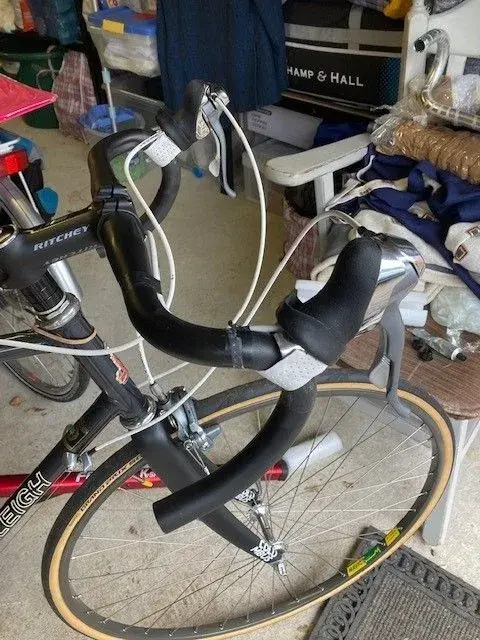
I wanted to make sure the new fork assembly worked before taking off all the bar tape and shifter sand swapping everything, just in case!
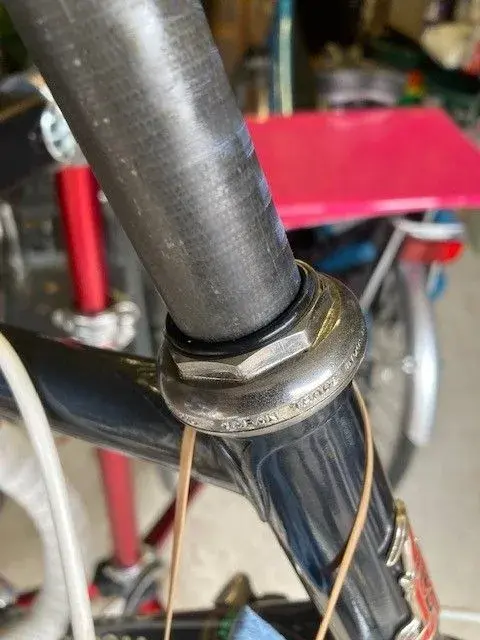
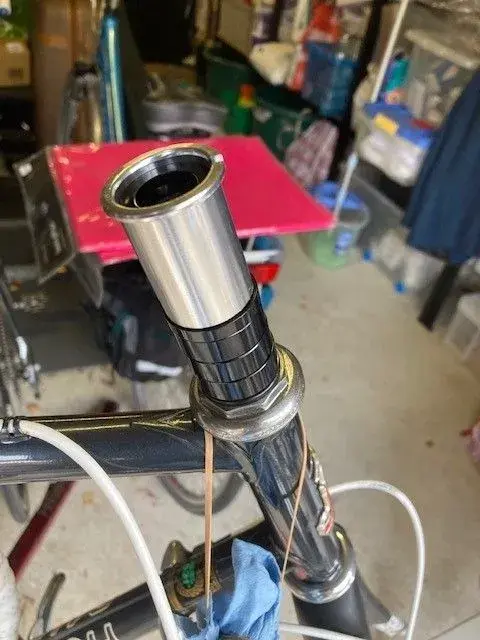
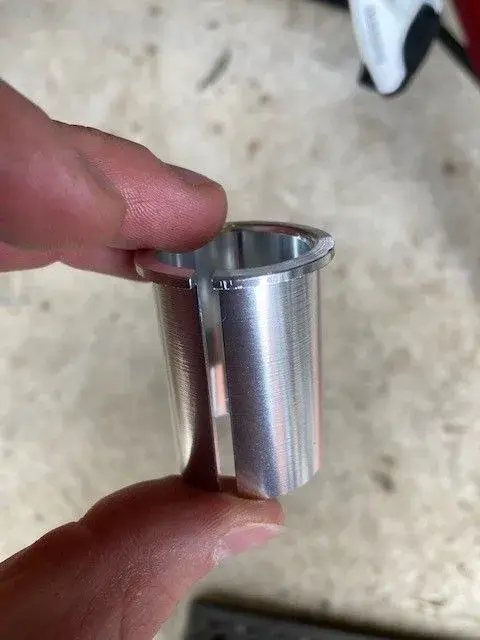
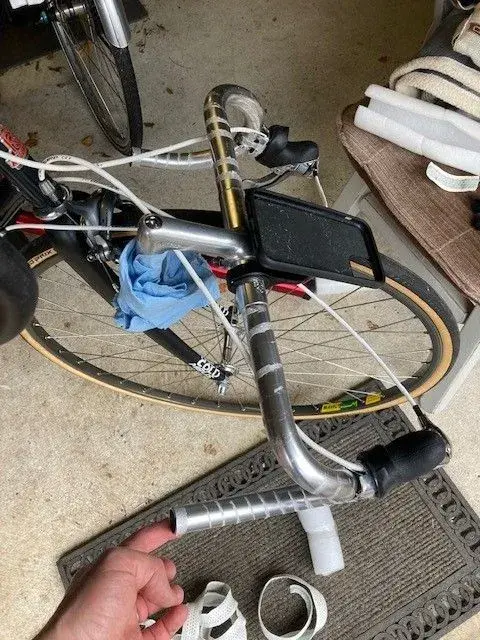
So, took the old quill stem and top lock nut off, fitted a Tange lower fork crown race to the new fork, crown race on, then fitted the fork up into the headtube, and dropped the new machined top cup over the steerer tube, and roll the O-ring down into it's groove.
I wanted to make sure the new fork assembly worked before taking off all the bar tape and shifter sand swapping everything, just in case!
So, took the old quill stem and top lock nut off, fitted a Tange lower fork crown race to the new fork, crown race on, then fitted the fork up into the headtube, and dropped the new machined top cup over the steerer tube, and roll the O-ring down into it's groove.