

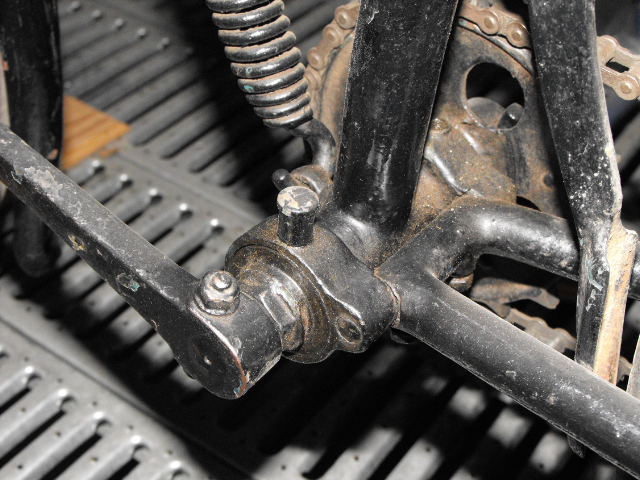
The Whippet bottom bracket is not so simple. It holds the lower spring mount, and also incorporates the swing arm pivot. On the far right is the "spoon" brake, used against the rear tire. The Whippet has no front brake. Good Luck if you're going downhill in the rain...
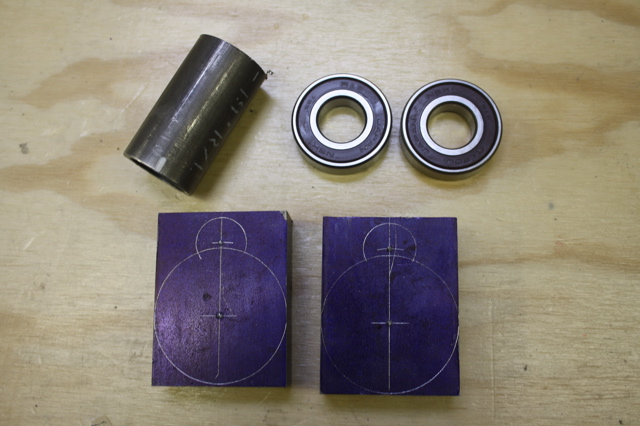
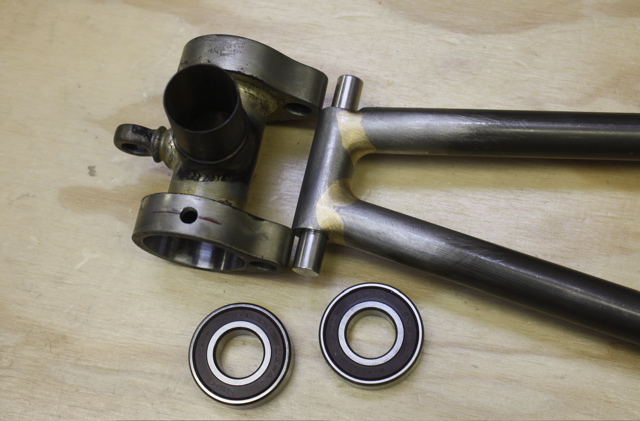
More metal: 2 chunks of steel, a thick walled tube, and a couple of sealed bearings. I decided it would be easier to make a 3 piece BB, rather than carve it from solid >
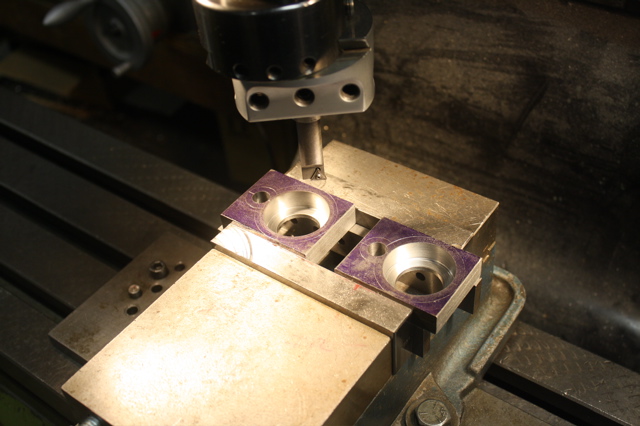
This setup is on the milling machine. The vise holds the blocks and the digital readout (not shown) makes it easier to locate centers for the bearings and swingarm pivot >
After visiting the bandsaw, the BB was profiled on the rotary table, and filed and sanded smooth >
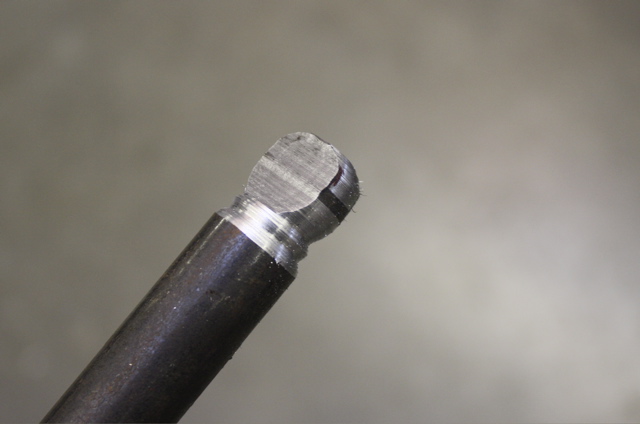
Start of the spring mount. I roughed out a shape on the lathe, and then cut the sides on the bandsaw. I didn't have a drawing, just an idea of the approximate size..
Seemed to work out OK. Sometimes I just grab a piece of metal and start making something: I don't always know the final shape, but it evolves as part of the process >
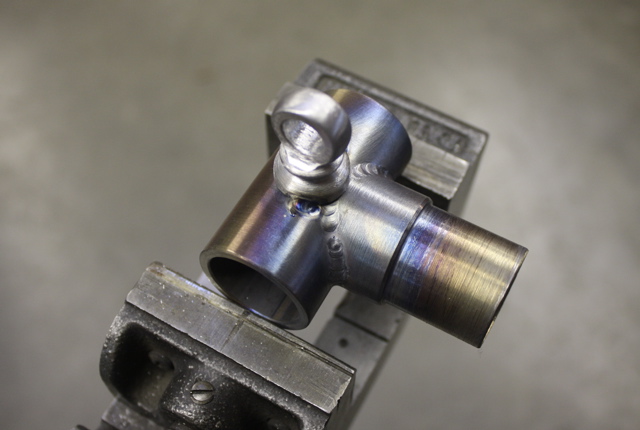
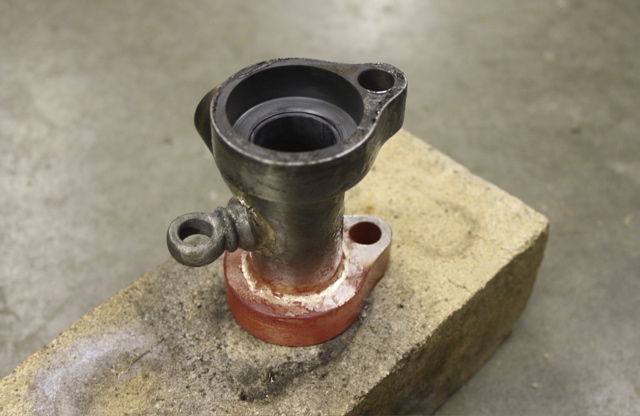
The BB got an internal seat tube lug TIG welded on. This way, when the seat tube is brazed on, there is no warpage to the BB shell >
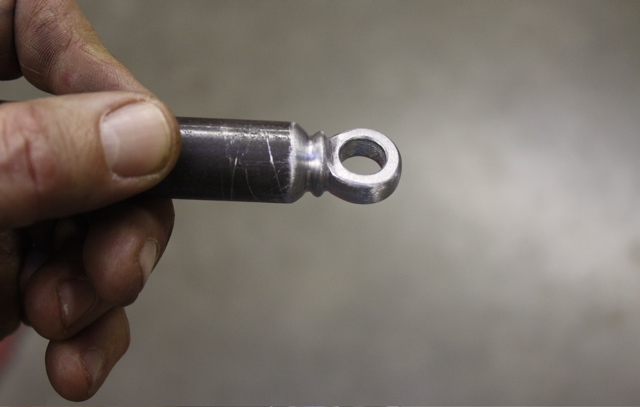
The spring boss was machined from 4140 steel: quite a high carbon content so not the best for TIG welding, perhaps. It was easy to braze it on with nickel silver >
The next step is a lathe job. We need a "spigot".. A tube is machined so the BB can be "lightly tapped" on, and the ends machined. This makes the ends parallel with each other >
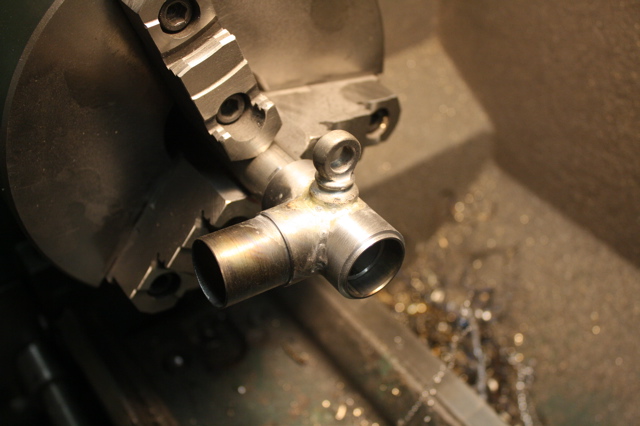
This is where it all comes together. A few very small TIG tacks will hold the 3 piece BB assembly for brazing with the nickel silver rod >
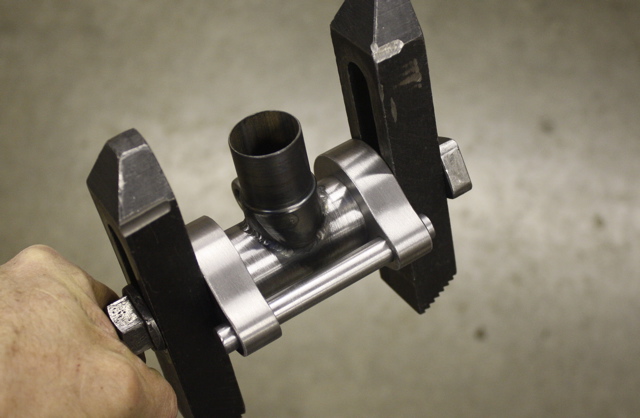
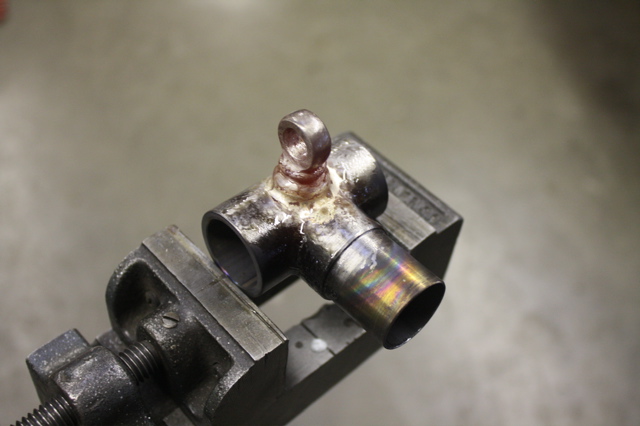
Right after brazing. Obviously, still very hot. It's sitting on a heat brick; best just to let it cool slowly. Never quench it in water >
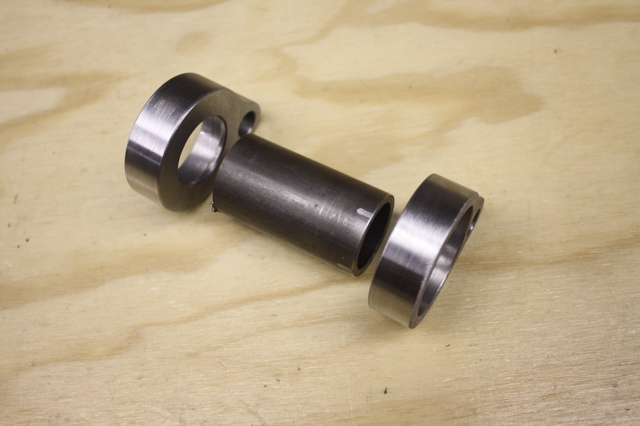
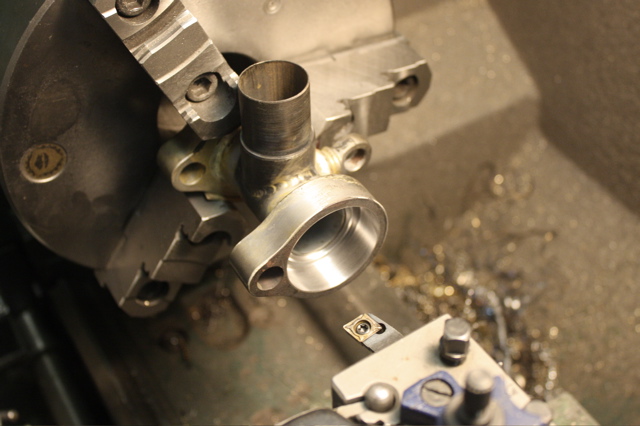
Back in the lathe to bore the holes for the bearings. In Machinist talk, "size on size" would be good here. This means, using a micrometer and a telescoping gauge to measure, the ID of the BB would be EXACTLY the same size as the bearing. This would result in a "light press fit", meaning the bearing could be tapped out without too much trouble >
That's it for now. You can see the swingarm as it fits in. The shaft is 7/16" diameter >
Thanks for taking a mini tour of my shop.
Paul Brodie