Thias
Klein Fan
New build coming up. Some nice guy at the german forums karma'd that interesting and - so it seems to me - quite rare frame into my man cave.
As I am a sucker for those odd early suspension bikes I am really excited to have it.
I think, this will be a rather slow build as I don't have hardly any parts on the shelf. And I am even contemplating new paint. Which is quite unusual if you know me.
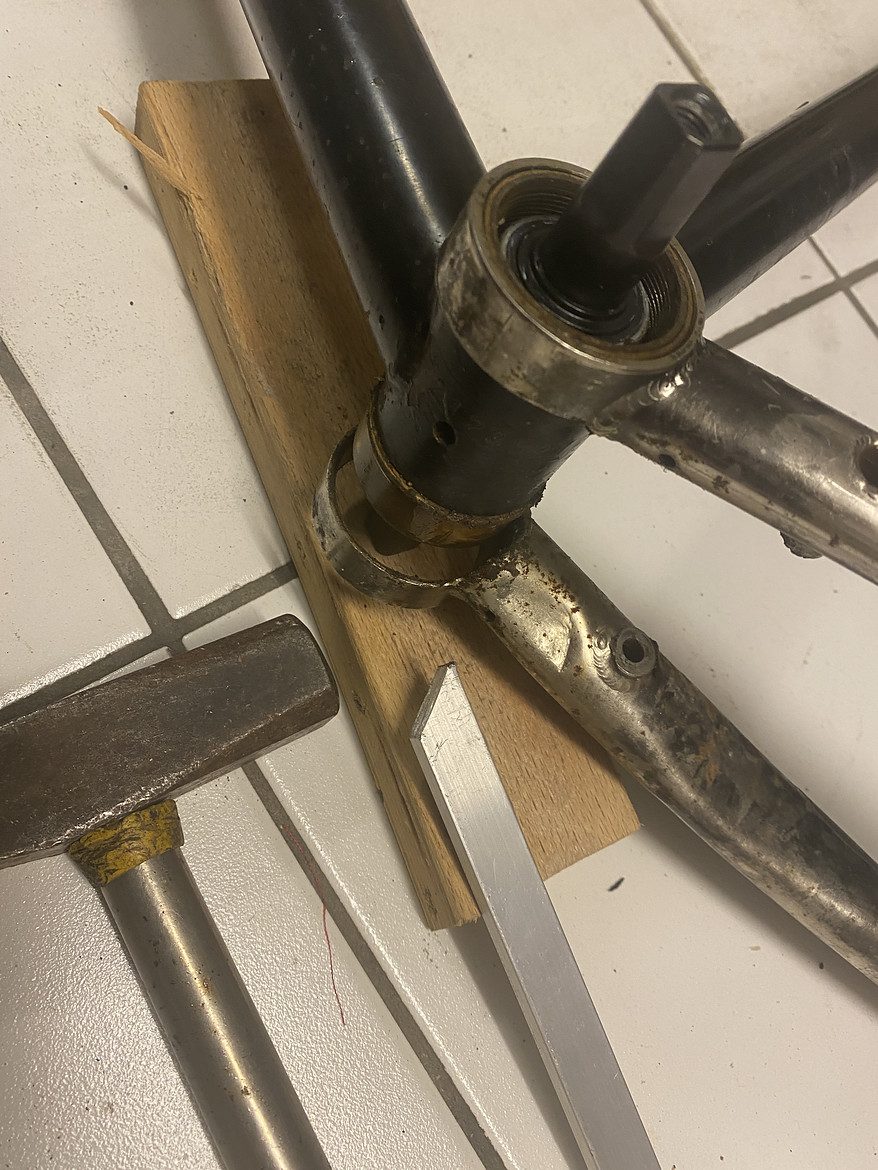
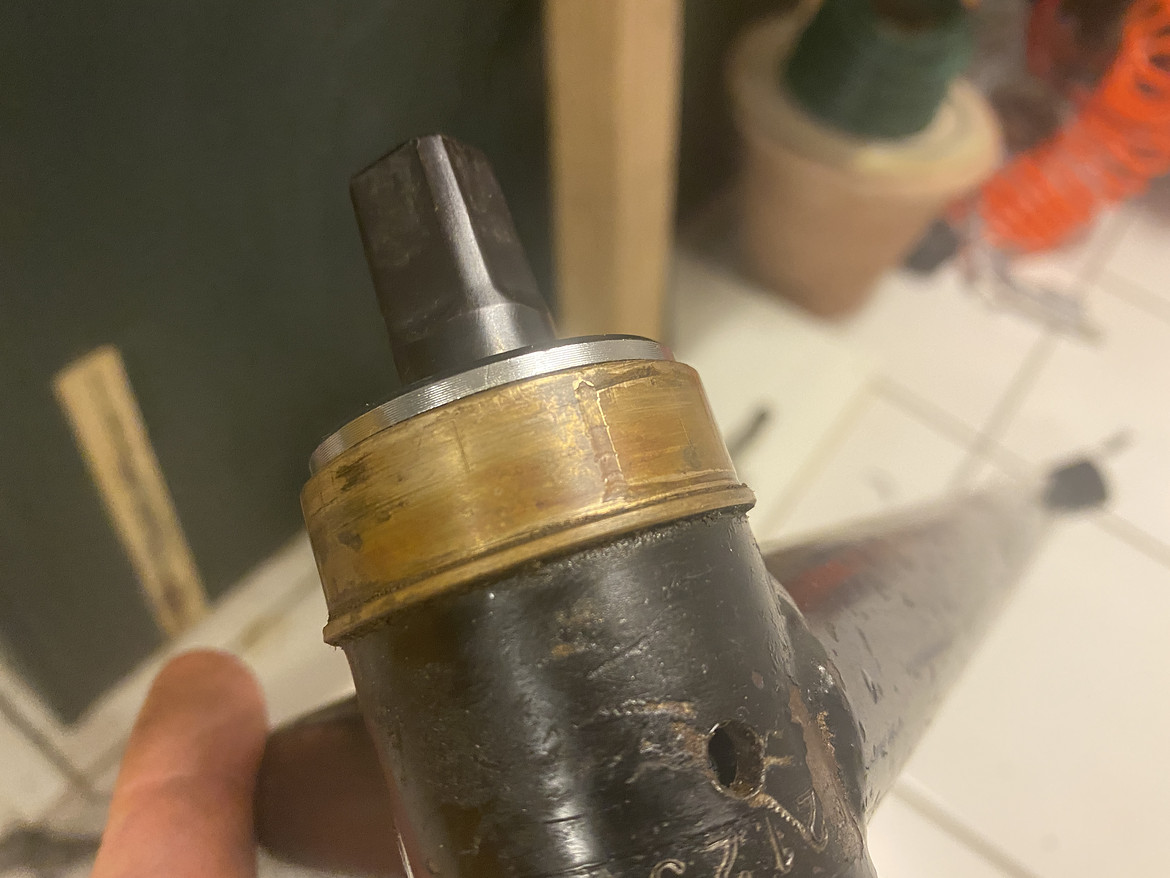
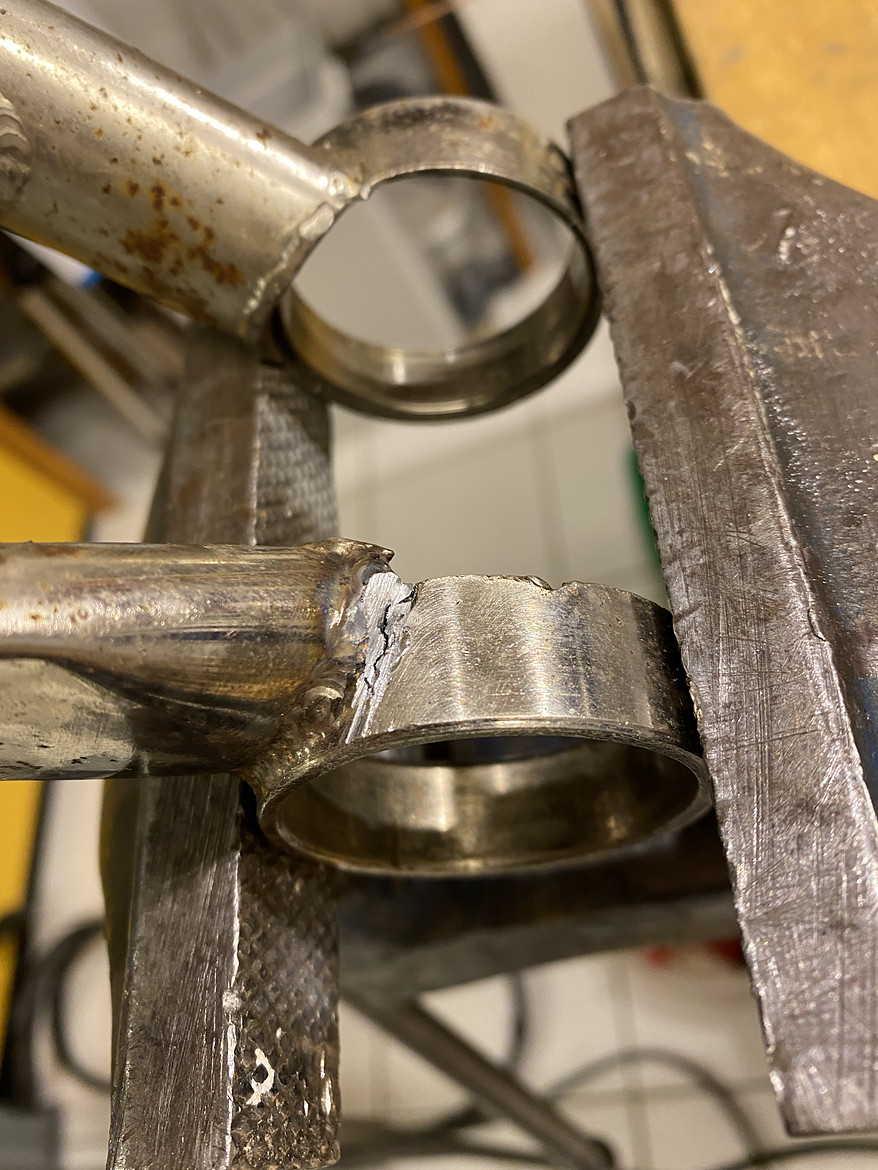
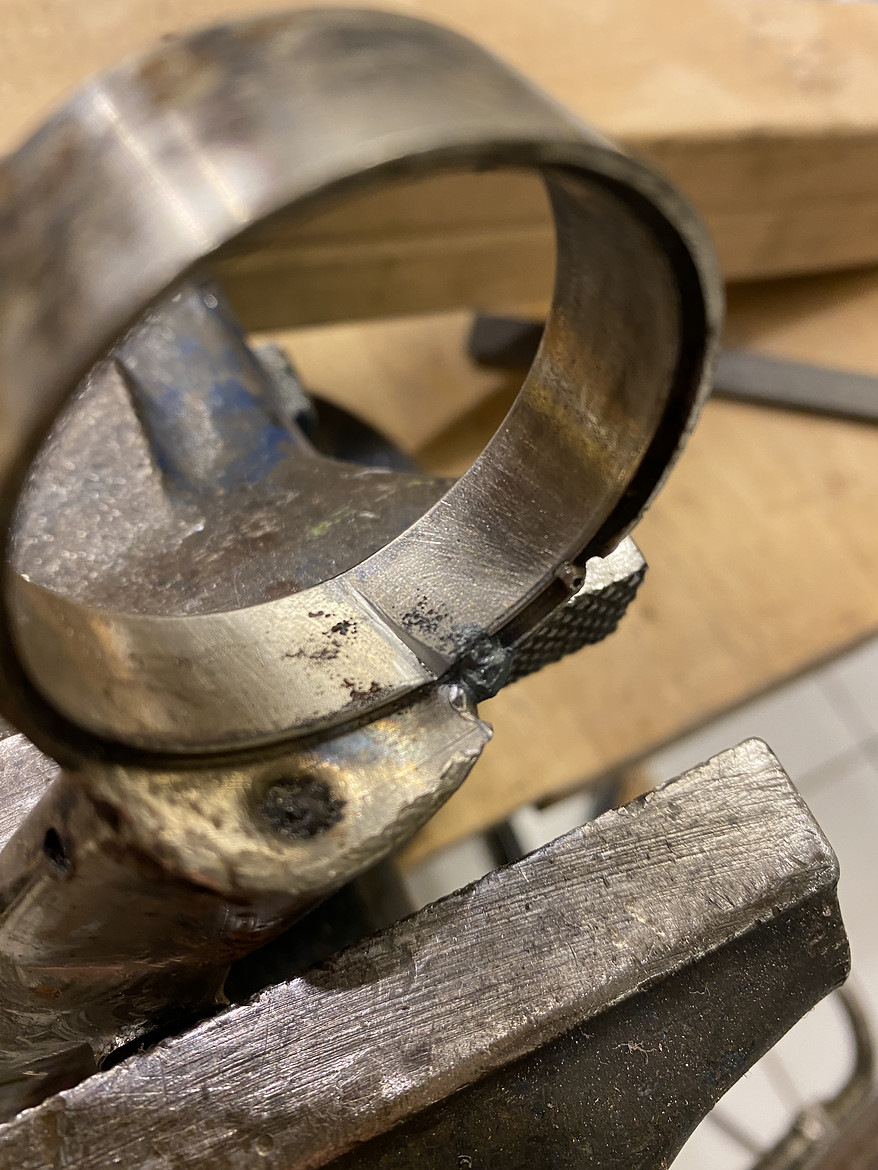
So there is that frame, looking funny. And quite sorry for itself. The paint is bad. There is rust. But no holes and no dents and no cracks that I know of as of yet.

So. What do you guys think? Where should I go with this?
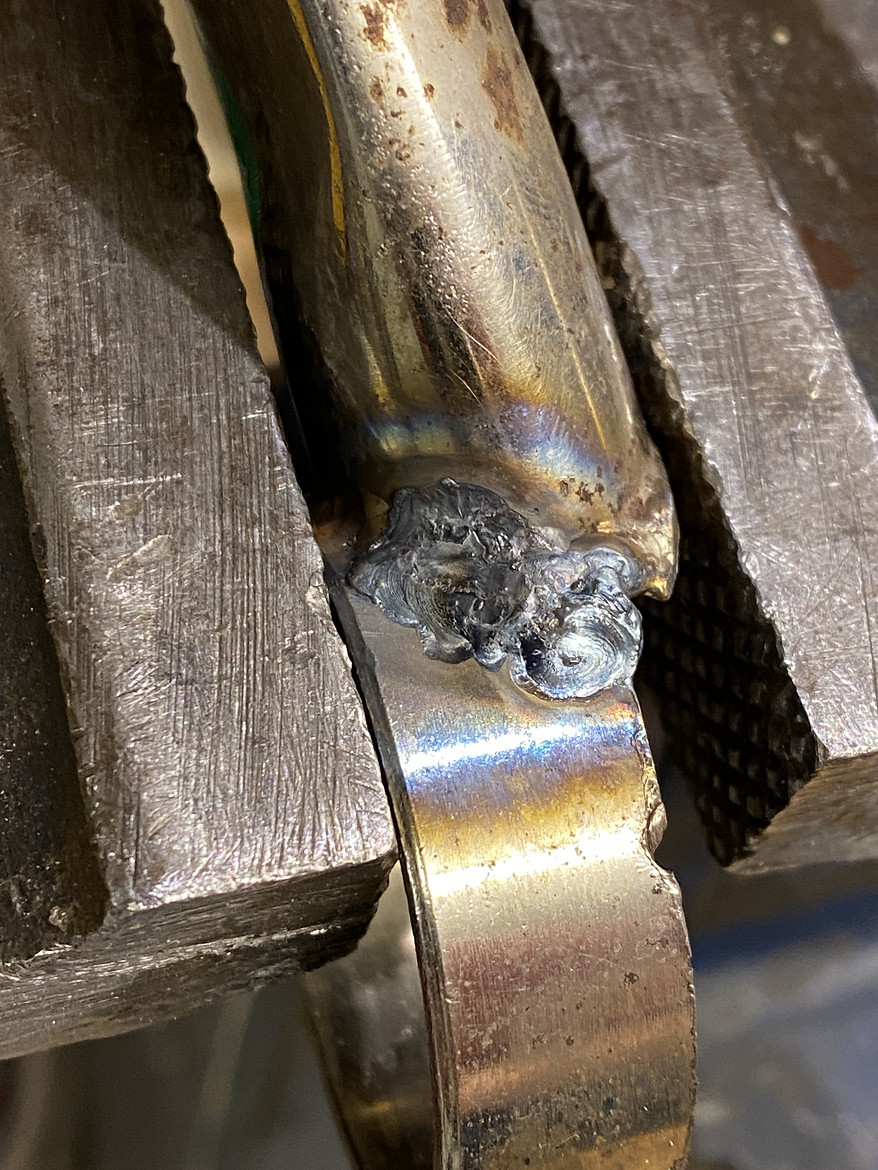
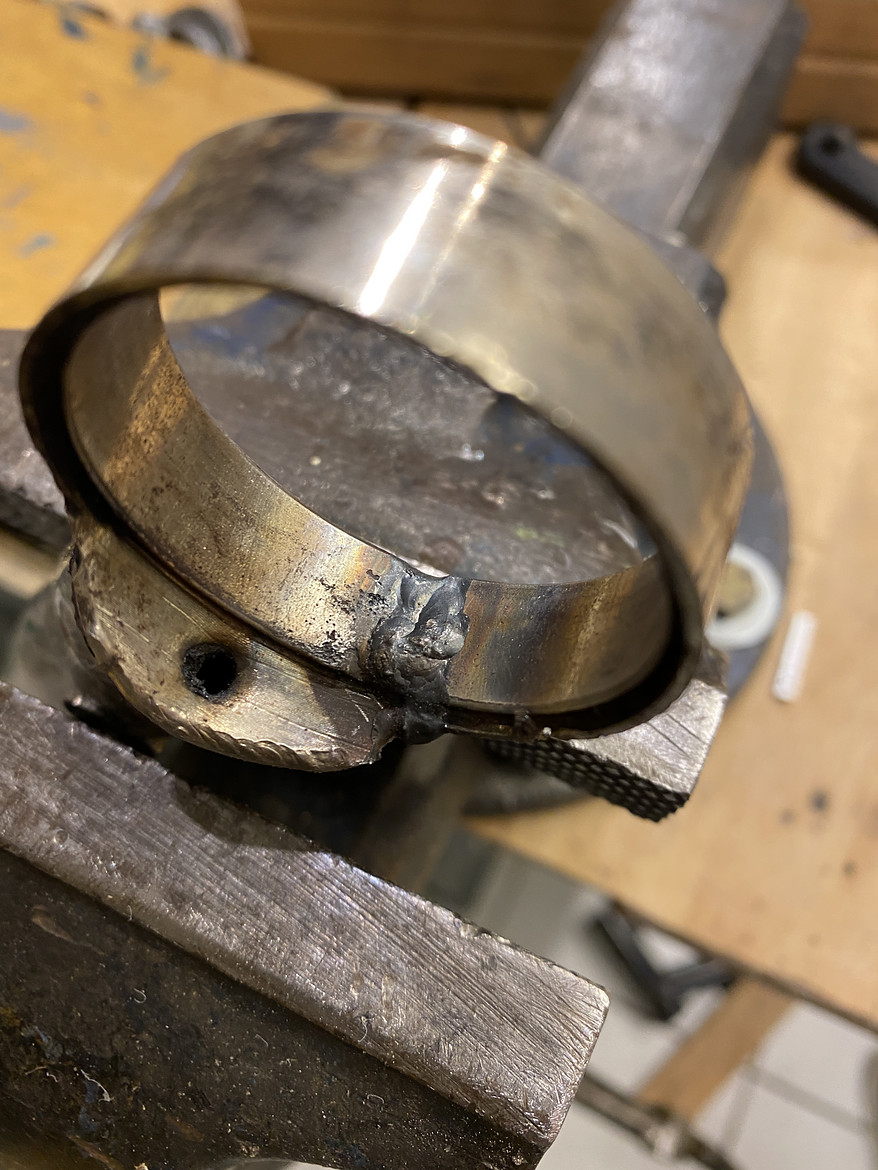
1) Leaving the old paint. I tried to polish the rear triangle (it is chome...) and that dark stain seems to come off quite nicely. But on the main trinagle, the paint is flaky and has some bad rust spots. Those spiderwebby spots, if you know what I mean. I would feel bad leaving it like that.
2) New paint. Keep the original color scheme. Buy new decals. I'd like that. But it's a little bit boring.
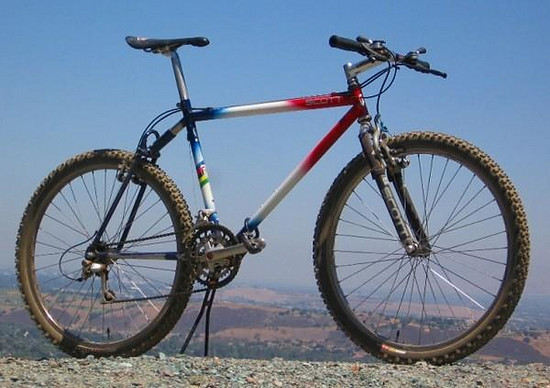
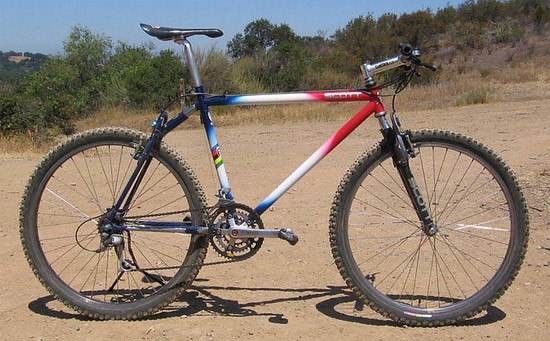
3) Make it a Thomas Frischknecht team Ritchey replica.
That one I find very very tempting. When "Frischi" was racing for team Ritchey in 1993 at the suisse downhill worldcup, they took one or two of those Scott Unitrack DH frames and painted them in the team Ritchey colors. He raced the bike for a few months until Ritchey had his own softtail in '94, I think.
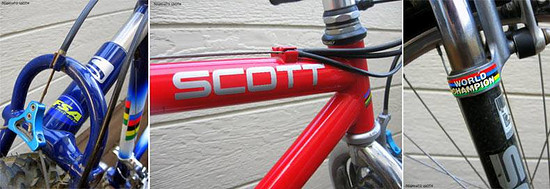
I found a few pics online. And I think that bike looks really sharp:
Here is the link to my "source", a forum post on mtbr dating back to 2004...
https://www.mtbr.com/threads/scott-team-ritchey-93-suisse-world-cup-bike.68309/
As I am a sucker for those odd early suspension bikes I am really excited to have it.
I think, this will be a rather slow build as I don't have hardly any parts on the shelf. And I am even contemplating new paint. Which is quite unusual if you know me.
So there is that frame, looking funny. And quite sorry for itself. The paint is bad. There is rust. But no holes and no dents and no cracks that I know of as of yet.
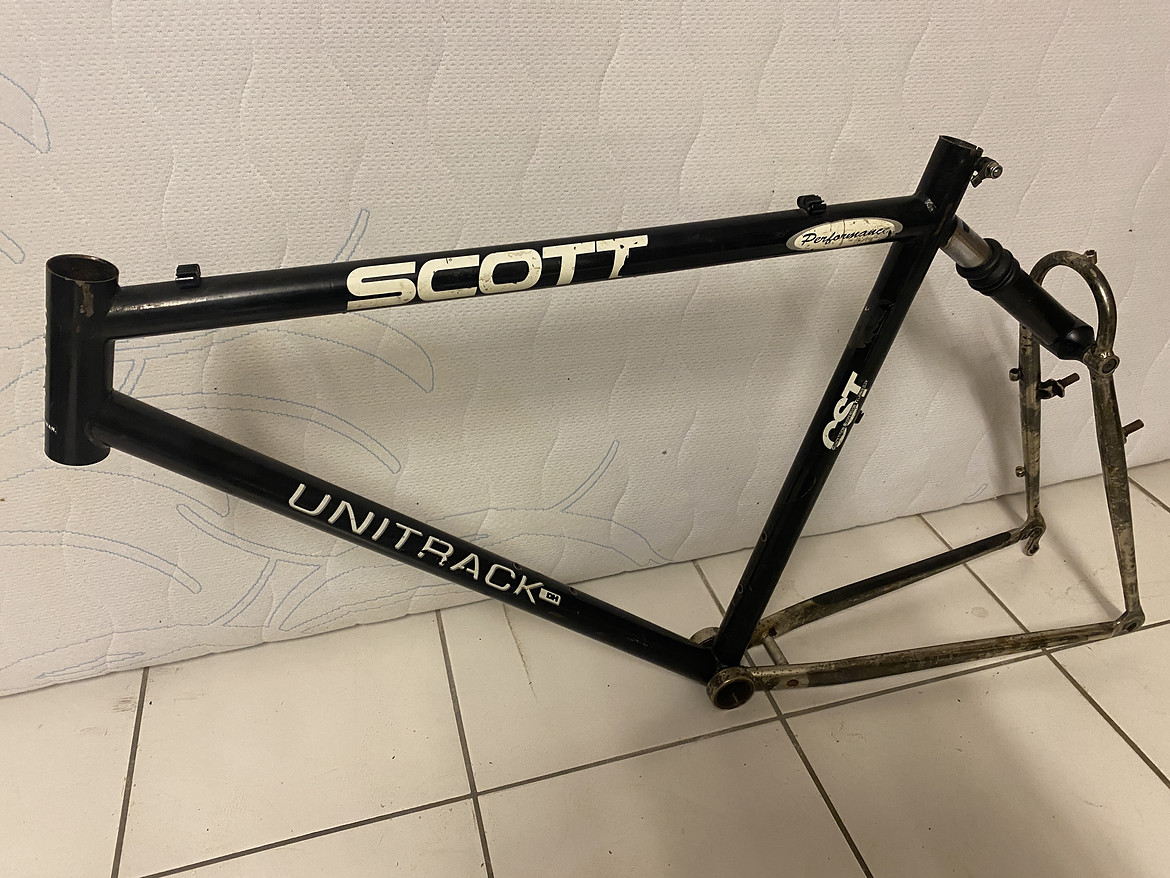
So. What do you guys think? Where should I go with this?
1) Leaving the old paint. I tried to polish the rear triangle (it is chome...) and that dark stain seems to come off quite nicely. But on the main trinagle, the paint is flaky and has some bad rust spots. Those spiderwebby spots, if you know what I mean. I would feel bad leaving it like that.
2) New paint. Keep the original color scheme. Buy new decals. I'd like that. But it's a little bit boring.
3) Make it a Thomas Frischknecht team Ritchey replica.
That one I find very very tempting. When "Frischi" was racing for team Ritchey in 1993 at the suisse downhill worldcup, they took one or two of those Scott Unitrack DH frames and painted them in the team Ritchey colors. He raced the bike for a few months until Ritchey had his own softtail in '94, I think.
I found a few pics online. And I think that bike looks really sharp:
Here is the link to my "source", a forum post on mtbr dating back to 2004...
https://www.mtbr.com/threads/scott-team-ritchey-93-suisse-world-cup-bike.68309/
Last edited: