Mod retro conversion....the ultimate 80s trackie.

Obviously the frame has no canti mounts to match the forks.....well this is a "mod retro" conversion, so i need to deal with that.

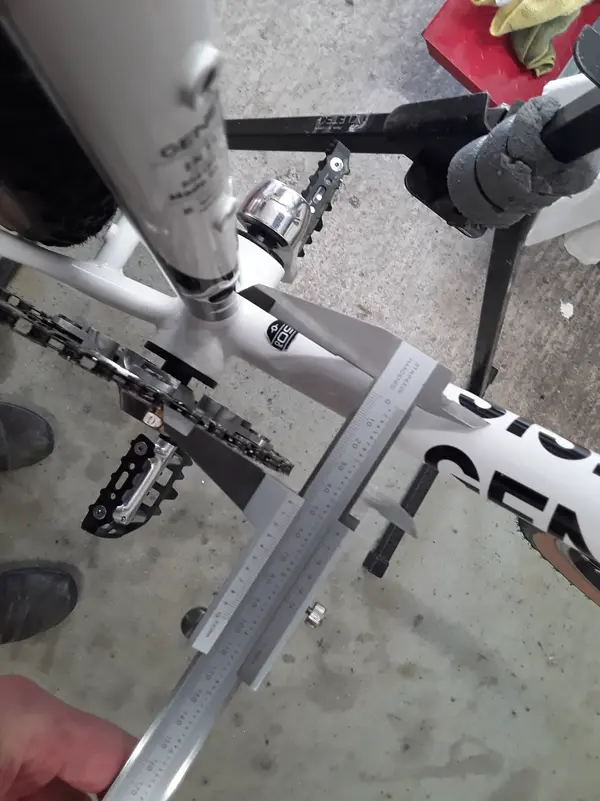
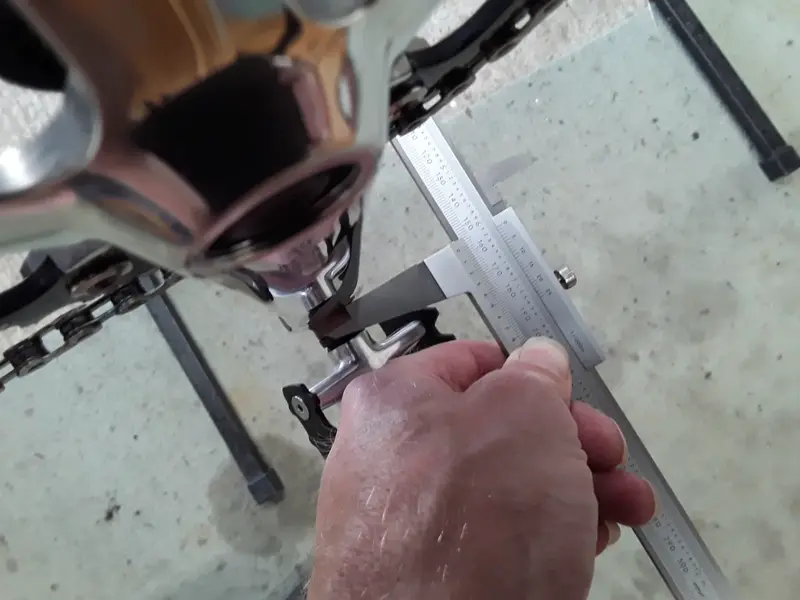
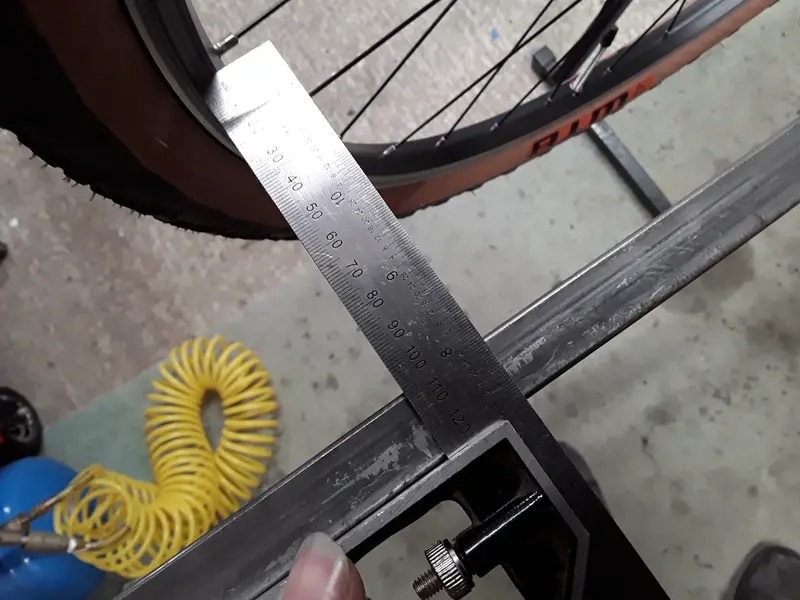
I've mocked up some bosses onto the rear and worked out they need to be pretty far out onto the frame, due to seat stay shaping.

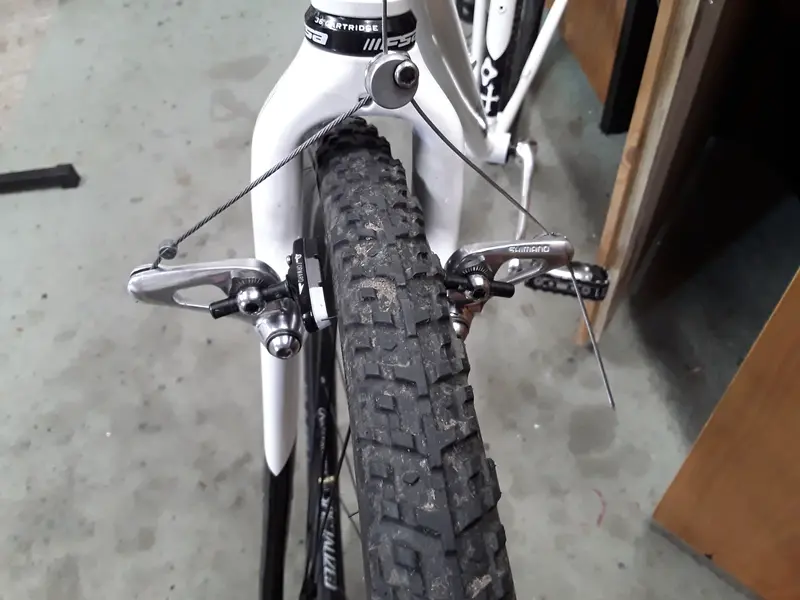
I was hoping to possibly use v brakes, but tbh, they are going to be a harder to live with as the pads are naturally closer to the mounts than cantilevers due to their design. The problem with this is if the pads dont clear the frame and fork when swung backwards, you have no chance of removing the wheels without deflating the tyres.......

So cantilevers it is......plus its more retro.!

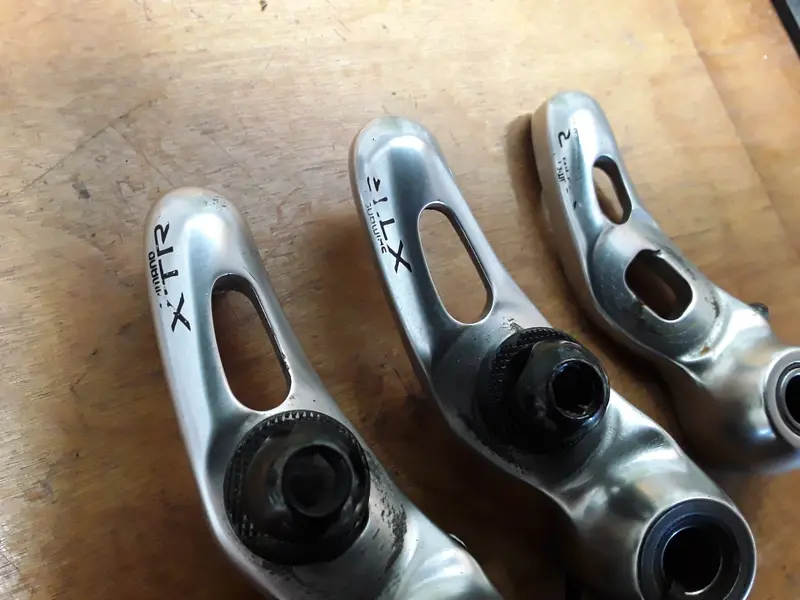
I started with m732, but i think with the very compact rear geometry and short chainstays, im going to be kicking those with my big feet. So it may be m735 compacts instead. Or possibly some xtr m900!
 

Attachments

  • 20250714_115153.webp
    20250714_115153.webp
    161.3 KB · Views: 6
  • 20250715_085658.webp
    20250715_085658.webp
    199 KB · Views: 6
Are you sure about canti brakes? I don't remember my "trackie" having canti brakes back in the day. To be fair, I don't remember it stopping particularly well either :)
 
Ive been looking at cranks today. My go to was a xt m730....i have a couple knocking round. The idea being to use a 113mm bb ( should be 122) and then put the middle ring on the outer position. This bb swap effectively moves the ring 4.5mm inboard.

Ive done it a few times before, it looks pretty neat, but the chain line is still not really quite right, but its only 5 mm out.....one gear.

However, the short chainstays on this bike is exacerbating the issue. You could go with 107mm, but that raises another problem as you have chopped the q factor down to 157mm and being tall and wide hipped.....i need my q!😂. Thats just too narrow.

So solution B is to go with xtr m900. On a 107 bb and put the ring where it should be. Not as neat, but it keeps the q factor as per factory and gives the perfect chainline.

Btw, the easiest way ive found to measure q (thanks for holding it for the photo glamourous assistant) is to put both cranks on in the same orientation....ie Not 180o apart....then measure.
 

Attachments

  • 20250715_082327.webp
    20250715_082327.webp
    249.4 KB · Views: 6
  • 20250715_081954.webp
    20250715_081954.webp
    210.8 KB · Views: 6
  • 20250715_080921.webp
    20250715_080921.webp
    135.6 KB · Views: 6
Something else I've discovered is that the head tube stops for the gears are a pain the the arse! They are threaded amd take a screw in adjuster.

Problem is with them in, there is so little cable flex, that the gear cable actually puts the front brake on when the cantilever cable hits it.

Oh well...looks like a bit more brazing needed!

The final job today was just to make sure that the frame is reasonably straight, especially the hanger as it really looked a bit on the piss to me. It was....so that now put back...it was a good 15mm out of line at the rim....it must have shifted gear horribly.
 

Attachments

  • 20250714_165140.webp
    20250714_165140.webp
    192.1 KB · Views: 1
Having worked out where i need stops, canti bosses and a bridge... its off to see the wizard.....otherwise known as Gav at @August Bicycles

Its always a warm welcome up in norwich...such a lovely bloke.

Now....normally you would braze such things on, but I'm trying to avoid a whole new paint job and flux and the heat from a brazing torch are not conducive to leaving much paint on and reduce what's left to a mushy burnt goo.😂

So, I asked him to tig weld them on......to some very thin walled tube in places.....not a easy task, but he's done a brilliant job, with easily fixable paint.......well.....imho the paints an easy fix anyway.....

Cheers gav, once again your worked your magic and got my crazy ideas off the ground... your a gent and a craftsman.

20250723_163525.webp
 
BTW, the frame had a bit of a clean up before it went, to see what its really like and if the paint finish its salvageable. I think it is. Most of the rust is surface and the scratches can be disguised with primer and a rub down.

Above its had a gentle 1200 grit sand with some 50/50 alcohol/distilled water as lube.....nice.....think i drank more than went on the frame...its very tempting. 🤣.

Im trying to save the frame, without powder or complete respray, but im not going to any great lengths, so this will be a quick and dirty and cheap fix. Im expecting to spend to more than a tenner on the paintwork!

First job is to rebuild the lost paint.....so mask it up and them rebuild the layers with short bursts of high build primer. After a few, unmask and cut back...then repeat till flat.

20250723_165059.webp
20250723_173245.webp
 
Last edited:
Ive also decided to switch it up a bit as I've got a bit of old black left in a can, so im going to do the chainstays in black to help balance up the look of it.....hence the tape at the bottom.

Just don't forget to 600g sand each layer as you go....or the paint won't stay where you put it!😂

But, dont go mad, especially with rattle cans like this...coz you aint got much paint and you will very soon be through it!
 
Back
Top