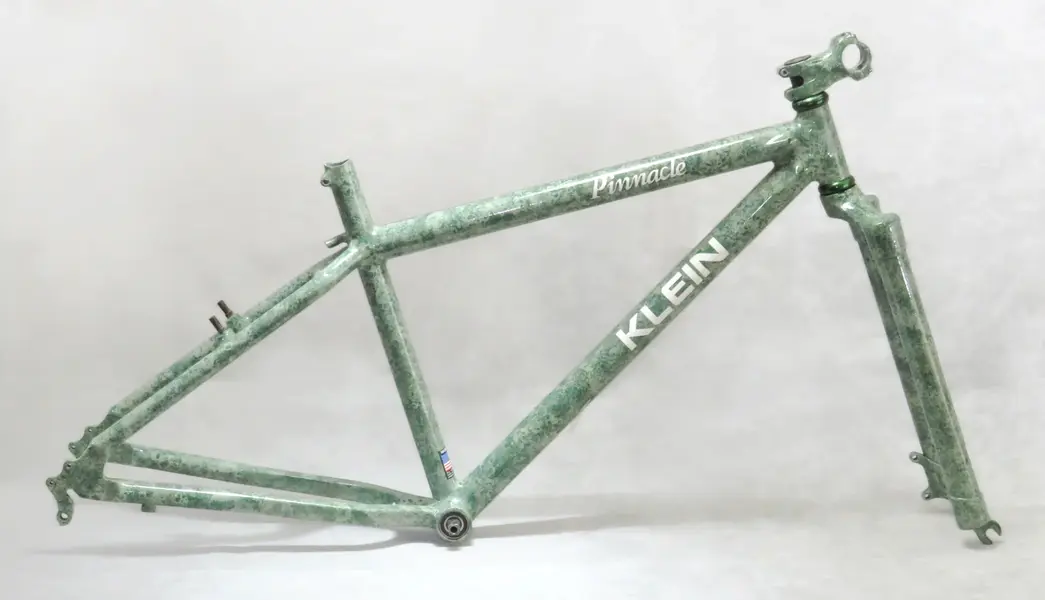
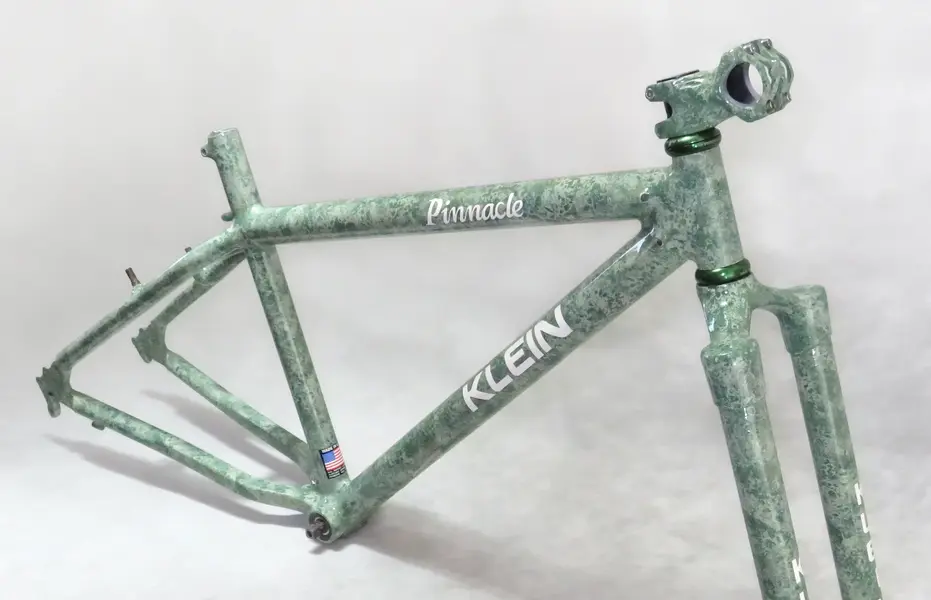
Pleased to say I have now finished this project. I seem to remember saying that it would take about six weeks back in February(!). Before I post the finished pics, here's a look at the logo painting process that
@baron von greenback &
@PhillB expressed an interest in seeing...
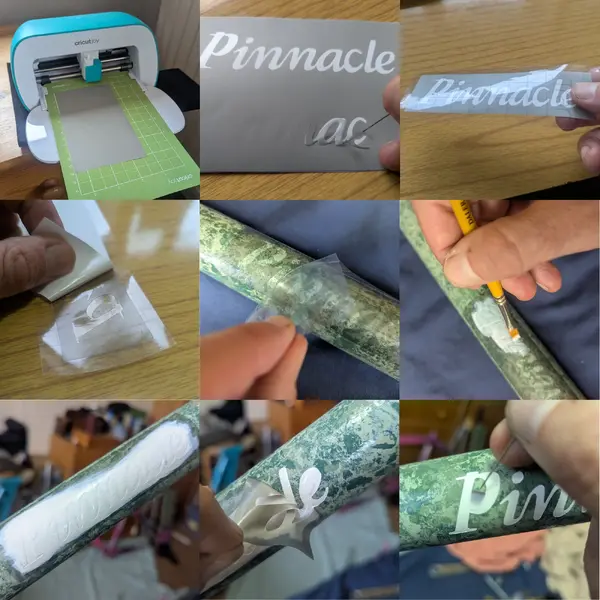
I used a Cricut Joy vinyl cutter (about sixty five quid second hand) with its special sticky cutting mat, Oramask 810 Stencil Film and some generic Transfer Tape. Hopefully the attached picture explains the process adequately but here are some additional notes...
The digital file I used was drawn in Adobe Illustrator, saved as a .svg file than transferred to the Cricut software which comes with the cutter. I was expecting this to be a real headache but amazingly everything worked smoothly.
The cutting mat is essential as its stickiness keeps the vinyl in place while it's being cut.
The transfer tape is also very important as it allows you to place the stencil smoothly and accurately. It can also be re-used.
It took four thin coats of paint to get adequate coverage. Personally, I prefer brushing unless it absolutely has to be sprayed - simply because I can just do it indoors and there's less to set up. I didn't wait for the full drying time between coats as this is decorative rather than protective paint but it was essential to wait until fully touch dry before applying each subsequent coat when brushing.
I removed the stencil while the final coat was still wet as I think this helps give a smoother edge but I did wait until the paint was at least touch dry before removing the small, inner portions of the stencil to avoid accidentally touching the wet paint. Once fully dry it was given a light sand before clear coating the whole bike...