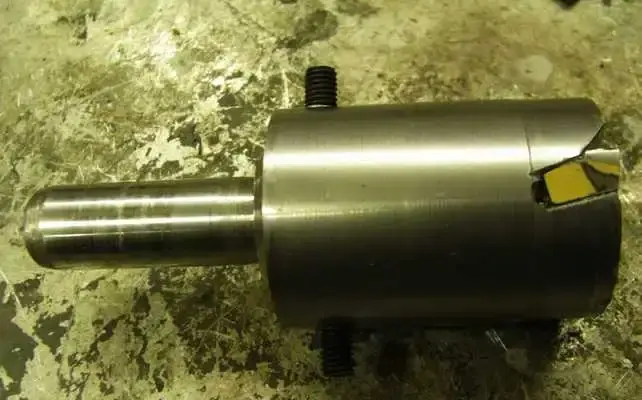
Spot on. Me being me decided to pull the thing apart without reading up on things first :facepalm: but
that was part of the fun.
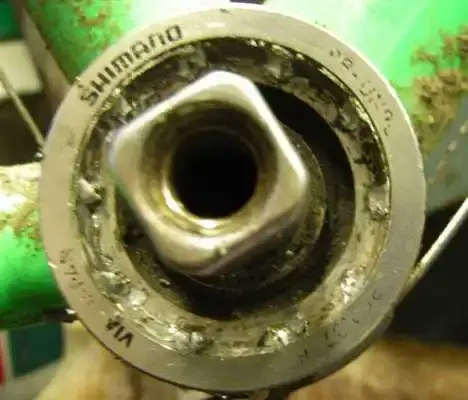
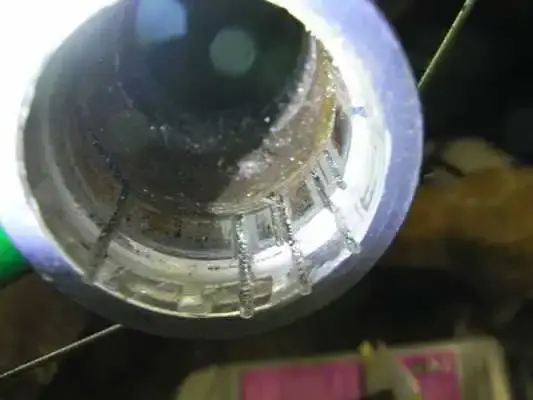
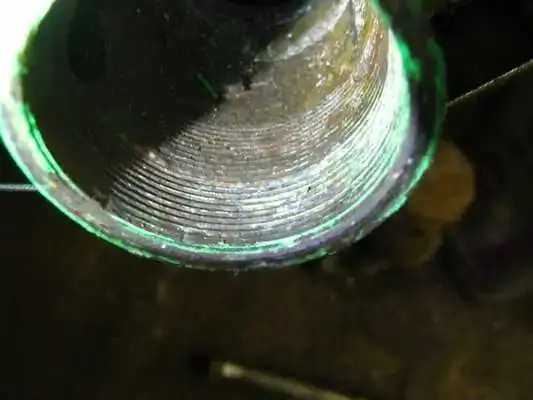
Since then, I've actually re-greased an old UN54 just for the hell of it and the tolerances are
extremely tight to get all the balls and axle in the cartridge to "snap" together.
UN7x and UN9x are built exactly the same way, except they have an additional dust seal
on the axle which should pry off with a small screwdriver, but would most likely be distroyed in the process.
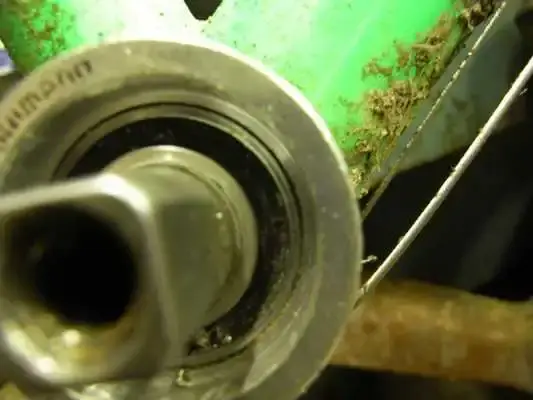
This says it all really about the Conrad bearing or sometimes known as deep groove bearings:
The Conrad-style ball bearing is named after its inventor, Robert Conrad, who was awarded British patent 12,206 in 1903 and U.S. patent 822,723 in 1906. These bearings are assembled by placing the inner ring into an eccentric position relative to the outer ring, with the two rings in contact at one point, resulting in a large gap opposite the point of contact. The balls are inserted through the gap and then evenly distributed around the bearing assembly, causing the rings to become concentric. Assembly is completed by fitting a cage to the balls to maintain their positions relative to each other. Without the cage, the balls would eventually drift out of position during operation, causing the bearing to fail. The cage carries no load and serves only to maintain ball position.
Conrad bearings have the advantage that they are able to withstand both radial and axial loads, but have the disadvantage of lower load capacity due to the limited number of balls that can be loaded into the bearing assembly. Probably the most familiar industrial ball bearing is the deep-groove Conrad style. The bearing is used in most of the mechanical industries.
that was part of the fun.
Since then, I've actually re-greased an old UN54 just for the hell of it and the tolerances are
extremely tight to get all the balls and axle in the cartridge to "snap" together.
UN7x and UN9x are built exactly the same way, except they have an additional dust seal
on the axle which should pry off with a small screwdriver, but would most likely be distroyed in the process.
This says it all really about the Conrad bearing or sometimes known as deep groove bearings:
The Conrad-style ball bearing is named after its inventor, Robert Conrad, who was awarded British patent 12,206 in 1903 and U.S. patent 822,723 in 1906. These bearings are assembled by placing the inner ring into an eccentric position relative to the outer ring, with the two rings in contact at one point, resulting in a large gap opposite the point of contact. The balls are inserted through the gap and then evenly distributed around the bearing assembly, causing the rings to become concentric. Assembly is completed by fitting a cage to the balls to maintain their positions relative to each other. Without the cage, the balls would eventually drift out of position during operation, causing the bearing to fail. The cage carries no load and serves only to maintain ball position.
Conrad bearings have the advantage that they are able to withstand both radial and axial loads, but have the disadvantage of lower load capacity due to the limited number of balls that can be loaded into the bearing assembly. Probably the most familiar industrial ball bearing is the deep-groove Conrad style. The bearing is used in most of the mechanical industries.
")

