Bootstrap Bob
Dirt Disciple
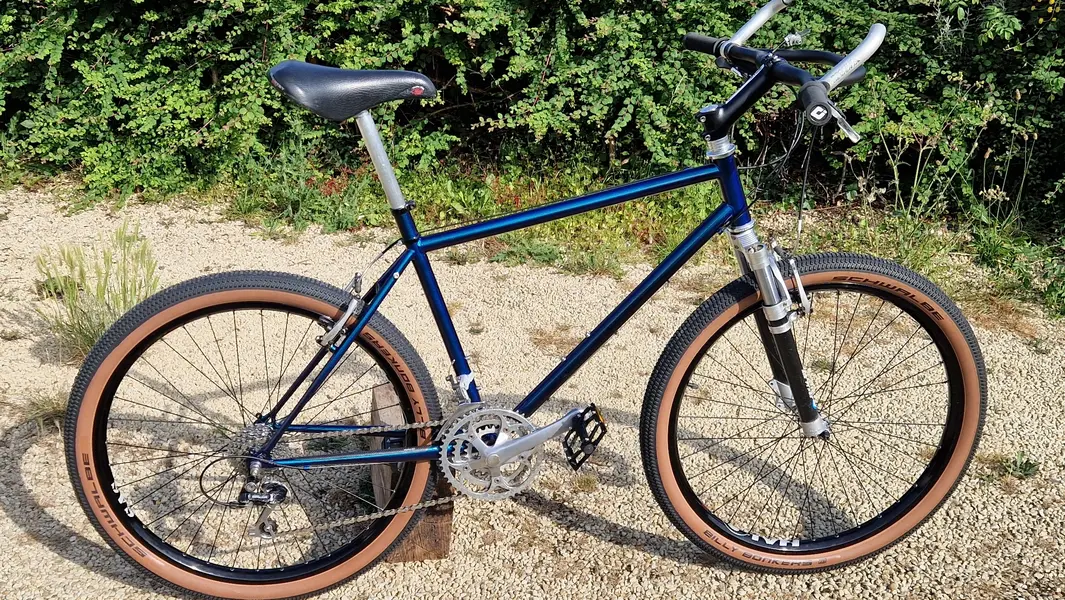
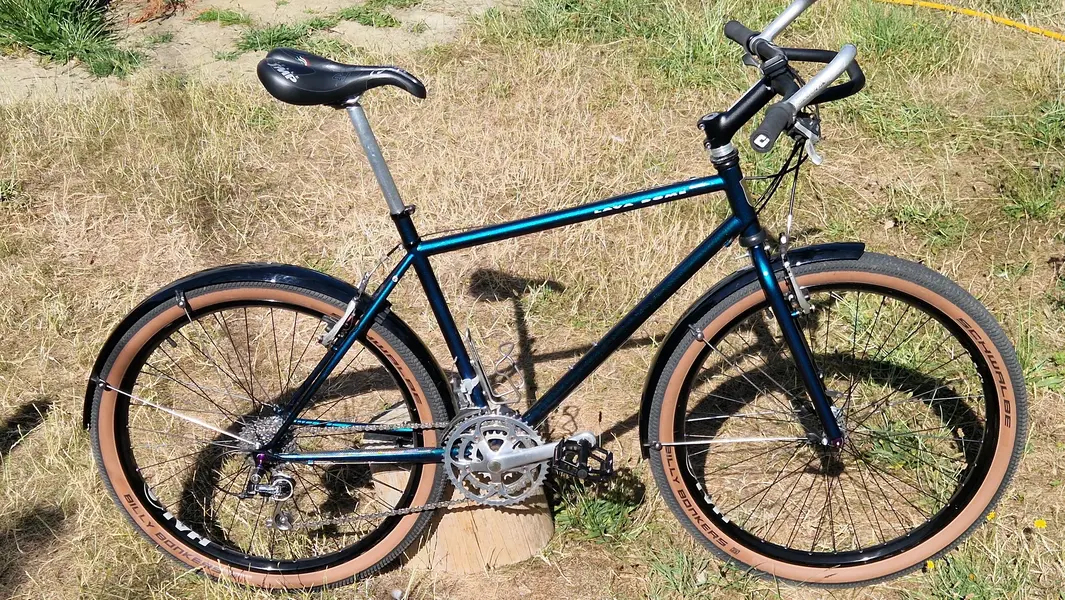
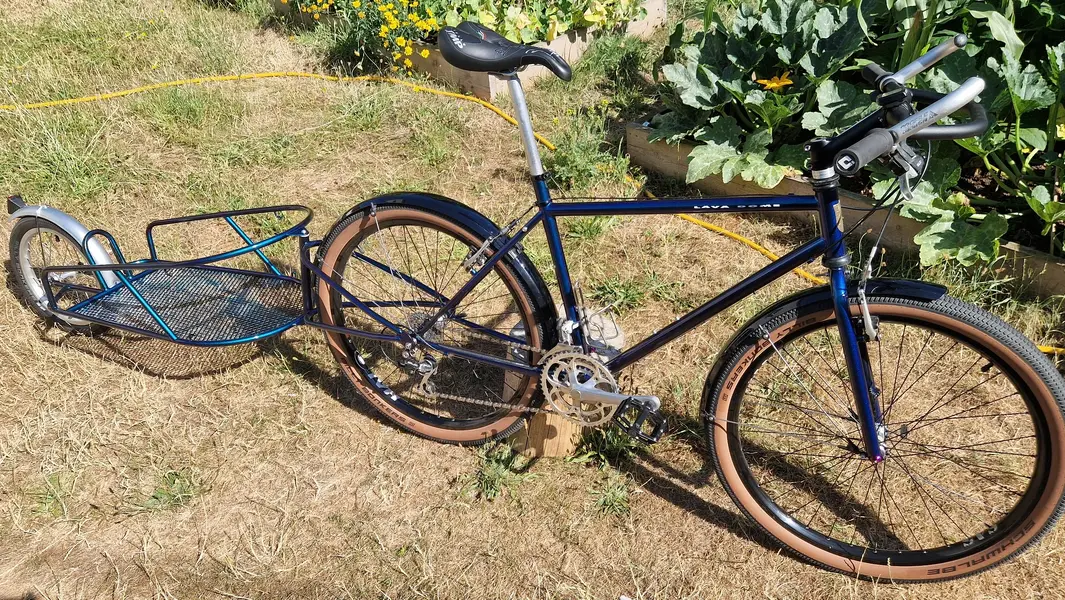
I am quite a lucky person to still own my very first mountain bike, little did I know when I bought it back in 1993 that it would eventually become a retro bike. I don’t know why I kept it and never traded it in but I have had others and usually sell them on. Perhaps it was the history and places it has taken me or perhaps it was just that I liked to ride it, or perhaps all of these.
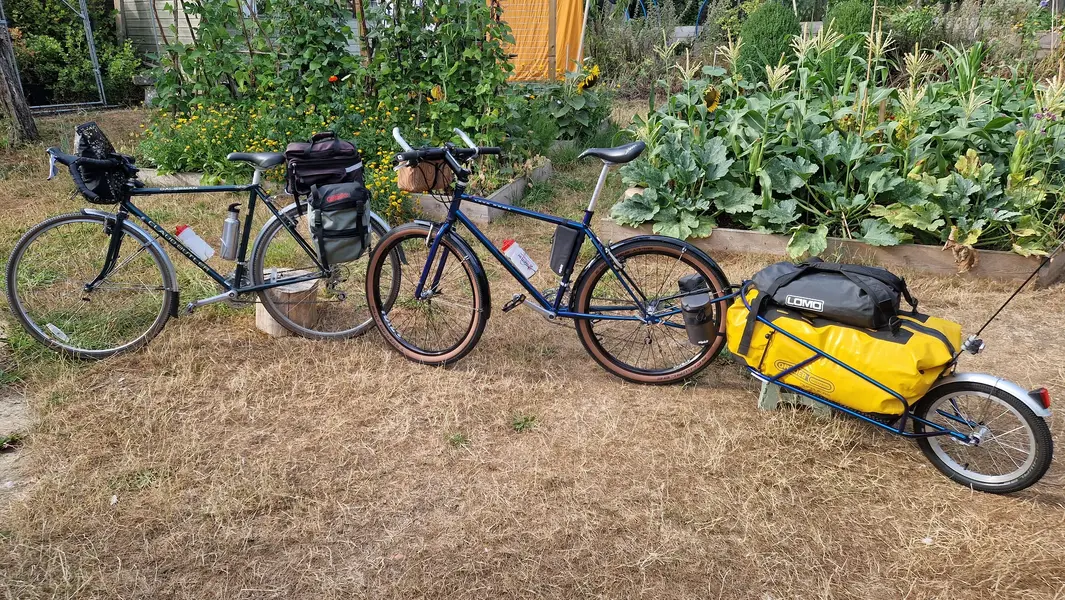
After a discussion with my wife about doing a long cycle ride, her on an old Claud Butler tourer and me on my Kona a plan started to develop.
The Kona had sat unused in our carport for 8 years after finally admitting that it could not keep up with the more modern mountain bikes but I just couldn’t bring myself to sell it. I had travelled thousands of miles on that bike, in 2001 it took me from Land’s End to John O’groats and then in 2003 it took me across the country from Morecombe bay to Whitby on the Roses coast to coast route. It was time for a refresh.
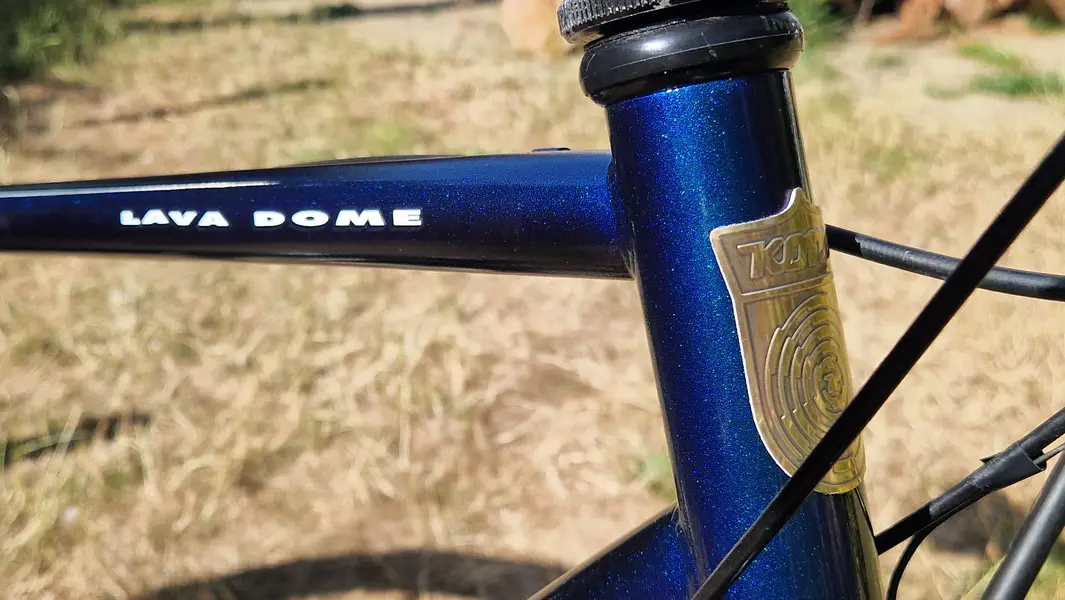
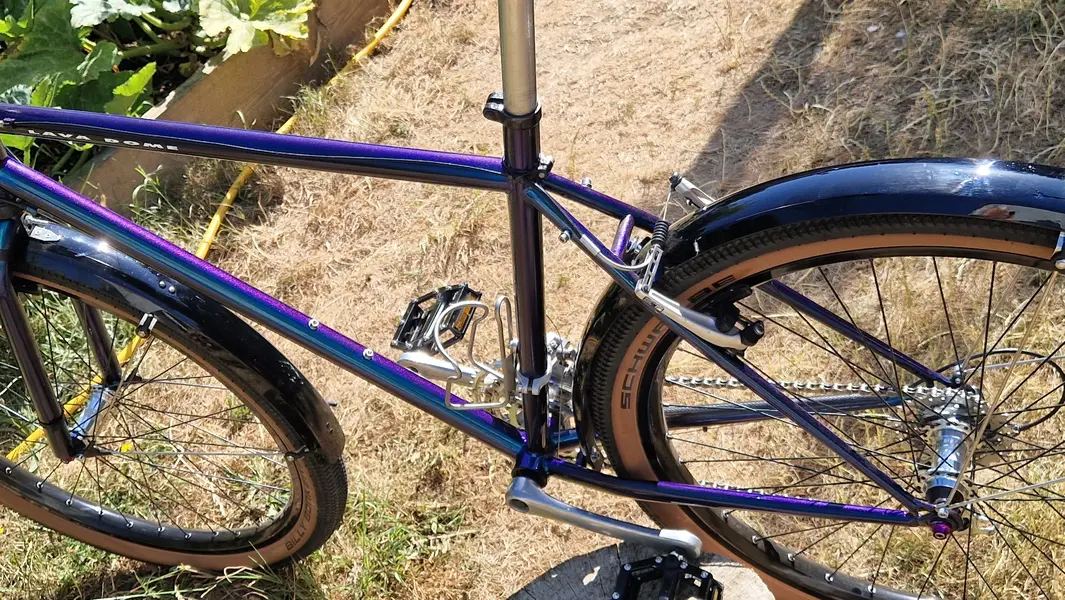
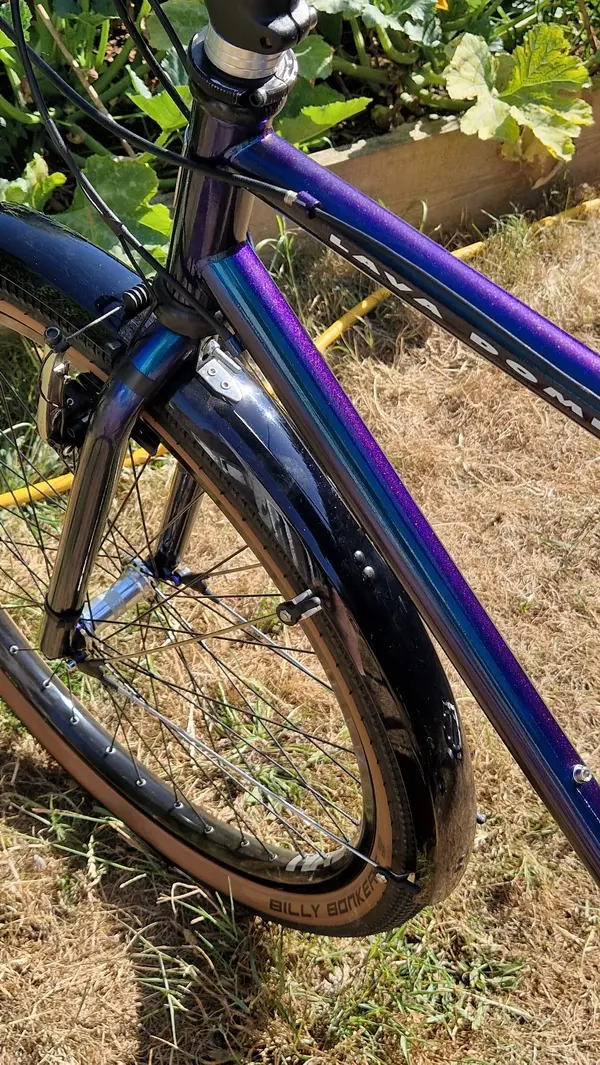
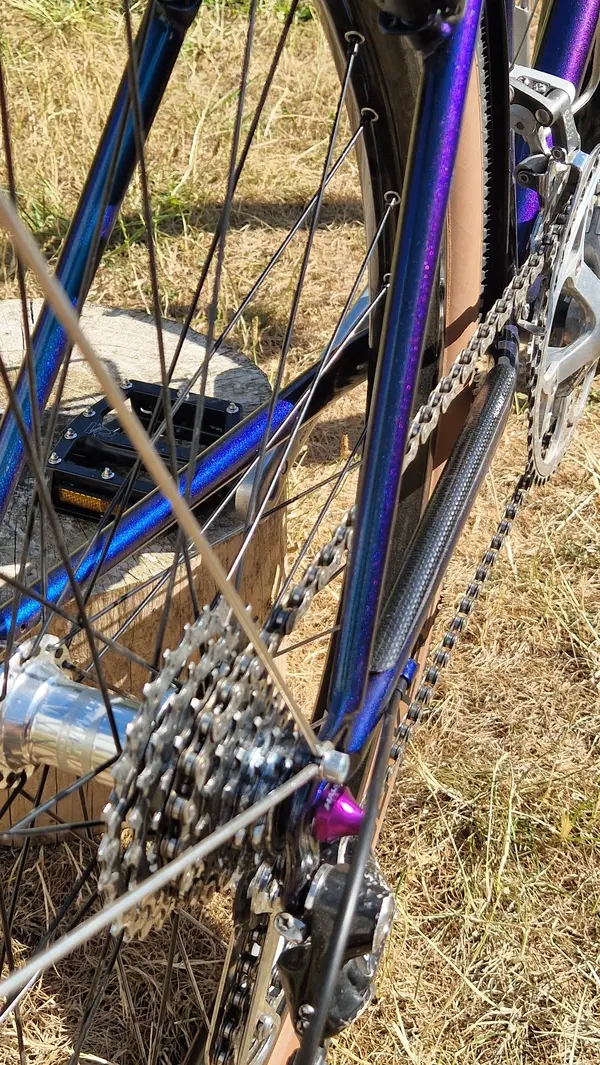
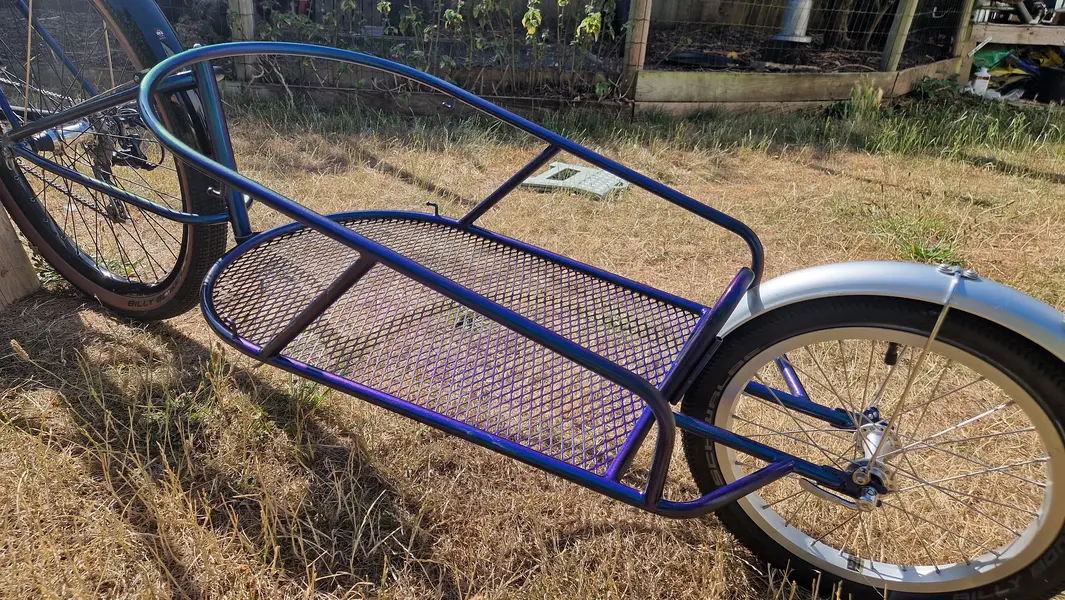
A few months ago I posted that I intended to give my Lava Dome another lease of life and turn it into a tourer, this is the story of that rework……………..
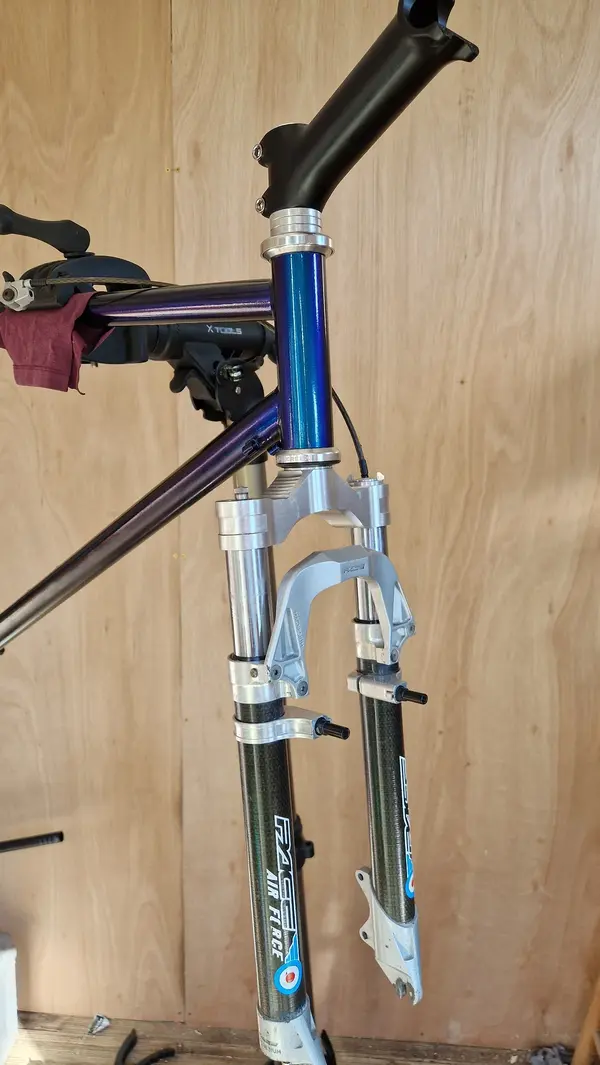
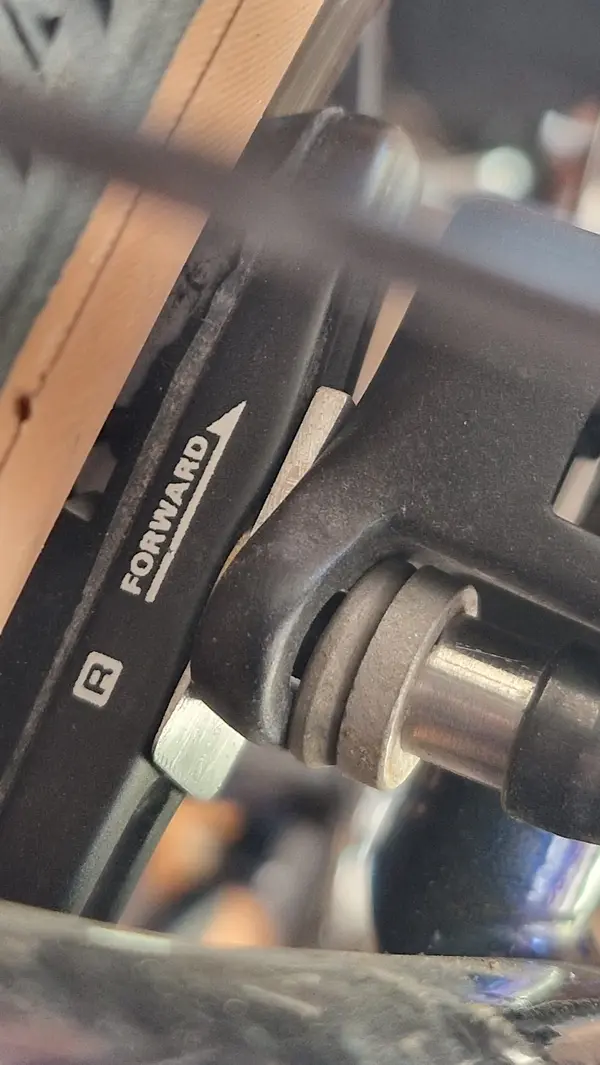
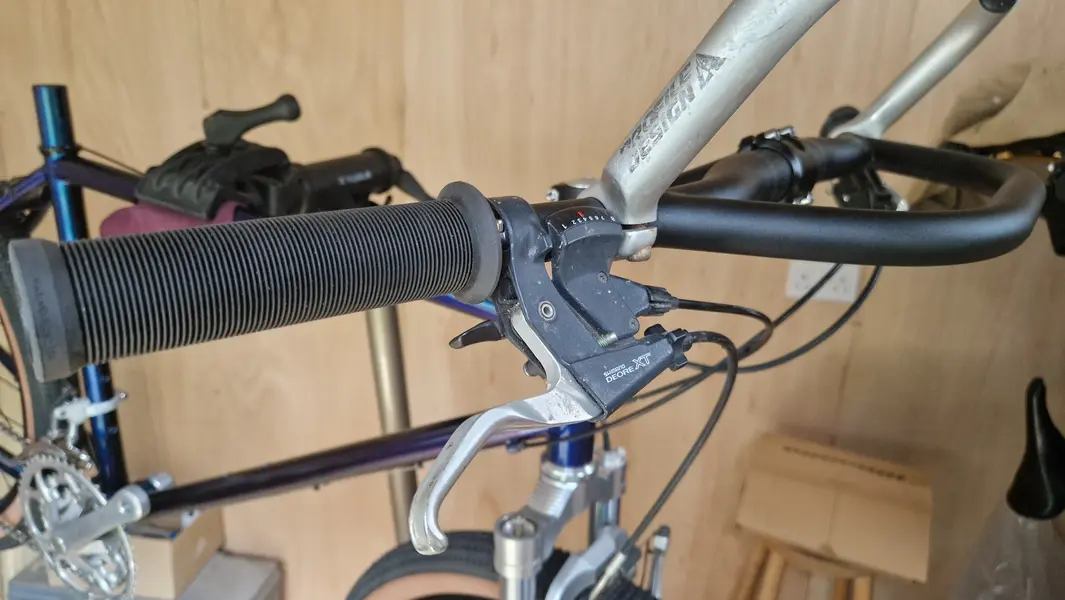
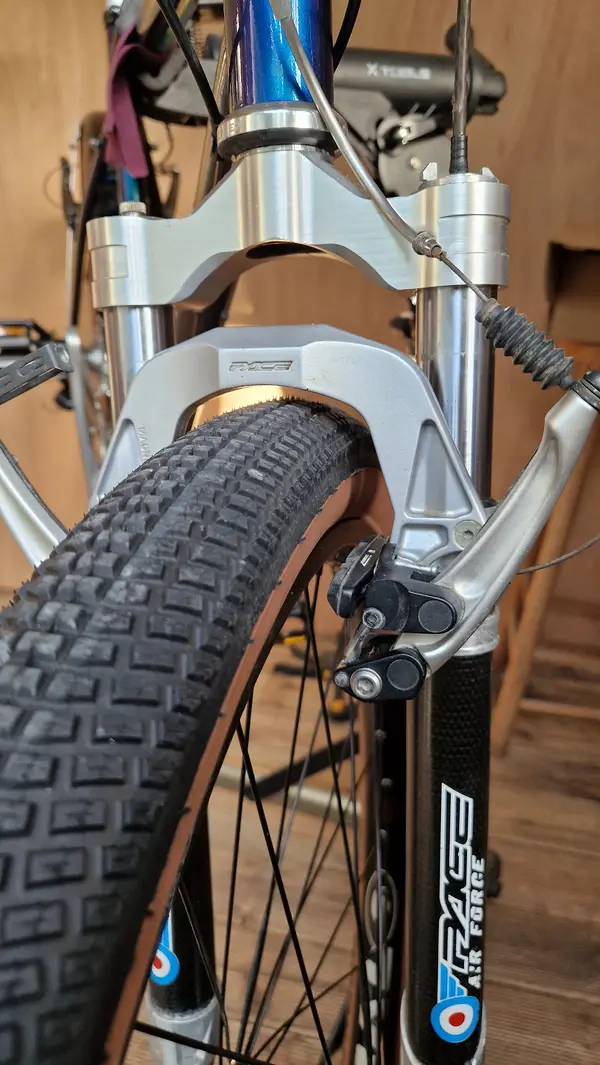
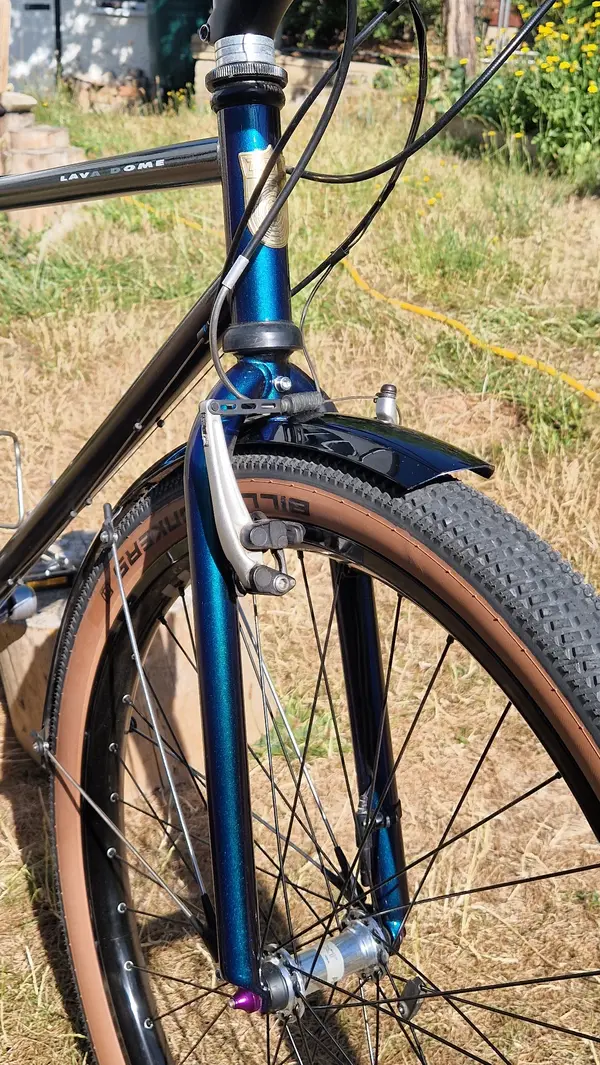
Since 1993 the Kona hasn’t changed that much. I converted it to a more road biased bike with road tyres, mudguards and a rack for the long rides. I added Pace AirForce forks in 2002 and Deore XT Parallel link V-brakes and brifters but that’s about it.
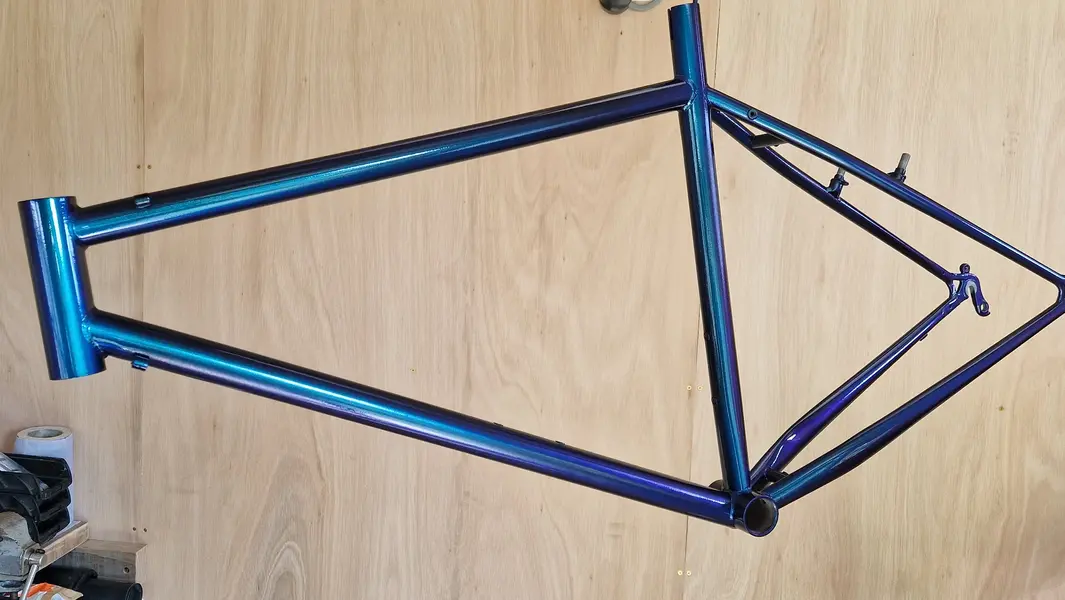
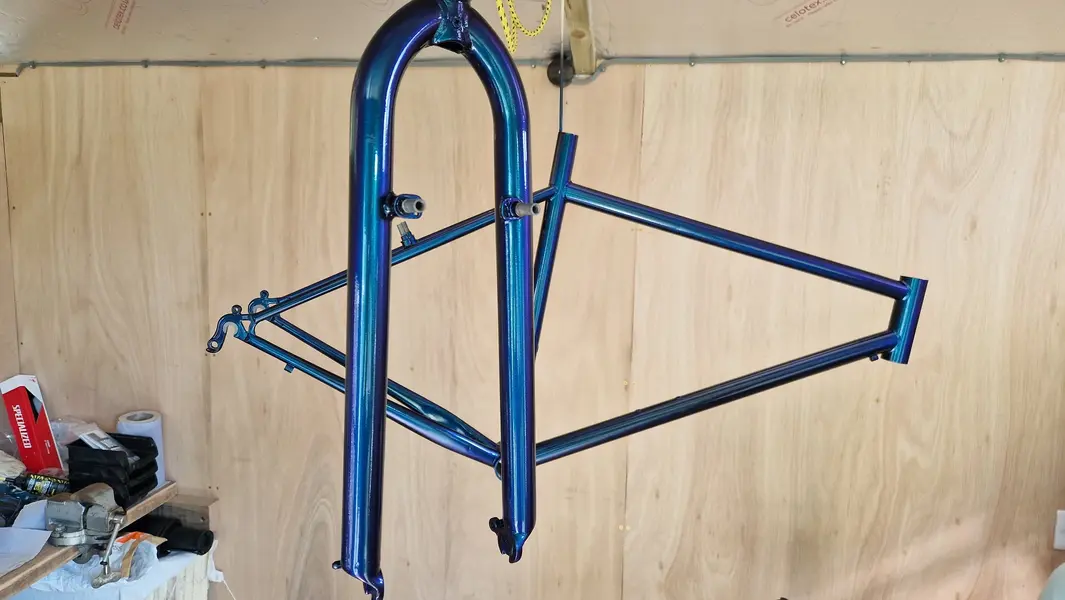
My aim for this rework was to re-use whatever I could and upgrade the bits that were going to make a difference to my cycling pleasure and comfort. Oh and the frame needed an overhaul so why not go to town on that and give it a new paint job?
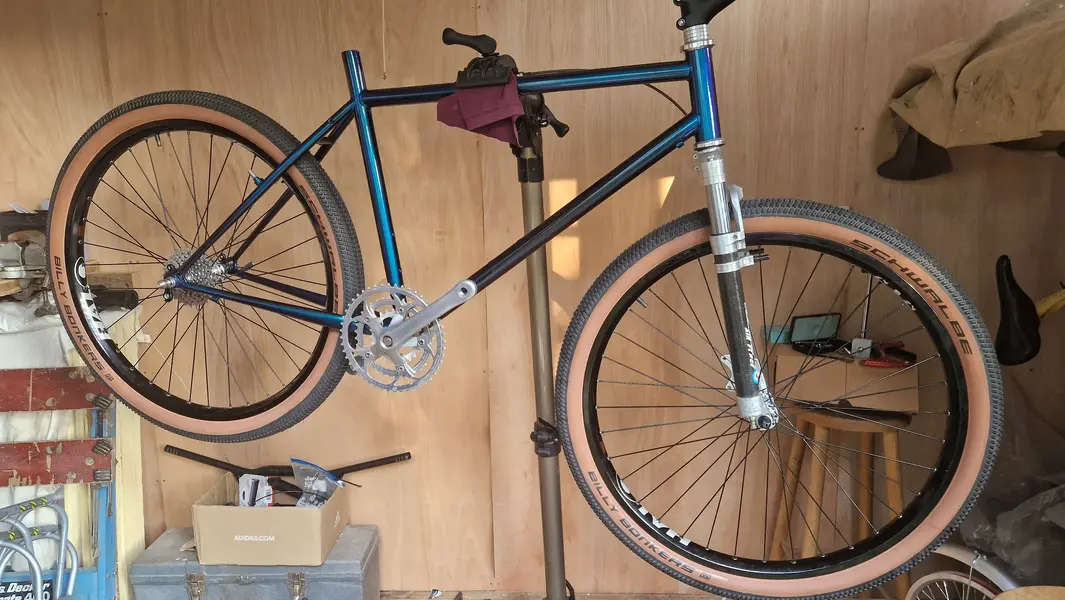
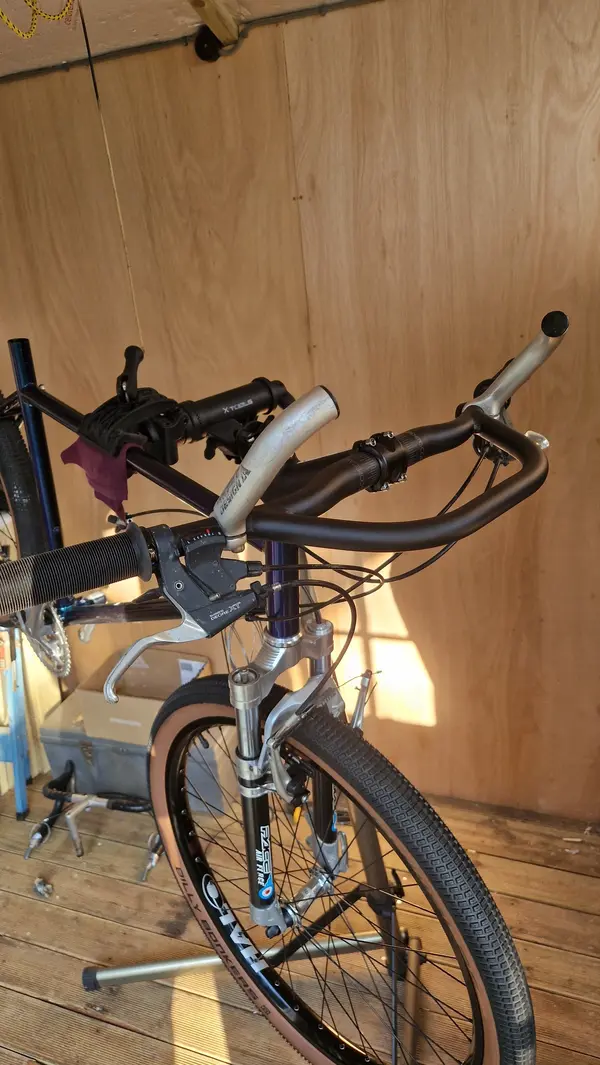
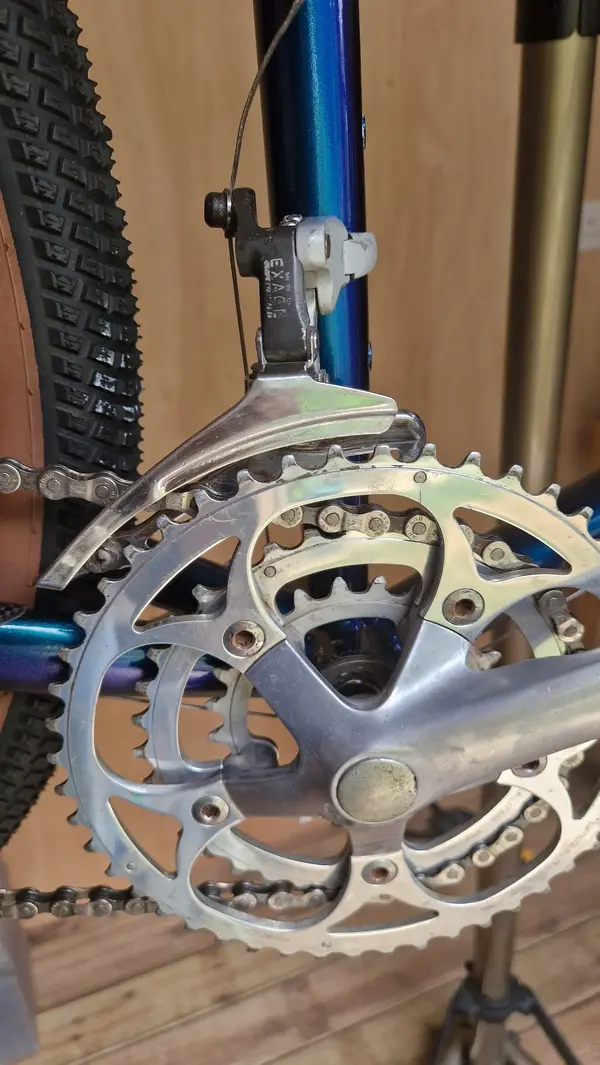
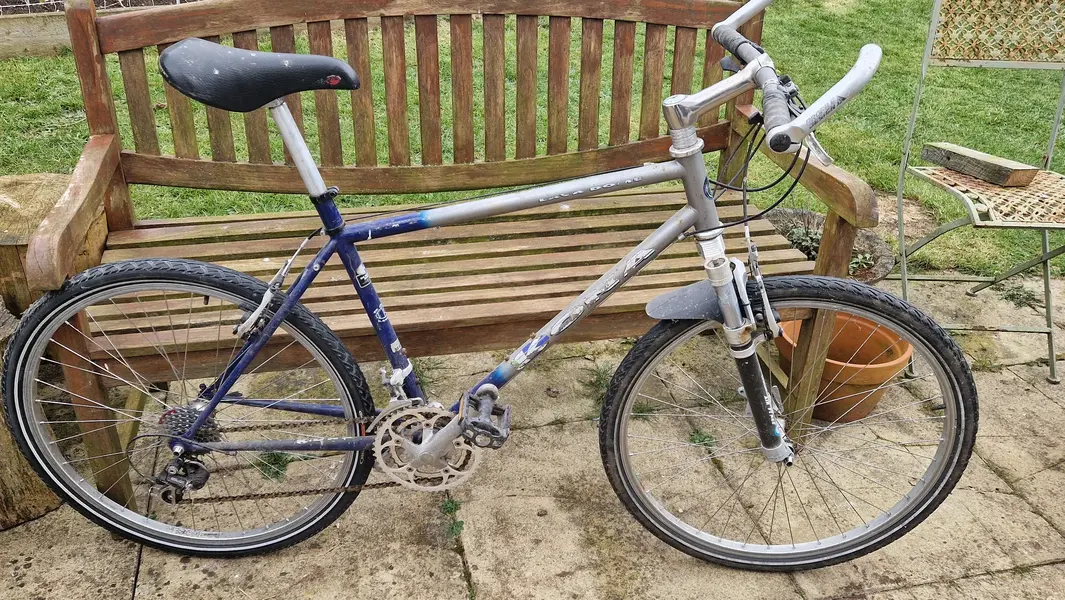
So this is what the bike looked like at the start.

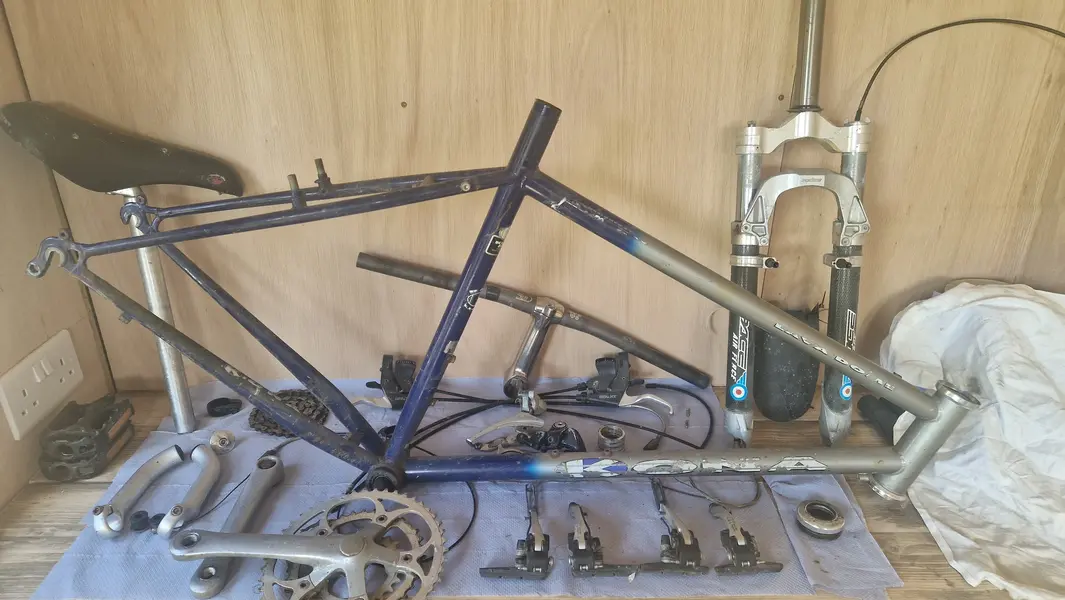
First task was to strip the bike down completely.

The next job I wanted to tackle were the Pace forks, They had never had a rebuild and even though they still worked it felt time to refresh them. I downloaded all the necessary files so I could get an understanding of their operation and assembly then started the dis-assembly process. They are quite a complex set of forks to control stiffness with three air pressure chambers that control sag, rate and progression. The damping on the other hand is very crude and is controlled by a single plastic flexing shim in the piston and a variable orifice hole connecting the working inner piston chamber and a concentric oil return flow chamber. The orifice hole size is controlled by a rotating tapered slider that is moved via the lever on top of the stanchions. Compression and rebound damping are not independently controllable but there is a remote lockout that drops a plunger into the oil flow above the piston chamber thereby preventing oil flow and locking the damper.

With all the parts cleaned and degreased I could check the seals and o-rings and rebuild with some nice fresh oil.

With the forks rebuilt it was time to move onto the frame.
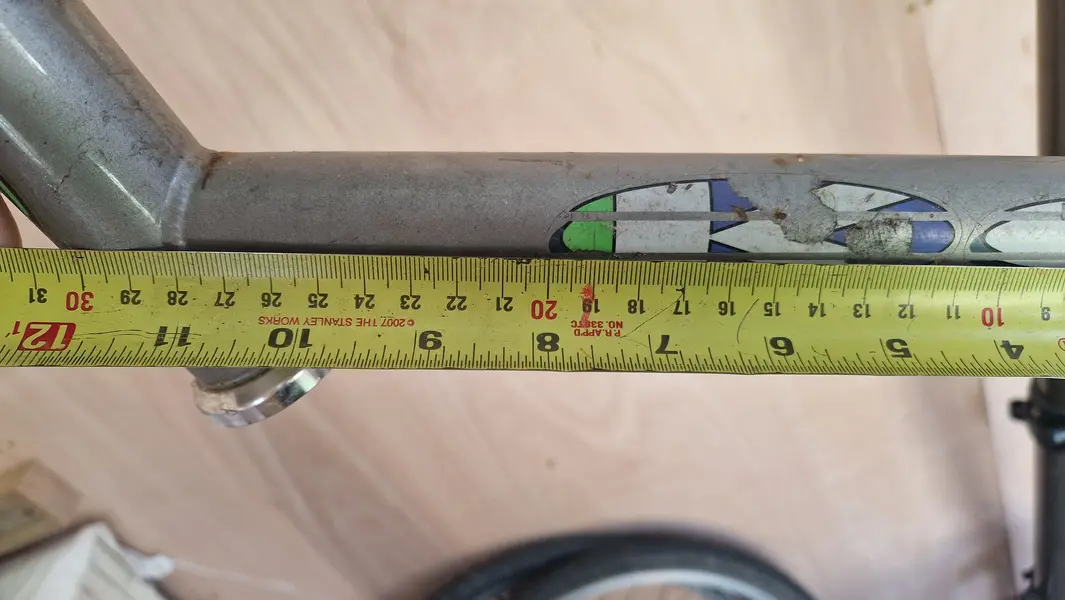
First I wanted to measure the decals for size and position.

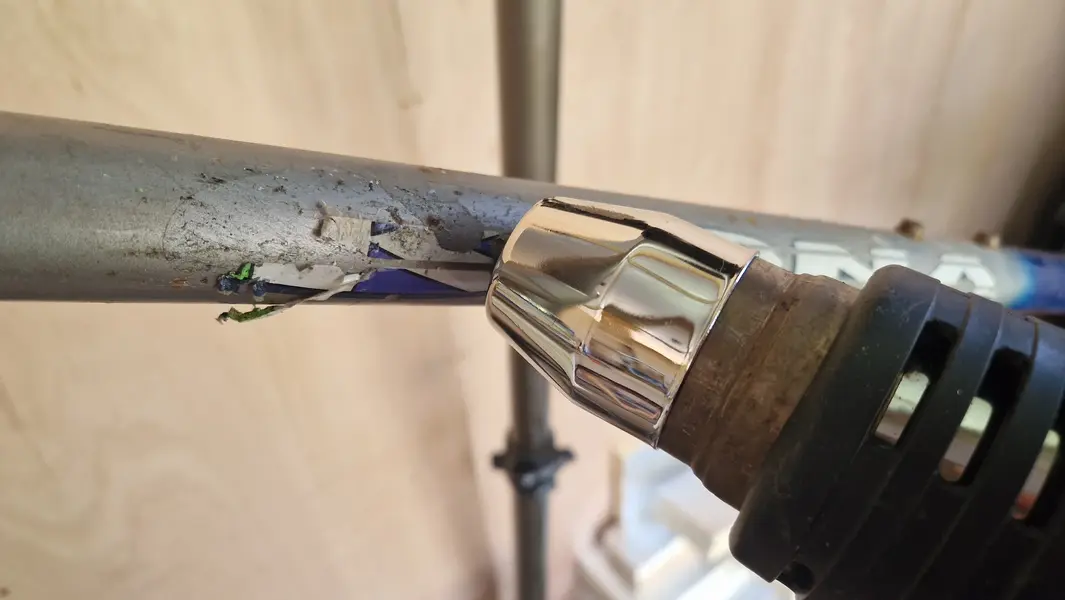
And then I needed to remove them using a hot air gun.

There were no seriously rusty areas but an awful lot of surface rust where the paint had chipped or scratched.
Here is the frame after sanding out the bad areas and preparing it for the first filler coat. I used wooden dowels to plug threaded holes and masking tape on the brake towers.

Next came a good clean with degreasing fluid and then the first high fill primer coat.

After drying it got a light sanding to smooth out any imperfections, another degrease and then the normal primer coat.

After leaving this to dry it was time for another light sand and degrease and then the base black coat.

But what was this base black coat for? For that you will have to wait for the next update.
After a discussion with my wife about doing a long cycle ride, her on an old Claud Butler tourer and me on my Kona a plan started to develop.
The Kona had sat unused in our carport for 8 years after finally admitting that it could not keep up with the more modern mountain bikes but I just couldn’t bring myself to sell it. I had travelled thousands of miles on that bike, in 2001 it took me from Land’s End to John O’groats and then in 2003 it took me across the country from Morecombe bay to Whitby on the Roses coast to coast route. It was time for a refresh.
A few months ago I posted that I intended to give my Lava Dome another lease of life and turn it into a tourer, this is the story of that rework……………..
Since 1993 the Kona hasn’t changed that much. I converted it to a more road biased bike with road tyres, mudguards and a rack for the long rides. I added Pace AirForce forks in 2002 and Deore XT Parallel link V-brakes and brifters but that’s about it.
My aim for this rework was to re-use whatever I could and upgrade the bits that were going to make a difference to my cycling pleasure and comfort. Oh and the frame needed an overhaul so why not go to town on that and give it a new paint job?
So this is what the bike looked like at the start.
First task was to strip the bike down completely.
The next job I wanted to tackle were the Pace forks, They had never had a rebuild and even though they still worked it felt time to refresh them. I downloaded all the necessary files so I could get an understanding of their operation and assembly then started the dis-assembly process. They are quite a complex set of forks to control stiffness with three air pressure chambers that control sag, rate and progression. The damping on the other hand is very crude and is controlled by a single plastic flexing shim in the piston and a variable orifice hole connecting the working inner piston chamber and a concentric oil return flow chamber. The orifice hole size is controlled by a rotating tapered slider that is moved via the lever on top of the stanchions. Compression and rebound damping are not independently controllable but there is a remote lockout that drops a plunger into the oil flow above the piston chamber thereby preventing oil flow and locking the damper.
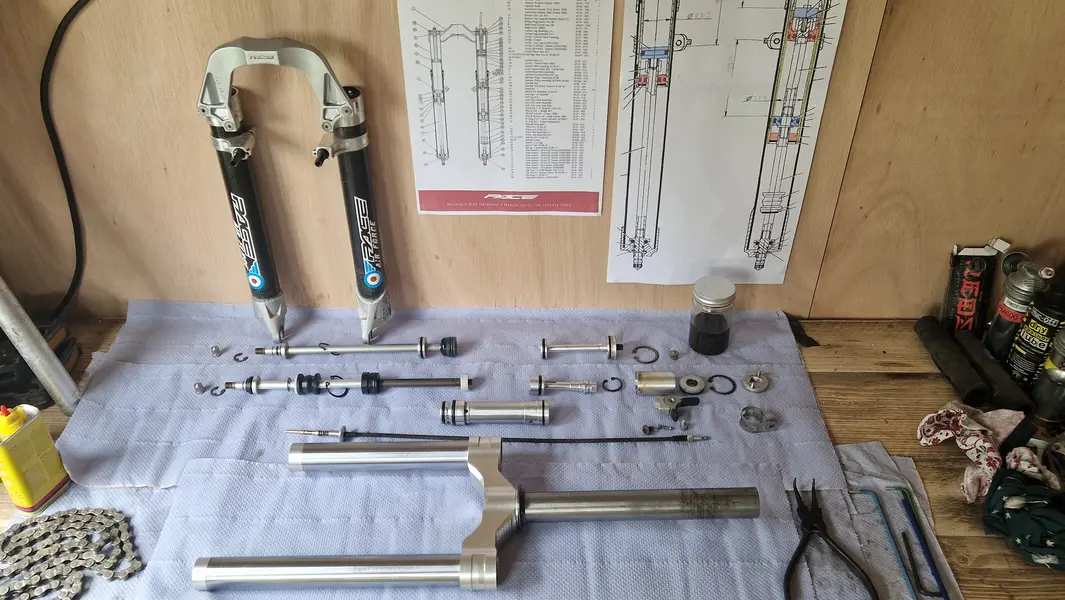
With all the parts cleaned and degreased I could check the seals and o-rings and rebuild with some nice fresh oil.
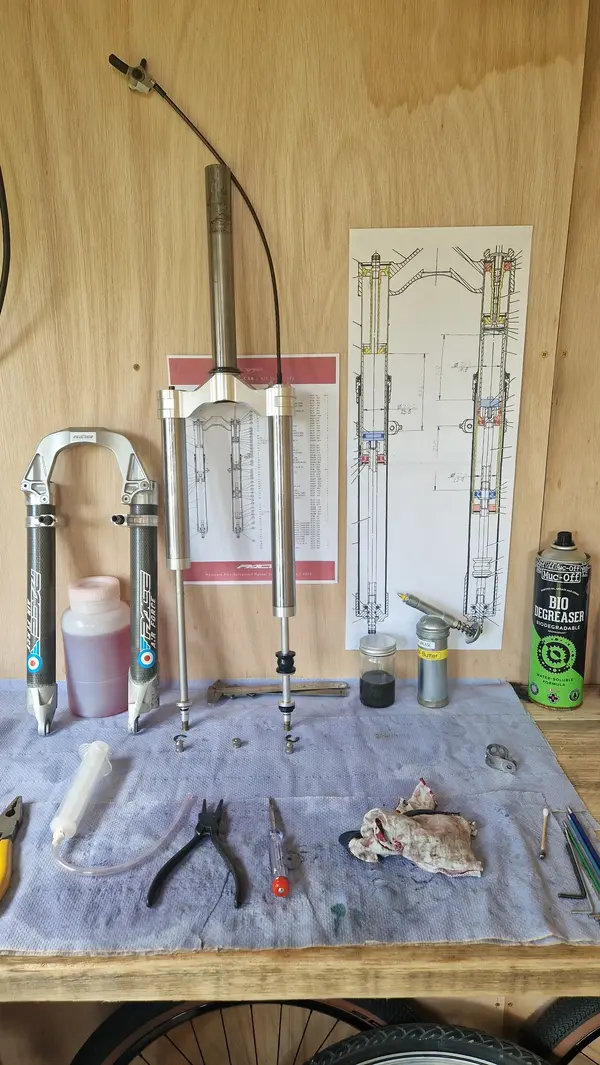
With the forks rebuilt it was time to move onto the frame.
First I wanted to measure the decals for size and position.
And then I needed to remove them using a hot air gun.
There were no seriously rusty areas but an awful lot of surface rust where the paint had chipped or scratched.
Here is the frame after sanding out the bad areas and preparing it for the first filler coat. I used wooden dowels to plug threaded holes and masking tape on the brake towers.
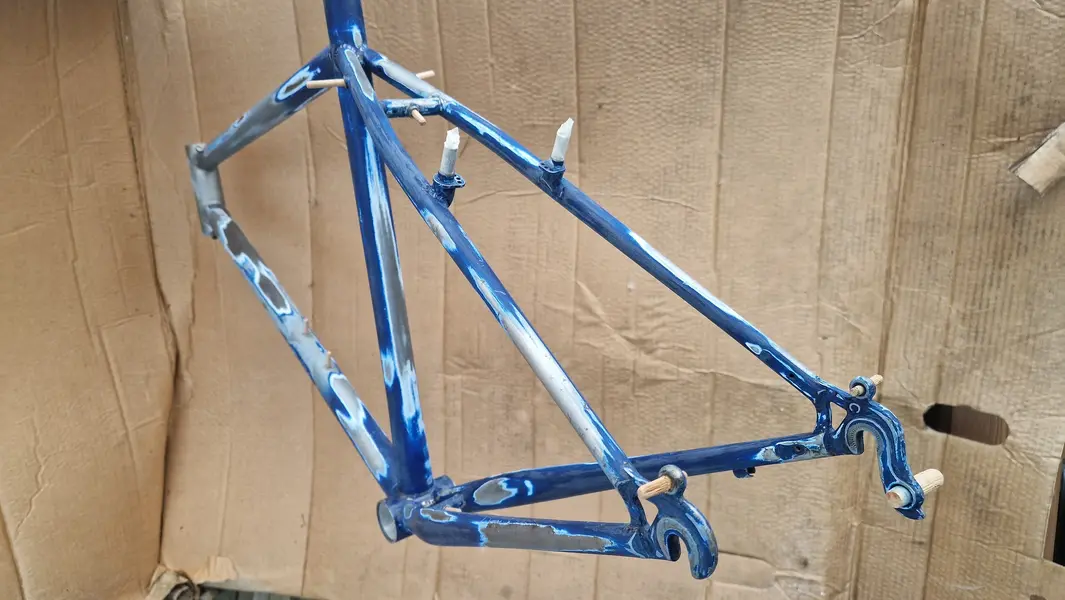
Next came a good clean with degreasing fluid and then the first high fill primer coat.
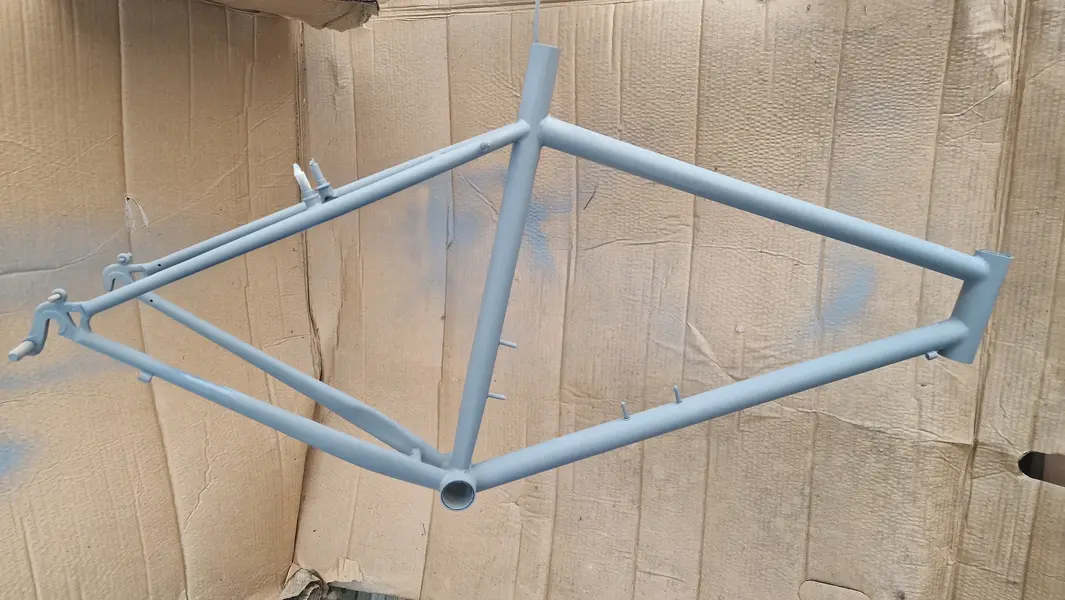
After drying it got a light sanding to smooth out any imperfections, another degrease and then the normal primer coat.
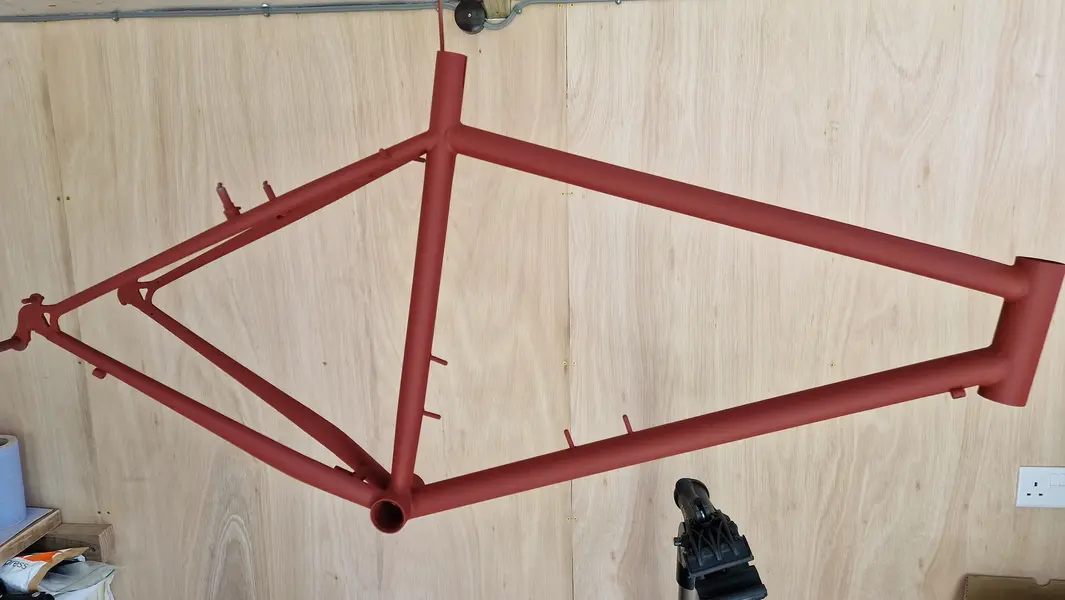
After leaving this to dry it was time for another light sand and degrease and then the base black coat.
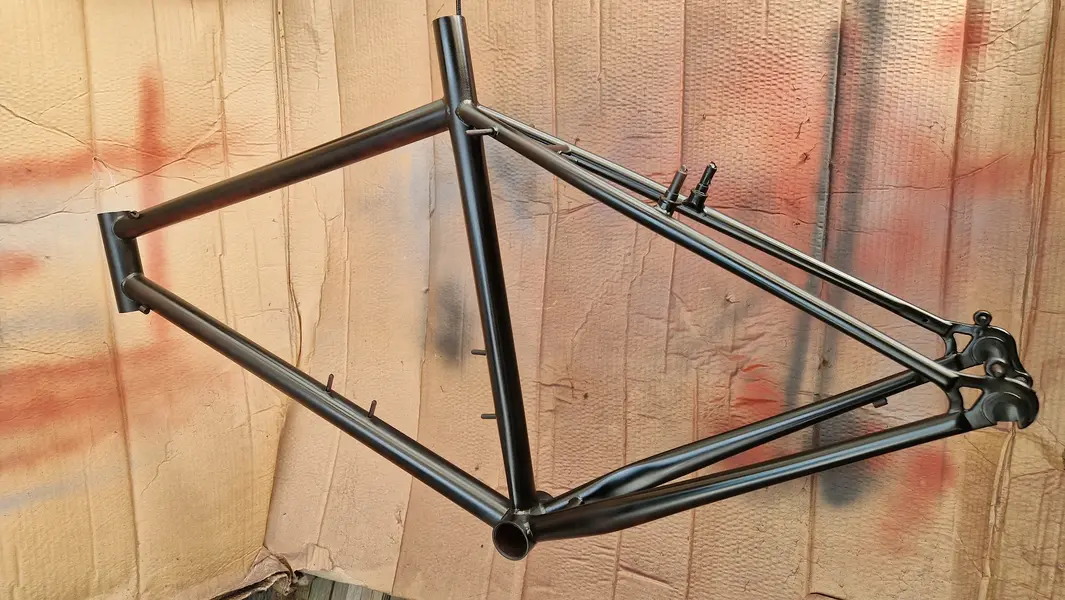
But what was this base black coat for? For that you will have to wait for the next update.
