1990 Cannondale SM2000 Restoration Thread

Brotrob

Cannondale Fan
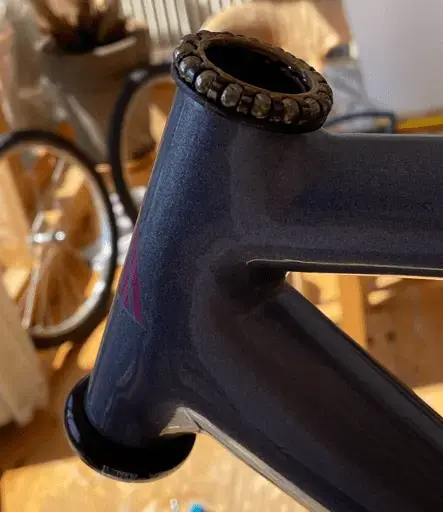
I have decided to build the first Cannondale M series MTB with Pepperoni fork - the 1990 SM2000. Came across a frame in decent condition with some major paint chips, planning to restore it :)

1685985542152.webp

Here's the frame - large chipping on the down tube, but thankfully no dent:

1685985608923.webp

1685985649104.webp

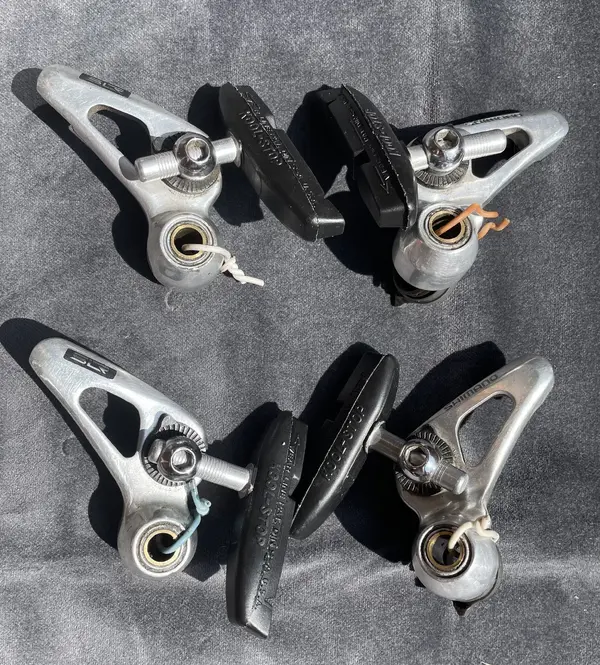
The fork was much better preserved - and super light :)

1685985704047.webp

I like this frame set because you can easily get a great gear ratio with a 48 chainring front and a 11-28 cassette in the back - and build a multi-purpose road-gravel-mtb that looks excellent!

More to follow :)
 
Some of the vital parts arrived: straight from Texas, a very rare Cannondale 285 (Nitto) stem in the ultra rare Aluminum version - 120 long, and the absolutely perfect length for my usual reach:

IMG_6417.webp

Also, the 91 XT shifters, the very first of their kind, cursed by design though, are here:

IMG_6294.webp

They are heavy af:

IMG_6252.webp

And the brakes:

IMG_6293.webp

And of course this classic:

IMG_6291.webp

The hunt is almost complete
 

Attachments

  • IMG_6293.webp
    IMG_6293.webp
    961.5 KB · Views: 1
It's time to treat the wounds:

1686911184754.webp

A good aluminium foundation and model colours are the way to go:

1686911252781.webp 1686911235490.webp


First, treating the large chip on the down tube - right at the transition of the overlaid metallic paint, unfortunately:

1686911314777.webp

That worked:

1686911340889.webp

Then, the easier part: repairing the decal of the US flag:

1686911376887.webp

The result is not stellar, but decent:

1686911413760.webp

Finally, just a slight retouch of the printed logo on the very rare stem:

1686911568296.webp

Ready to assemble!
 
Nice touch-ups. Assume you flatted the primer prior to the top coats?

Interested to know how you did the metallic matching with them Tamiya paints. Did you stipple the various blues together to create the depth/colour variance. Also did you apply a topcoat over the top?

I used to use Tamiya paint to custom paint parts of my bike including the body of my derailleurs. Used to work really well, but no doubt the formula will have chance since the early 90s

Keep up the great work! 👍💪

Thank you :)

Yes, I applied several layers of the primer, (miss) using it as a filler for the scratches on the aluminium tube, and sanded it down before using teh model paint.

The way I did it was to mix the metallic blue base colour (I used two different colours of blue/metallic blue to achieve matching results with the rear part of the frame) and apply it.

After the base metallic blue was applied, I essentially had a dark metallic area inside the brighter transition area. Then I applied metallic spakling paint on top with a brush in tiny dots, until the overall colour matched the transition area.

I could have simply unpacked my Revell airbrush from 20 years ago for a better result, but I was too lazy to do that ;)
Thanks for the explanation. You certainly did a great job and I kinda like you can still see repairs on an old frame.

I think the airbrush could have turned into a bit of nightmare with setting up, masking and cleaning. There's always something that doesn't quite work as it should when it's 20 years old.
 
Bought exactly the same and fork combo but mine was further gone than yours so had it stripped. Think I'm going pink. Lovely frameset and fork.
 
Back
Top