chickendrumsticks
Senior Retro Guru
Re:
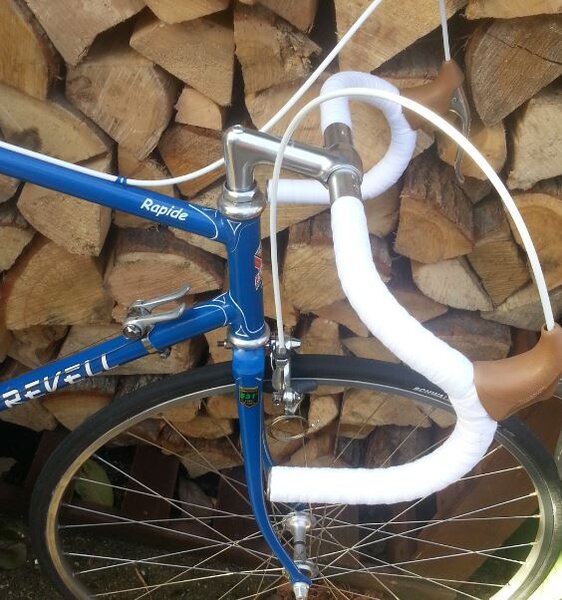
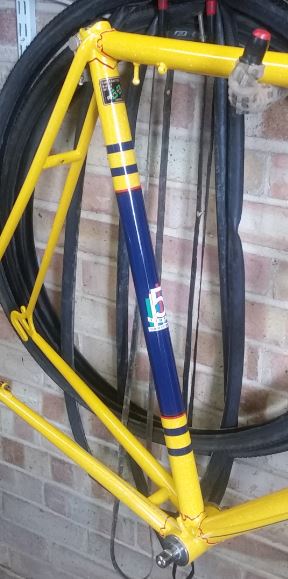
Hi Ray, yes I did it myself. Here's one I did a while back using "Posca" paint pens:
I think it looks pretty good, but looking closely you can see there are a few signs of "start and stop". It was a very lengthy job, with many wipes with a meths soaked cloth and then begin again! I did a little box lining too - just on the seat tube - with a straight edge taped to the tube and some masking tape. That was with the same paint pens. One a fine 0.7mm and one a slightly thicker 0.9 - 1.3mm (the thickness depends on how firmly you press).
I'd say have a go with the paint pen. The Posca are water based acrylic and easy to remove as you go along if necessary. But of course they need a lacquer protection once complete. I use Winsor & Newton artist's acrylic varnish, brush on, for this (and for protecting decals). Again, it's easy to remove with meths before it drys if a mistake is made, although they do sell a remover too. Phew! Sorry to bang on at such length. I hope that was helpful.
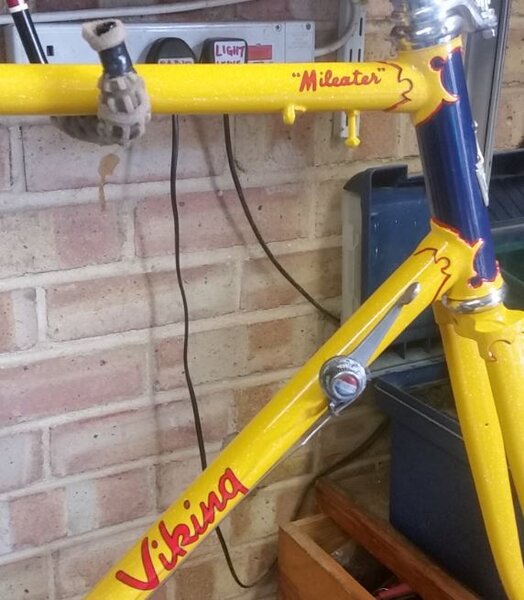
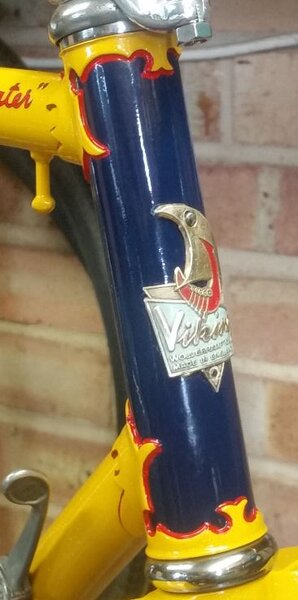
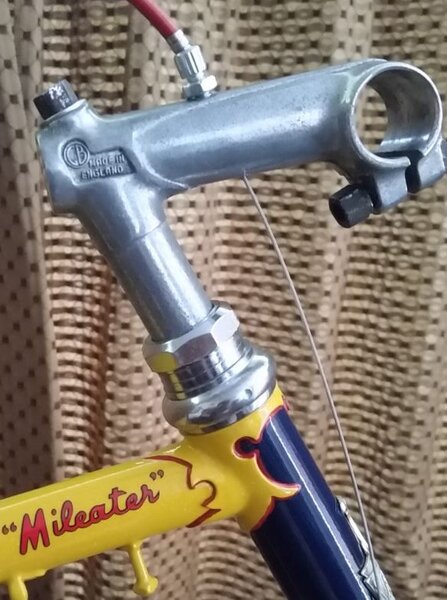
Now, the Viking. I asked a local signwriter if he could do it. He said he could but was snowed under with work, so he gave me some hints and tips if I wanted to try myself.
He recommended enamel paint - his stock in trade - and I used Humbrol gloss. He'd ordinarily use a medium brush, together with years of experience but said I'd be better off with a very small fine brush which is what I used. He also said "don't be nervous, just go for it" So how to explain I was a nervous wreck for about a week after doing it? Incidentally he was quite dismissive of those lining (draughtsman) pens that others use or recommend. But then, being a professional signwriter he would, wouldn't he. I've not tried one myself.
Anyhow, my approach was much the same as with the pens - painfully slow and white spirit rag to hand! Luckily the Nervex Pro lugs are generally less "sweeping" than the other one I did so it was possible to do most of it in small chunks. I think it looks pretty good.
Hi Ray, yes I did it myself. Here's one I did a while back using "Posca" paint pens:
I think it looks pretty good, but looking closely you can see there are a few signs of "start and stop". It was a very lengthy job, with many wipes with a meths soaked cloth and then begin again! I did a little box lining too - just on the seat tube - with a straight edge taped to the tube and some masking tape. That was with the same paint pens. One a fine 0.7mm and one a slightly thicker 0.9 - 1.3mm (the thickness depends on how firmly you press).
I'd say have a go with the paint pen. The Posca are water based acrylic and easy to remove as you go along if necessary. But of course they need a lacquer protection once complete. I use Winsor & Newton artist's acrylic varnish, brush on, for this (and for protecting decals). Again, it's easy to remove with meths before it drys if a mistake is made, although they do sell a remover too. Phew! Sorry to bang on at such length. I hope that was helpful.
Now, the Viking. I asked a local signwriter if he could do it. He said he could but was snowed under with work, so he gave me some hints and tips if I wanted to try myself.
He recommended enamel paint - his stock in trade - and I used Humbrol gloss. He'd ordinarily use a medium brush, together with years of experience but said I'd be better off with a very small fine brush which is what I used. He also said "don't be nervous, just go for it" So how to explain I was a nervous wreck for about a week after doing it? Incidentally he was quite dismissive of those lining (draughtsman) pens that others use or recommend. But then, being a professional signwriter he would, wouldn't he. I've not tried one myself.
Anyhow, my approach was much the same as with the pens - painfully slow and white spirit rag to hand! Luckily the Nervex Pro lugs are generally less "sweeping" than the other one I did so it was possible to do most of it in small chunks. I think it looks pretty good.