No longer a pepper grinder.

Re:

Cheers guys, they are normal cable guides, there was just so many of them!

Regarding the bend in the top tube, it was hardly noticeable, but being a bit of a perfectionist with OCD I did notice it and couldn't leave it alone.

Having ridden it around the estate at work running errands, it's so easy to have fun. Both of the lads I have been working with today ride, so know what a good bike feels like and they are both impressed. This is a fun bike to ride. :)
 
Re:

Fitted an on-one 17t sprocket yesterday, and had to make my own spacers. Simple maths got it perfect.


First proper off road ride last night, tried the blue at the fod. It's been a long time since I've ridden a single speed off road and it showed. Huge amounts of fun tho, I was able to tell it on some of the faster technical sections without worrying what gear I was in or if the chain would drop off. :)


Front end could do with being a little sharper, I might drop the travel to 130mm to see if that helps.

:)
 
is that because there are so many weld on cable guides on the top tube, the tube is actually ever so slightly bent
How does this work, I mean - why would the tube bend, due to the heat of brazing (assuem they are brazed on?) genuine question.
 
stevet1":361r1btb said:
is that because there are so many weld on cable guides on the top tube, the tube is actually ever so slightly bent
How does this work, I mean - why would the tube bend, due to the heat of brazing (assume they are brazed on?) genuine question.

Yes, because of the brazing. I am sure the tube was perfectly straight to start with, infact the tube is really strong. Really strong. Adding a trio of cable stops would have a very small effect on the trueness of the tube, but adding a total of 12 would distort it quite a bit.

The distortion happens as the parts cool after welding/brazing, the parts in the immediate area contract, only by a small amount but on something perfectly straight you would notice it easily.


I have all but given up on this frame, as nice as it is it was aggravating old knee injuries, so I have put the forks etc. back on the Foes and hung the Curtis up in the workshop. Its such a shame, as it is a very nice bike to ride, but my knees are saying no. In a way, I am glad I didn't spend any money on new parts for it, the idea of trying the thing first was sound.
 
That is the beauty of this forum. We are all here for each other.
I have a great set of knees and could ride that frame for you.
Send it over!! :D
 
It's been nearly three months since I split the Curtis. It hung in the rafters at work, seemingly unloved, but I was always on the lookout for parts to perhaps build it up on the cheap/quiet. Then last week, a friend announced that he would be splitting his bike, and perhaps getting a 650b in the new year. While I was sad to hear he would be without a bike, I pounced like hawk onto the Gucci bits he had fitted to his frame. I walked away with brakes, wheels, forks, bars and seatpost.

The brakes are the latest Hope Tech3's, they will end up on my Lynskey. So the brakes that are currently on the Lynskey are Tech x2's, and I had planned to replace the white hoses fitted with black, but on the Curtis the white hoses should look ok. The forks are Rockshox Revelations, at 130mm, and are similar to the ones fitted to my Foes so I know them well. And the wheels are slightly odd, the rear is a Hope XC from 2003, the front is a newer Pro2. I've known the wheels since new, I know the original owner. The XC hubs work well with single speed as the steel freehub body is bombproof. They came with a ti, but I swapped it for a steel I had lying around.


Bars are Burgtec rwr's, I cut 10mm from each end to get comfortable. And the seatpost is the Thomson that was originally in my Yeti.

I think the problem I had back in the summer with my knees is that I was trying to use the bike on group rides, and I'm just not 'single-speed-fit'. Having ridden the bike for the last few days entirely on my own, I realise that riding a singlespeed is different to a geared bike, and it's well suited to solo rides. I have to go like **** on the climbs, and rest. Then go like **** again, and rest. This won't work on a group ride unless I go with like-equipped riders. So I'm just gonna enjoy the bike for what it is, a blast.


I want to try a longer chain, I measured it this afternoon, and there is enough scope in the dropouts for this. I will grab one from the LBS tomorrow.


I've ridden the bike every day since I built it on Thursday, and I'm really enjoying riding again. It is bringing back memories of my Cove, and we used to go everywhere together. I hope it doesn't fade.
 
Interested to know how your getting on with the Curtis as they are such rad quality made hooligan frames.

Me thinks you should stop pussyfooting and ride it , ride it hard.
 
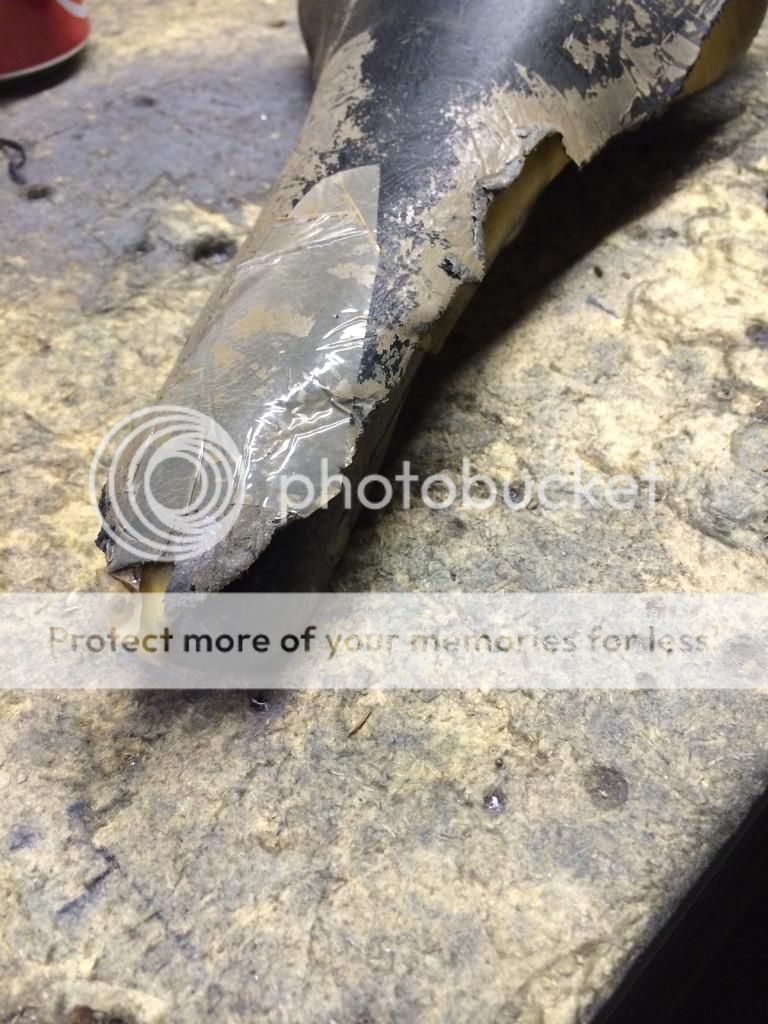
:) You may have spotted in the pics above that the saddle was covered in parcel tape, it was so dog-eared that I had to do something to keep it in check. I love Flite saddles, and I have always wanted to have a go at recovering one, but never had the courage to try, and possibly balls it up.

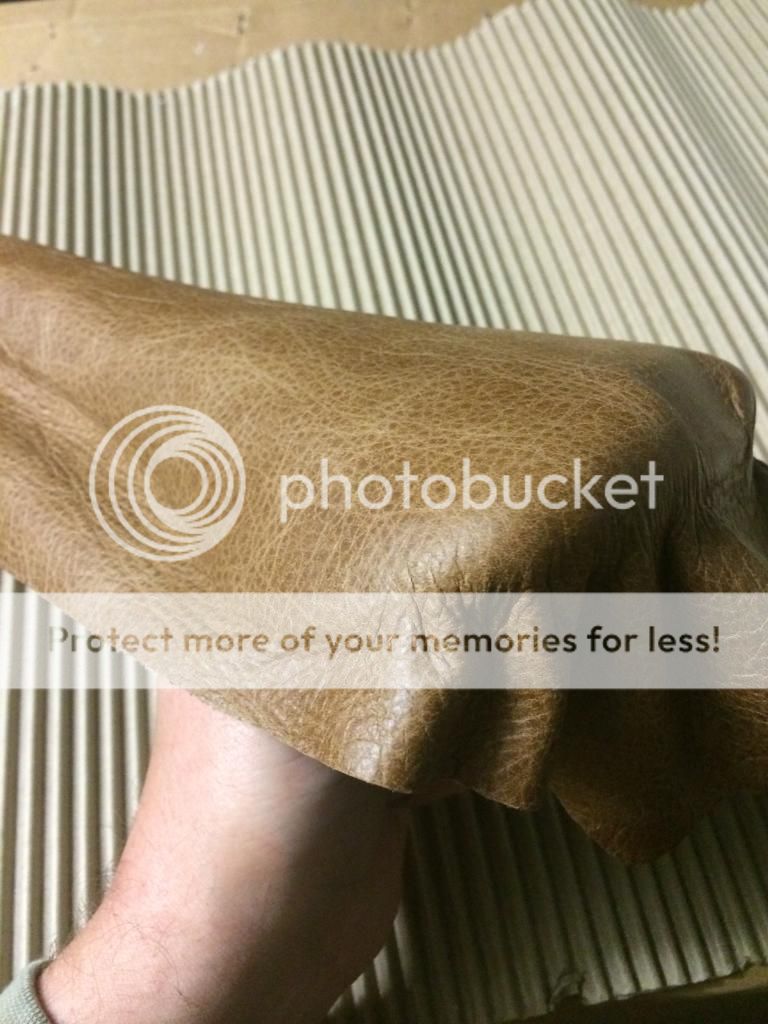
Whilst looking around in the store cupboard at work, I noticed a can of 'trim fix', the sort of spray glue used in upholstery. Ideal, all I needed was some material to use, so a quick browse on the 'bay found some nice tan leather, 1mm thick and pretty supple.

Heres what I started with:-


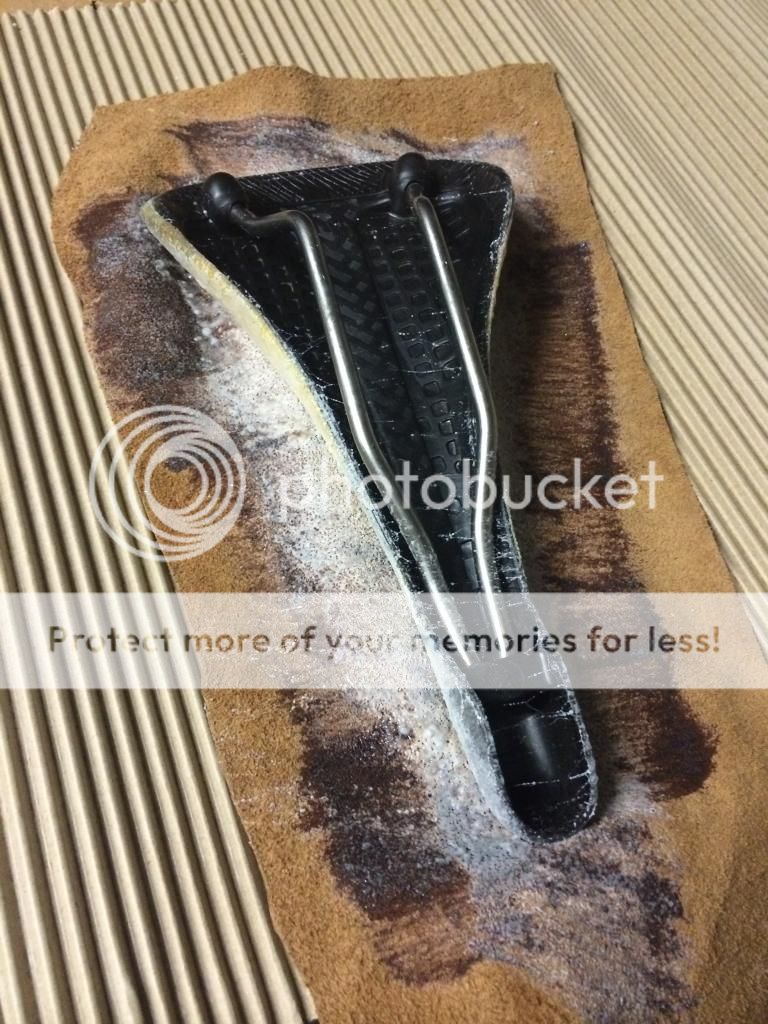
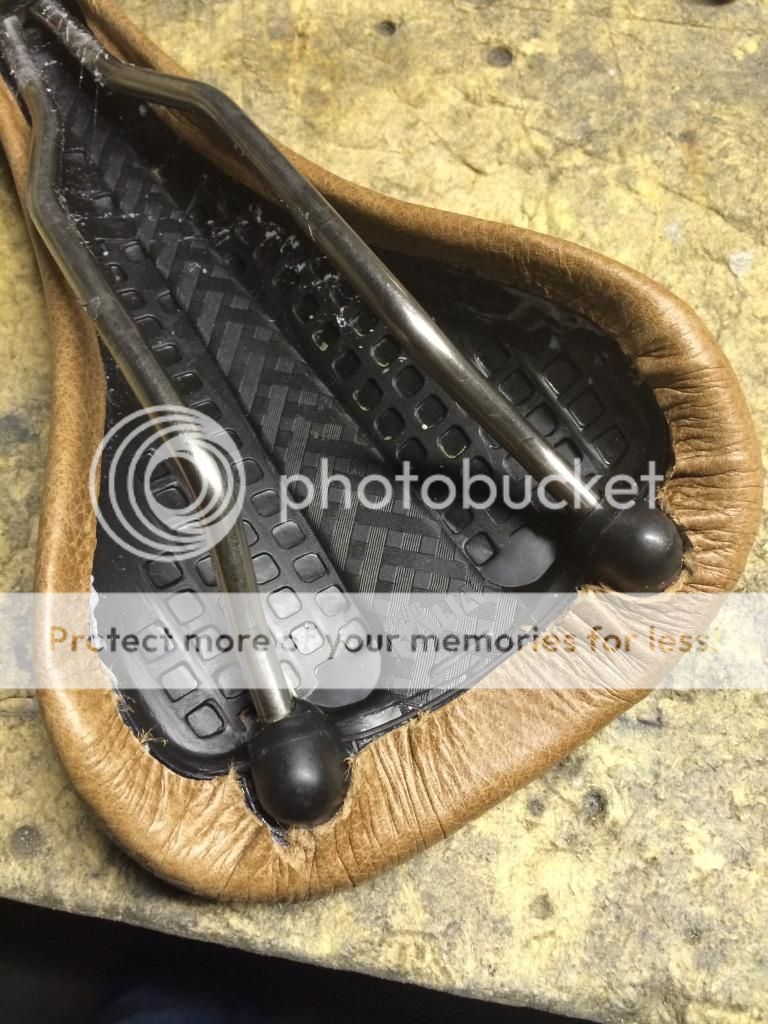
And stripped to the bare parts. I toyed with the idea of removing the rails, but I know that whilst they are relatively easy to remove, they can be a pain to reinstall.


You can see the remnants of the old glue, I found the glue on the top of the saddle came off easily, but the glue underneath was pretty hard to get at. After trying various chemicals to soften the glue, I found the best was brake cleaner. It softened the glue just enough to remove it, but didn't affect plastic seat base.


The base looks in really good condition, and has cleaned up really well.

After leaving the foam to dry out for a few days, the leather arrived, and I had my first go this evening.

First up was to reattach the foam to the base. This was easy with the spray glue, but there was a few areas where the foam was worn away, mostly on the nose of the seat. I used a DA sander with a 100grit disc to blend in the missing/lumpy areas:-


After reading some advice in the interwebs, it made sense to apply the cover from the centreline outwards, so I started by spraying the glue only up the centreline of the the saddle and the cover, let them dry and pressed them together:-


Then I applied more glue, let it dry and chased the sides together:-


Now, because I can only add so many pics to a post, I will continue this in a mo.....
 
So, to continue..

From the topside, it looks like this:-


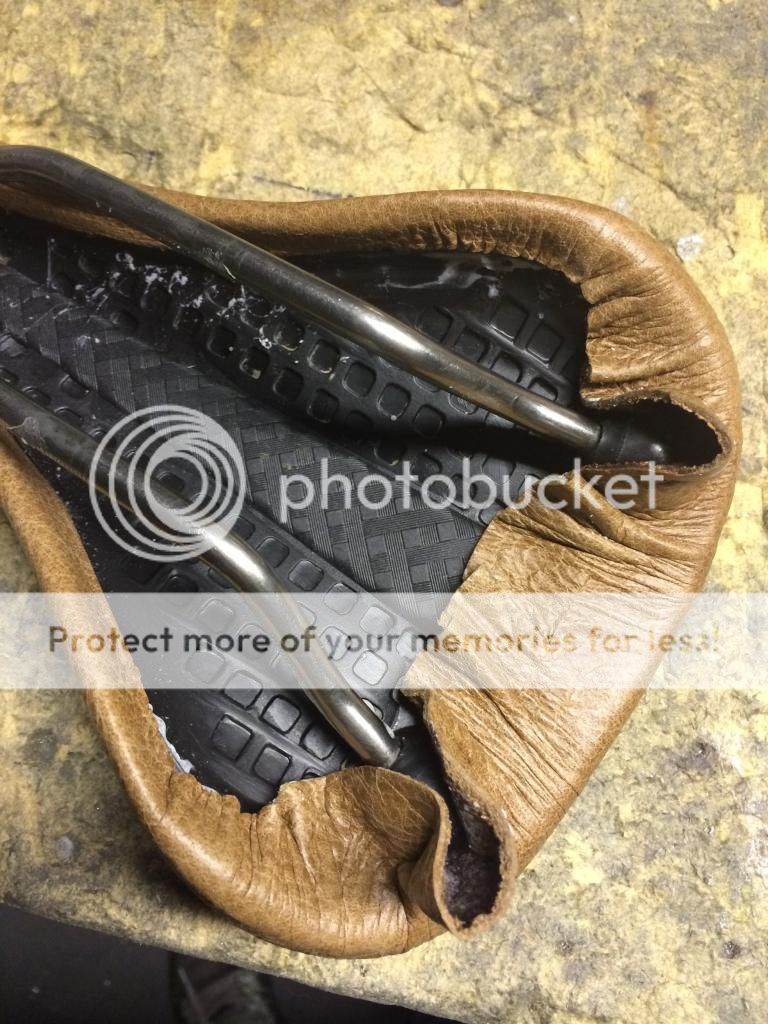
This is where it gets tricky, in my mind. You have to lose the excess material underneath, and bunch it up as evenly as possible.


Same at the back:-


After spraying in more glue, letting it dry, I could press in and stick down edges.


And trimming up. A brand new blade in my Stanley knife was just the ticket.


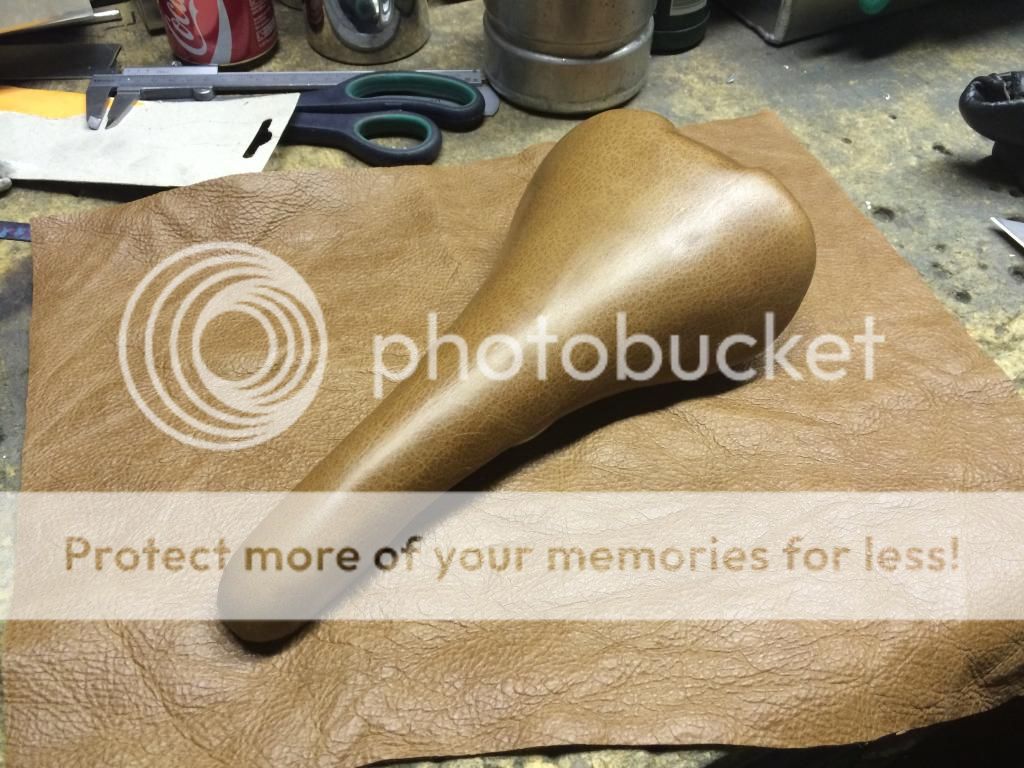
So, here she is:-


You can see I've got a bit left over so Im gonna try another in the next few days. I've found a Flite alpes that I will try next :)


For reference, here Is the Aples that I had 'professionally' recovered a few years ago :/

 
Back
Top