Mt.T's Gazelle
Thanks for the information and support!
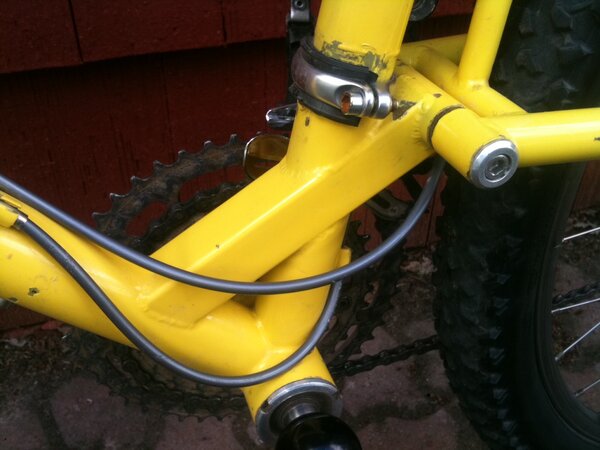
Felix, your bike is beautiful and shares many frame details with mine: rear brake cable runs to the right side of the seat tube, kink in the rear sub-frame tube, 1 1/4" hs I assume.
Now i'm thinking mine must be a Gazelle, repainted and decaled as a Defiant.
Other details that point to a repaint:
Location of the "Defiant" decal, normally much further forward, near the head tube.
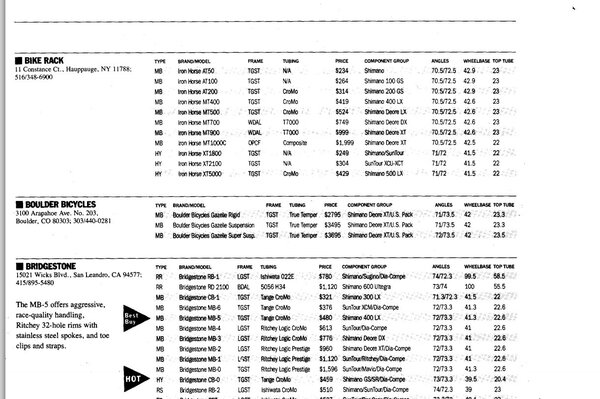
"Boulder Bicycles Inc."
Yellow paint on the rear fender mount threads, added by original owner.
M900 parts and fork that were not available until 92.
This confirms my suspicions, mine must be a repainted Gazelle and not a Defiant. Next step is to pull the fork and look for traces of the original color.

") ..
..