Mine is now finished
")
Rather than create a new post with a different method from yourself, i thought we could combine them both into a FSR bearing upgrade MEGA-THREAD
I will add the link to this thread in my sig.
The ingredients i used were as follows, the conversion cost me very little, (apart from the main pivot as i bought the BETD kit for this)
16mm OD steel tube (i had this laying about in the garage, it came from a B&Q store off cuts section)
8mm OD steel tube - 1mm wall thickness (this also was laying about in the garage)
688 2rs bearings x12 , i used x4 of these for the drop links (2 per side) i used x6 of these at the main shock linkage mounting point, and i used x2 of these at the top of each seat stay, you could do the entire conversion with x8 of these, i will explain how later on.
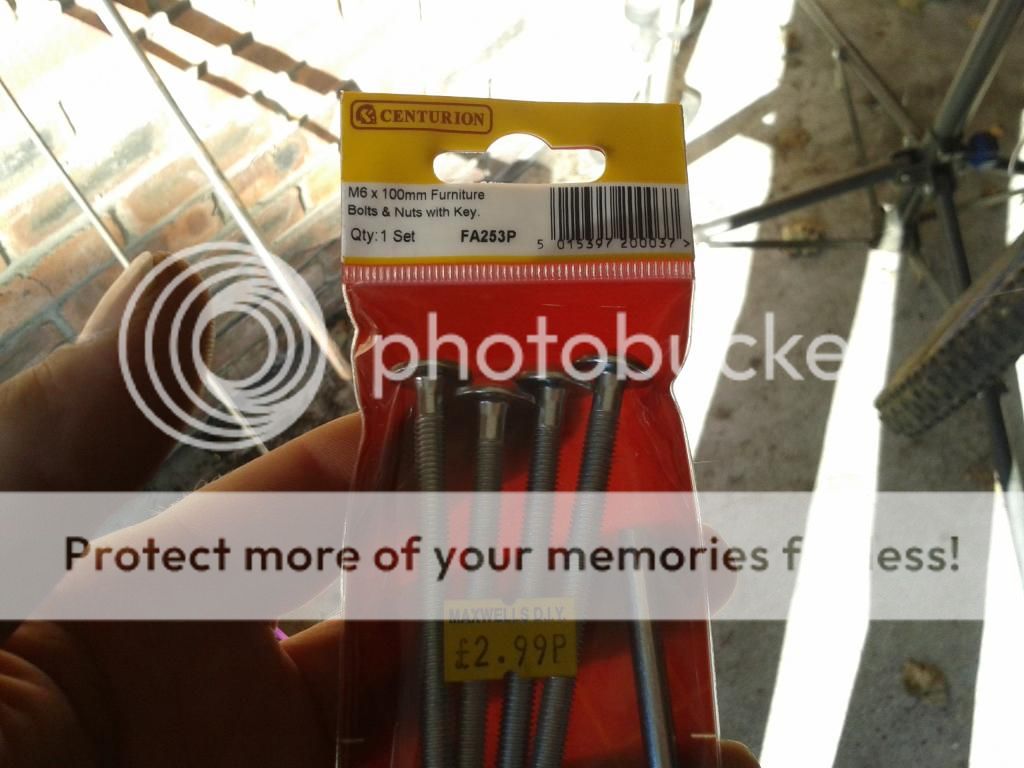
M6 threaded rod OR one M6x85mm bolt & one M6x55mm bolt, i used neither as my local fasteners unit was closed, i settled on M6x100mm furniture bolts that i trimmed down upon completion, they were cheap and came with a free allen key LOL.
8mm Drill.
Possibly some loctite/bearing lock (i never used it)
M6 Nuts x 2
M8 OR M6 washers x4 (i got my nuts and washers free from work, i build car seats for a living
)
I know you like pics, so i did my best
Step 1.
Make sure your 8mm OD tube fits inside the bearings, mine was a smidge tight and needed a little bit of "dressing" with a file so it would push through, you want MINIMAL play to this join, so a little tight is fine.
Step 2.
Strip the bike down and remove the stock bushes, test fit the 688 2 rs bearings into the seat stay like this, mine were easy to push in, but this probably depends on how much paint your seat stay has on it, this is why i suggest some people may need loctite/bearing lock.
Step 3.
Test fit the 688 2rs bearings into the shock linkage, the fit here on my bike was a little more snug, easily tapped into place though, you may need a little loctite/bearing lock if yours is badly worn.
Step 4.
Cut some of the 8mm OD steel tube to the same width as your shock linkage, i forget the exact dimensions, but i left mine a tiny little bit too long so i could file it down later when needed (like a bespoke fit LOL)
Step 5.
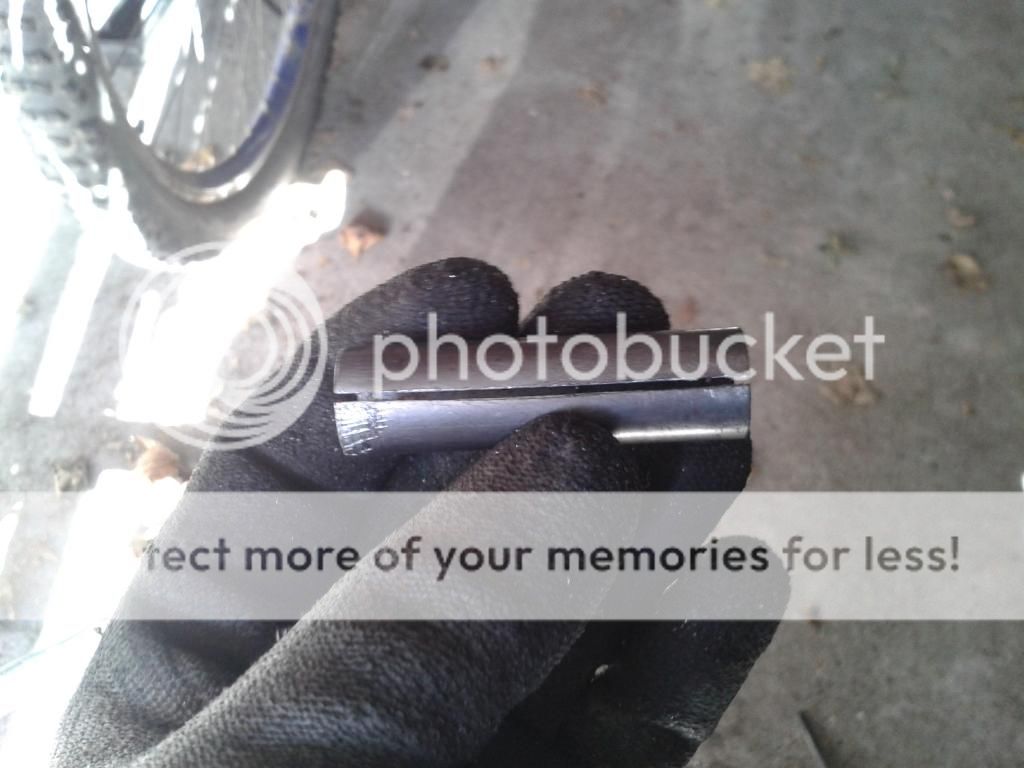
Measure the width of your seat stay top joint, subtract 10mm from this for the width of the x2 bearings (one each side) and also subtract a few mm per side for your top hat washers (i chose 1mm per side, in hindsight i would have chosen a little more) The figure you now have should be cut from the 16mm OD steel tube, this will become a steel spacer to fit inside the join, preventing your bearings from going to deep.
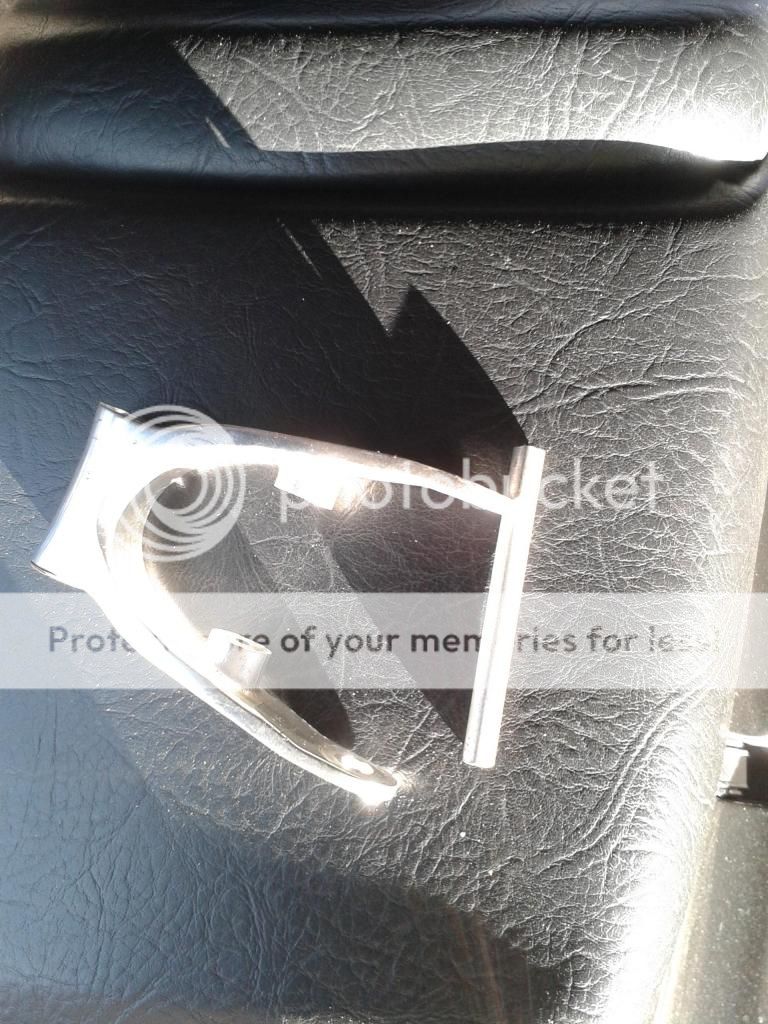
Step 6.
I found this spacer a little tooo tight for my tastes, i was not pressing the spacer into the tube, the bike was mostly still built up, i had visions of it easily getting stuck with me simply tapping it in with a rubber mallet, i tried oil/grease but i could see it was going to be a nightmare, so i cut a slot down the side of it like this to make it easier to fit (it slid in nice and easy afterwards) you can see the mole grip marks left in one end after i had to wrestle it back out after getting it inserted approx 10mm
Step 7.
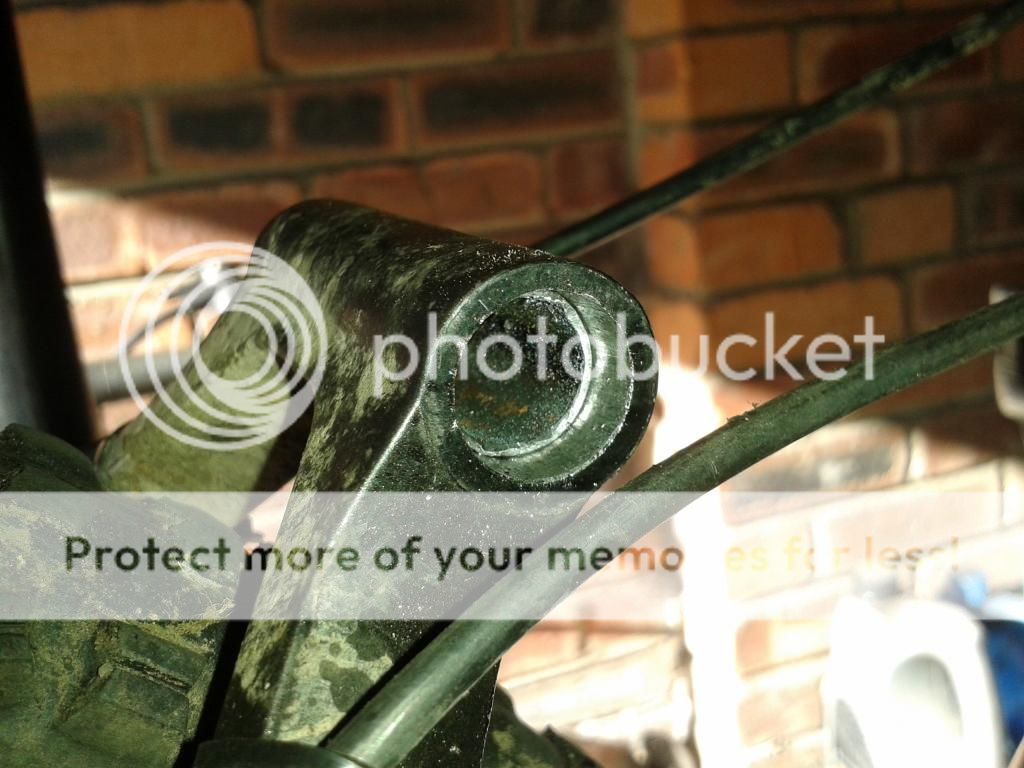
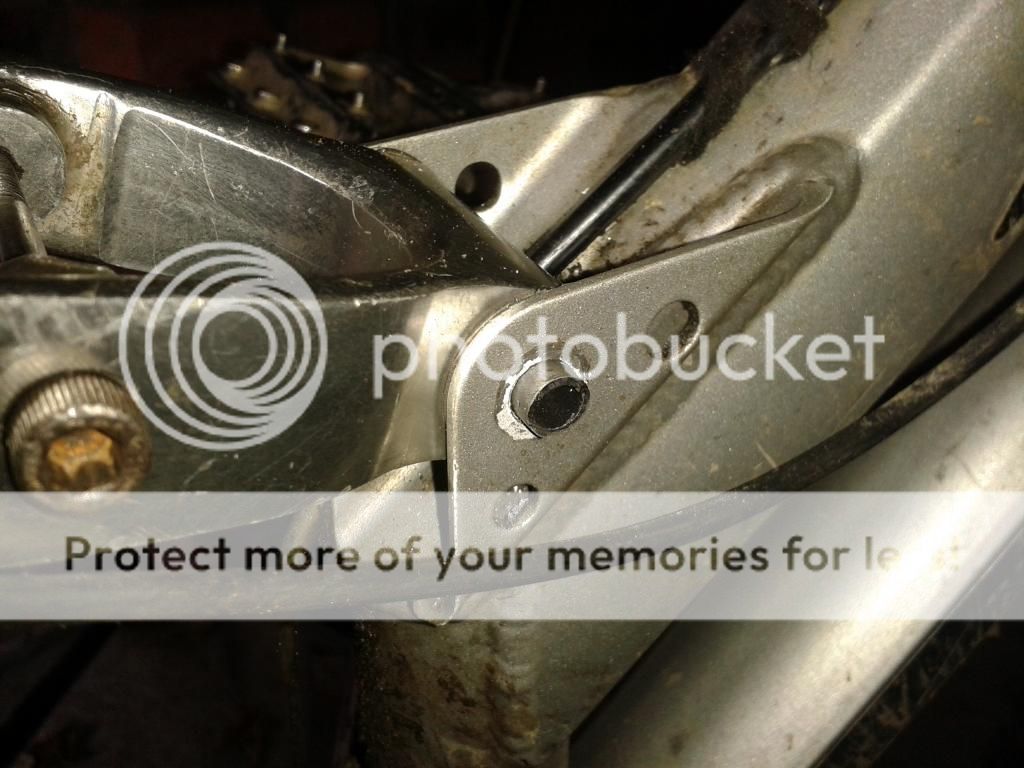
Spacer fitted with 6mm space per side for 1 bearing and a modified top hat washer.
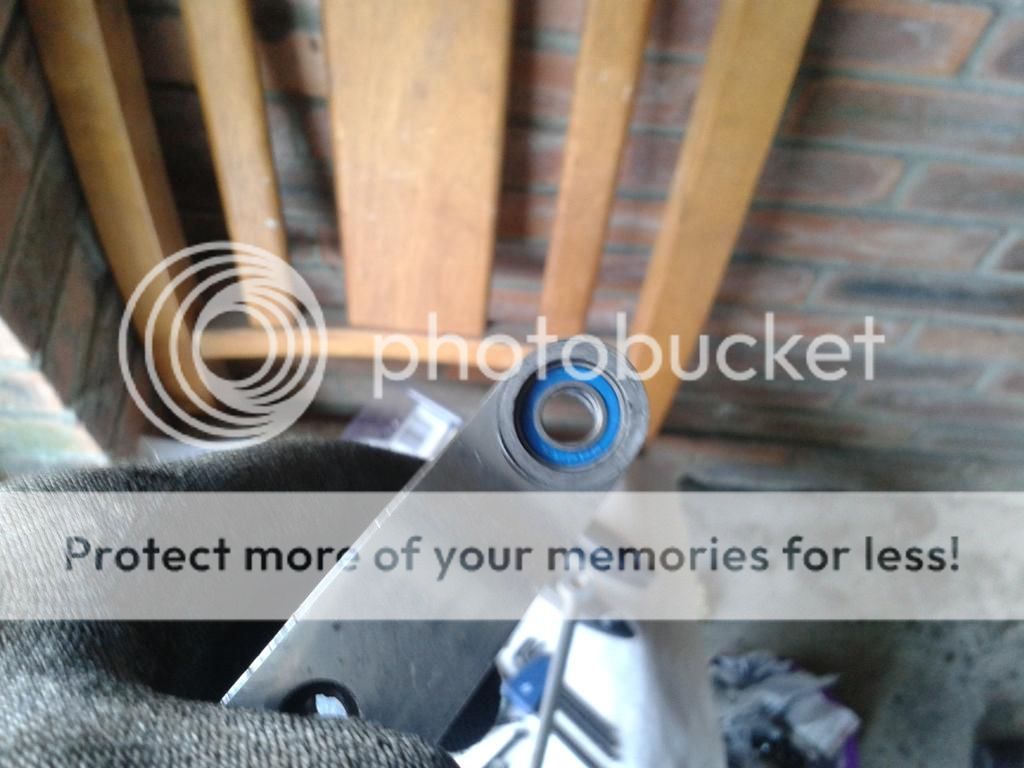
Step 8.
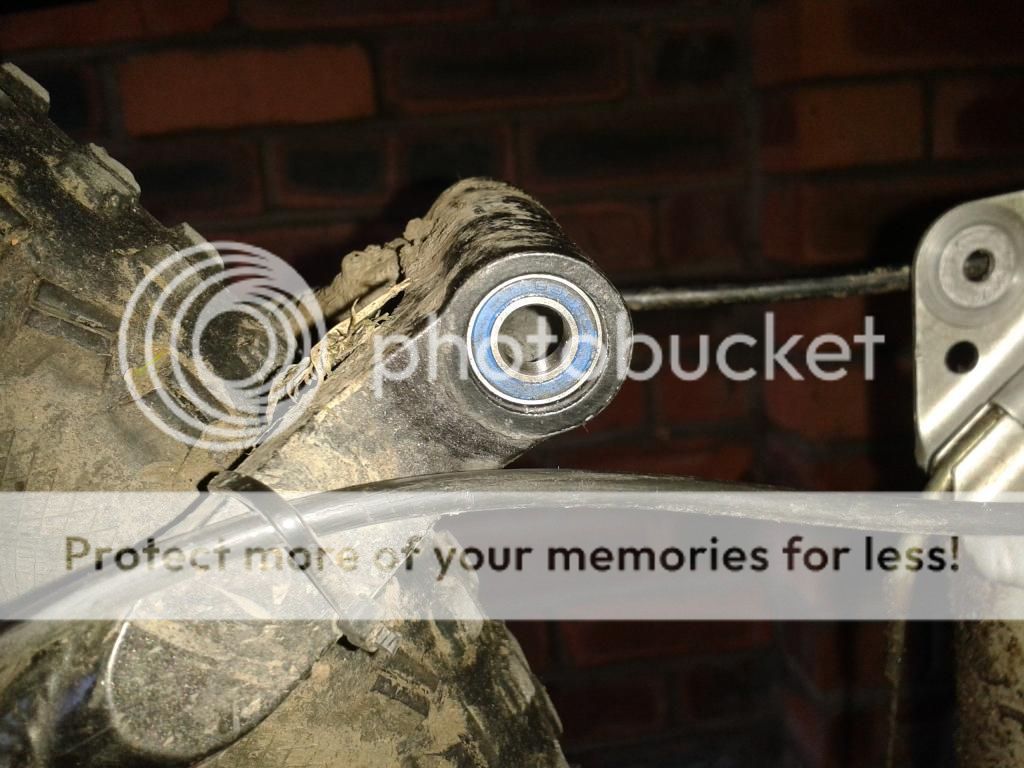
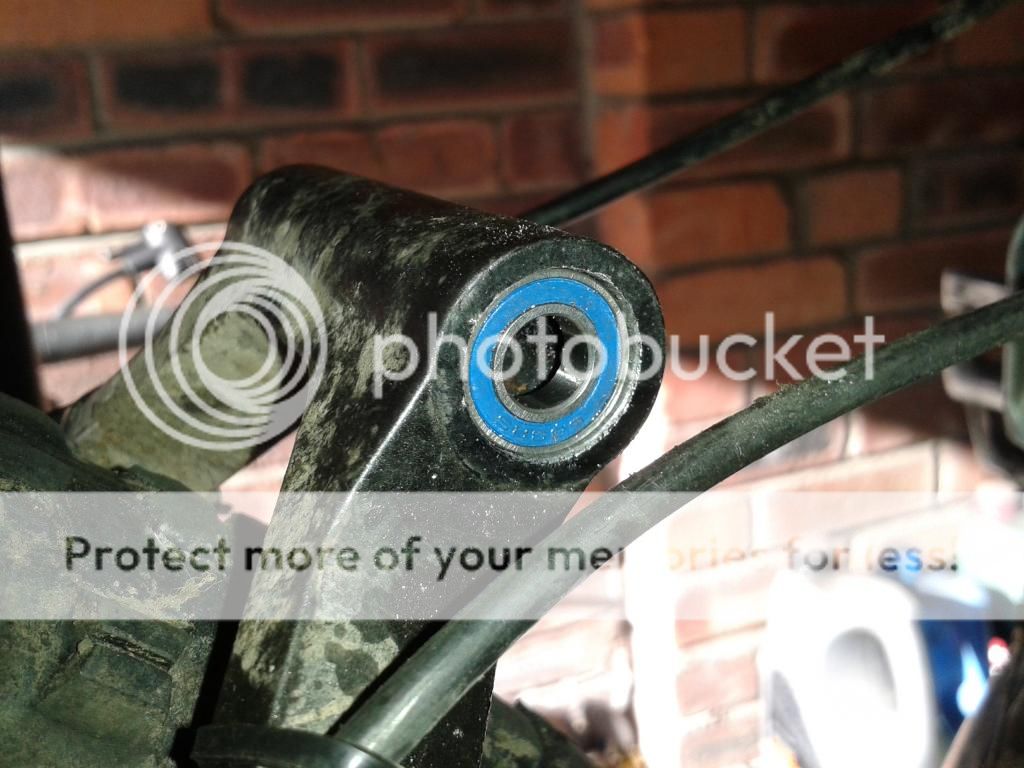
Bearing popped into place to check for fitment.
Step 9.
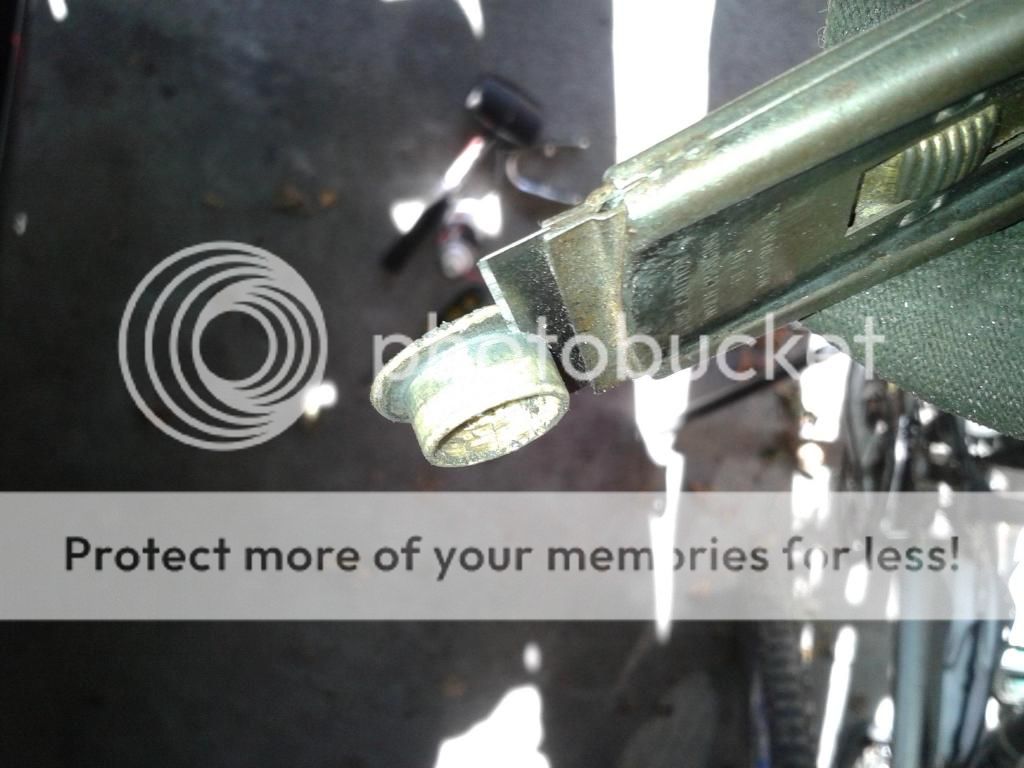
Then you need to trim your old top hat washers to prevent metal on metal contact, whatever you took away on length for your 16mm spacer, is the amount you must leave on the top hat washer, i took 1mm per side, so i cut my top hat washer and trimmed it down for 1mm. in hindsight i might have left a little more meat on the washer here (and subtract the same from the spacer) as it would make reassembly a little easier.
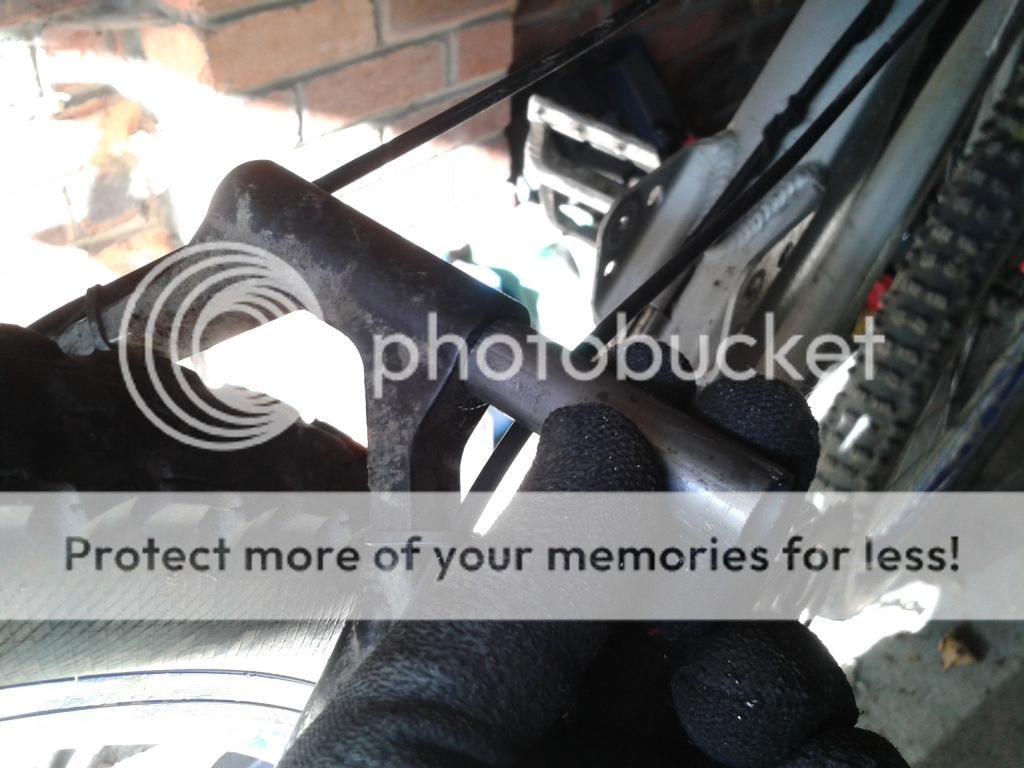
Step 10.
The 6mm hole in your alloy shock linkage must then be drilled out to 8mm (i forgot to take a photo), the previous 8mm OD steel tube you created in step 4 is pushed through the linkage, through the bearings/seat stay and back out the other side of the alloy shock linkage, you can then use you M6 threaded bar/Nuts/Bolts to bolt the linkage on like this, it is important that the steel tube is the same width as the linkage, you want the bolt to tighten against both the linkage AND the steel tube, this makes the linkage rotate the bearings, rather than the steel tube simply spinning in the drilled alloy holes.
Step 11.
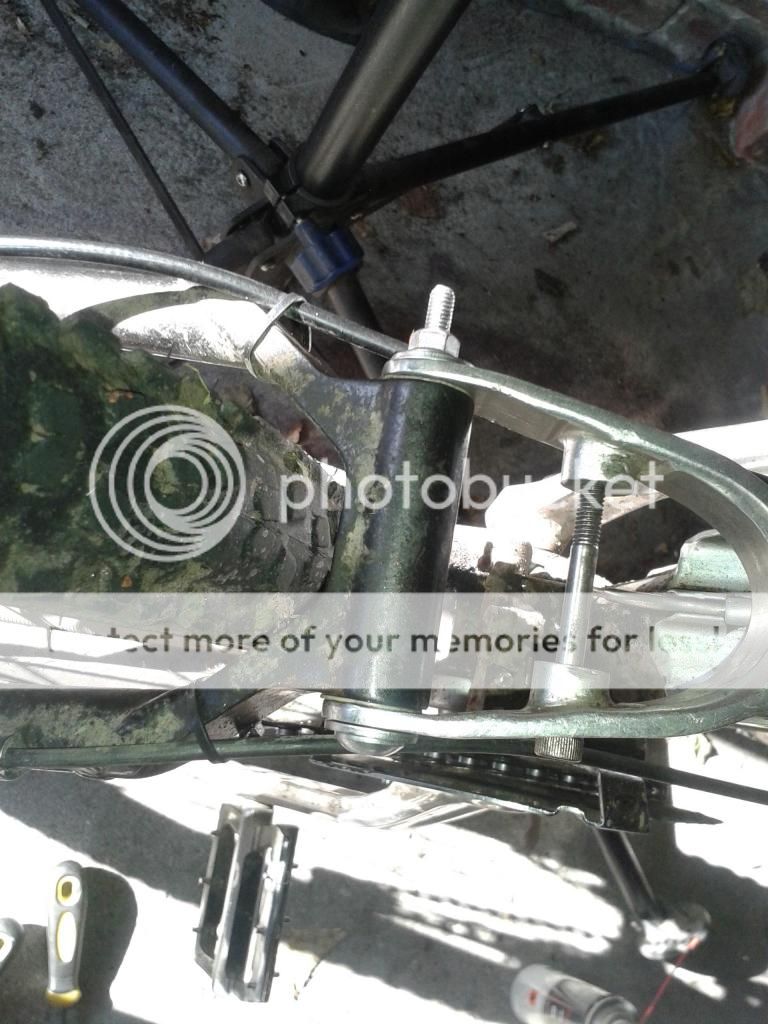
Drill out your frames shock mounting point to 8mm, you will need to create another 8mm OD steel tube to mount the linkage in exactly the same steps as above, i cheated a little on the front joint, instead of making another 16mm OD steel spacer to space the bearings out to the edge, i simply popped 6 bearings into the front join, i bought a huge pack of bearings anyway and had loads spare
this is why at the beguining i said you could do the conversion with less bearings than i did, you simply need to make another 16mm OD spacer to take up the space instead, i found that with 6 bearings installed, i could pretty much just use the entire top hat washer to prevent metal on metal contact instead of trimming it down. This picture was taken as i was tapping the steel tube home, it should sit FLUSH with the frame when installed.
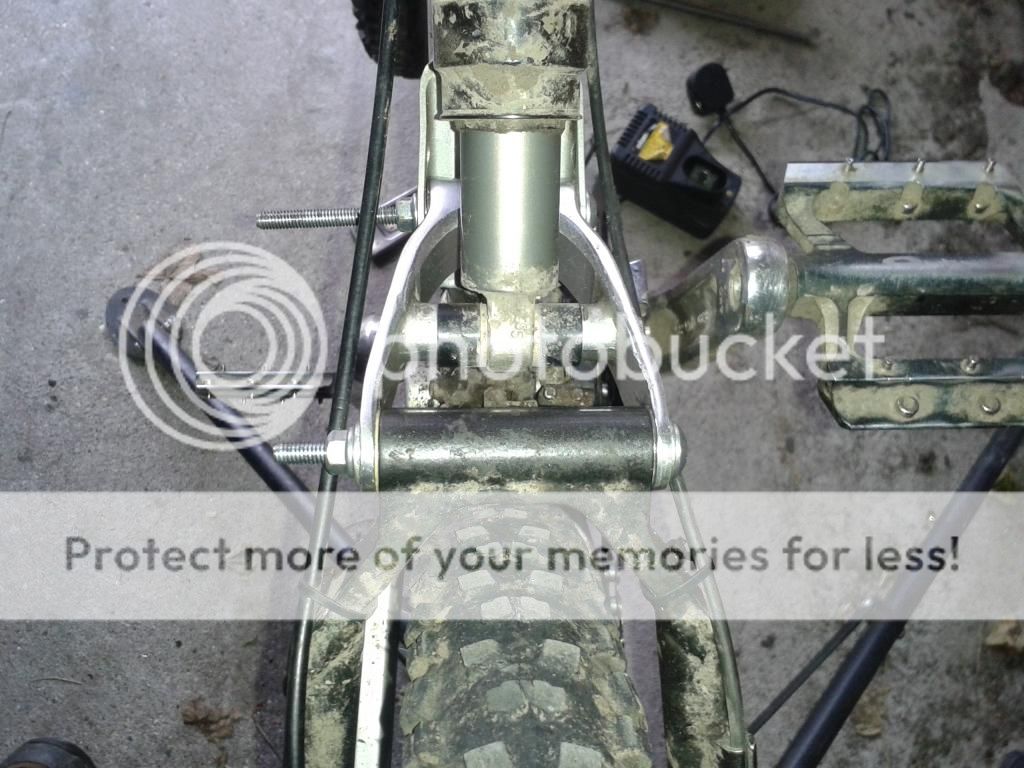
Step 12.
Add your front bolt, and if needed, trim them down.
The rear drop links are even easier, you simply need 4x 6882rs bearings, the 8mm OD tube is already fitted to the bike as standard, you have to tap these out to dissemble the bushes from the bike, remove the top hat washers/bushes and tubes, slide the 6882rs bearings inside, trim the top hat washers to suit (should be self explanatory after reading the above) then rebuild the bike by sliding the 8mm OD tubes back into the joins, follwed by the M6 factory bolts/washers/nuts.
EASY............