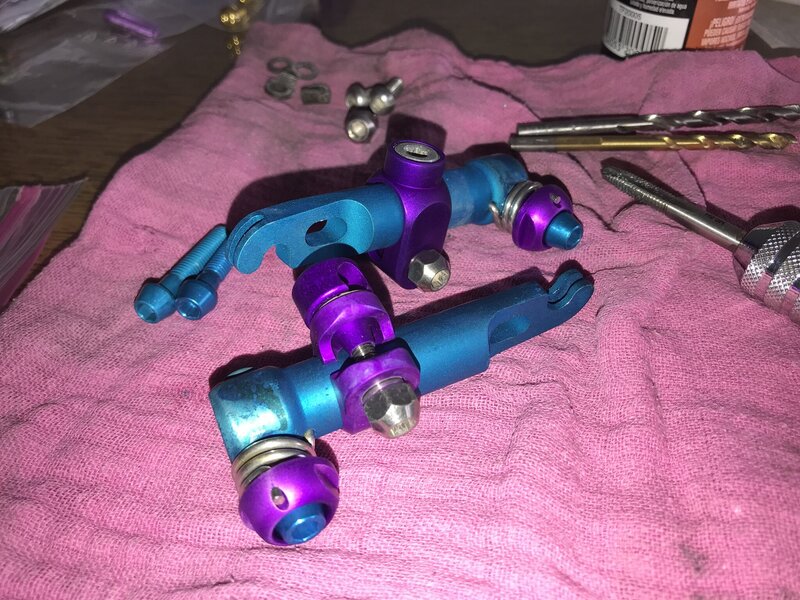
Moderate update: brakie brakie

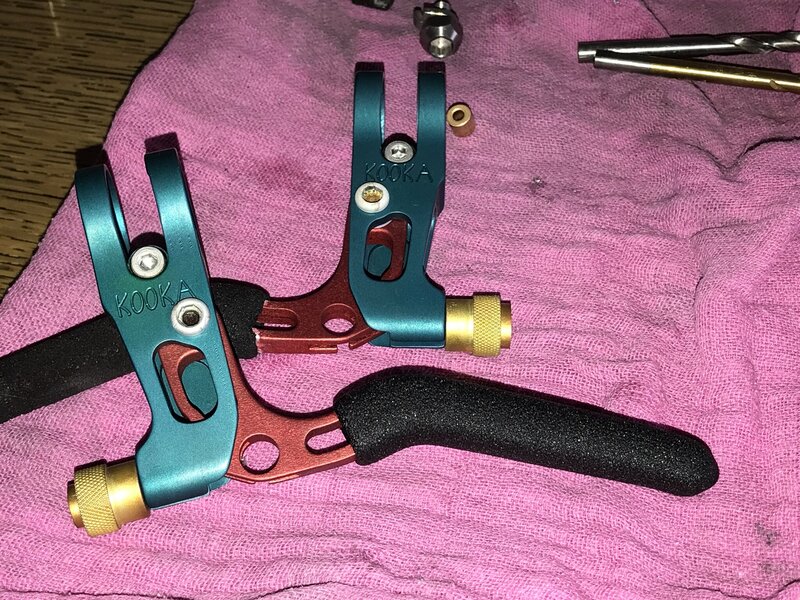
Been aquiring and researching tiny parts to get the SRP brakes and Kooka brake levers back together. Had to wait on lost orders and just general wait times for things to arrive. Yesterday in the mail I received some very much needed NOS Kooka Racha foams from @Star12 . Mahalo dude!

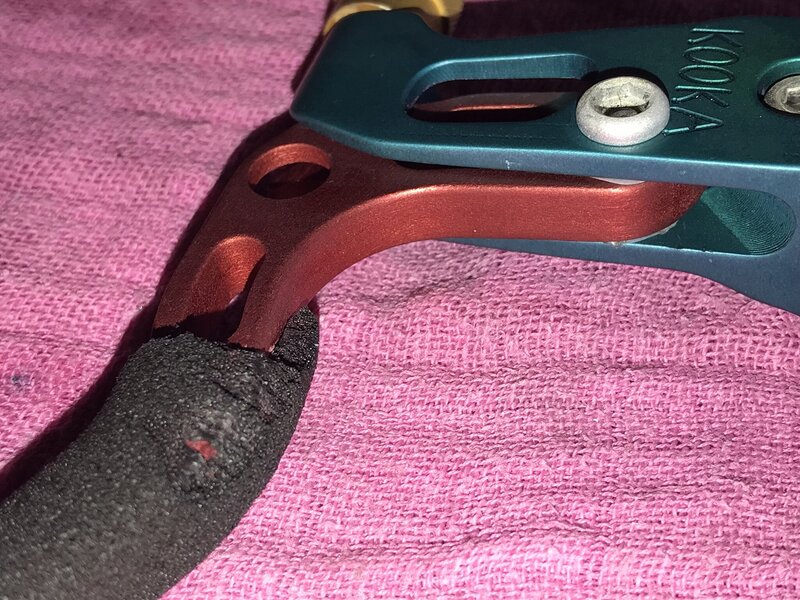
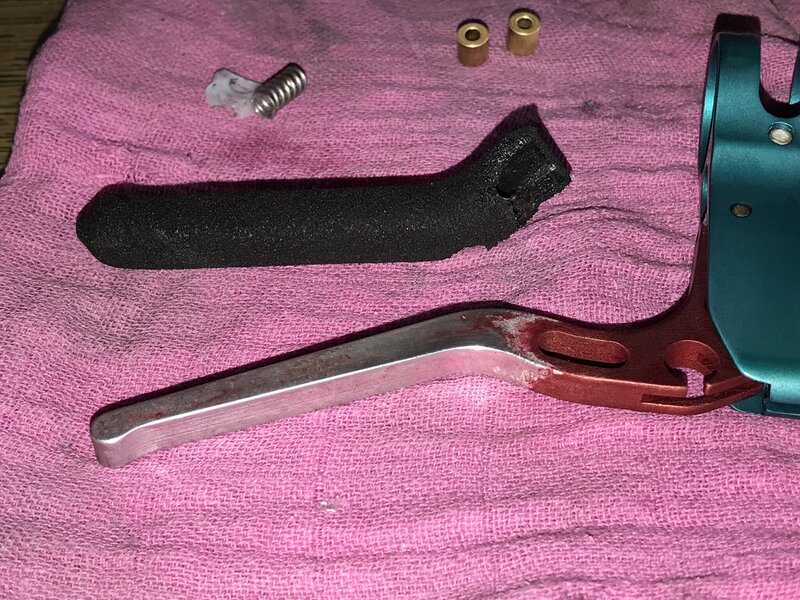
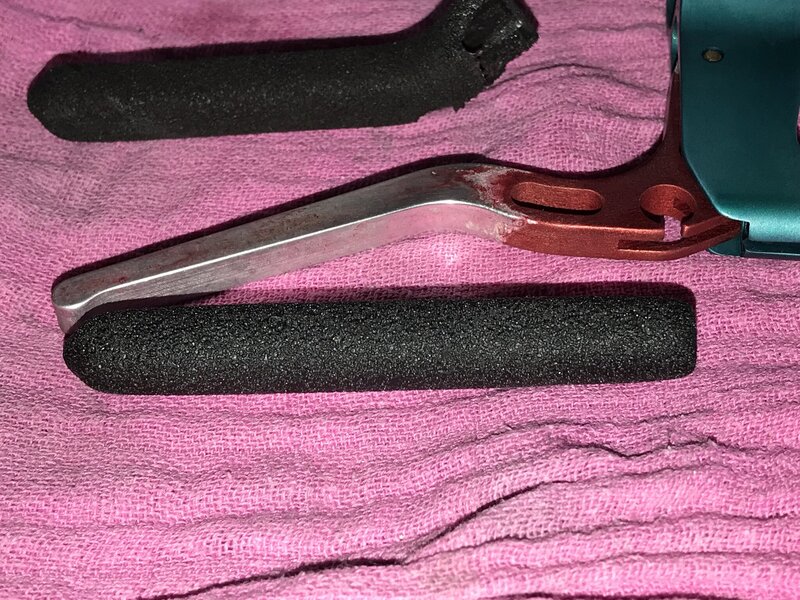
As you can see in the photos, one was torn. They go on about as hard a putting grips on bars. Tight mo-fo’s! The other brake lever foam is still intact so will set aside the other NOS brake foam for a rainy day.

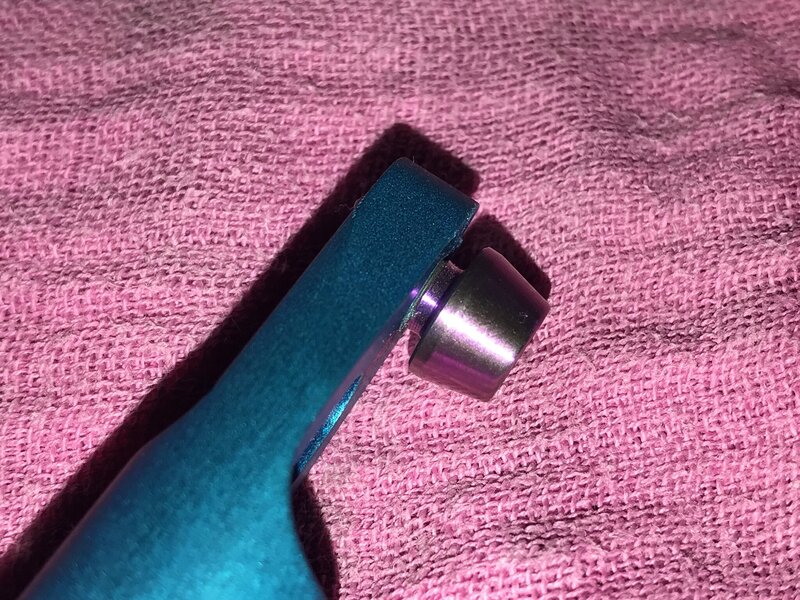
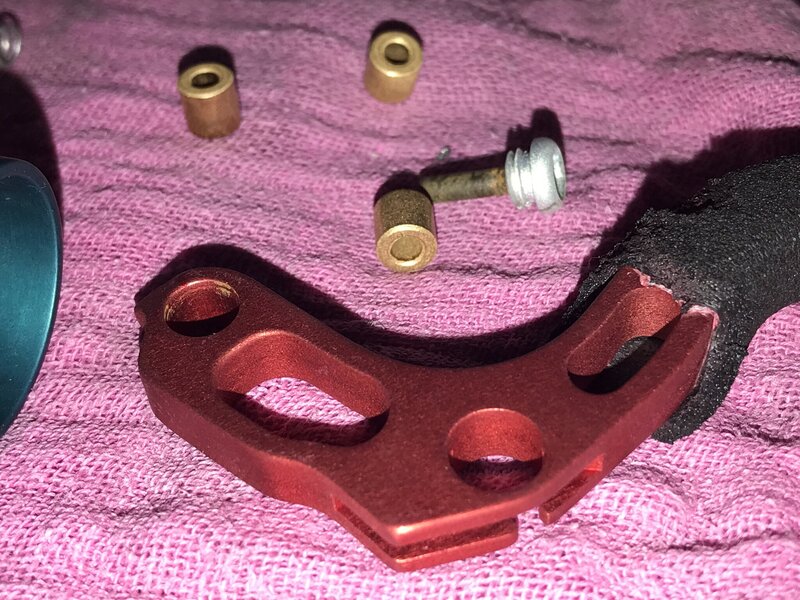
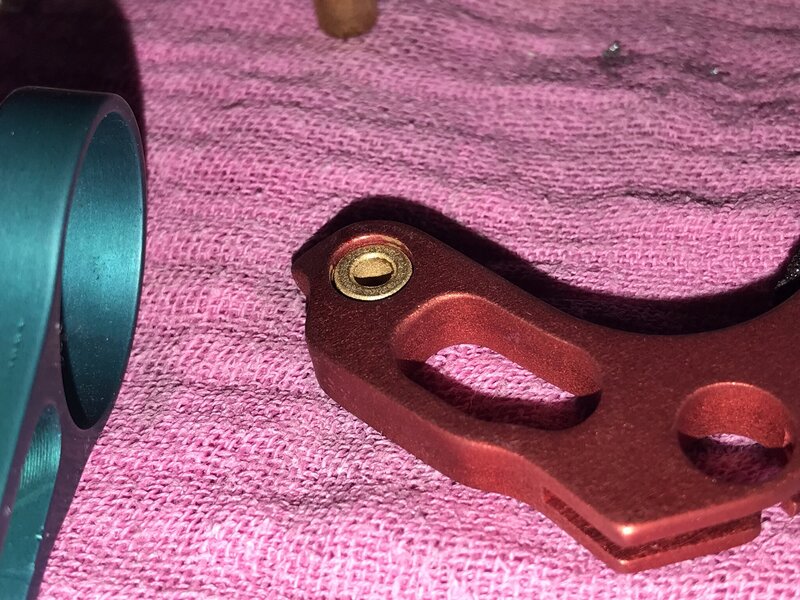
Additionally with the Kooka brake levers, the anodizing process is quite aggressive to ferric and brass metals The brake levers originally have a brass pivot with a 2.8 mm ID hole that a steel pin slides through to mate the lever to the cage body. The anodization process didn’t fair well at the beginning so the constant and prolonged submursion in the solution ate the original brass pivot right out of the brake lever. Thanks to @Dr Dremel and his link some pages back for a company located in Germany who sells all sorts of bushings from all kinds of materials in virtually any practical dimensions. I ordered spares and a few different sizes, just in case. These pivot bushings dropped right in and everything is nice and smooth. Thanks dude!

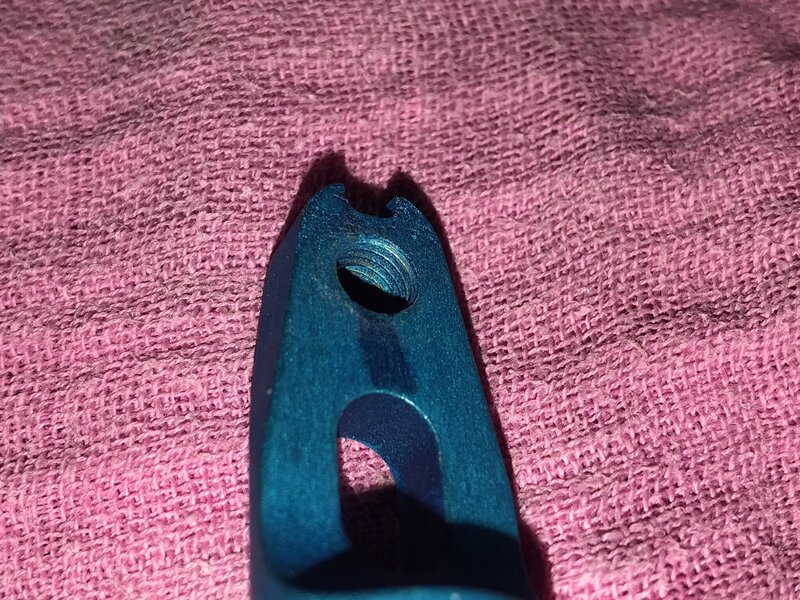
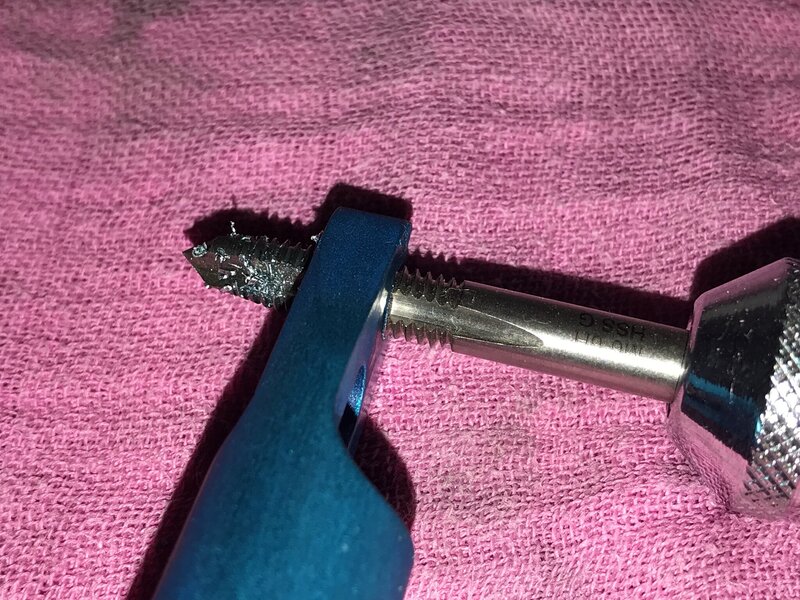
Next up, the SRP brakes. Also over exposed to anodization solution which ate away the helicoils for the brake cable clamp down bolts. Went from m5 threading to somewhere close to a m6! No worries. Ordered titanium m6 bolts, then chased the threads with m6. All is good. No difference in weight. Though I need to figure out a pinch washer solution. You know, the little washer that sits between the bolt and body of the brake arm and pinches down the brake cable. I need to fix that.
C1902CEA-B30F-49B4-BF6F-A91C1ADAC3A2.jpeg AF6D0174-E90F-40FA-A582-4CDD0D83EFF2.jpeg 0EE9CFC4-4E2F-4D52-AC0E-02F6FAD750E0.jpeg 0669EF9D-801C-49F5-80A1-57E463AD608E.jpeg B05470AA-E734-46B2-BEC7-5D770F7FDA34.jpeg 88B66C75-DC08-473D-8183-DDCF9518F2DD.jpeg 1E84BE1E-5770-478F-AECE-2BFD71AEB82E.jpeg 3A59FEFE-66D5-4B8A-8E86-3E41ABA755C2.jpeg 1DB54F60-2022-4EB7-96A9-49E33CFD2E9A.jpeg 6D03B29E-0863-4552-9B80-66732CB075D6.jpeg
 
Last edited:
this thing is going to be so bonkers
I hope so? I hope so! ADHD 'The bike'.

Needs something green.
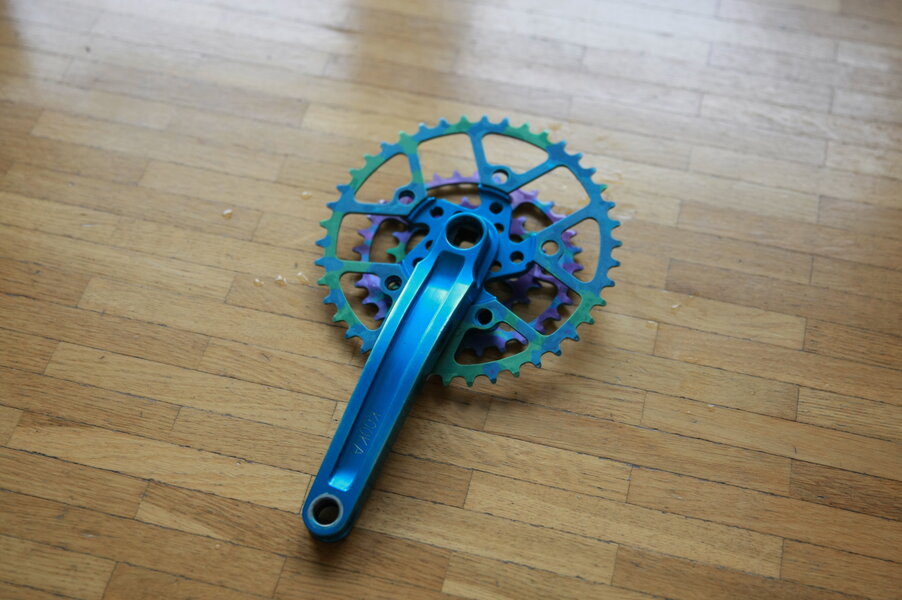
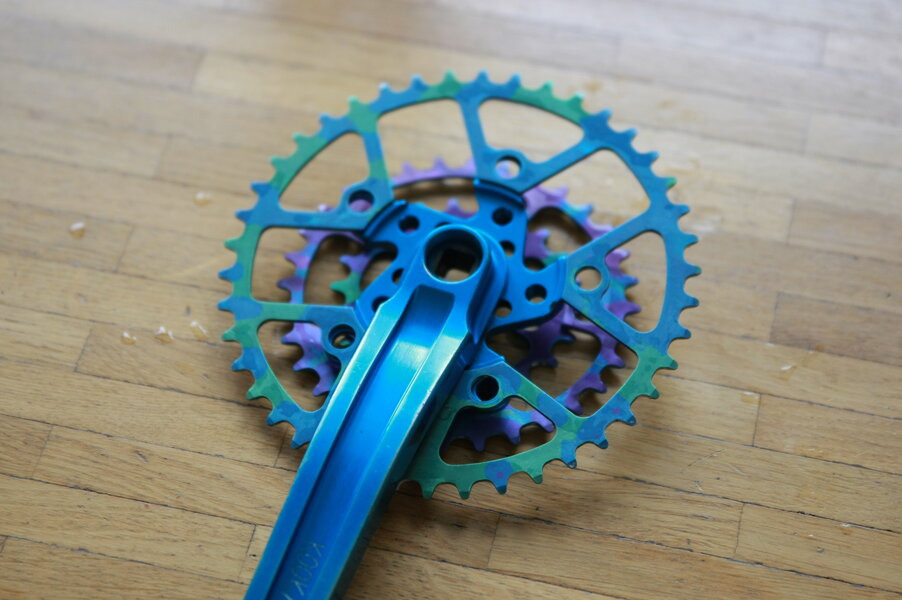
I kind of agree with you. The cranks are anodized blue, but perhaps the the chain rings need to be anodized green...but I have already anodized the cassette green. If I do the chain rings, maybe that is too much green? What area of the bike are you thinking?
 
I think I have enough parts that I can kind of start working on actually building the frame up.

Have you got a picture of everything together?
You just posted this as I was typing the above sentence ;) . Intelligent minds think alike... :LOL:

Still searching for rims. May have to snag a donor bike to get what I want. Mavic 217 'sunset' rims in a 32h is either impossible, or prohibitively expensive. Alternatively, the Mavic 230 VIB is obscure (but I like them) and may only be attainable via donor bike. Tires: IRC Geo Claw Lite in 26x1.9" is also elusive but gosh dang it are they light.

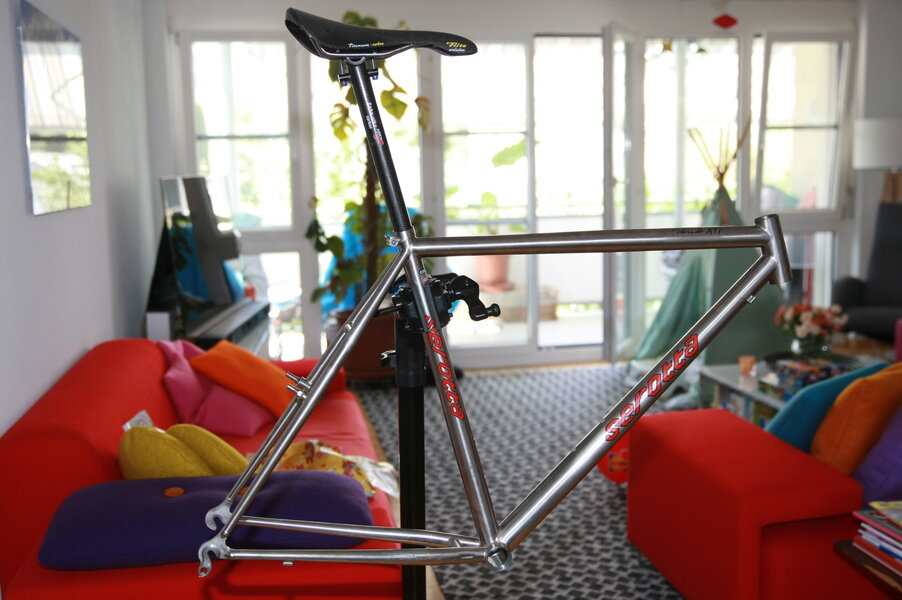
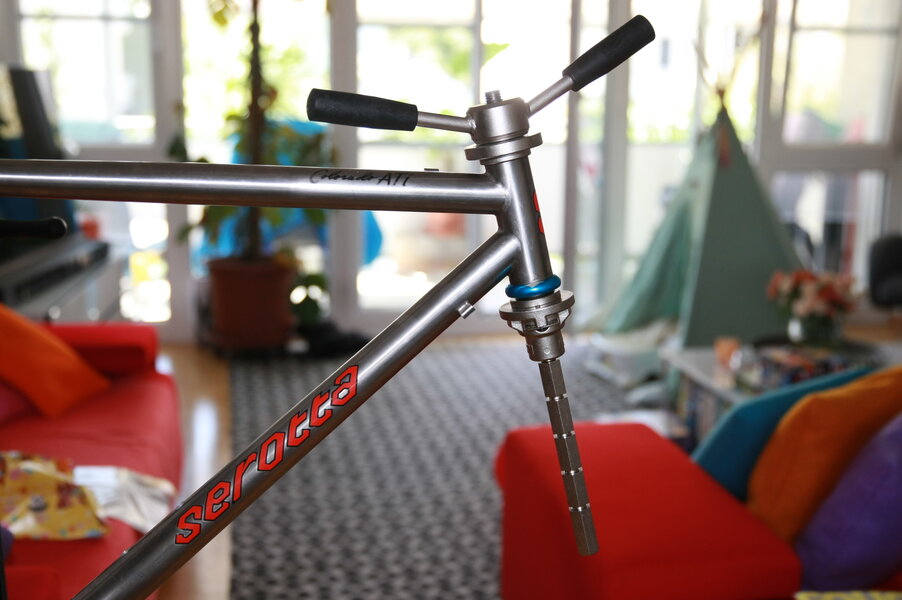
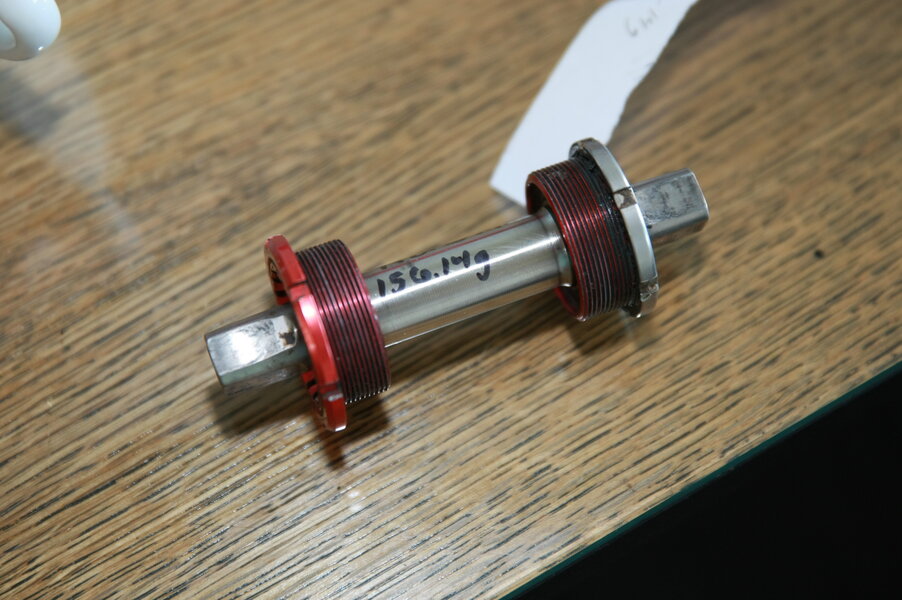
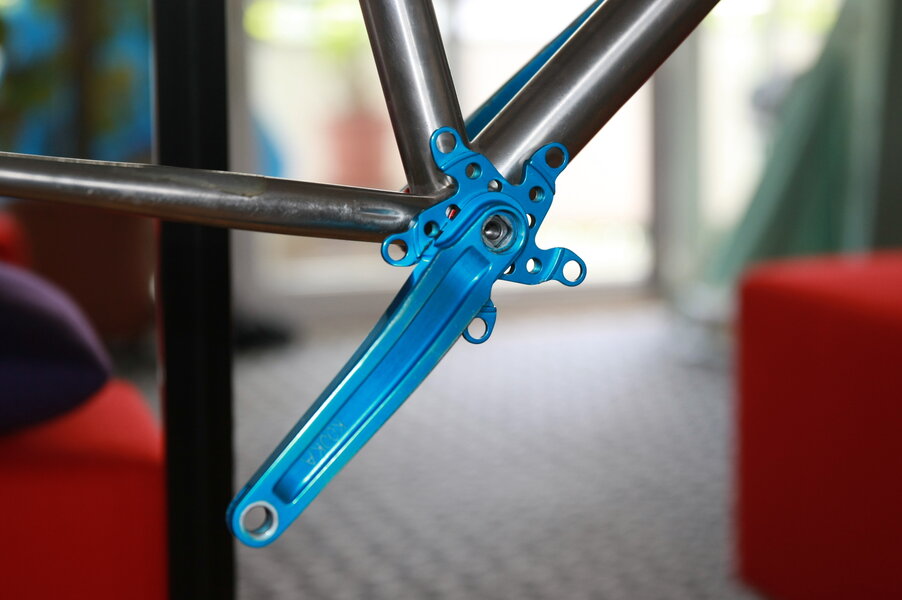
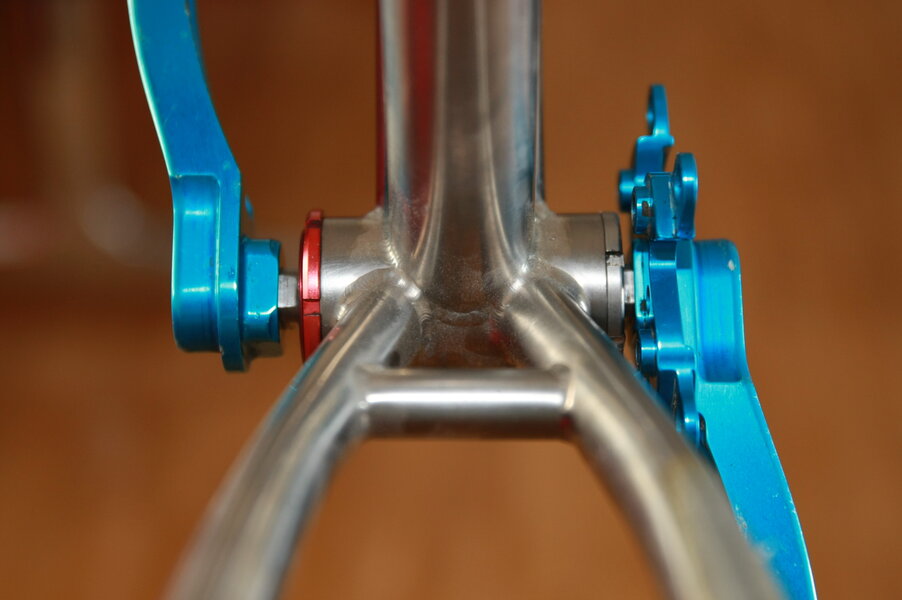
Today I pulled the Chris King headset off the frame to weigh the frame by its self to get my baseline. 1460 grams. That gave me an opportunity to check the head tube for deformation or cracks. All is ok. Reinstalled the headset after weighing. Installed the Schmolke seatpost and NOS Selle Italia Carbon Mk. 1 saddle. Then, mocked up bottom brackets to see what was needed for the Kooka cranks. 112mm is the hot ticket. Went to install an Ultimate Machine bottom bracket but upon closer inspection, the bearings are shot and I need to order new ones. Took the opportunity to deep clean all the old grease out of the threads on the bottom bracket cups and give a general cleaning to the insides of the cups as well.

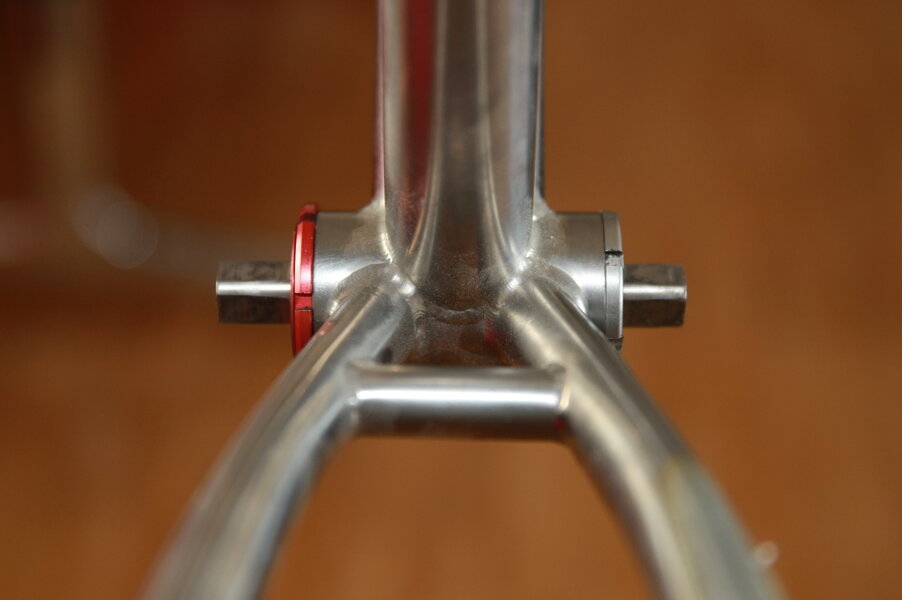
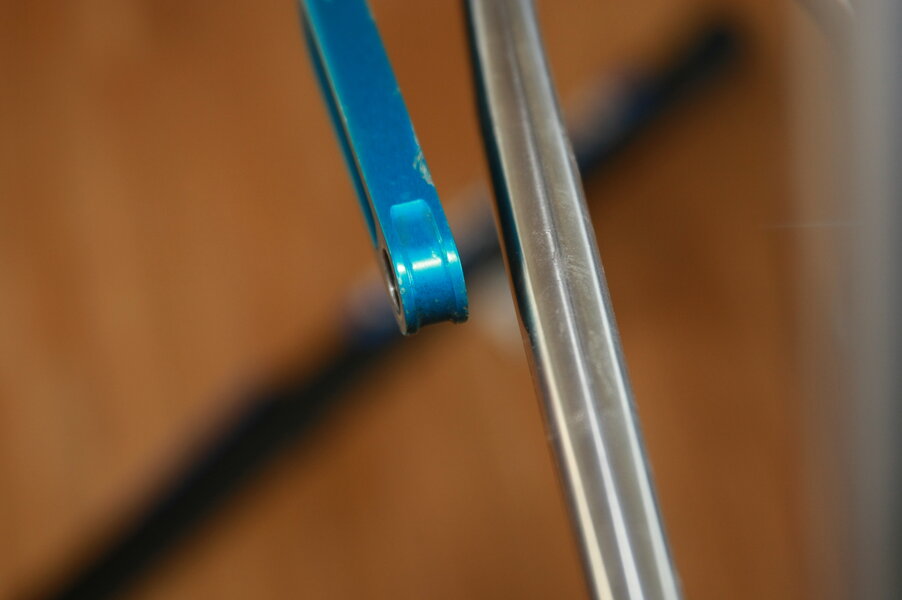
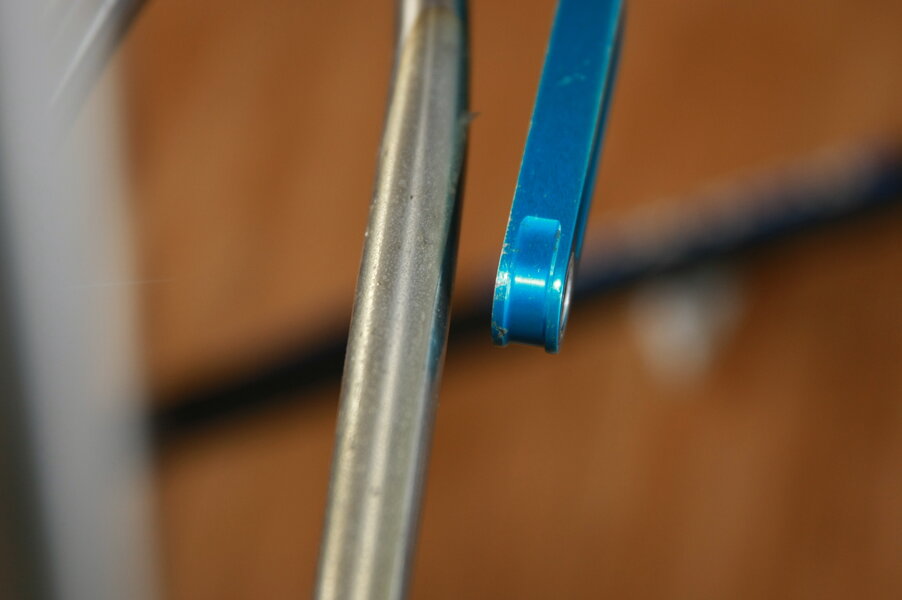
Fortunately, these bearings are generic, cheap and readily available. Stay away from ceramic! Not worth the money and actually have more frictional loss. Anywho, new bearings and a proper tool for the bottom bracket cup ring things with the six notches need to be bought. I may need some shims too. As the bb sits in the frame, the drive side crank arm is 2 mm closer to the chain stay than the non-drive.

Bearings for such a bottom bracket are: 6903 - 2RS. The RS stands for "rubber seal" i.e. dust seal.
Outer diameter: 30 mm
Inner diameter: 17 mm
height: 7 mm

IIRC, these bearings are so generic many many many bottom brackets from the 90's use these.

3O1F4926.JPG 3O1F4927.JPG 3O1F4928.JPG
3O1F4929.JPG 3O1F4932.JPG 3O1F4934.JPG 3O1F4935.JPG 3O1F4937.JPG 3O1F4938.JPG
 
Last edited:
Not too sure if that Ultimate Machine bottom bracket is going to work. The problem I have is that the cups are about 1.5mm too wide per side for the internal threaded portions of the bottom bracket housing of the frame. Was supposed to be a 112 x 68 mm bottom bracket and very well may be, but I bought this used so who the hell knows? I can install the cups completely into the bottom bracket to where they do not screw in any more, but there is still lateral slop of the axle and bearings. I have a few other titanium bottom brackets that are 68 mm (axle too long for what I need) but the cups are around 15 mm wide each and snug up the axle and bearings just fine with a bit of room to adjust play. I don't want to shim the Ultimate Machine axle at the bearing races to make up the spare room, so I am currently looking for something old from Action Tec as a solution (I hope that works).

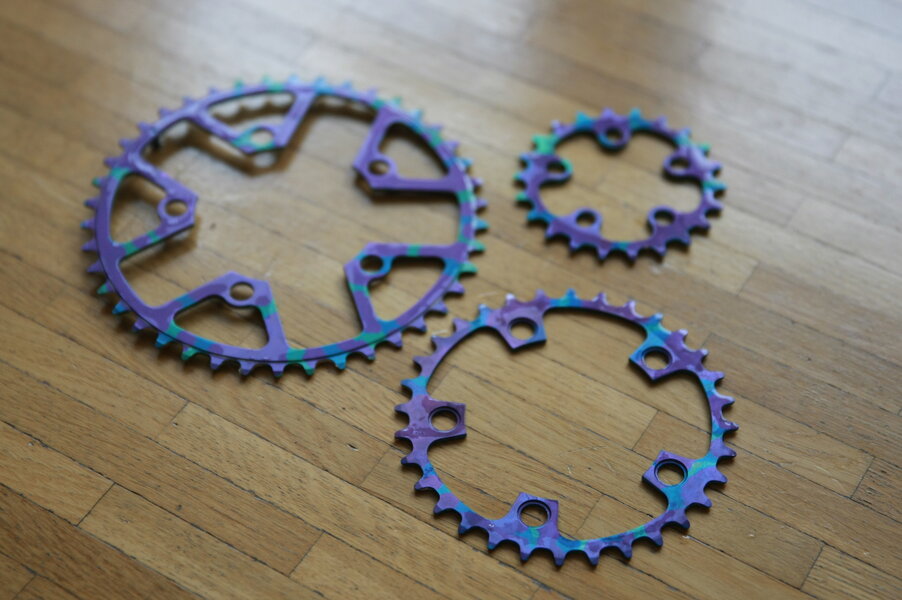
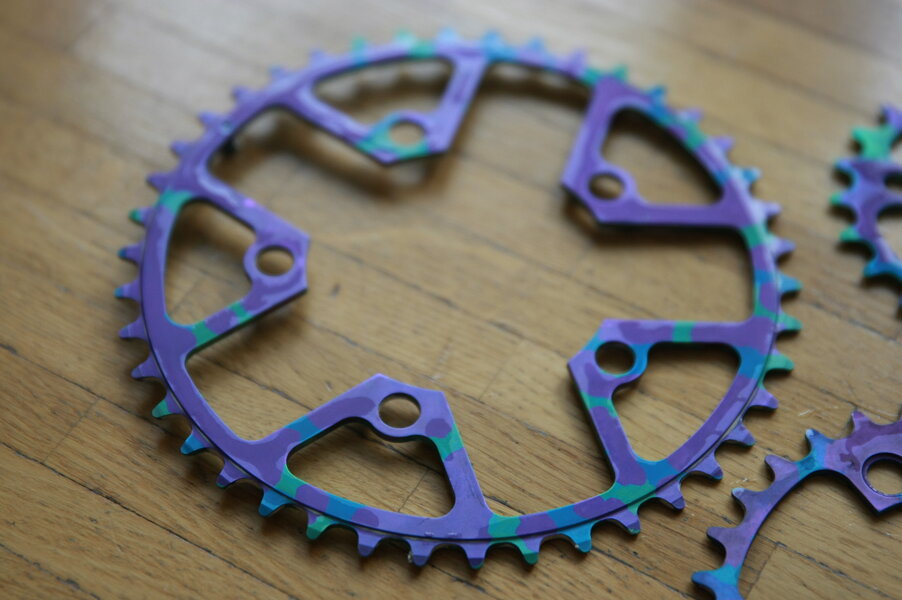
The weather was pretty rainy today, and took advantage of that by anodizing my newly acquired titanium Action Tec chain rings. I attempted a "splash - tye dye" effect with the hopes of three different colors (input by three different voltages). Masked with nail polish between colors in sort of a drip/splatter/brush on application.

My first attempt, all was well up to the second, mid-voltage application. Not having any of my own, I used my daughters nail polish because it was cheap...but mid-prosses I forgot that this stuff was water soluble. Pretty much upon contact of water plus the voltage ate off the barrier layer of polish and the entire chainring just anodized to the currently set voltage. Had to go to the drug store and venture into the womens section to buy proper polish and remover. Let me just say, makeup and all that stuff looks organized like someone with severe ADHD. In the mean time, had to re-etch the chain rings to start from a fresh titanium base.

These were the final settings I used:

Clean, then degrease bath for 15 minutes
Distilled water rinse
Etch (Brand: Titan Etch) @ 65C for 8 minutes
Distilled water rinse

Base voltage: 71V @ 1 amp = purple
Mid voltage: 82V @ 1 amp = teal
High voltage: 92V @ 1 amp = green

What do you think? I am on the fence with this one. Also on the largest chain ring I anodized the wrong side two tone and the other side three tone :LOL:

3O1F4975.JPG 3O1F4976.JPG 3O1F4977.JPG 3O1F4978.JPG
 
Not too sure if that Ultimate Machine bottom bracket is going to work. The problem I have is that the cups are about 1.5mm too wide per side for the internal threaded portions of the bottom bracket housing of the frame. Was supposed to be a 112 x 68 mm bottom bracket and very well may be, but I bought this used so who the hell knows? I can install the cups completely into the bottom bracket to where they do not screw in any more, but there is still lateral slop of the axle and bearings. I have a few other titanium bottom brackets that are 68 mm (axle too long for what I need) but the cups are around 15 mm wide each and snug up the axle and bearings just fine with a bit of room to adjust play. I don't want to shim the Ultimate Machine axle at the bearing races to make up the spare room, so I am currently looking for something old from Action Tec as a solution (I hope that works).

The weather was pretty rainy today, and took advantage of that by anodizing my newly acquired titanium Action Tec chain rings. I attempted a "splash - tye dye" effect with the hopes of three different colors (input by three different voltages). Masked with nail polish between colors in sort of a drip/splatter/brush on application.

My first attempt, all was well up to the second, mid-voltage application. Not having any of my own, I used my daughters nail polish because it was cheap...but mid-prosses I forgot that this stuff was water soluble. Pretty much upon contact of water plus the voltage ate off the barrier layer of polish and the entire chainring just anodized to the currently set voltage. Had to go to the drug store and venture into the womens section to buy proper polish and remover. Let me just say, makeup and all that stuff looks organized like someone with severe ADHD. In the mean time, had to re-etch the chain rings to start from a fresh titanium base.

These were the final settings I used:

Clean, then degrease bath for 15 minutes
Distilled water rinse
Etch (Brand: Titan Etch) @ 65C for 8 minutes
Distilled water rinse

Base voltage: 71V @ 1 amp = purple
Mid voltage: 82V @ 1 amp = teal
High voltage: 92V @ 1 amp = green

What do you think? I am on the fence with this one. Also on the largest chain ring I anodized the wrong side two tone and the other side three tone :LOL:

View attachment 773357View attachment 773358View attachment 773359View attachment 773360
Have to say that looks awesome.
 
Glad someone likes the chain rings. I'm still on the fence. May take a few days of periodically looking at them to let them grow on me. Prior to this the color red was thrown around but after reviewing voltage color palette for titanium, hitting a deep vibrant red really isn't possible. No where near the richness of red anodized aluminum. So this three tone of purple, teal and green is sort of a compromise.

We need a full mock up!
Maybe next week and with mail arriving this weekend.

I can potentially mock up:
Seat post and seat
forks, stem bars, brakes, shifters and grips
front derailleur & rear derailleur
bottom bracket, cranks, chain rings and chain ring bolts

Still looking for wheels
Still looking for tires

At this point those two items are just about it. Expanding on searches too for compromises but still trying to keep the weight down.
 
Back
Top