1991 Kona Lavadome project

Henne

Retro Guru
Feedback
View
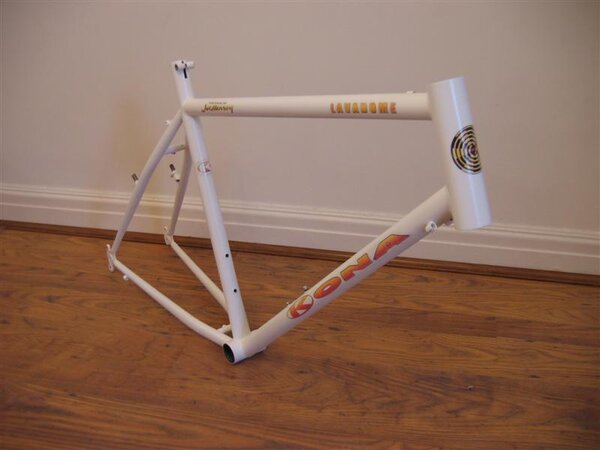
The idea behind doing this project was that I like the early 90's Kona range and I already had a 1992 LD which I didn't want to tamper with so I was on the look out for a similar era Kona frame to build up with some tweaks I would have liked to have made to my '92 LD.

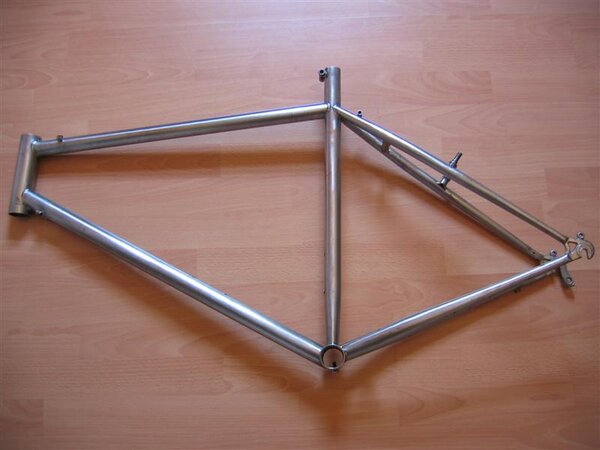
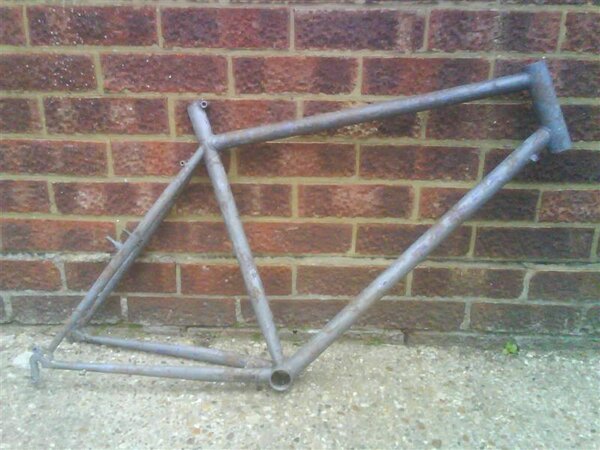
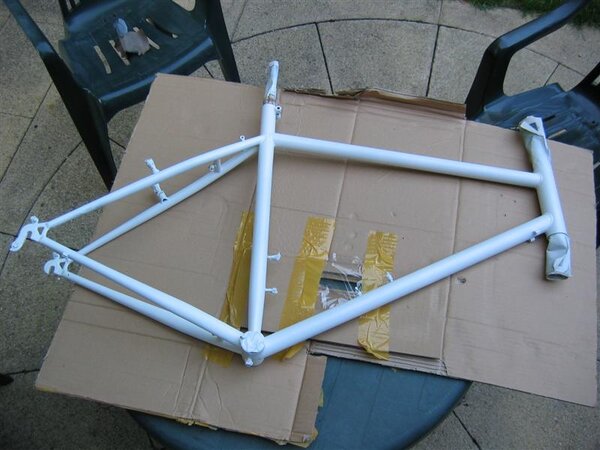
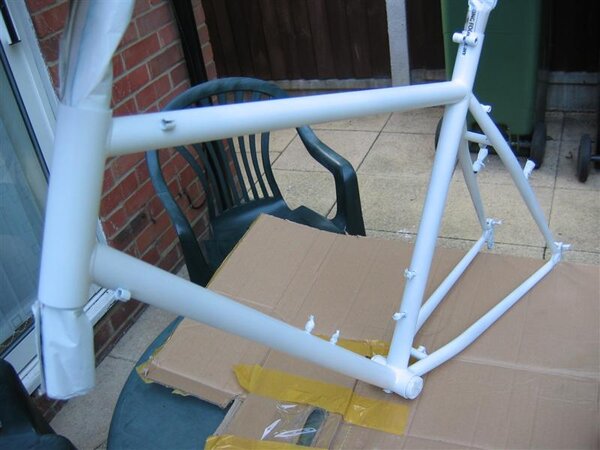
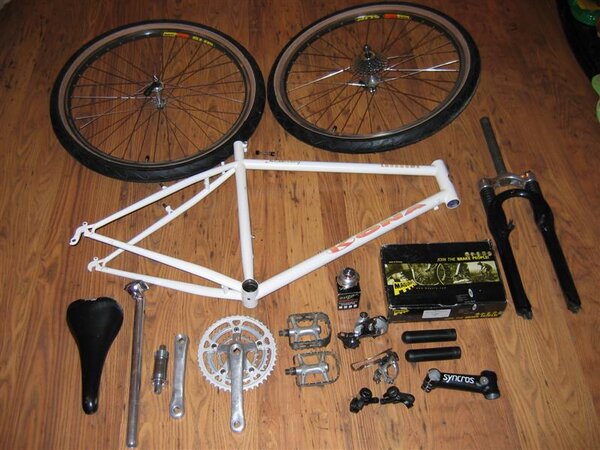
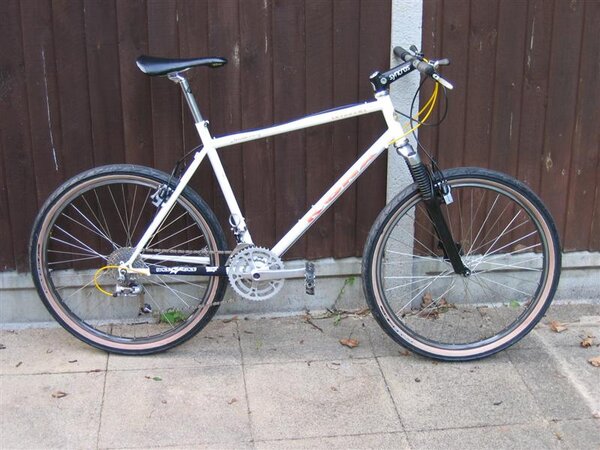
I had I purchased the frame off ebay a while ago. It's a 20" 1991 vintage and the paint was in a bad way, it obviously was well used.

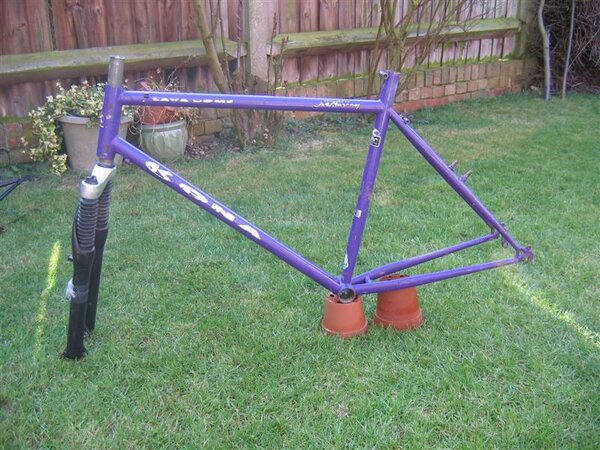
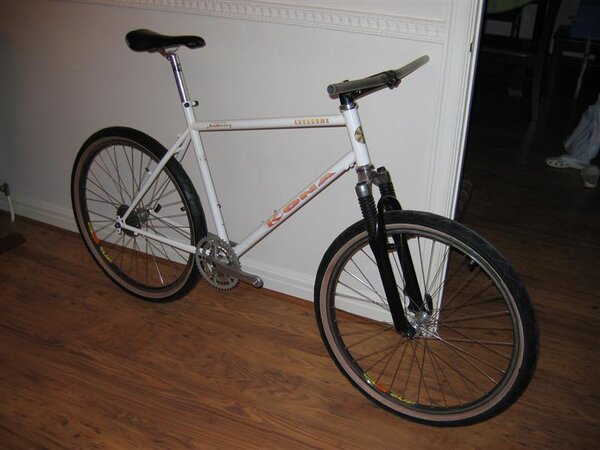
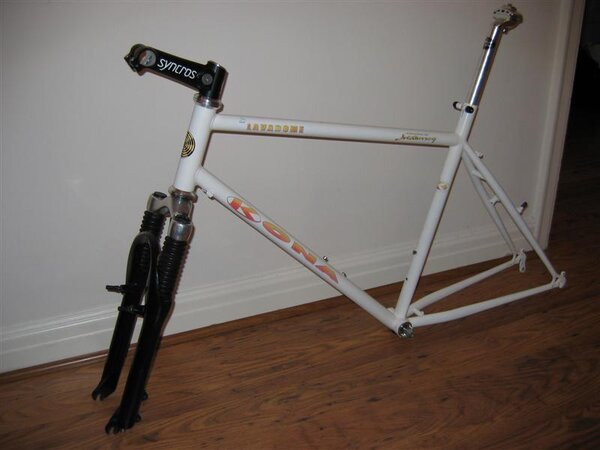
I wanted to try suspension forks and found some Rock Shox Judys with I believe up to 80mm of travel, not too much travel to upset things too much up front and that were not going to break the bank. I know that these frames are not designed for suspension forks but what the heck!!!
 

Attachments

  • IMG_1223 (Medium).JPG
    IMG_1223 (Medium).JPG
    111.8 KB · Views: 1,609
First off the removal of the paint, clean up the metal in preparation for painting. To keep costs down and for my own personal satisfaction I wanted to do the work myself. The frame itself under the paint was hole free from rust, these frames have quite thick tubes! I got the threads recut and cleaned at the LBS.
 

Attachments

  • IMG_1753 (Medium).JPG
    IMG_1753 (Medium).JPG
    43.1 KB · Views: 1,602
  • DSC00108 (Medium).JPG
    DSC00108 (Medium).JPG
    74.6 KB · Views: 1,602
Next up priming and colour. Now I know that there are a fair number of white Konas around and this colour does make the frame look fresh and is probably not the most practical colour for a bike for off roading. But I thought I will give it a go as I had something different lined up for the decals.
I opted for rattle can domestic appliance paint that seems to be relatively hard wearing. If I enjoy the bike and use it more often I will probably get it resprayed in epoxy paint by a finishing company when funds permit. Six coats of top colour and three coats of primer were applied.
 

Attachments

  • IMG_1776 (Medium).JPG
    IMG_1776 (Medium).JPG
    63.3 KB · Views: 1,599
  • IMG_1778 (Medium).JPG
    IMG_1778 (Medium).JPG
    56.3 KB · Views: 1,599
Nice build your doing here, lots of time and effort :cool: :cool:
 
So on to the home straight. I had an idea that I wanted a sunset finish to the decals on the white frame. Decals were produced and applied then frame was laquered a few times. Frame now ready for building!
 

Attachments

  • IMG_2151 (Medium).JPG
    IMG_2151 (Medium).JPG
    36.4 KB · Views: 1,594
Let the build commence!
 

Attachments

  • IMG_2349 (Medium).JPG
    IMG_2349 (Medium).JPG
    54.9 KB · Views: 1,590
  • IMG_2340 (Medium).JPG
    IMG_2340 (Medium).JPG
    38.4 KB · Views: 1,590
  • IMG_2325 (Medium).JPG
    IMG_2325 (Medium).JPG
    83.8 KB · Views: 1,590
Ta-daa! :D

The handling with the forks isn't too bad and better than I thought it would be. It's a little on the quick responsive side but with the more laid back feel when in the saddle this seems to suit me more than the old days of a head down low profile feel.

I do have some P2's that are designed for this frame that I will probably put on later on but for now I will enjoy it as it is. :)
 

Attachments

  • IMG_2416 (Medium).JPG
    IMG_2416 (Medium).JPG
    84.3 KB · Views: 1,581
  • IMG_2408 (Medium).JPG
    IMG_2408 (Medium).JPG
    75.1 KB · Views: 1,581
  • IMG_2403 (Medium).JPG
    IMG_2403 (Medium).JPG
    79.2 KB · Views: 1,581
  • IMG_2418 (Medium).JPG
    IMG_2418 (Medium).JPG
    82.3 KB · Views: 1,581
looks nice and fresh..i like the decals colourway..i like that sunburst colour :cool:

Ernie ;)
 
Back
Top