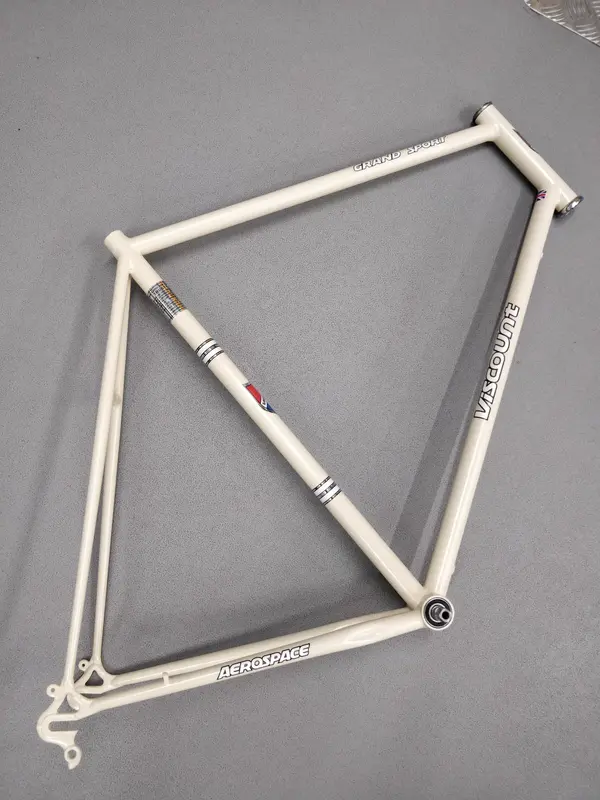
Viscount Aerospace.. but which one?

I finally found some time to push this one on a bit.
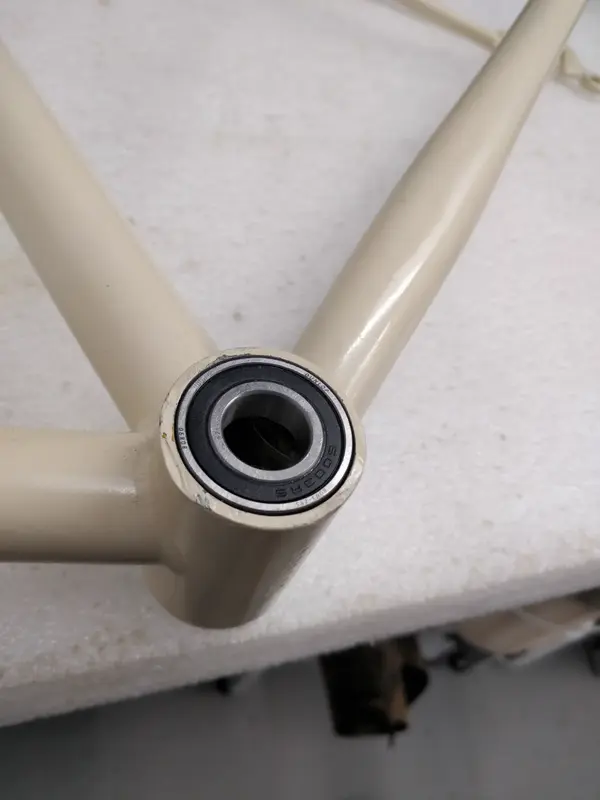
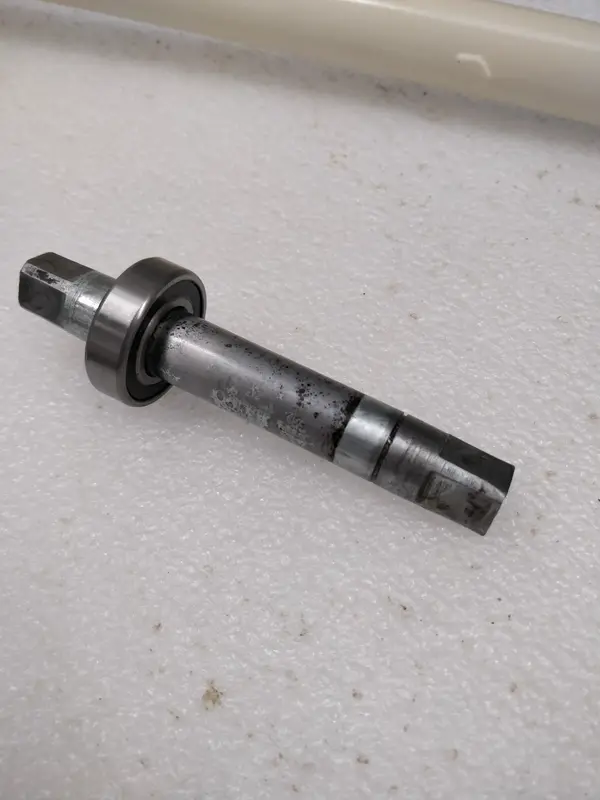
I pressed in the headset cups and then got the BB sorted too. This is a bit of pain without a bearing press; I drifted in one side and then pressed the other cartridge bearing onto the axle with a suitable dia bit of tubing. Then I froze this before pressing/tapping it into the already fitted bearing. Trying to get both bearings in the frame first before pressing the axle through was not going to happen.

IMG_20250625_160846.webp

IMG_20250625_160837.webp

IMG_20250626_141232.webp

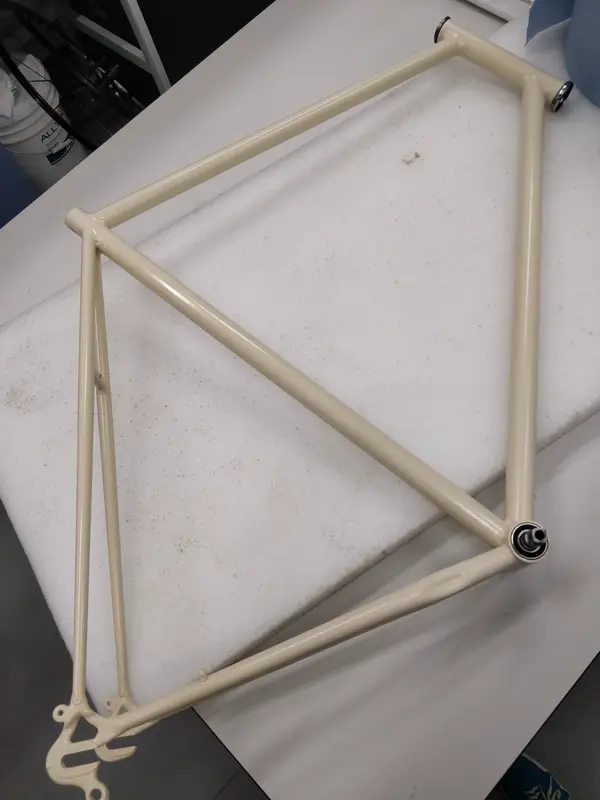
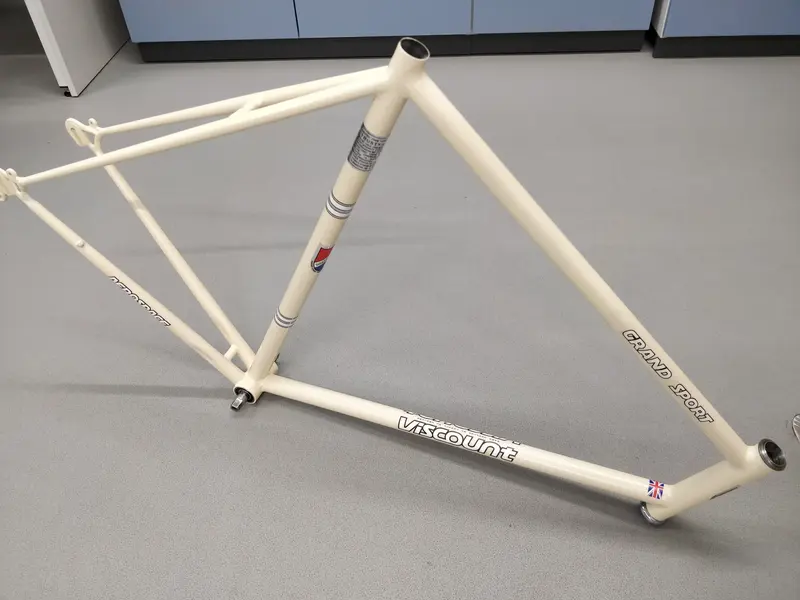
Frame ready for decals.

IMG_20250626_142443.webp

First one going on.

IMG_20250626_143939.webp

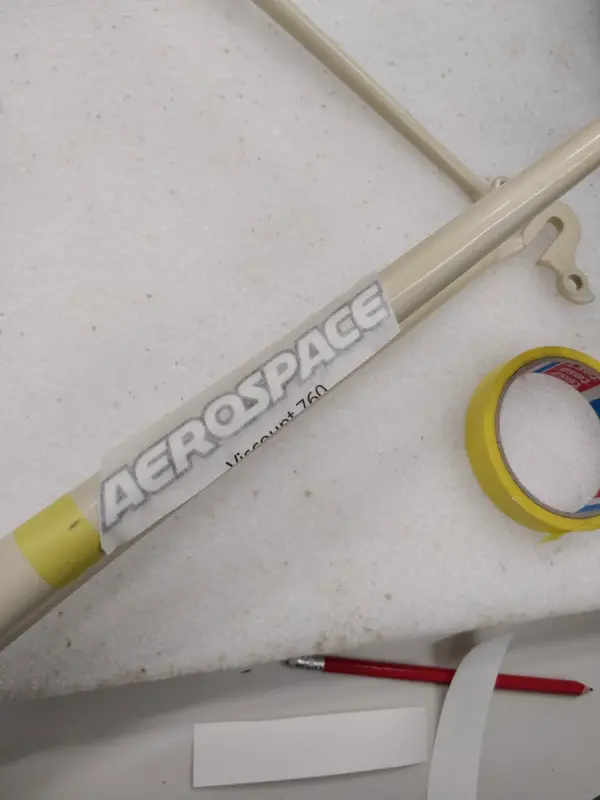
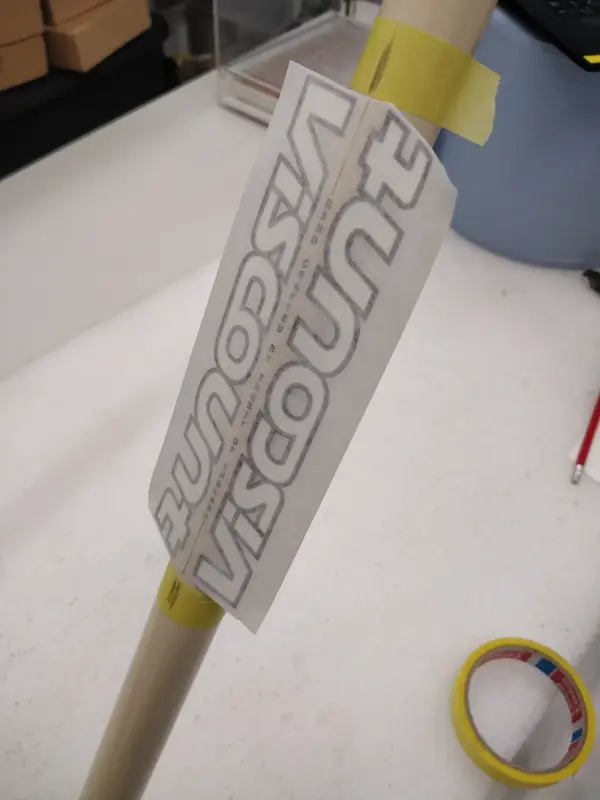
Aligning the downtube wrap. All the white text decals are printed onto a clear backing.

IMG_20250626_144529.webp

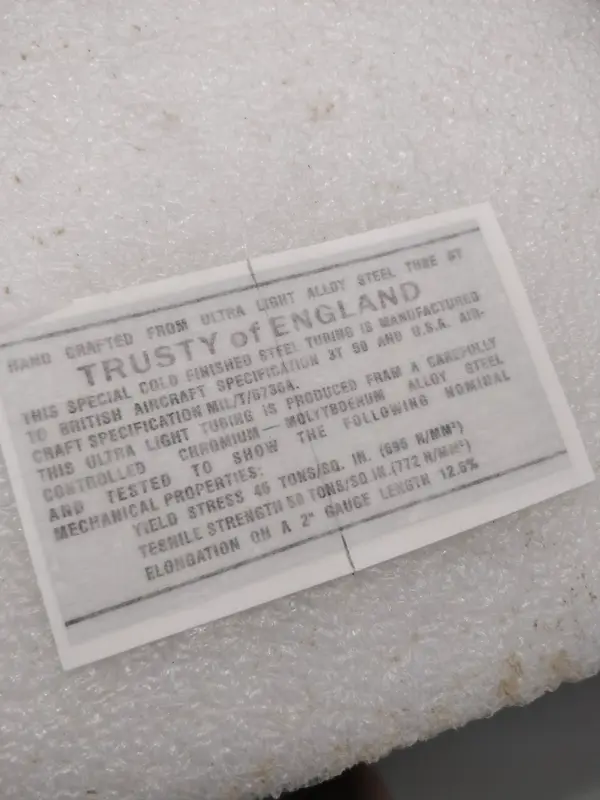
The interesting Trusty/Viscount tubing spec sticker.

IMG_20250626_155944.webp

IMG_20250626_155921.webp

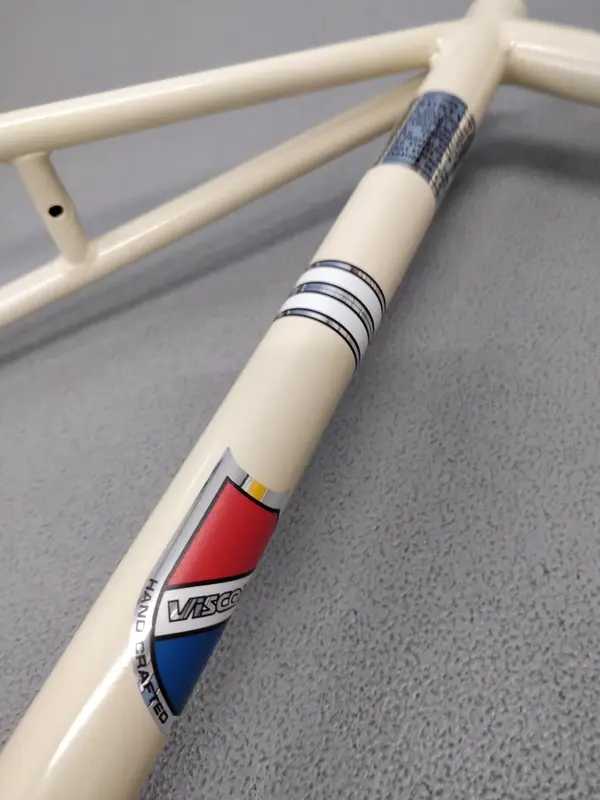
The banding and shields look lovely and crisp.

I'm very happy with the quality of the decals (particularly the chrome ones) and how well application went. All my pre measuring made it a straightforward process.

IMG_20250626_155844.webp

Almost build time at long last! 😁
 
I have red cables so red straps to match them and yes, chrome clips in L. My next job is actually to strip the (rather crunchy) pedals down and see if they can be revived. Otherwise I might need to snag a complete set to replace them.
 
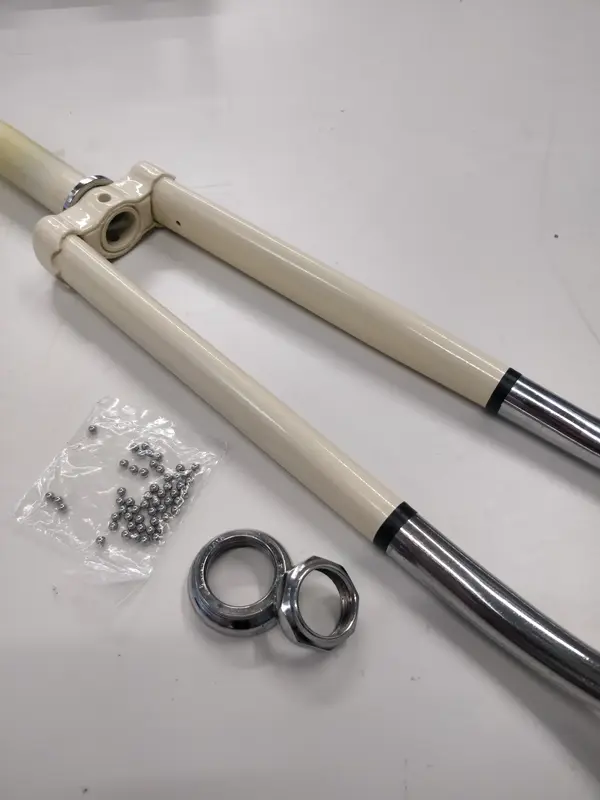
Rubbed off the rust spots on the fork chrome and gave them a light polish before doing the black transition bands. For these I like to cut a strip of electrical tape to about 5-6mm, then tightly wrap over the paint/chrome transition. I usually drop a dot of superglue on the very end to prevent it peeling and lifting.

IMG_20250627_171619.webp

The chrome is a bit damaged on the drive side but still looks reasonably presentable.
Got the crown race in place too, and some new balls for the headset turned up.
 
Back
Top