Splatter Paint
Retrobike Rider
- Feedback
- View
Re:
Step 1
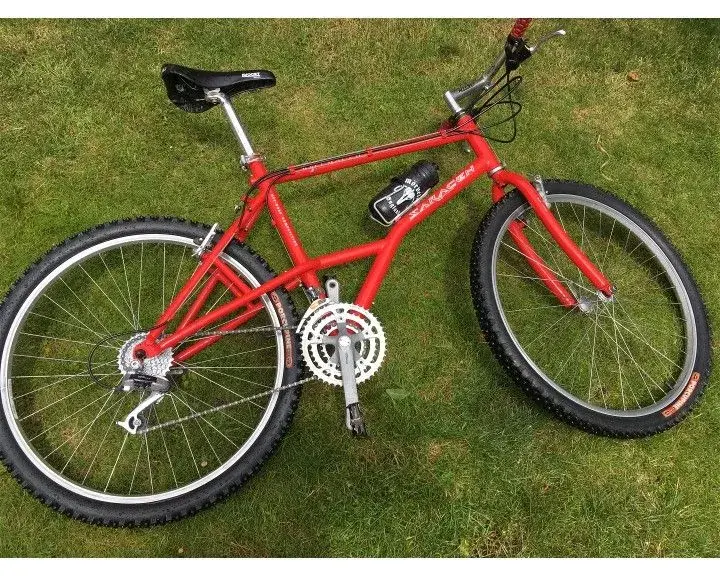
Procure old mountain bike from internet advertisement or auction.
If auction site, wait for a week for the auction to end and place a bid in the last few seconds. Pray that it doesn’t get ‘outed’ on RetroBIKE whilst you are waiting. Do not view beforehand but bombard the seller with questions about the bike. Learn all you can before bidding, bid an appropriate amount based on the info you have and the grainy pictures. Don’t consume alcohol before bidding.
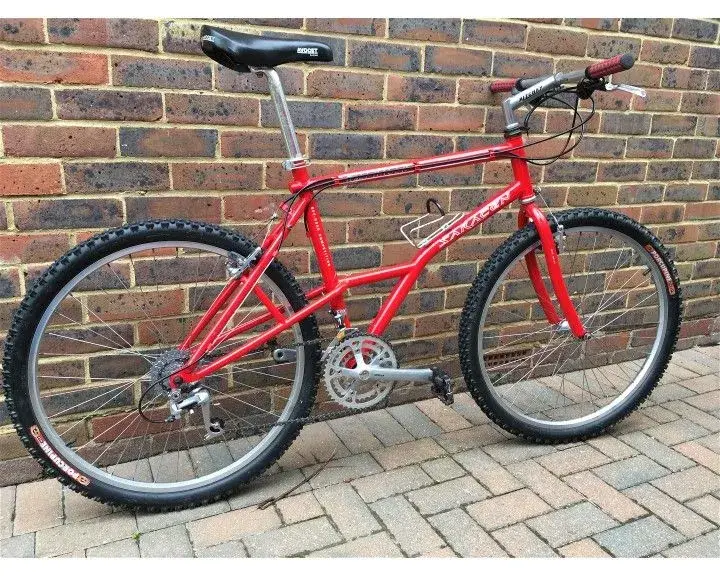
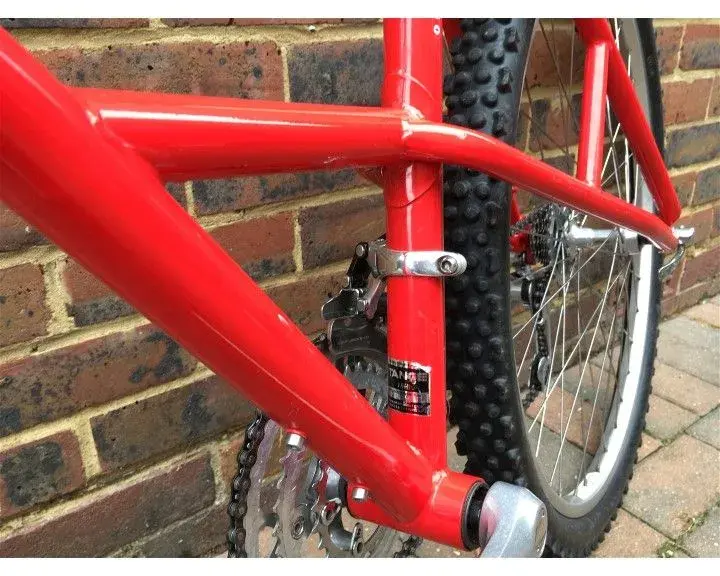
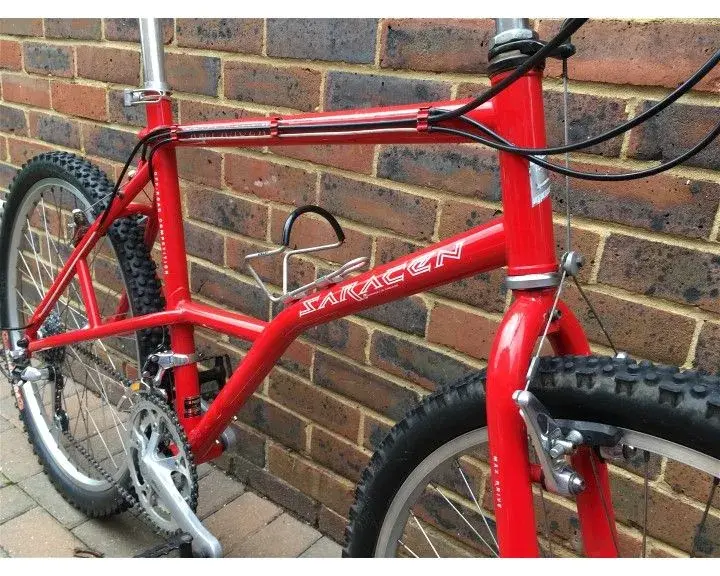
Win or purchase item and then collect from seller, look for cracks! Drive home feeling pleased as punch or totally gutted – there is no middle ground. Unload the bike at home, stare at it for a while, absorbing the details you missed before you bought it. Is that a crack?
Step 1
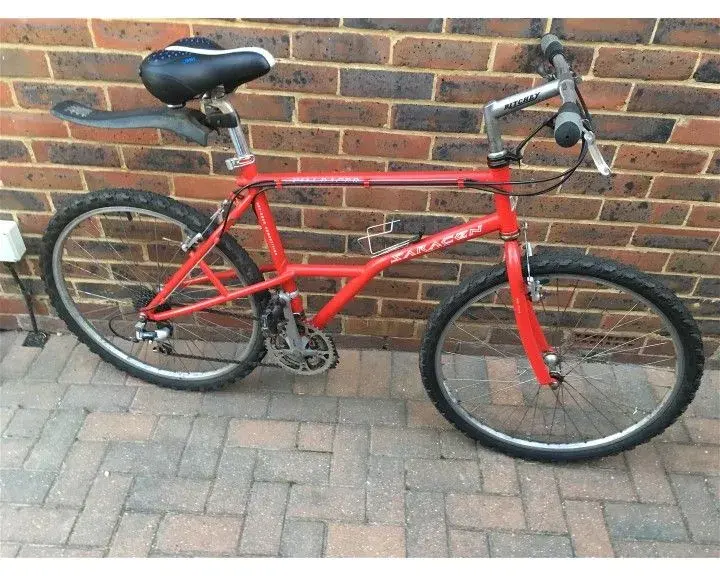
Procure old mountain bike from internet advertisement or auction.
If auction site, wait for a week for the auction to end and place a bid in the last few seconds. Pray that it doesn’t get ‘outed’ on RetroBIKE whilst you are waiting. Do not view beforehand but bombard the seller with questions about the bike. Learn all you can before bidding, bid an appropriate amount based on the info you have and the grainy pictures. Don’t consume alcohol before bidding.
Win or purchase item and then collect from seller, look for cracks! Drive home feeling pleased as punch or totally gutted – there is no middle ground. Unload the bike at home, stare at it for a while, absorbing the details you missed before you bought it. Is that a crack?
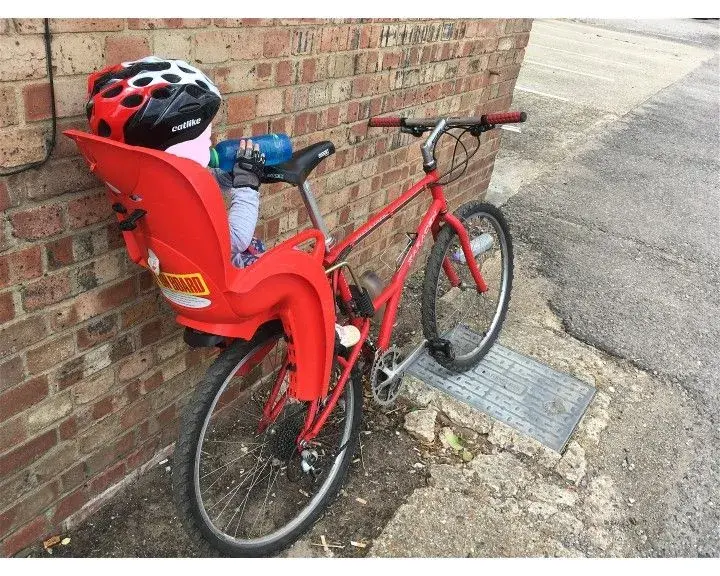
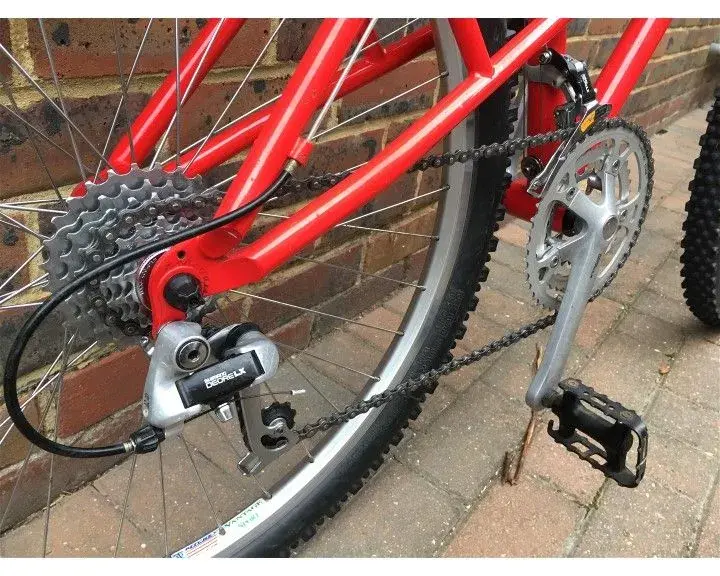
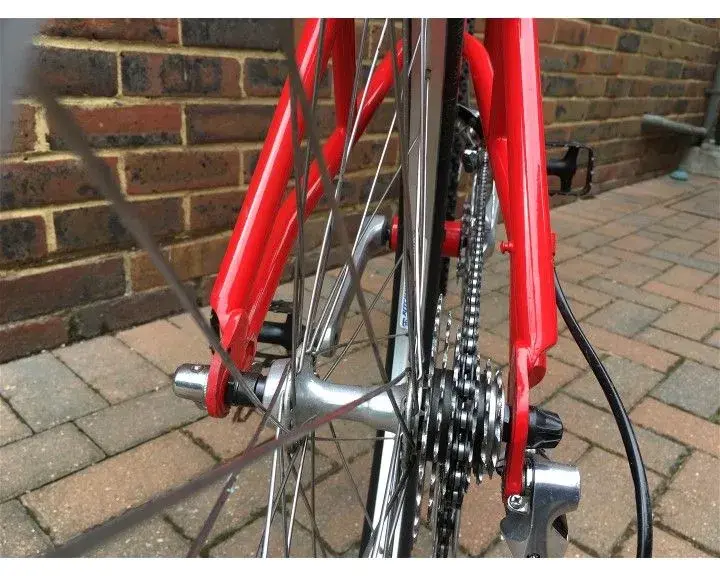

 time to wash that chain though... :facepalm: