Restoring Techniques

+paul

Dirt Disciple
Is there a thread somewhere here or information on the best techniques to restore components to good condition? I have a reasonable idea how I will approach the task with the parts I have, but if there is some advice to be had, I'm all ears!

For example, is it possible and worth it to strip campag skewers and getting them re-chromed.

Thanks!
 
All depends what you want restoring! an alloy handlebar stem scratched to death can have all it's
anodising removed, then file down/sand the scratch marks off - re-polish the stem to a very high
lustre then have it re-anodised to bring it back up to near brand new condition.

Alloy seat posts can be done the same but you have to be very careful as any filing/sanding
polishing will make the post smaller, so a 27.2mm post may end up 27.00mm or 27.1mm,
so it will then be a loose fit in the frame and you can't clamp it up correctly.

Chroming is pretty expensive and if its badly rusted or pitted, then the re-chromer has to strip
back the chrome which costs maybe more than new parts, best looks for small new chrome parts.

edit: I knew a chap who had some worn sprint rims and he filed the braking surfaces flat, then spent a
fortune getting them re-anodised and new wheel decals only to find out the rims was no good! his filing
to the sides of the rims made them very thin and when he rebuilt the wheels and fitted them to his bike
and 'showed off' his work, he then spotted a problem, the sides of the rims was getting pressed in from braking.
 
Re:

I guess that was my point. People here have had good and bad experience restoring items, and I wondered if that was documented anywhere. I would hate to destroy something while trying to restore it.

I suppose the other issue is how much restoration is desired. I am not planning on returning every item on my bike to better than new condition - however, I would like to have it looking in top condition, if a little used. An example from another interest area of mine - I have a 1990 VW camper, and I see many vehicles being brought to the shows on the back of a low loader to be entered into the show and shine. My camper is in great condition, but also gets lots of use each year for camping. It wouldn't win show and shine, nor would I want it to if I could no longer use it. Each to his own I guess!

My bike will be ridden when back on the road, and I intend to enjoy every mile on it! In the mean time, I will be working on the parts one by one until they are acceptable.
 
Be interesting to hear and swap tips on restoring parts. Just getting back into fiddling with old bicycles since my youth it seems like I haven't forgotten. Carefully taking parts off and giving them a decrease in Coke or Diet coke now. Polishing chrome with brass wire wool or a brass brush and what ever polish you prefer. De-anodizing parts in caustic soda and polishing them to a high shine. I did that on BMX parts in my early teens. Definitely subscribed to this thread.
 
Being sick at home at the moment, so have some time to do a (brief) writeup on restoring parts based on some pictures I made some time ago:

Polishing bike parts:

First step: find a pair of battered/scratched parts. For this example, I'll use pictures of a scratched pair of DA brake levers. Applied the same technique to stems, seatposts, cranks,... without any problems.

W2MvgRk.jpg


Second step: sand scatches/imperfections away with wet and dry grit paper (600-800 will do). Sand gently! Picture after sanding:

dFCtZui.jpg


Third step: bath the parts in over cleaner (mine is from HG) for +/- 5 minutes to remove the anodising. You could use a plastic bag to, as you can see in the pictures. Use plastic gloves cause it's not that good for your hands! Rinse the parts thoroughly with water afterwards.

CPl83qq.jpg


Fourth step: When dry, the parts will turn dull and white and you can start to polish. I use a simple bench grinder with a buffing wheel and some polishing compound. You could use a dremel for areas that are difficult to reach. In that case, don't use the standard dremel tools because they are a bit rubbish in my opinion. Go for tips like these, which are 'fixed' on the axle: http://www.dhresource.com/albu_38142964 ... ng-pad.jpg

Brake lever on the left is polished with buffing wheel, the one on the right is still dull. In the back of the picture, you can see the green buffing compound I use:

AQlD4SF.jpg


Fifth step: Clean the parts up with autosol. The buffing compound can leave a dark residu that is difficult to remove, but autosol/triumph/... works great. Finished result:

QPInzJB.jpg
 
^ Top job!

Here's an XT rear mech that I attacked with the needle files/wet 'n' dry paper, Autosol & Tamiya model paint!


I love doing this sort of stuff......find it very therapeutic. :)
 
Use Vienna lime to remove the residue Flandria.

3M do polishing wet and dry, like pieces of fabric that last for ages, just rinse. Goes from 400 down to 8000 grit. Think the range actually goes down to 20000 grit for lapping. It is colour coded, which is handy.

I used the el-cheapo Tesco own brand oven cleaner to remove anodising last time. I put the parts in an old paint roller tray propped up so the deep bit was level. It's like water so the parts need turning.

I tried a few things to clean the chrome on a pair of RC30's recently, the backs had rust spots. Tried washing up liquid and a blade, didn't work well. Perhaps depends on when it was chromed. Anyway coke and aluminium foil ended up working best. Regular coke or diet (less sticky) in a bowl, dip ball of foil in and start rubbing. Did a good job.
 
I'm never drinking coke again now. Diet or full fat :)
Bought a £2 tube of PEEK metal polish recently and really recommend it with chrome and alloys.

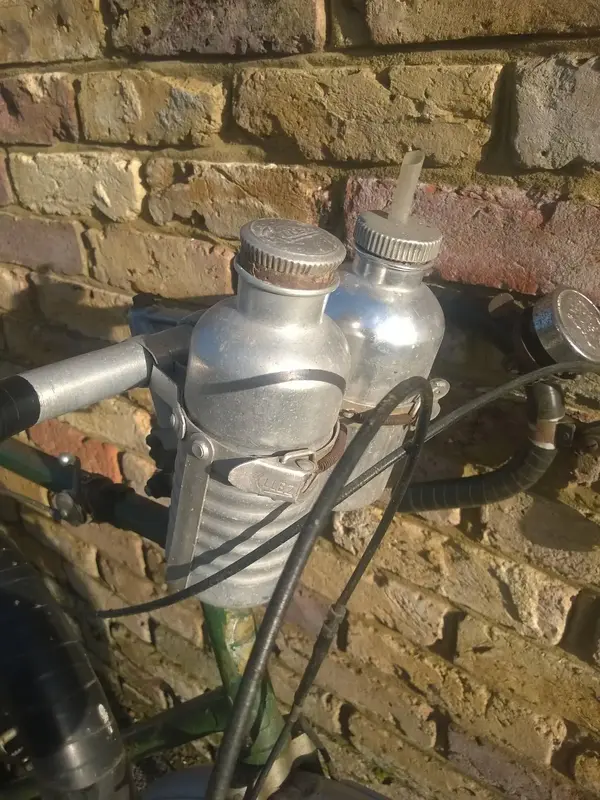
Before
 

Attachments

  • NewImage_1224_1632_70.webp
    NewImage_1224_1632_70.webp
    180.9 KB · Views: 603
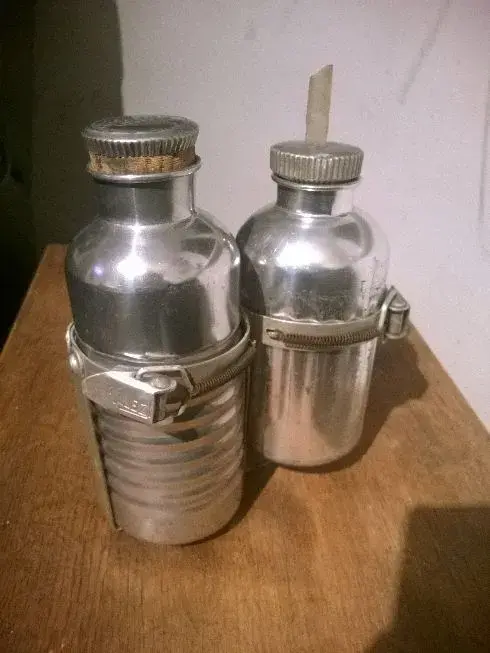
After

The Coloral bottle is anodized and just washed with washing up liquid.
 

Attachments

  • WP_20150126_23_13_14_Procompressed.webp
    WP_20150126_23_13_14_Procompressed.webp
    27.8 KB · Views: 601
Back
Top