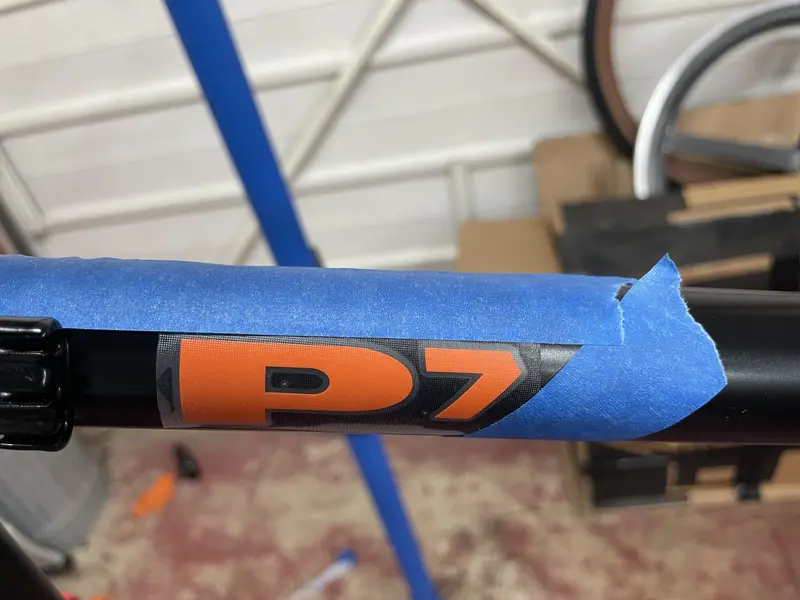
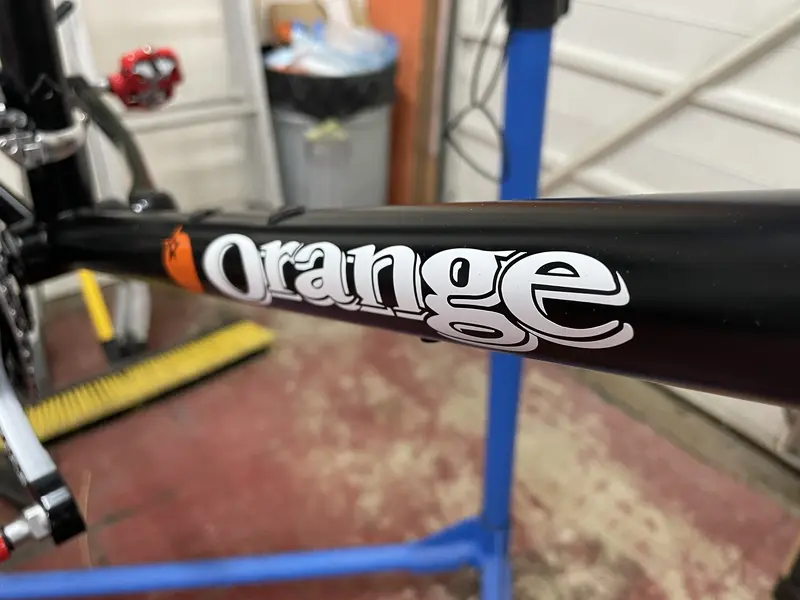
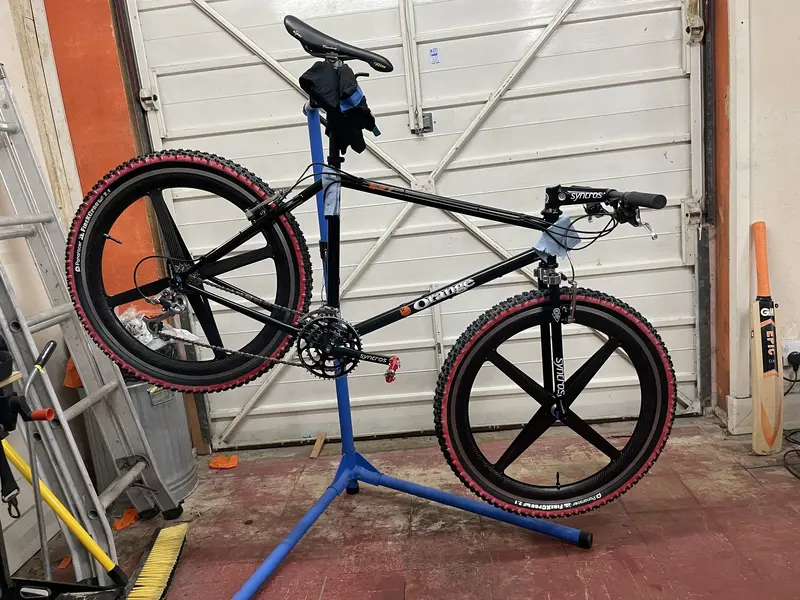
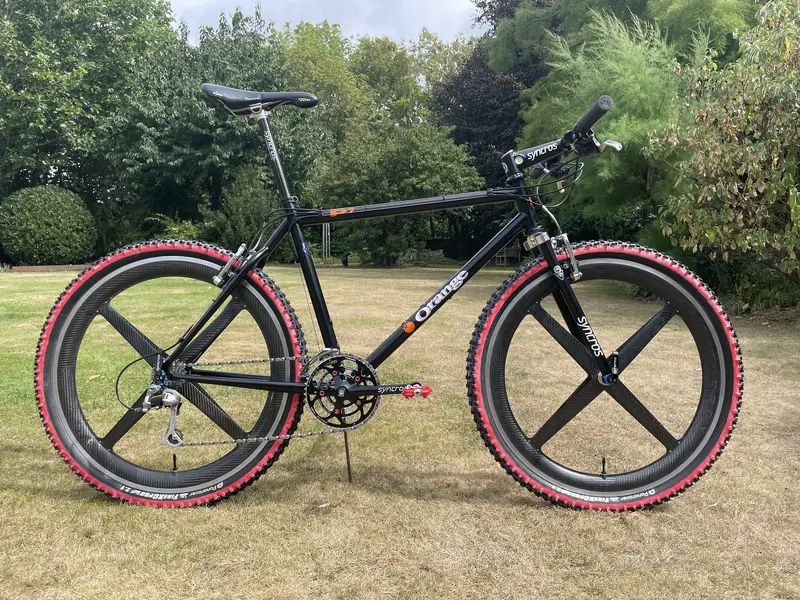
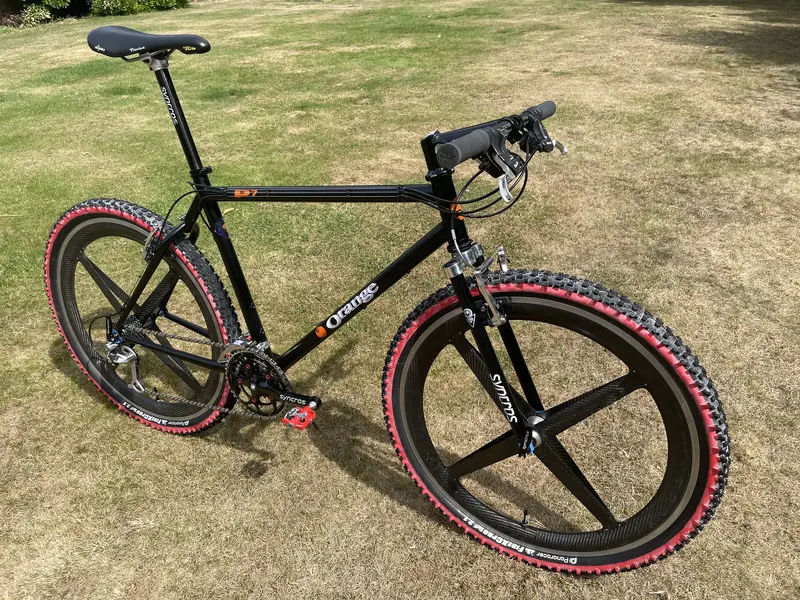
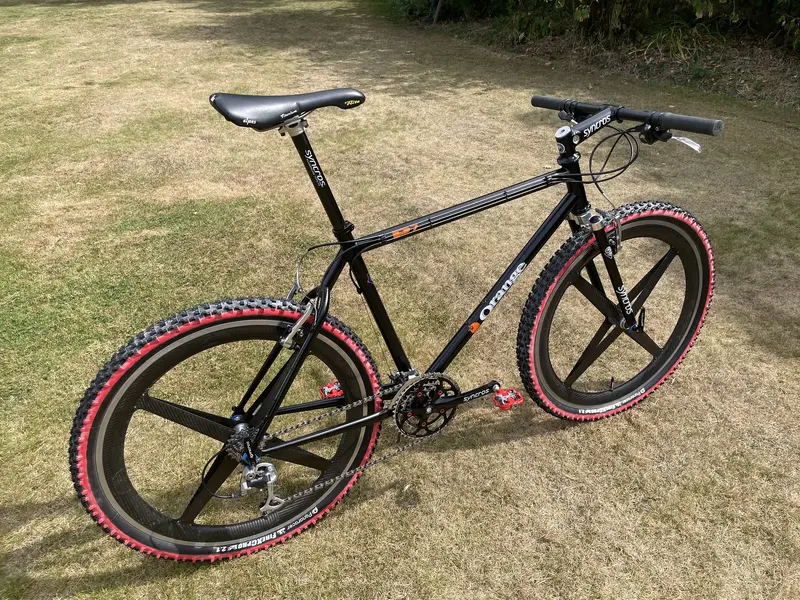
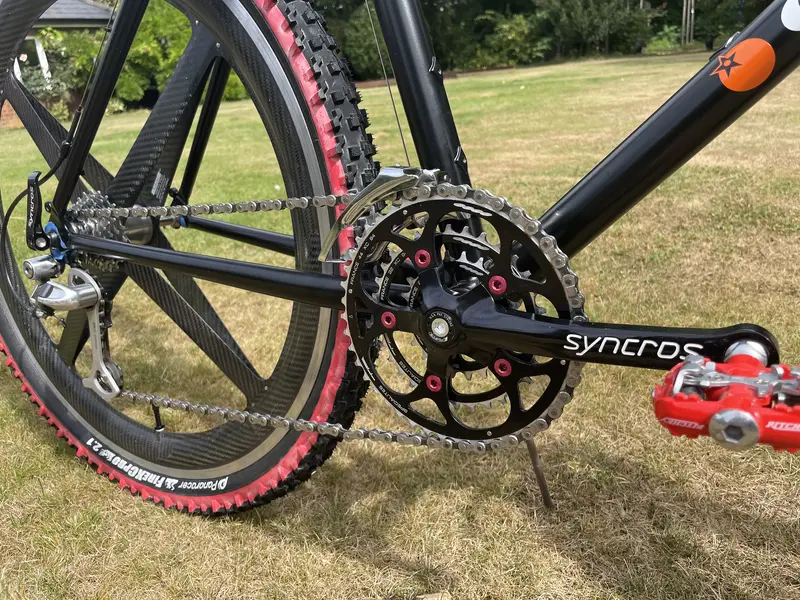
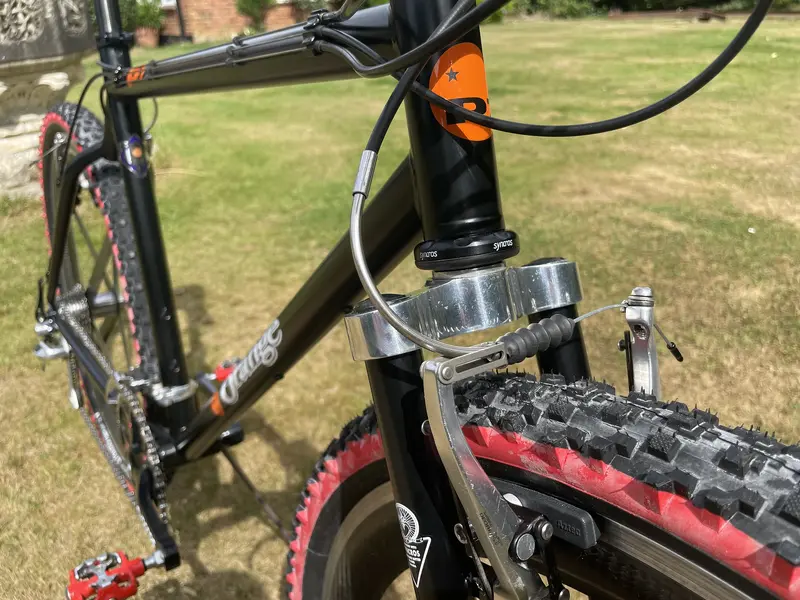
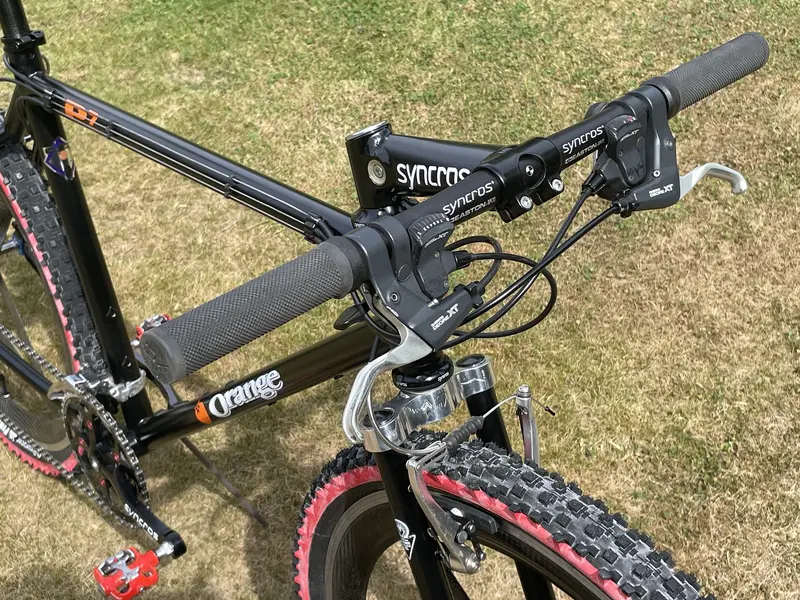
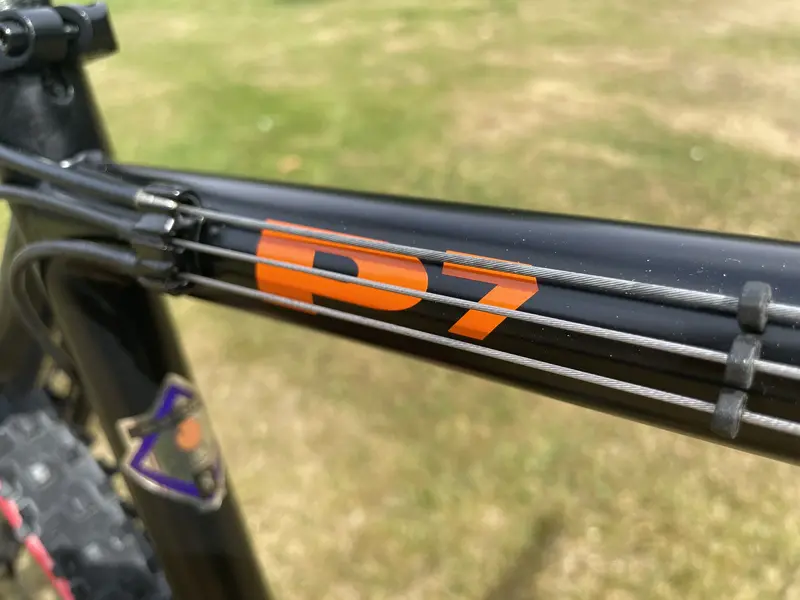
Ok, been brewing on this for many years. It started in 1998-ish when I stopped for a sandwich in Kentish Town one night on my way back from work. I was on my 1994-ish Orange P7 and I'd been rocking some swanky Spinergy wheels for a while. I got them from a magazine journo who reviewed them and had the option to send them back to the US or buy them. I ended up buying them, so they were maybe one of the earliest sets in the UK. Anyhoo, some sneaky tealeaf pinched my bike from outside the sandwich shop. And that was that. Not insured. Just gone.
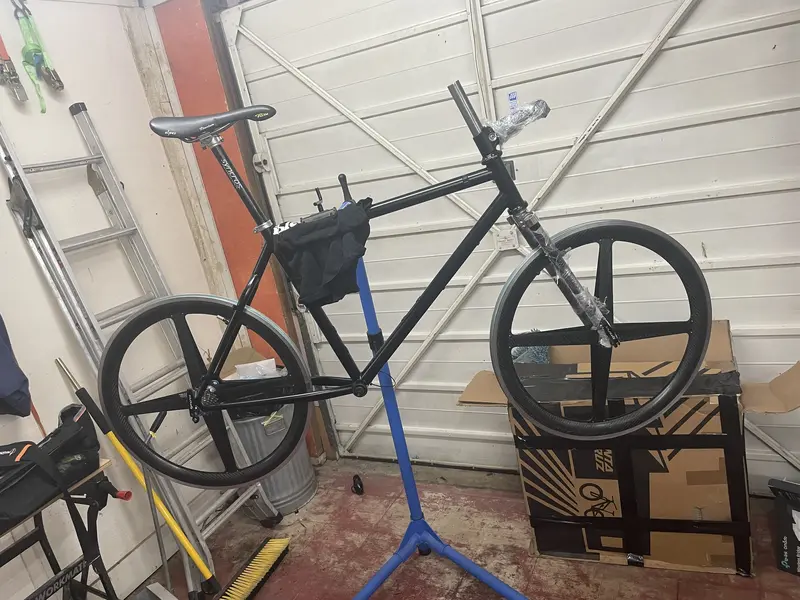
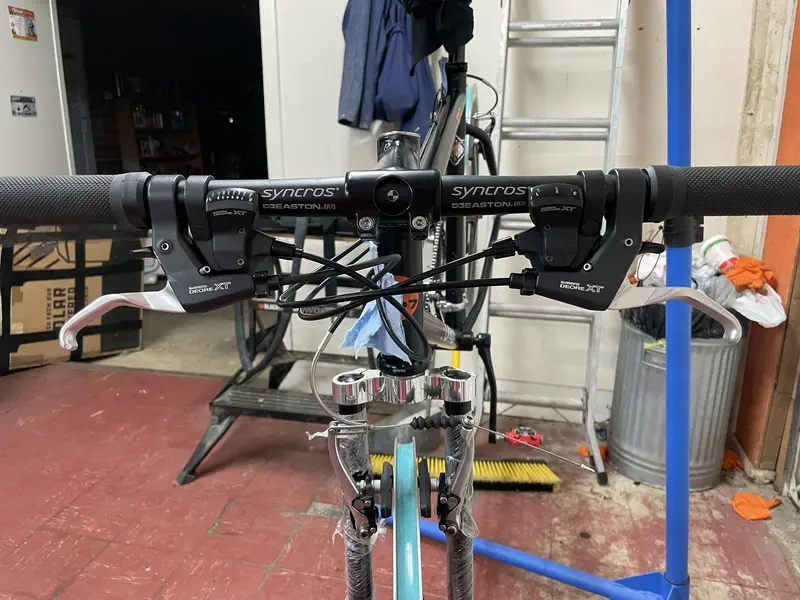
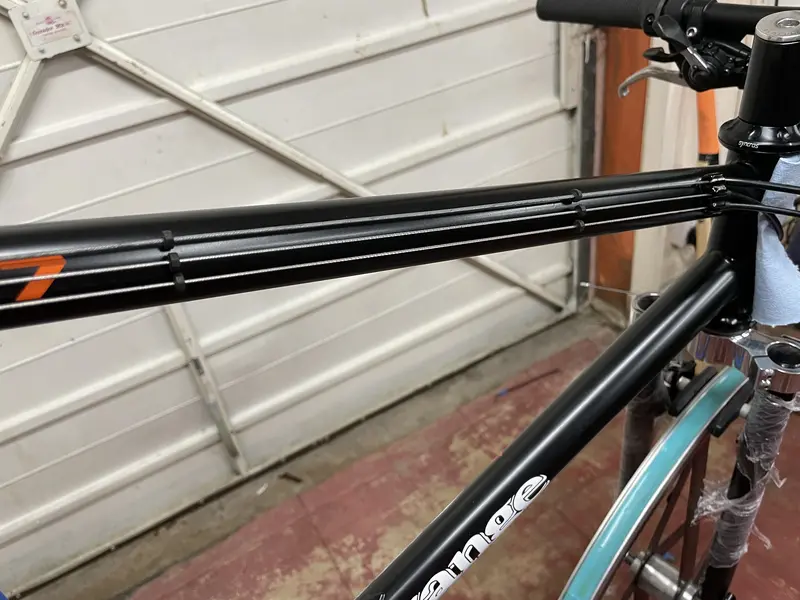
I vowed to remake it one day, the "Retribution Build", and that time was 2025. Well, 2023 when I started sourcing the parts. Annoyingly, I had no photos of the bike at the time but what I remembered was "matt black Orange P7, XT, Syncros stuff, Spinergy wheels". So that was my brief.
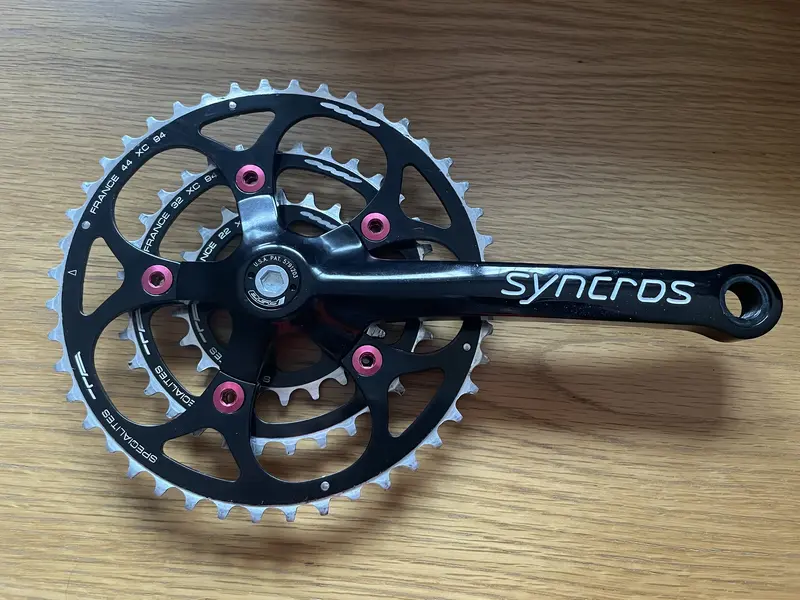
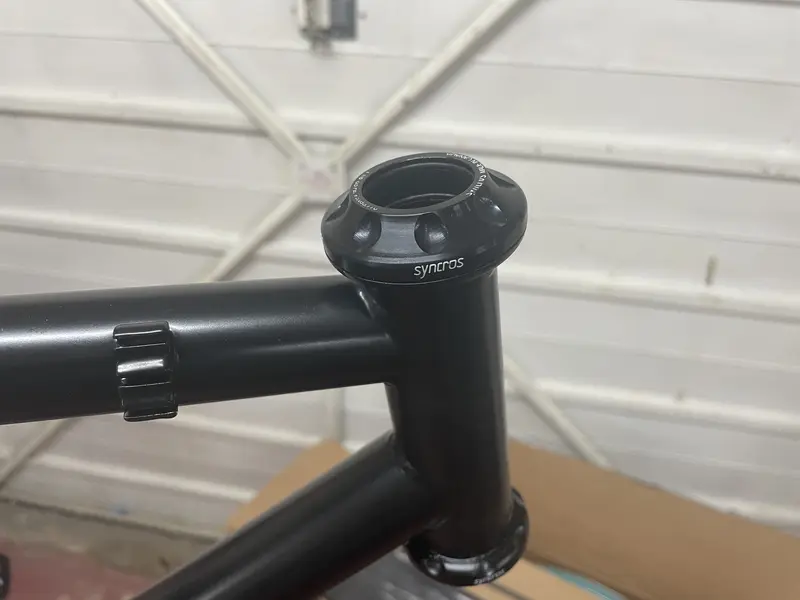
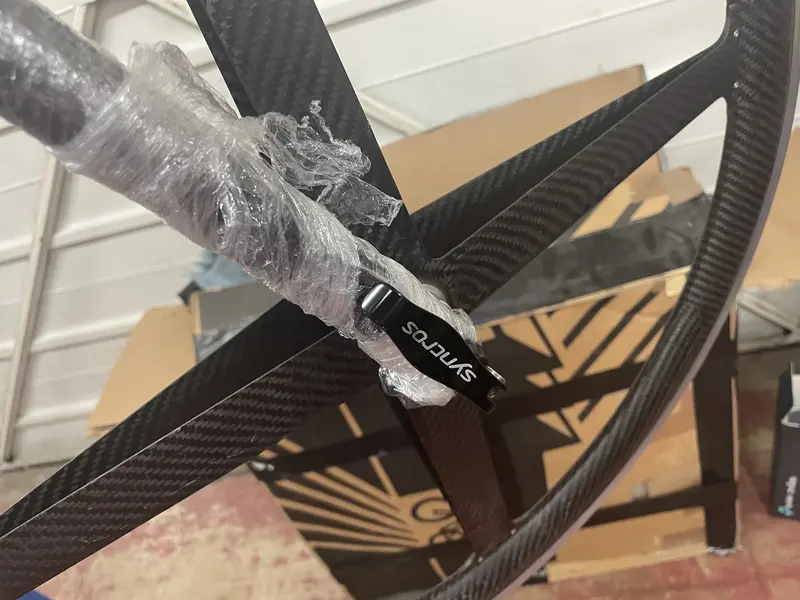
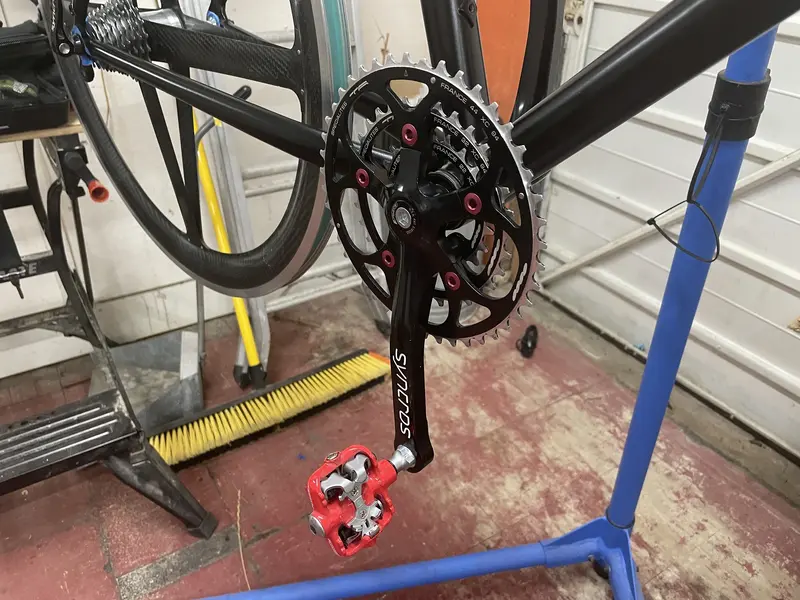
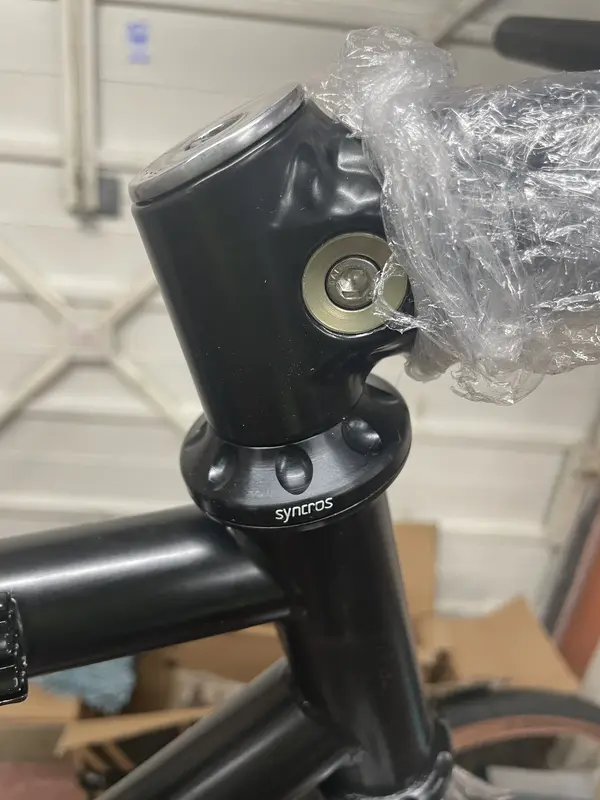
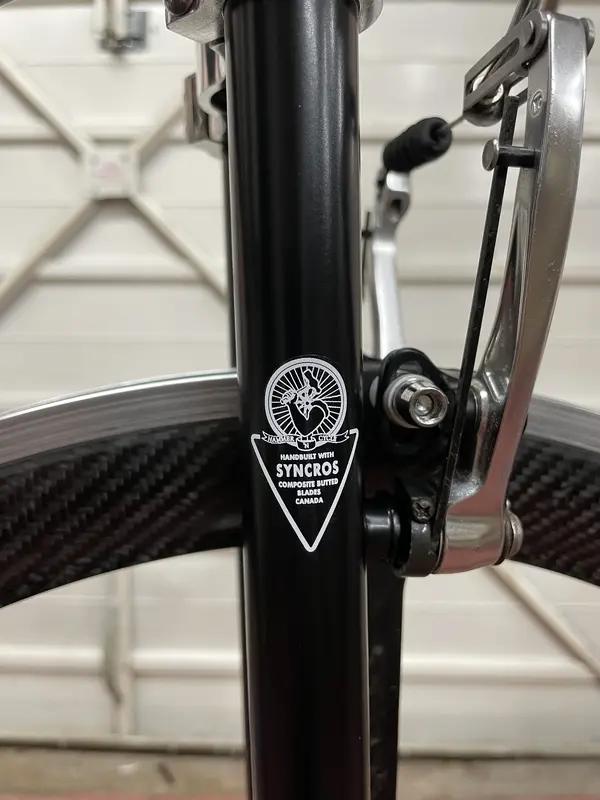
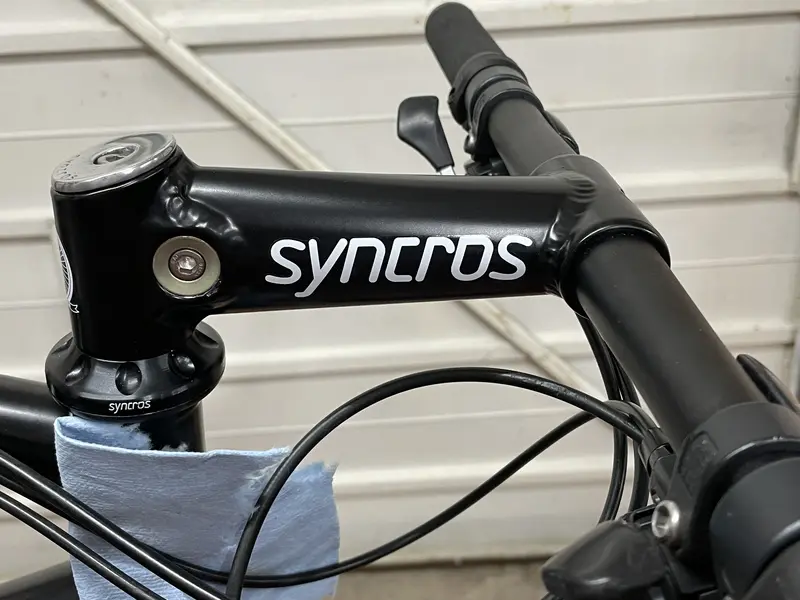
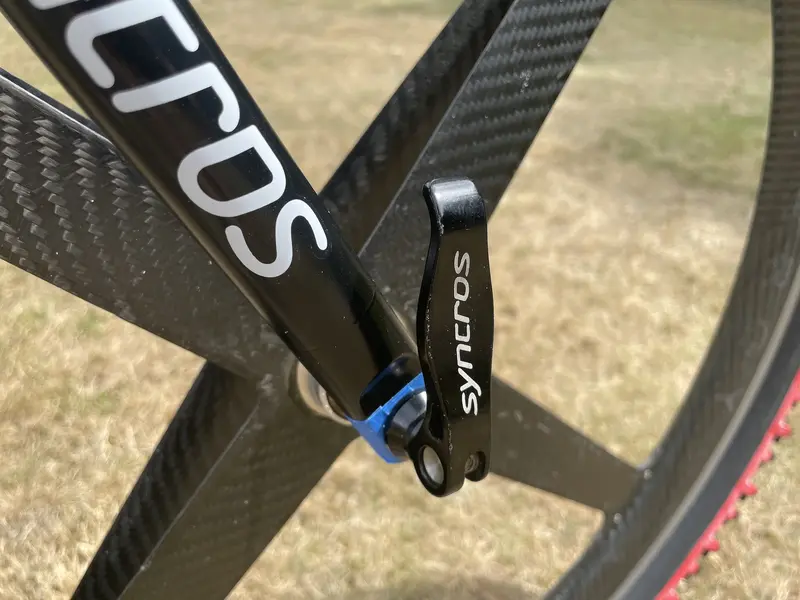
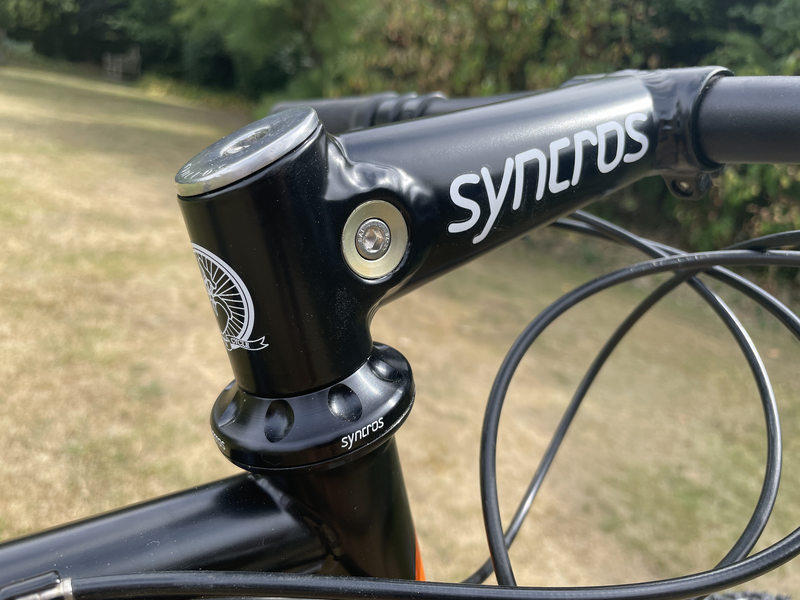
First up was finding a decent set of wheels (thanks @Drmiles), then the Syncros Powerlites (thanks @RockiMtn), the XT groupset (thanks to the generous @Splatter Paint), bars (massive thanks @Fatboy1974), cranks (thanks @Fat Gav (Slim)), Syncros headset (@Drmiles again), Ritchie pedals (@Tsundere), Syncros skewers (thanks @Corduroyboy)... and a few bits from Ebay.
But still no frame, plenty in small. Finally found a 1997 frame (SN:A707004340) on Ebay up near Manchester so took a snowy 300 mile round trip. Slightly later than my original, I think, but it's close enough. The main deal breakers were no disc mount nonsense and it needed an 1 1/8" headset to accept some Powerlites. I think you could get them in 1", but were as rare as hens teeth. So figured I must have has an 1 1/8th bike. Seems there tales of 1994 P7s having 1 18" and 1996 P7s having 1", so I just went for a safe bet. Turns out the frame as mint! No rust, no dings.
Here's how the build went down...
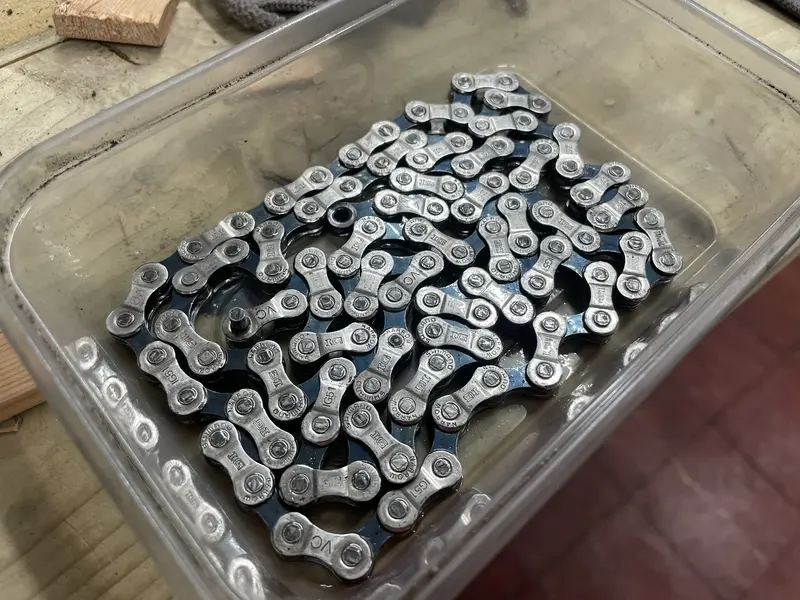
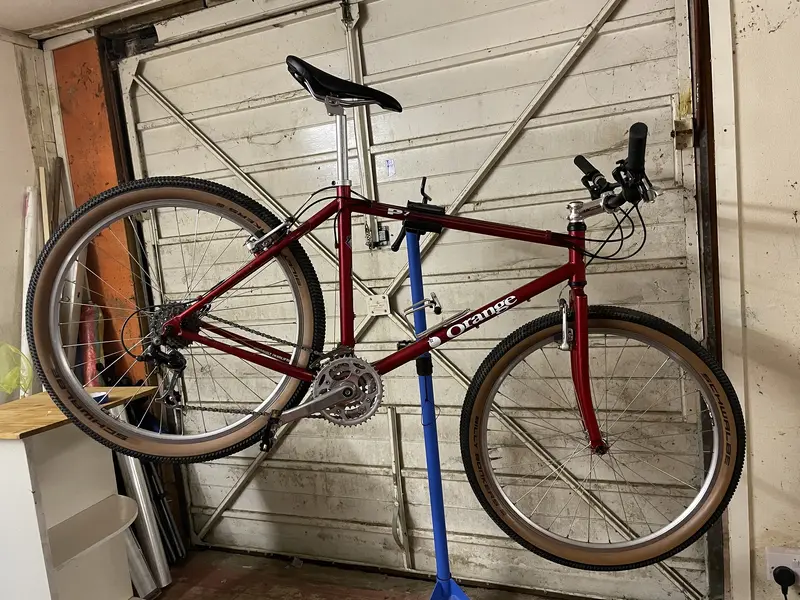
First, the starter frame. Pretty much all I used was the frame, grips, cables and chain.

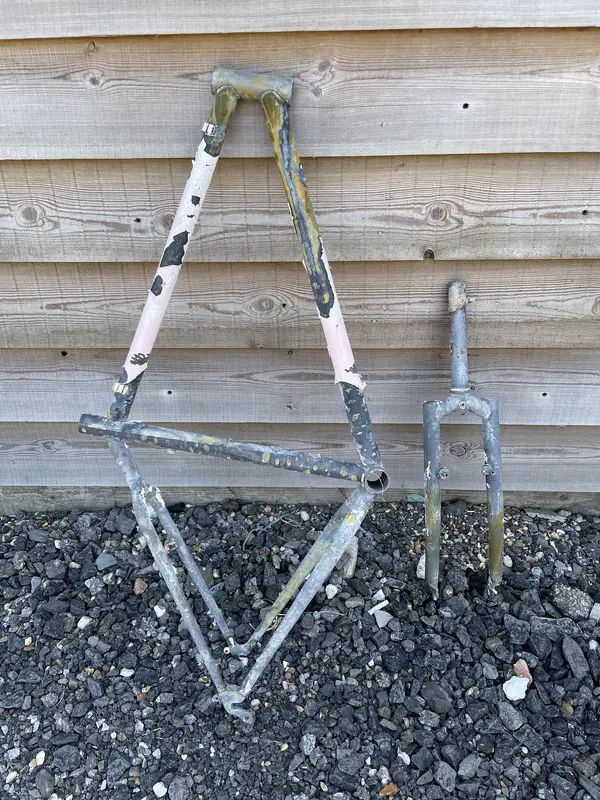
The frame needed dipping, stripping, shot-blasting and powder coating. It wasn't pretty at the half way stage!

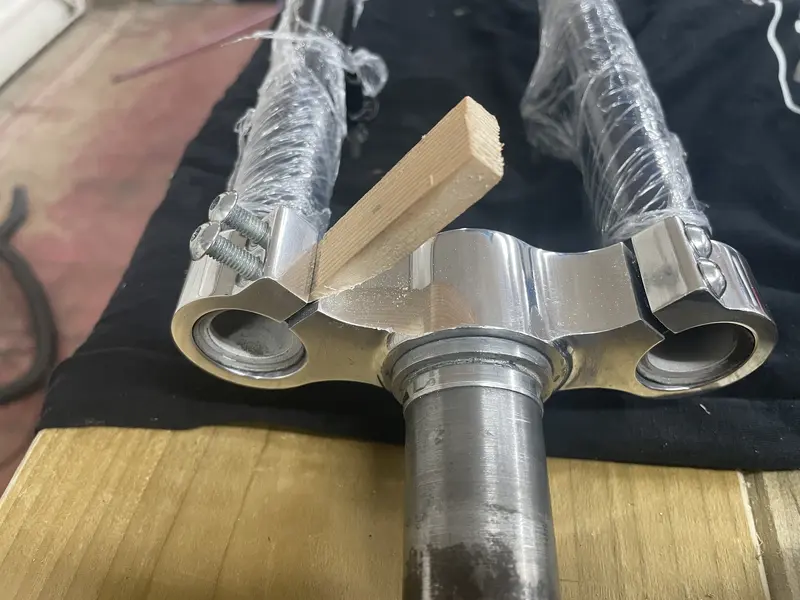
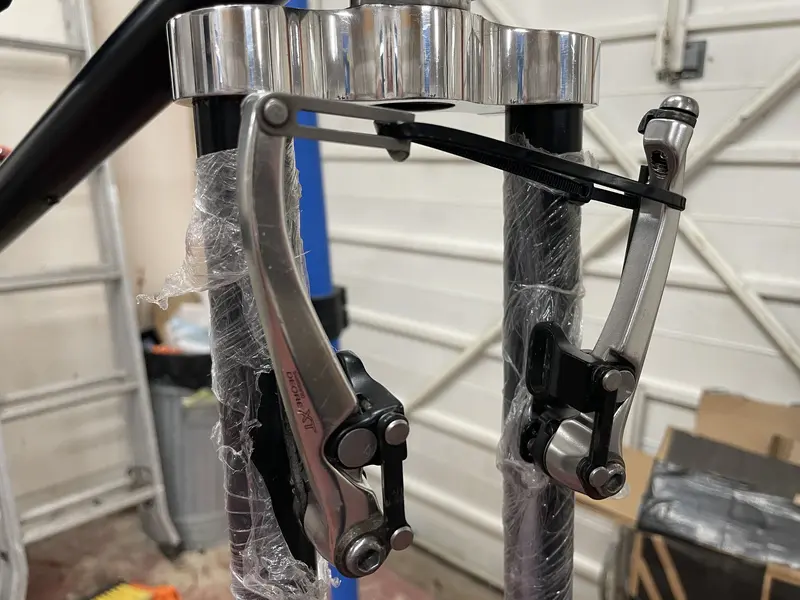
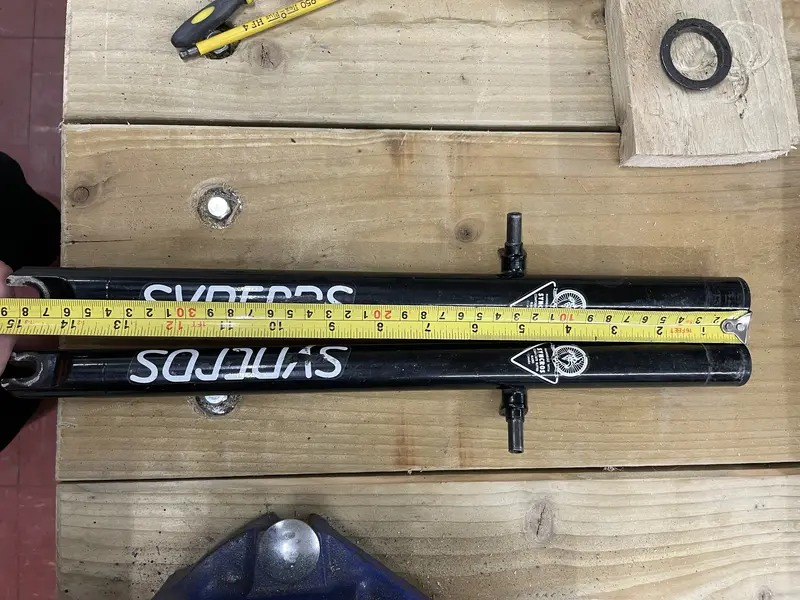
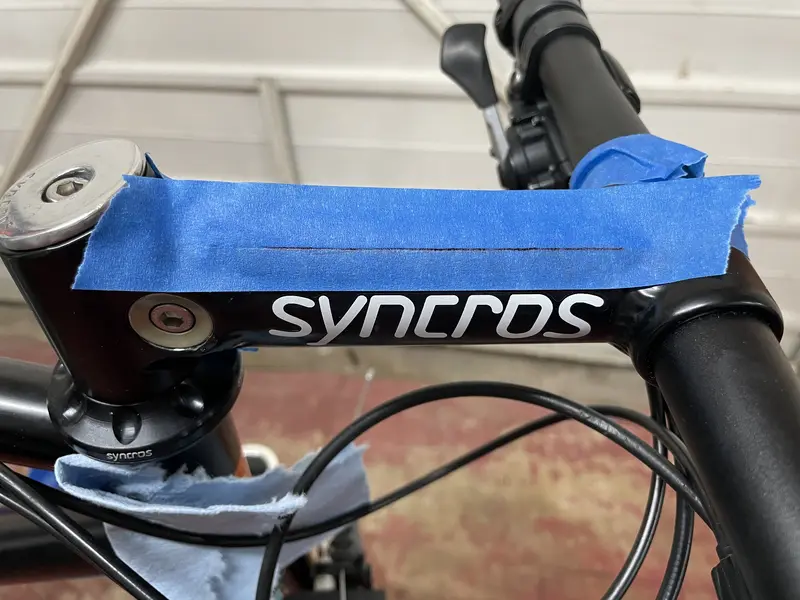
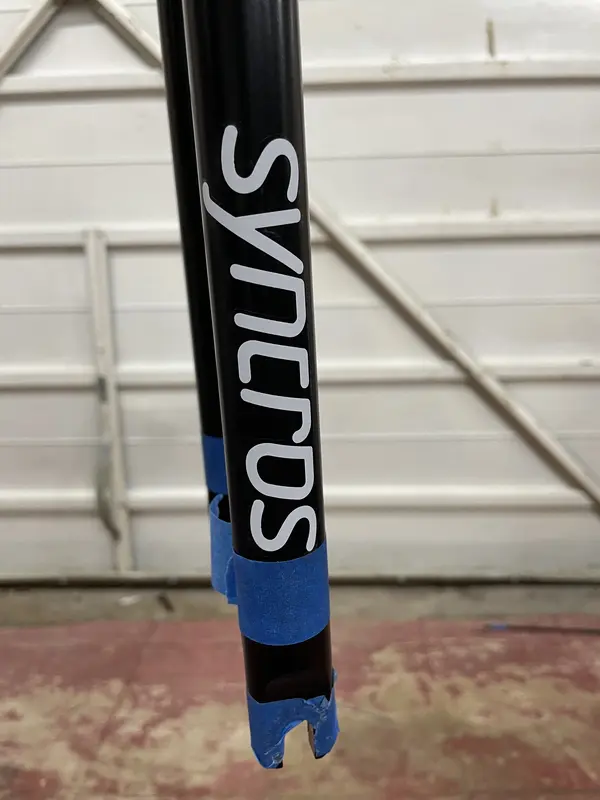
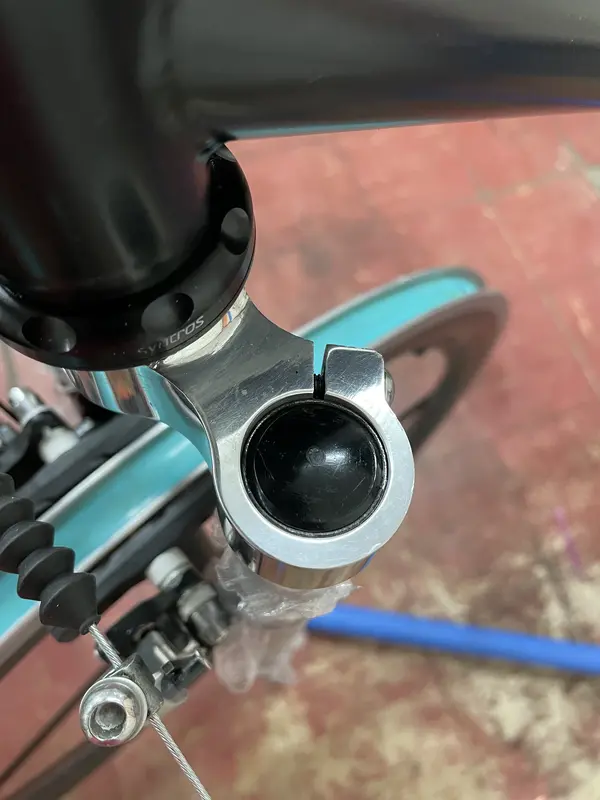
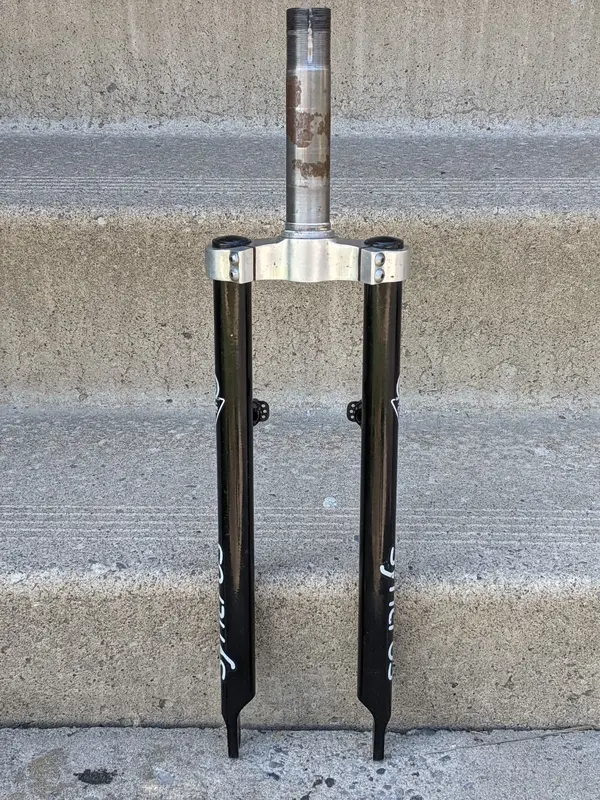
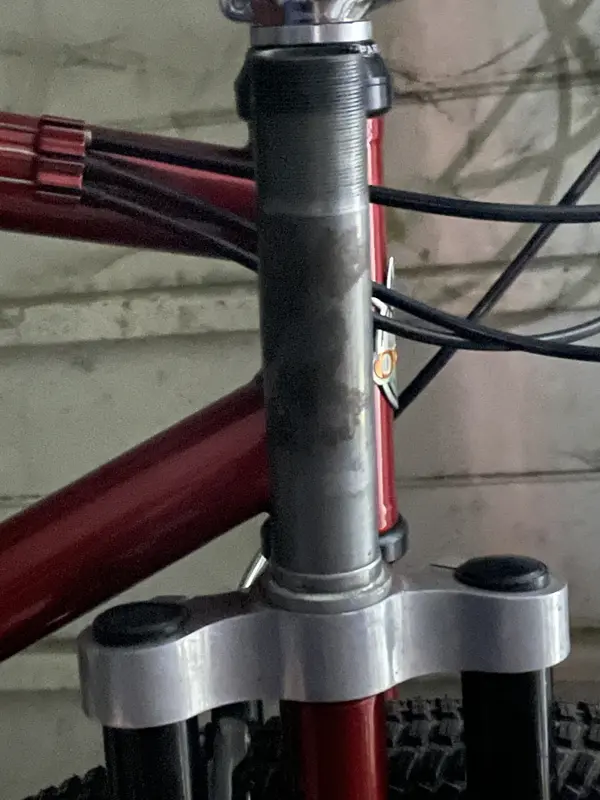
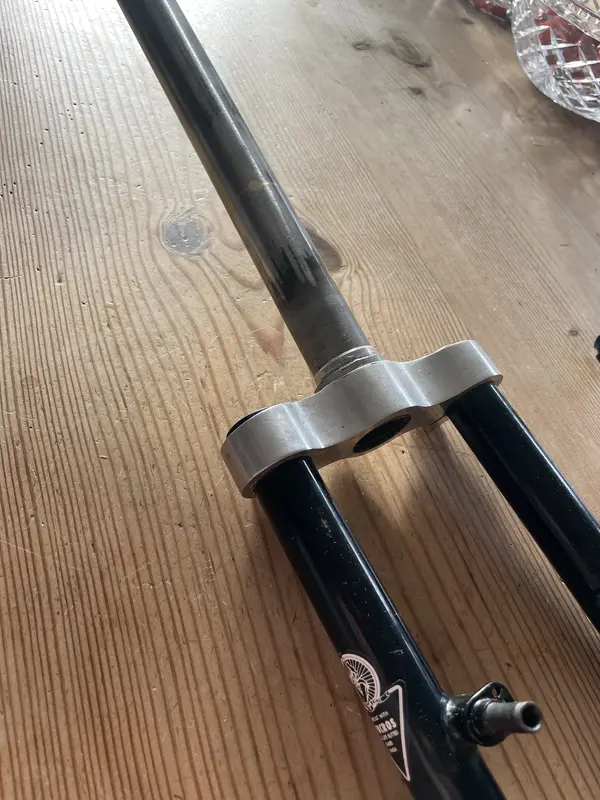
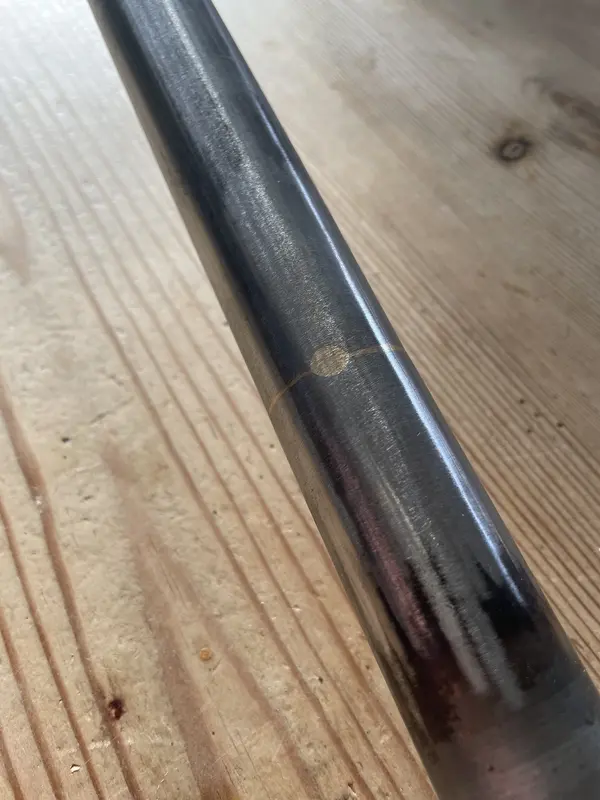
Meanwhile, the Powerlites need to have some steerer surgery... longer and threadless.


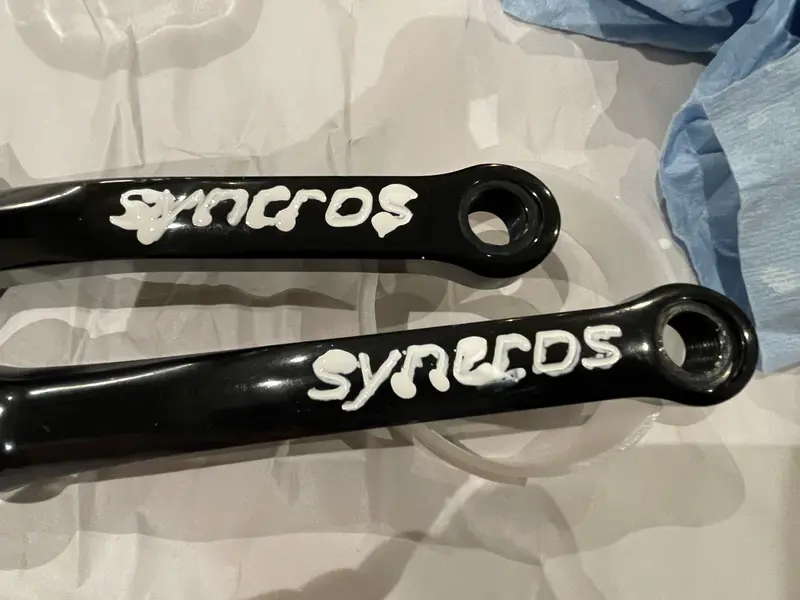
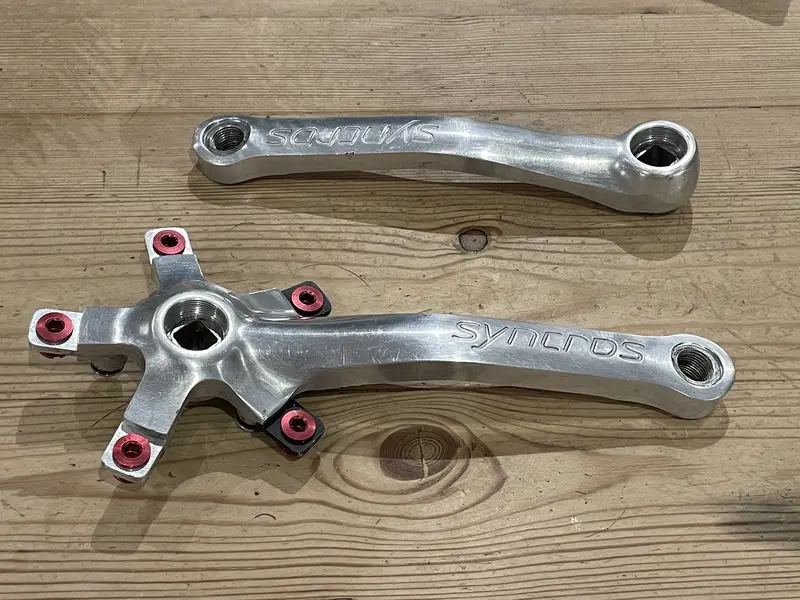
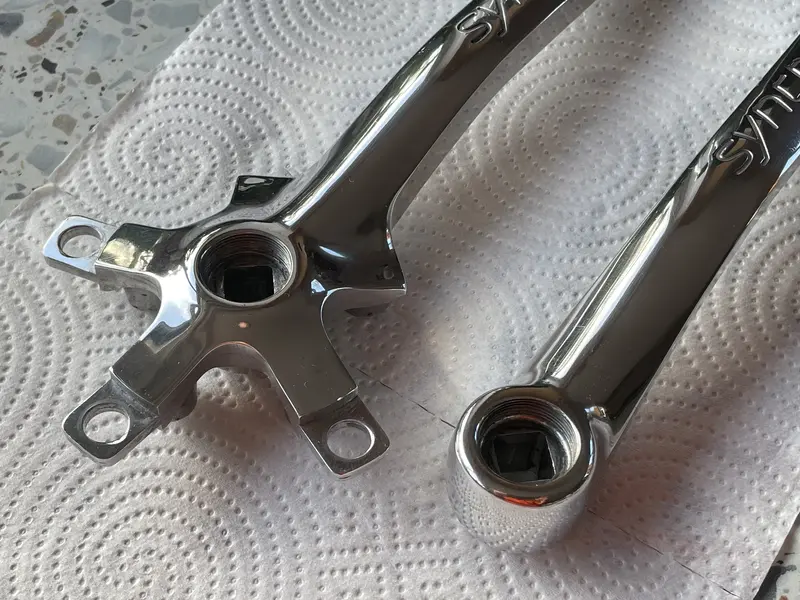
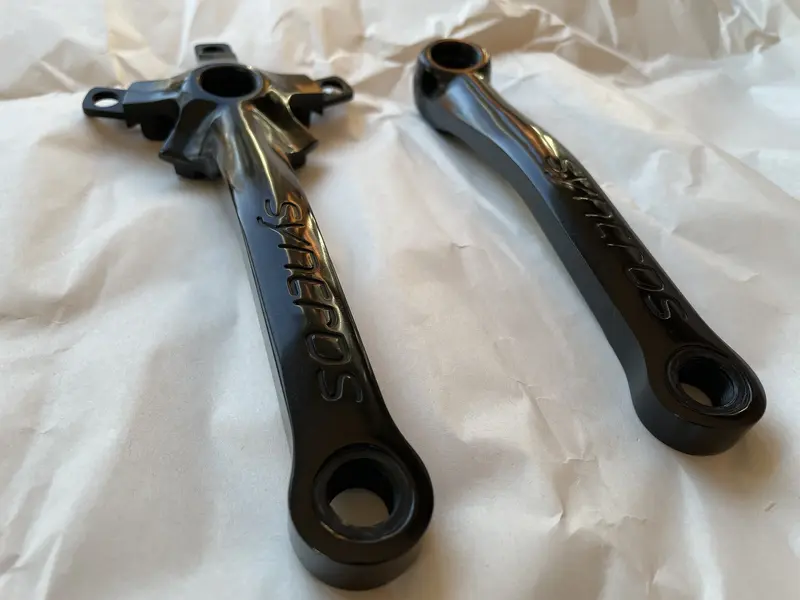
Then the cranks needed some love. Wanted them black, so polished them and sent off for black anodising.


I vowed to remake it one day, the "Retribution Build", and that time was 2025. Well, 2023 when I started sourcing the parts. Annoyingly, I had no photos of the bike at the time but what I remembered was "matt black Orange P7, XT, Syncros stuff, Spinergy wheels". So that was my brief.
First up was finding a decent set of wheels (thanks @Drmiles), then the Syncros Powerlites (thanks @RockiMtn), the XT groupset (thanks to the generous @Splatter Paint), bars (massive thanks @Fatboy1974), cranks (thanks @Fat Gav (Slim)), Syncros headset (@Drmiles again), Ritchie pedals (@Tsundere), Syncros skewers (thanks @Corduroyboy)... and a few bits from Ebay.
But still no frame, plenty in small. Finally found a 1997 frame (SN:A707004340) on Ebay up near Manchester so took a snowy 300 mile round trip. Slightly later than my original, I think, but it's close enough. The main deal breakers were no disc mount nonsense and it needed an 1 1/8" headset to accept some Powerlites. I think you could get them in 1", but were as rare as hens teeth. So figured I must have has an 1 1/8th bike. Seems there tales of 1994 P7s having 1 18" and 1996 P7s having 1", so I just went for a safe bet. Turns out the frame as mint! No rust, no dings.
Here's how the build went down...
First, the starter frame. Pretty much all I used was the frame, grips, cables and chain.
The frame needed dipping, stripping, shot-blasting and powder coating. It wasn't pretty at the half way stage!
Meanwhile, the Powerlites need to have some steerer surgery... longer and threadless.
Then the cranks needed some love. Wanted them black, so polished them and sent off for black anodising.
Last edited:
