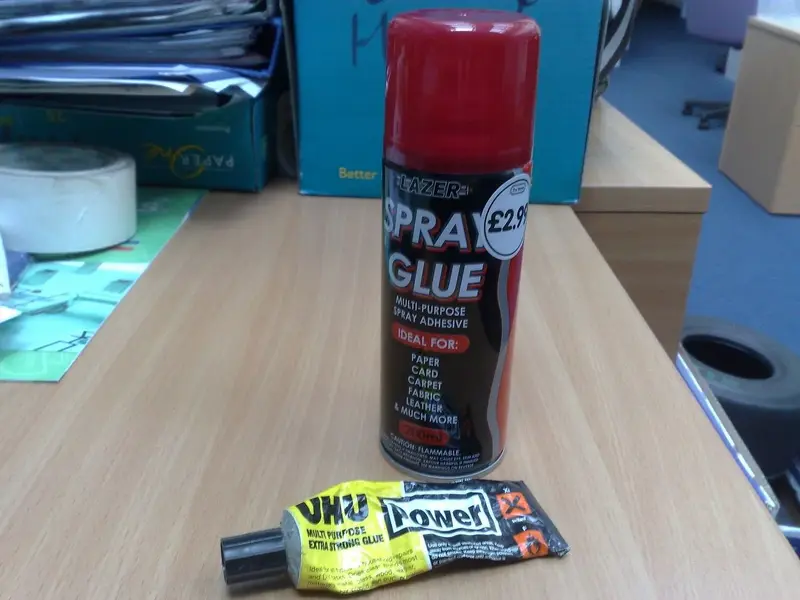
Spray glue for the upper surface of the saddle and then brush applied contact adhesive where the leather is pulled round and stuck on the underside of the saddle. Just means you can pull the leather taut and then stick it immediately in place...... Stretching and trimming the leather round the nose of the saddle was probably the hardest/fiddlyest part.....
Spray glue for the upper surface of the saddle and then brush applied contact adhesive where the leather is pulled round and stuck on the underside of the saddle. Just means you can pull the leather taut and then stick it immediately in place...... Stretching and trimming the leather round the nose of the saddle was probably the hardest/fiddlyest part.....
Maybe Gil could make up some kind of thickish reusable template which coloured dye or leather specific paint/dye whatever could be sponged onto for desired effect?
Maybe Gil could make up some kind of thickish reusable template which coloured dye or leather specific paint/dye whatever could be sponged onto for desired effect?
I'm looking into drawing up some artworks to be cut into sticky-back vinyl (I've got a friend with a laser cutter) - to be used as a stencil so I can paint some leather paint on then remove the stencil to leave the text......all a bit theoretical at the mo - some experimentation is in order.
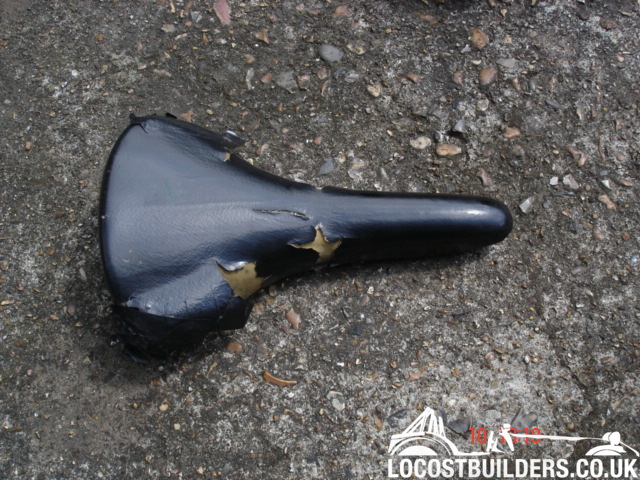
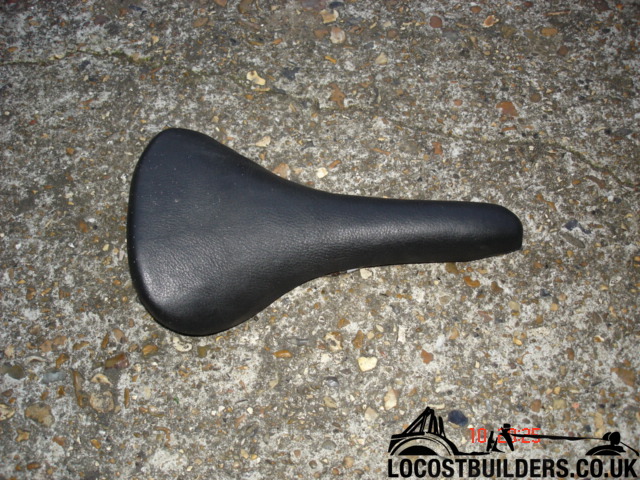
And here's my confession too: seeing as I couldn't get the leather to fit around the nose right, I 'subbed-out' the work to a local upholstery company... W.P.S. Upholstery (www.wpsupholstery.co.uk)
Still, it's £25 well spent if you ask me, seeing as I'll have my arse resting on it for many a mile, so I wanted the saddle to stay looking good and my arse not to end up 'raggedy...!!!'
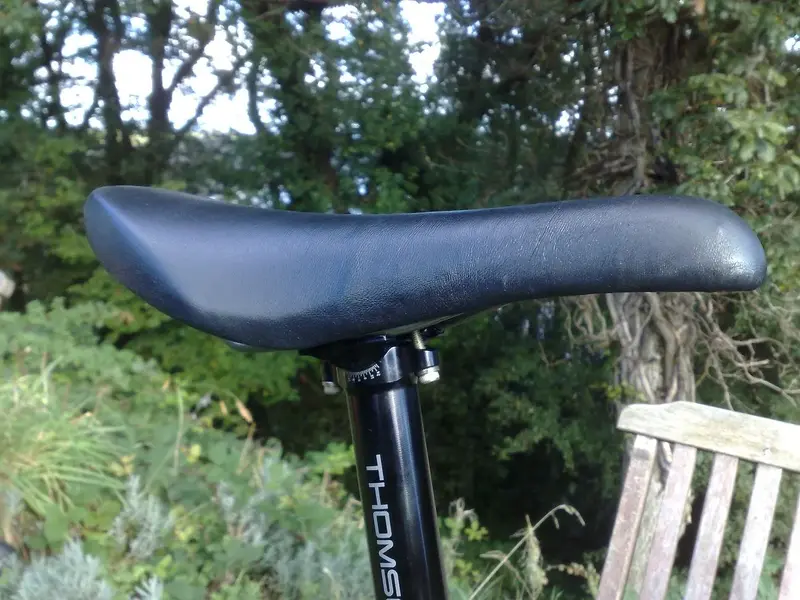
Oh yeah, I added a new Thomson seatpost and a better conditioned set of HS33s just to finish off the build...
Hope you like it as it took 2 1/2 years to come together and a hell of a lot of money :?
But then again, it kept me out of trouble and I've ended up with the bike I always wanted when I was younger (and my kids were a LOT younger...) but couldn't afford at the time!
went a bit further this time - it was upholstery week end !
used timebond glue that gives you a few seconds to actually move a bit the leather piece after applying
but I 'd say you need to be "fu---ng'" quick
the key is actually applying not too much glue - especially on the old saddle base, as if you have too much, it will show through the leather. Use the dented "spreader" to do that. I use the old knife for the underside work.
I actually spoiled two leather pieces because I initially applied too much glue . Second picture shows leather with much to much glue ! I applied it but immediately saw that it was wrong . and had to restart all over again
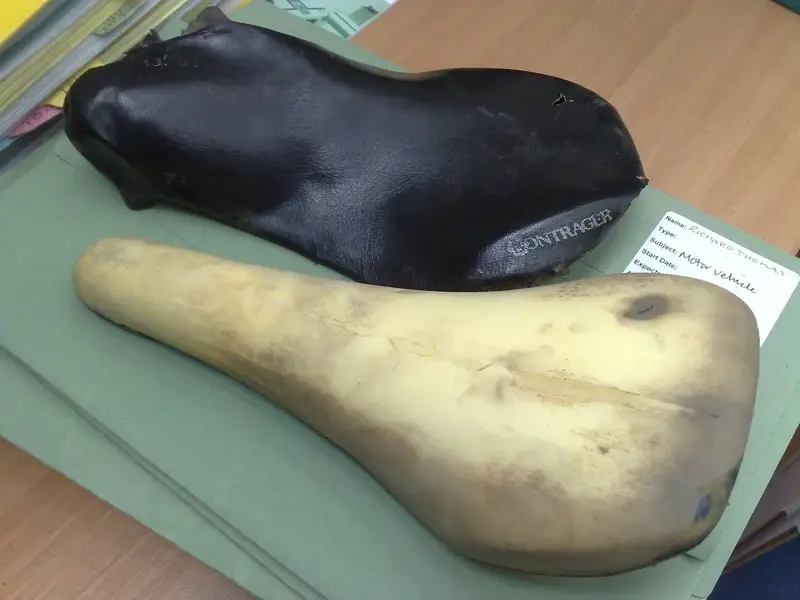
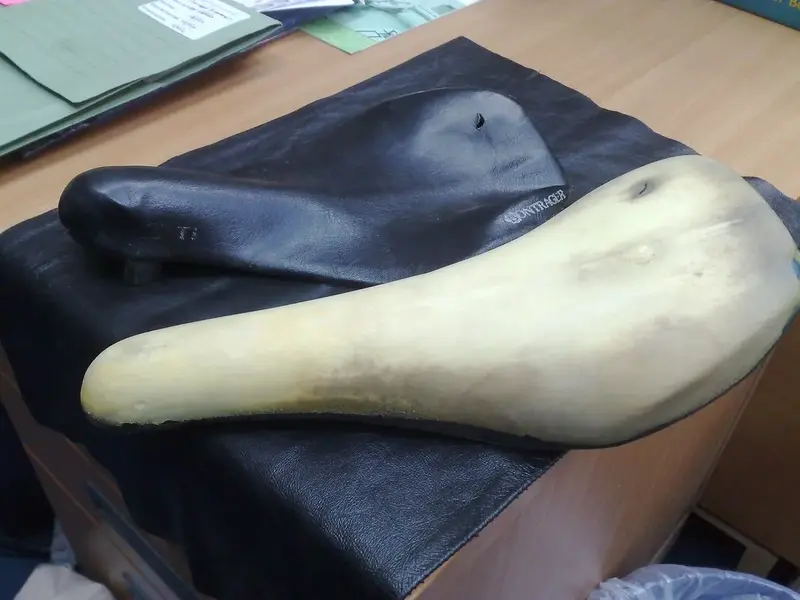
You will notice that with the first one which is the dark grey , I took off the old cover ( which was actually textile with stiched wording)
unfortunately , even after sanding the foam underside to try to even the surface, it was slightly damaged und uneven and it shows at the end
so with the next ones I left the old leather - I believe it is best as the thinner the leather piece, the more you will see the defaults of the old saddle.
I glue first the upper part and leave all the surface that will be glued on the underside free as well as the nose which is the most tricky part.
I actually place the saddle on the glued leather ( hence the lines to help you do that ) and very rapidly strech the leather in all directions to get a nice even surface. It is tricky !
There are three set of lines
vertical projection of the saddle ( so you chose a nice upper , as there are often tiny variation in the tanned leather look)
line that corresponds to the visible part of the leather
line that corresponds to the leather that is glued on the underside
the really tricky part is the nose where you have too much material - so you need to work little by little
I use clamps to do that and sometimes reduces a bit the leather amount in the curves with tiny indentations
The backpart of the saddle is also tricky
to tell you the truth, it has taken me more than two hours per saddle !
I am pretty happy about the result but to sum it up,
the state of the old saddle you will use will impact the final result
the leather piece you will apply is also of paramount importance, the suppleness , the thickness will ease or render the job more or less difficult.
by the way, its a three year project ! took a long time to find the old flites ( decently priced)
as well as the nices pieces of leather ( I had just enough of white perforated leather to have only one try !)
foremost, I knew it would be very tricky , as it is easy to make a blunder.
Compared to factory saddles rated with a 10/10
I would rate the white perforated one with a 9/10
The orange one with an 8/10
the grey one with a 4/10 because of the visible defaults of the underside :facepalm:
")
")