Thias
Klein Fan
I've been pondering on starting this thraed for quite some time. Because it's rather troublesome for me to "speak" in english. I actually have to use my brain for it to come up with the right words. If you know what I mean. Also, my sense of humor as a guy (originally from Poland) living in Germany - it has maybe suffered. Not sure about that. Sometimes I make a joke and people look at me funny... Can't be my fault, right? RIGHT?
Ok. Nuff whining. On to the topic of here thread, an old bike that no one cares about.
Or definitly no one had cared about for a very long time, before I bought it in 2017.
Yes. That's how fast my projects evolve.
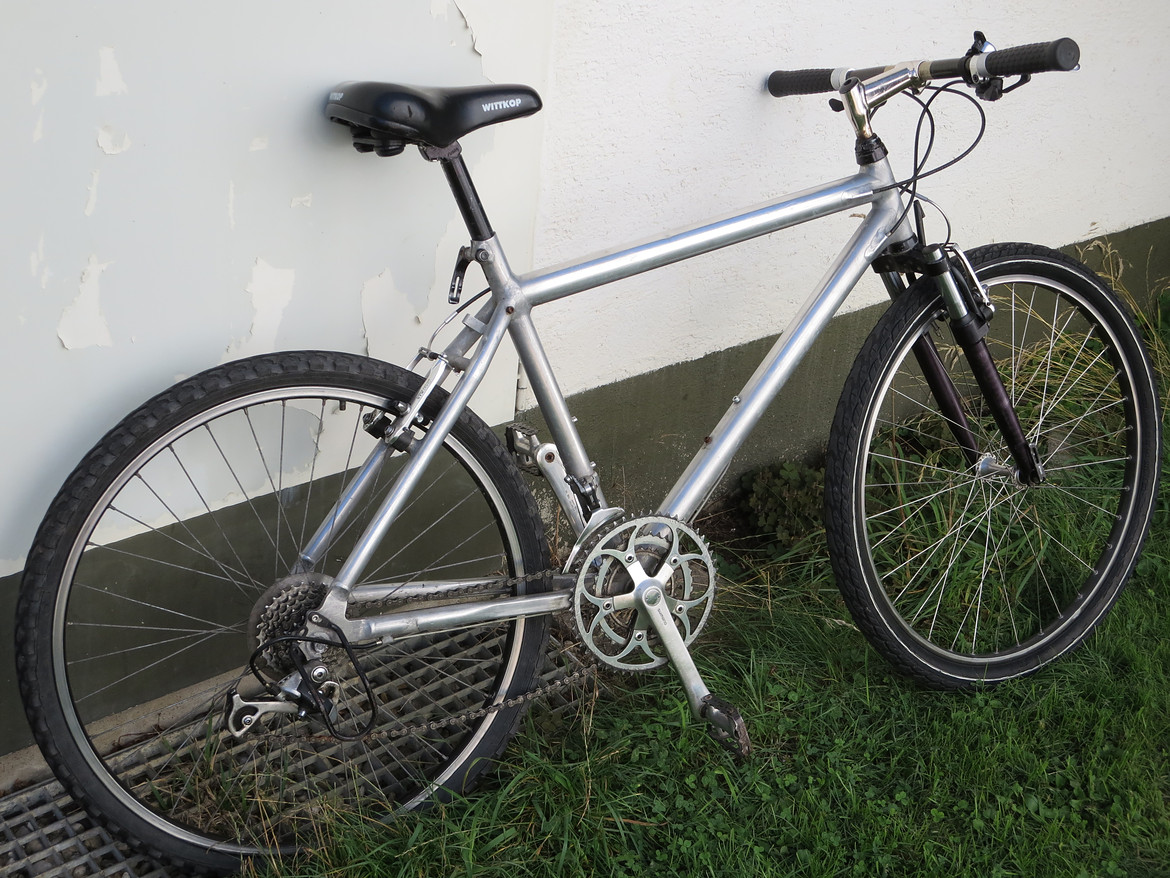
Pics from back when I got it.

Doesn't look that bad, some of you might think. As did I when I pulled the trigger on ebay. The add had poor quality pictures. The seller had no idea what it was. And I saw it was a KLEIN, 100 Euros asking price. I took the gamble. And, well. Lost.
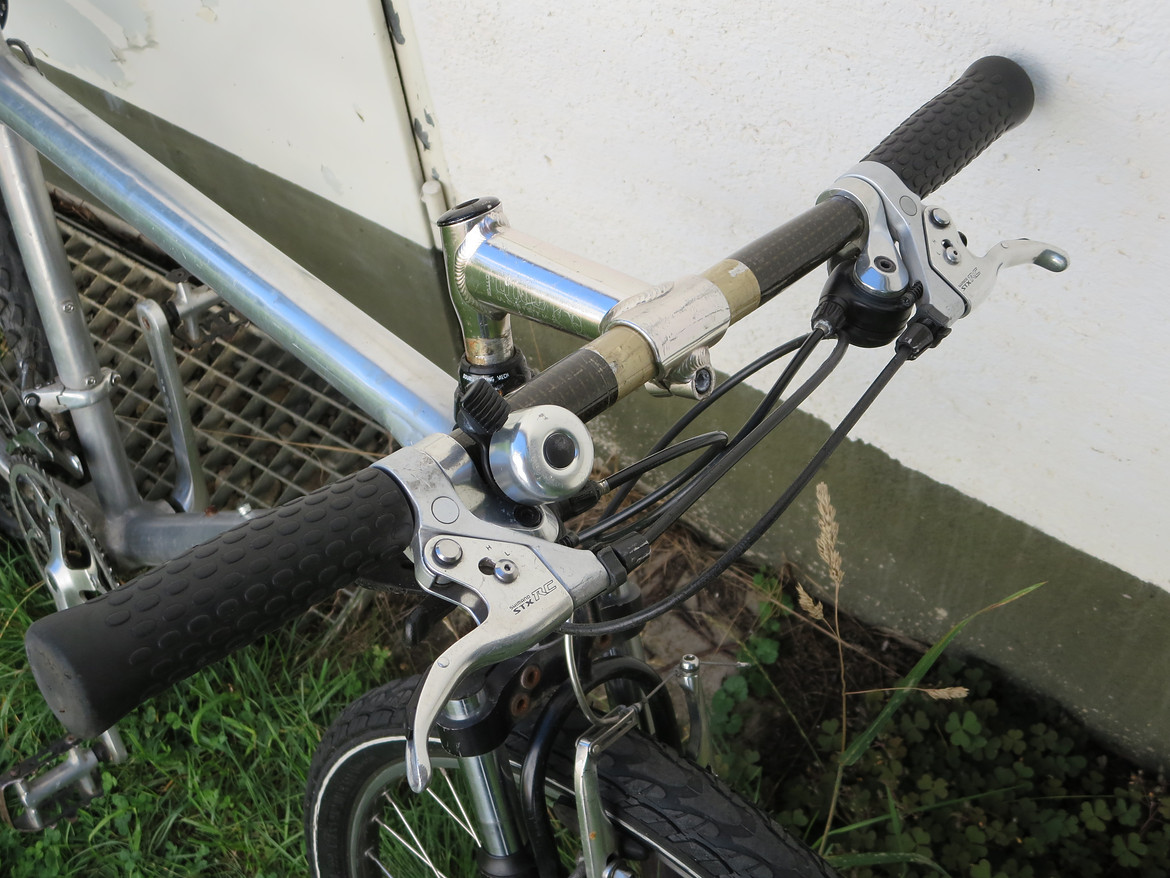
The steerer situation is not *that* bad. Though I would not trust that old carbon bar. Still, a nice part to put on the bling bling shelf and never ride it.
And the grips! I really like those. Undestructable no wear items, those rubbers are.
My wife also likes them. I'm not sure why, tho.
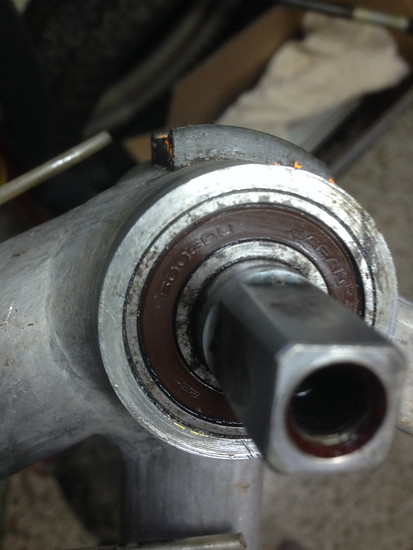
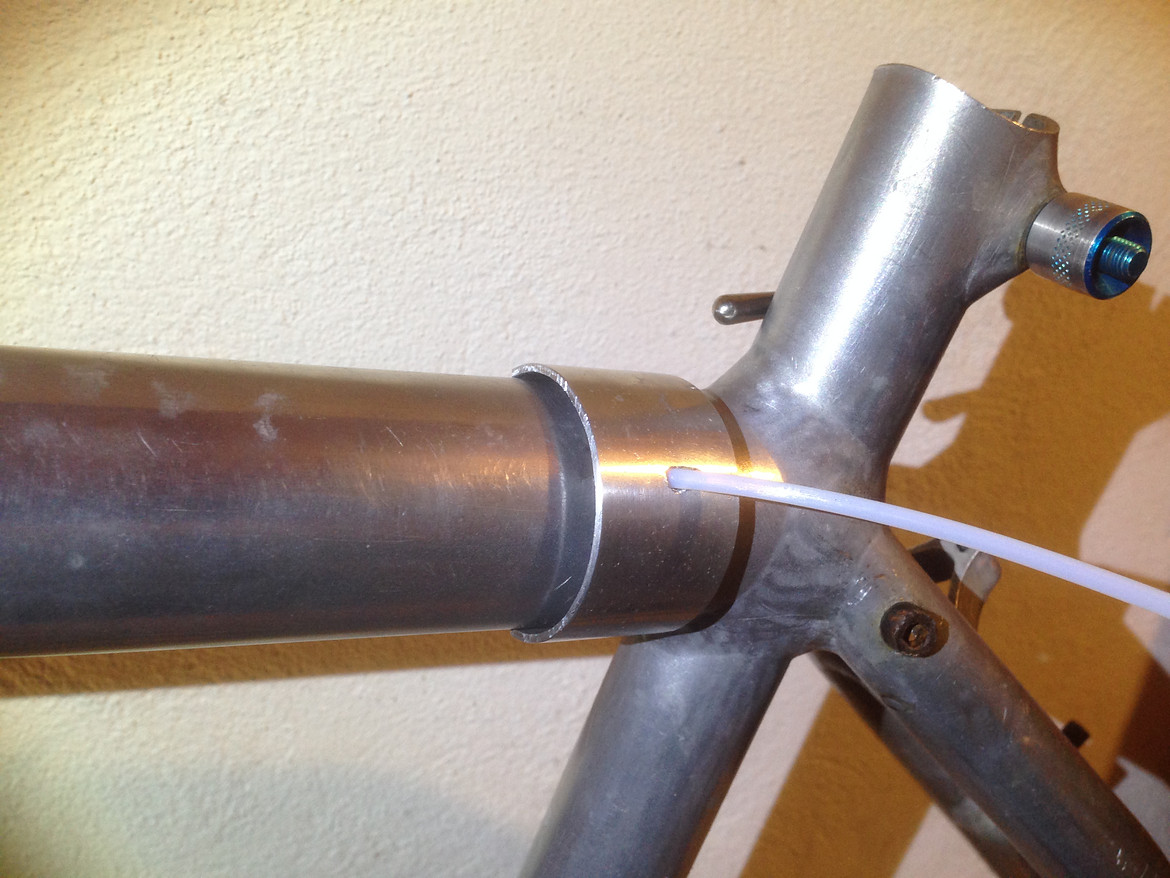
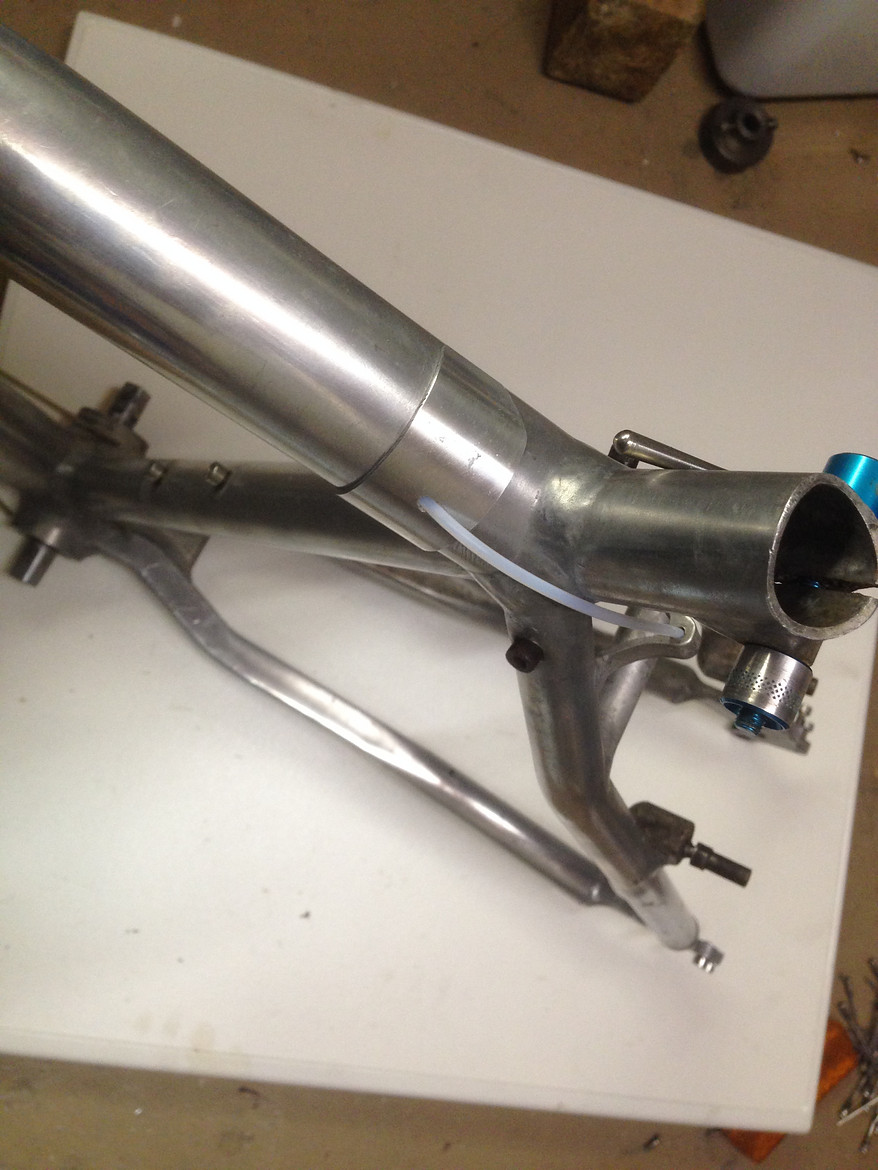
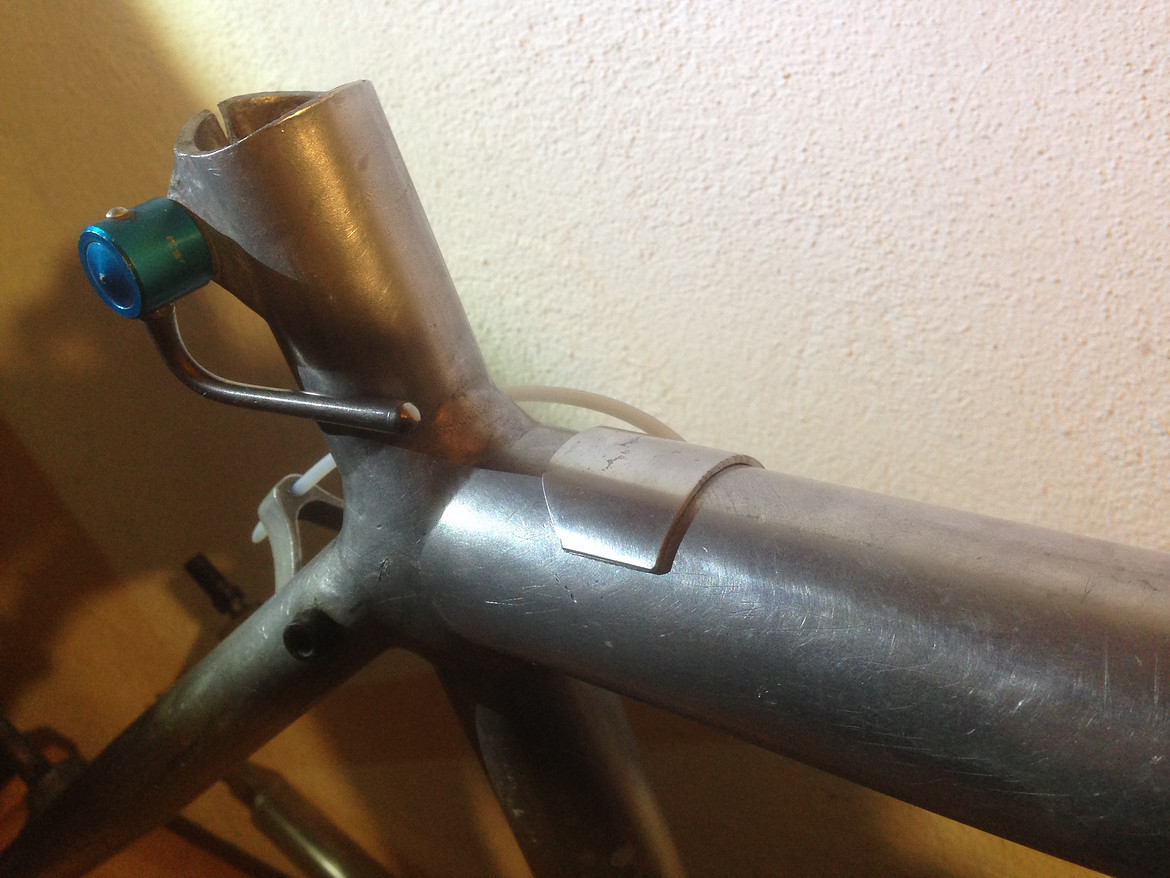
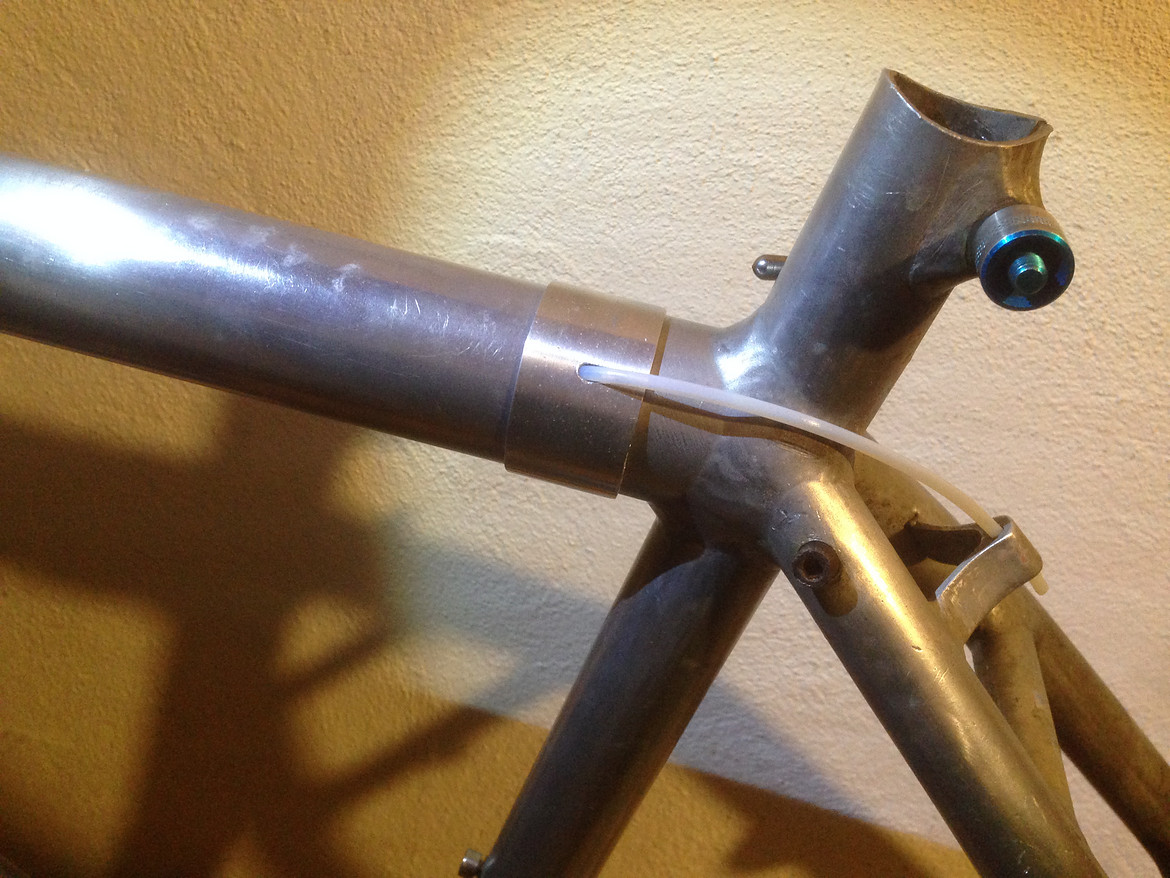
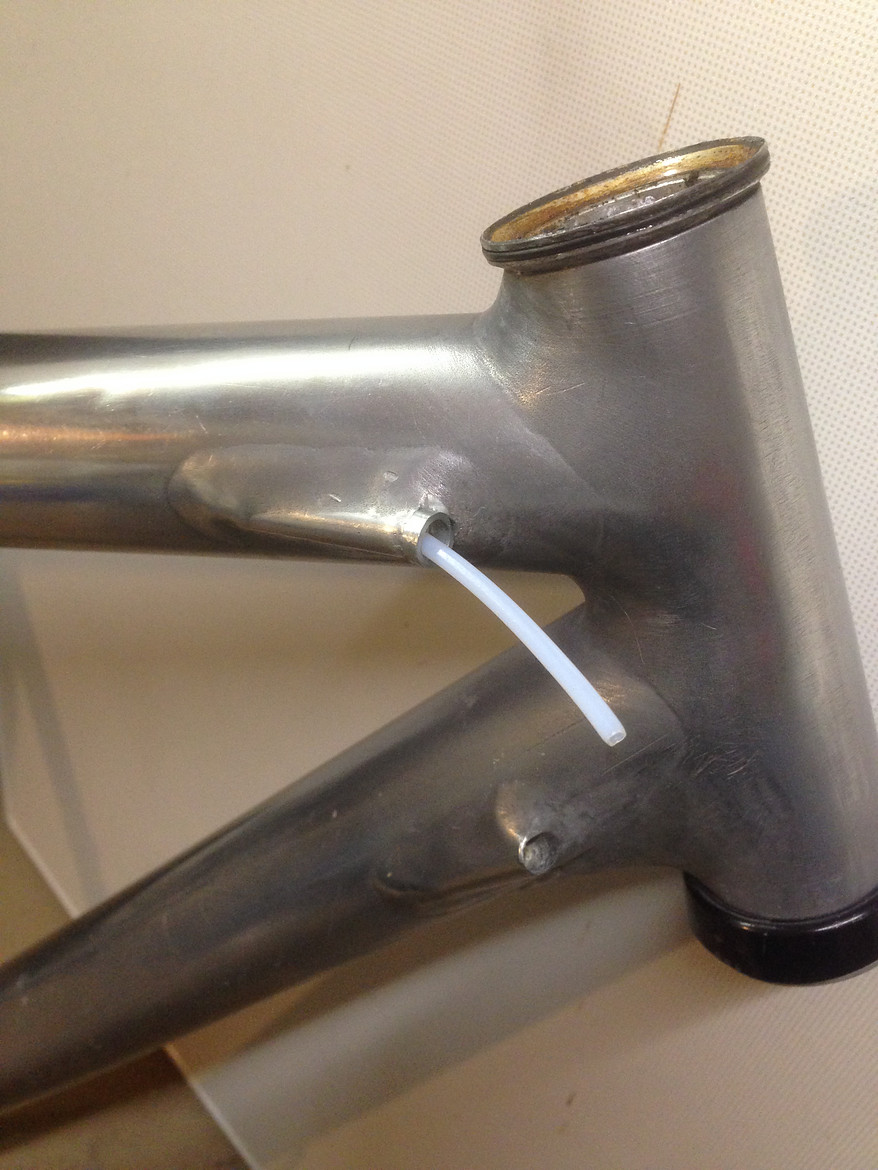
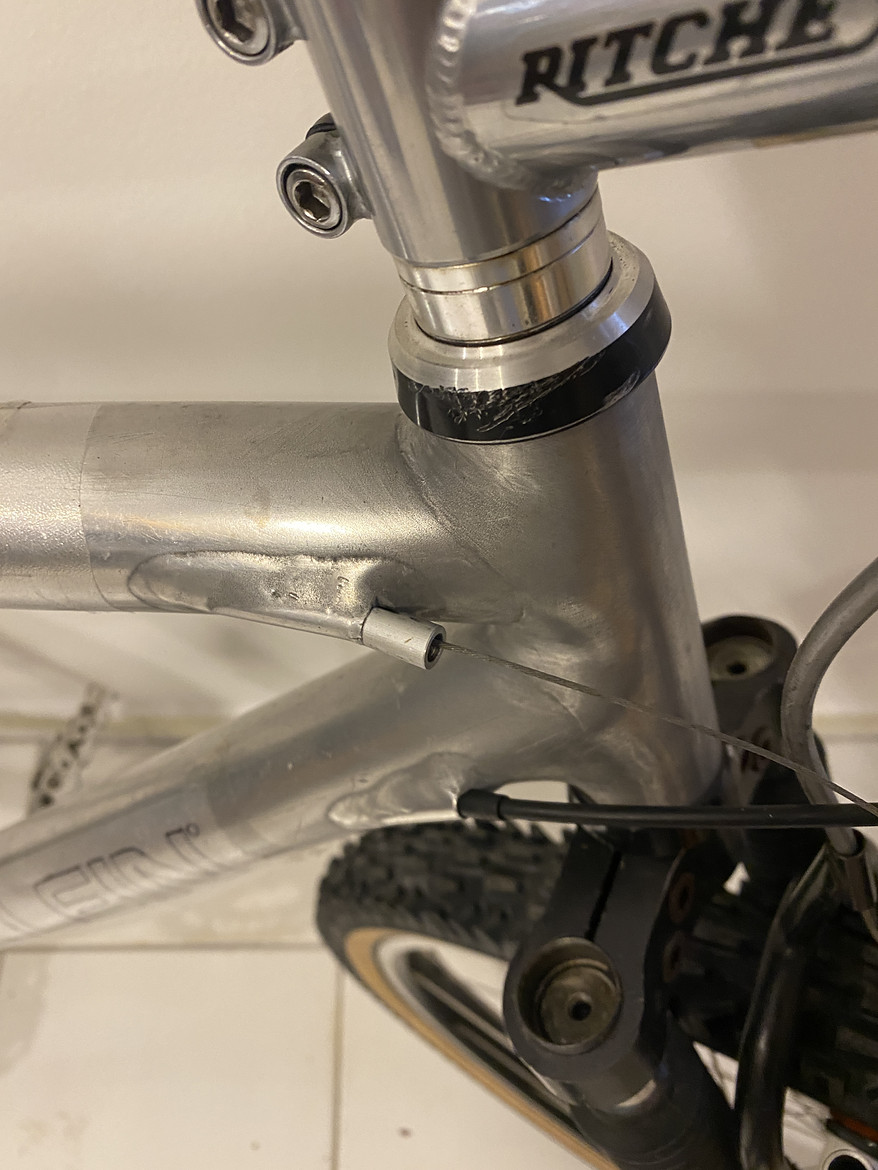
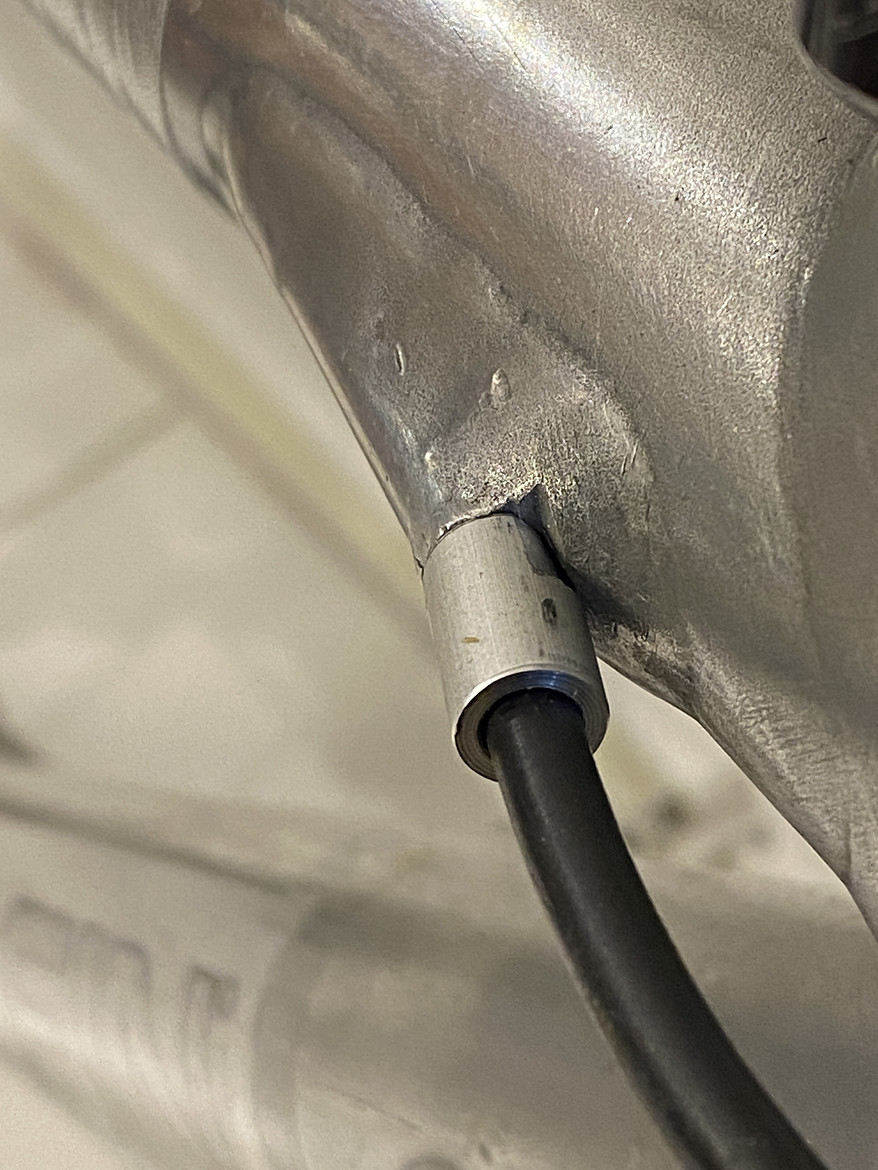
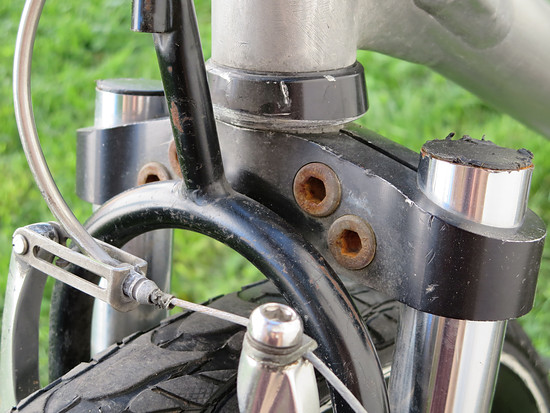
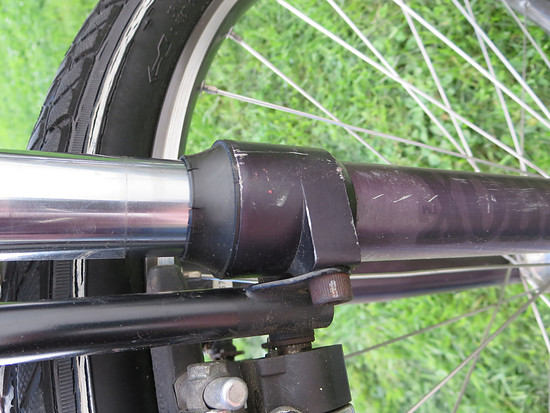
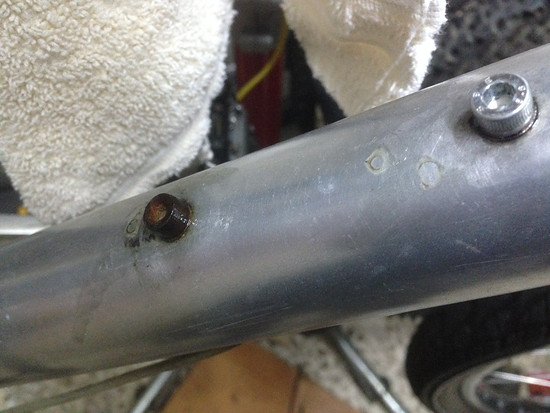
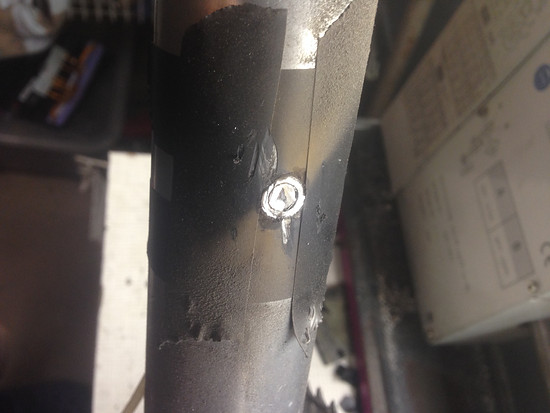
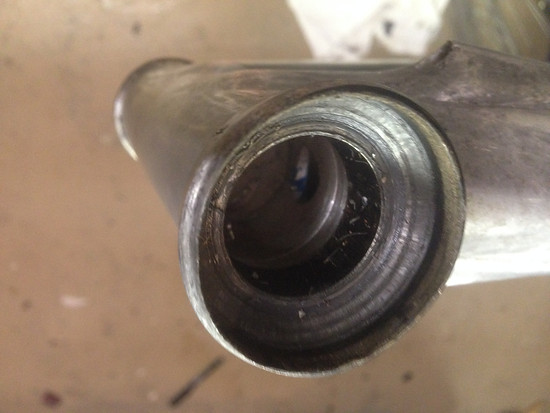
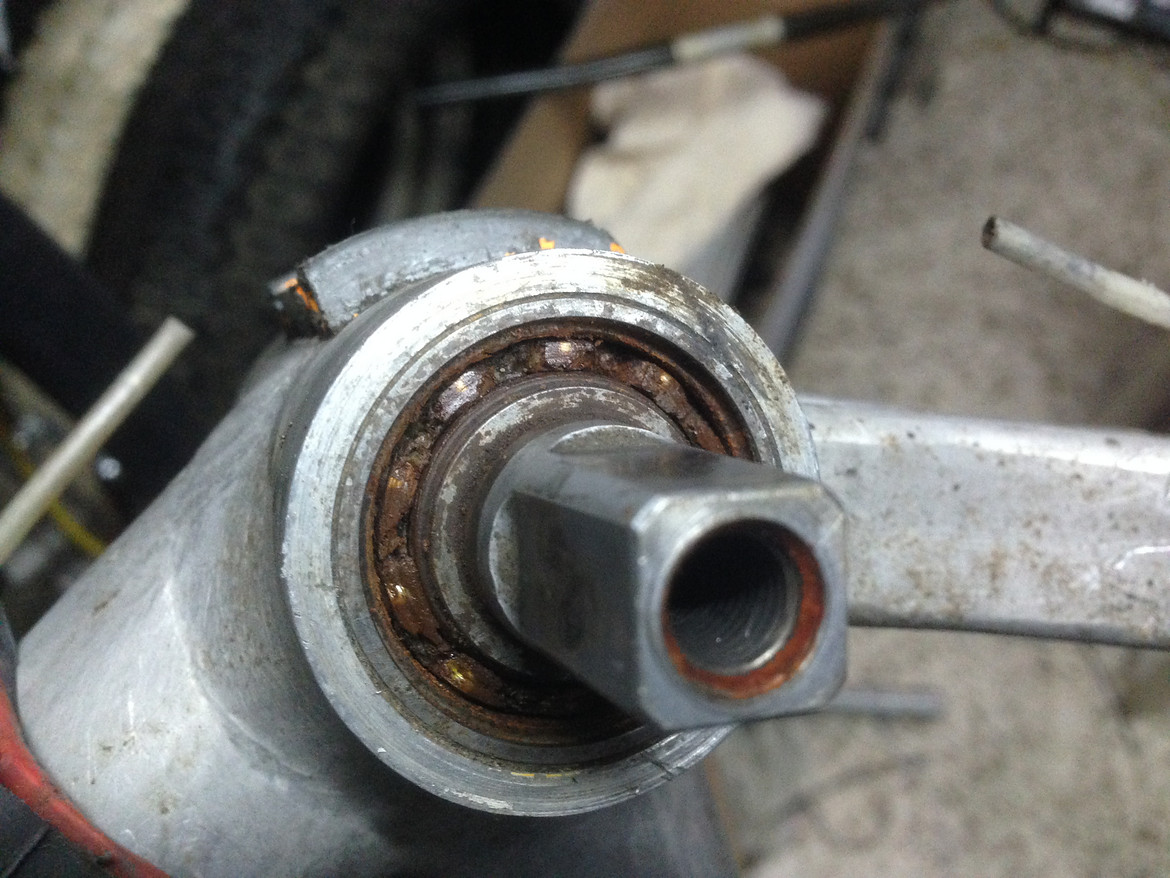
Some closer peeks on the frame - I did not want to see all that!
What the..
No you didn't..
Why?
You should't... The cap, it's... If you're hungry, don't...
The deacls, just a shadow of their former self.
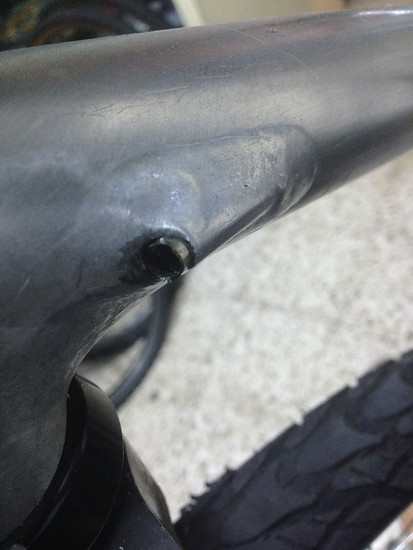
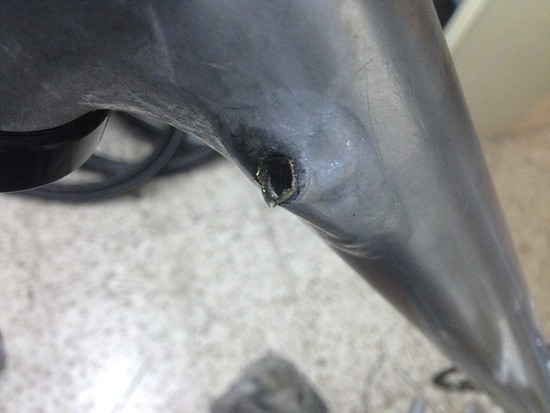
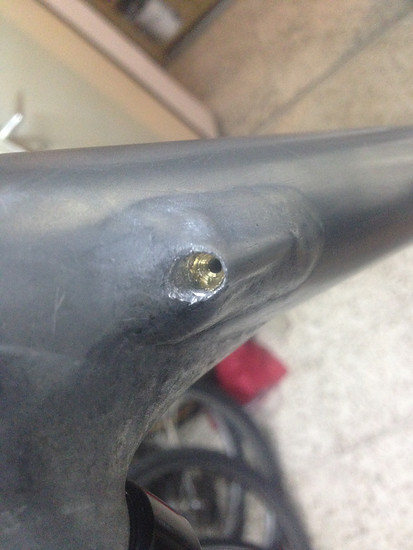
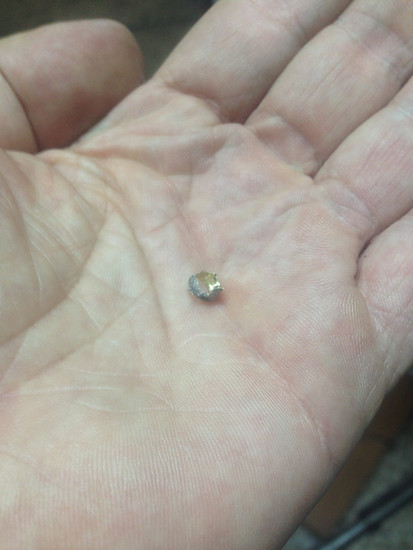
And of course, all the cage bolts rusted solid into their rivnuts. All 8 of them.
Oh! That one on the right still looks good!
Nope. Doesn't move.
But the rivnut unterneath sure does.
It took me a few weeks to even take another look at the bike after it arrived.
....
Ok. Nuff whining. On to the topic of here thread, an old bike that no one cares about.
Or definitly no one had cared about for a very long time, before I bought it in 2017.
Yes. That's how fast my projects evolve.
Pics from back when I got it.
Doesn't look that bad, some of you might think. As did I when I pulled the trigger on ebay. The add had poor quality pictures. The seller had no idea what it was. And I saw it was a KLEIN, 100 Euros asking price. I took the gamble. And, well. Lost.
The steerer situation is not *that* bad. Though I would not trust that old carbon bar. Still, a nice part to put on the bling bling shelf and never ride it.
And the grips! I really like those. Undestructable no wear items, those rubbers are.
My wife also likes them. I'm not sure why, tho.
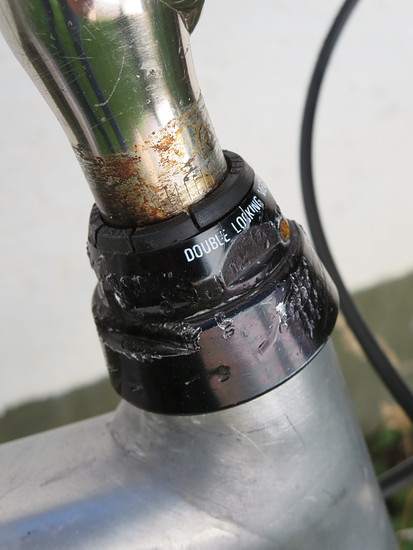
Some closer peeks on the frame - I did not want to see all that!
What the..
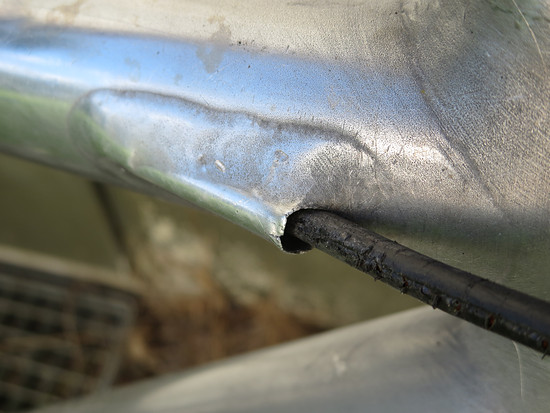
No you didn't..
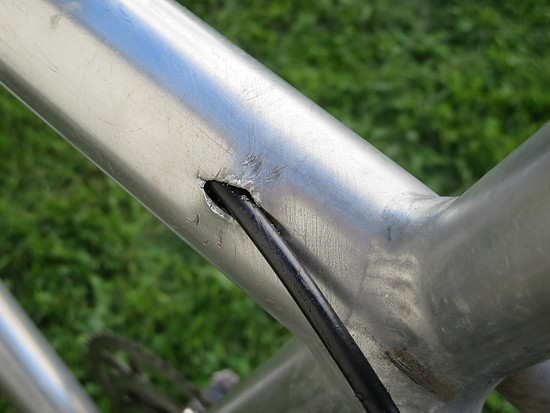
Why?
You should't... The cap, it's... If you're hungry, don't...
The deacls, just a shadow of their former self.
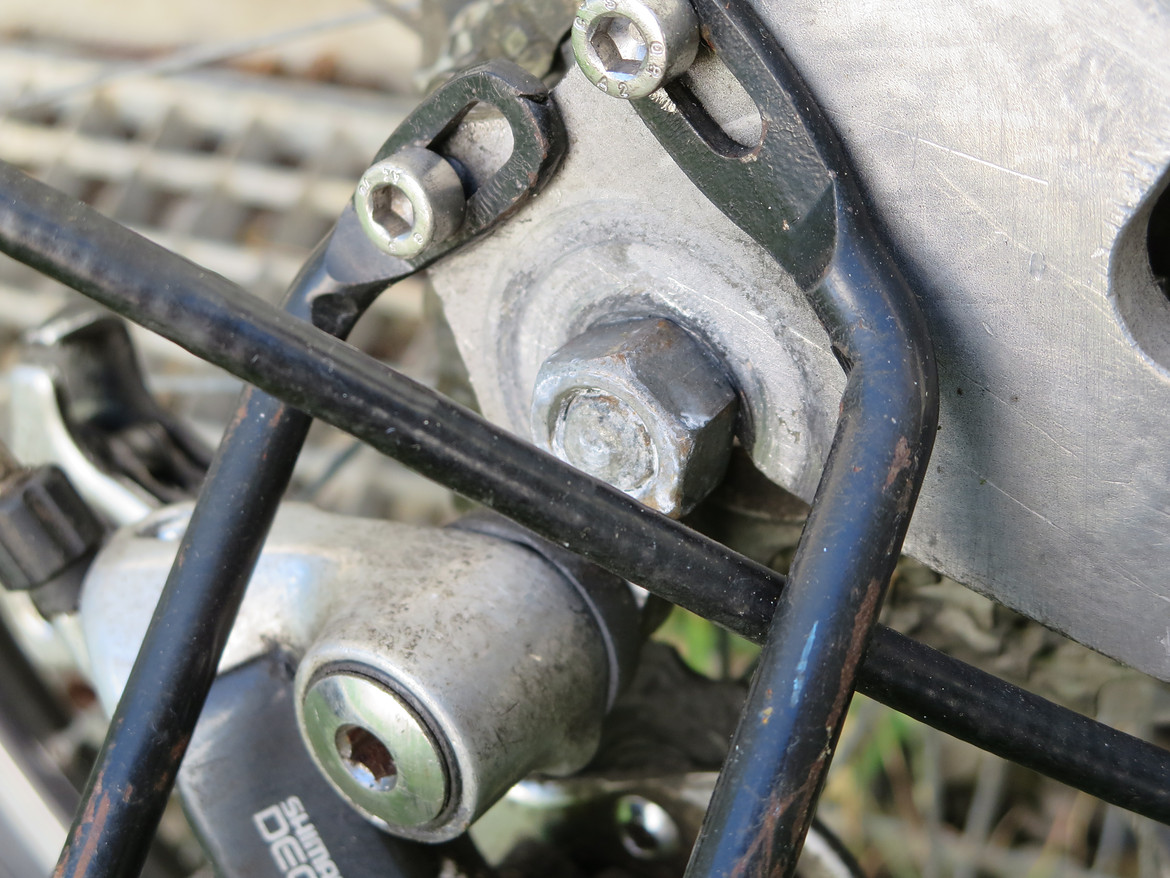
And of course, all the cage bolts rusted solid into their rivnuts. All 8 of them.
Oh! That one on the right still looks good!
Nope. Doesn't move.
But the rivnut unterneath sure does.
It took me a few weeks to even take another look at the bike after it arrived.
....
Last edited:

 )
)


")