

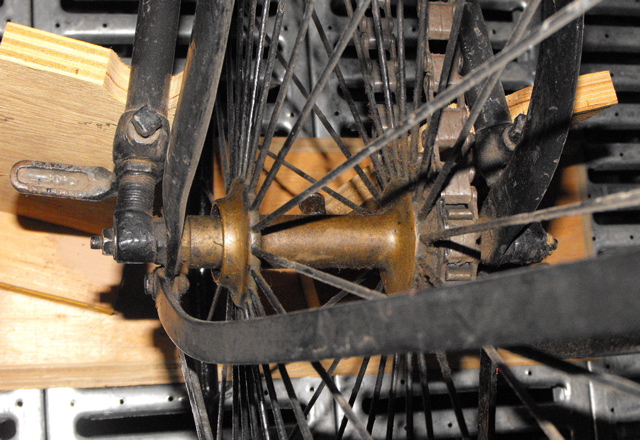
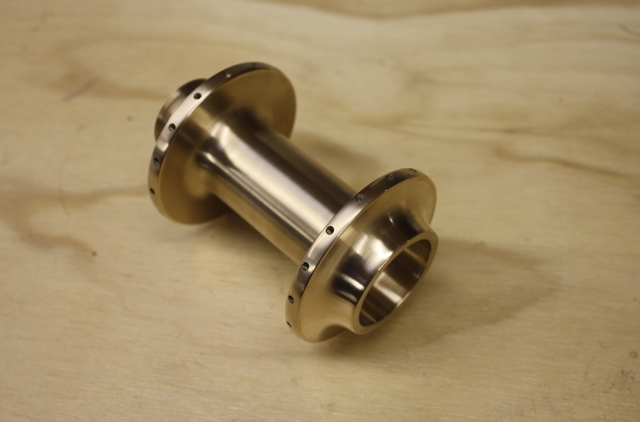
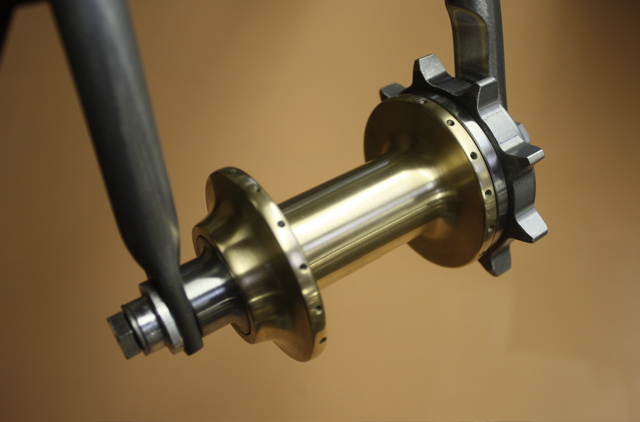
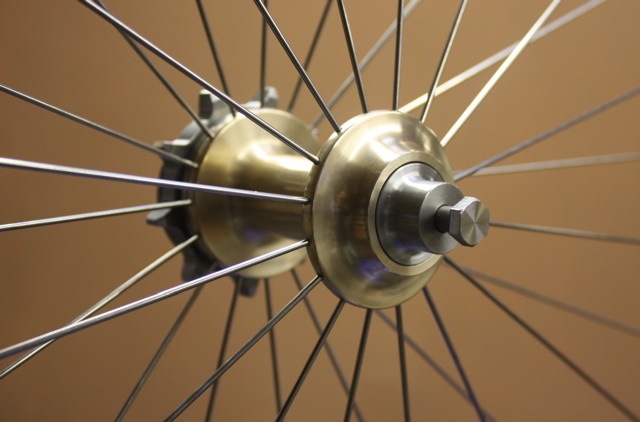
The Whippet rear hub was made of bronze on this original bike, and also had radial spoking, which I did not expect at all >
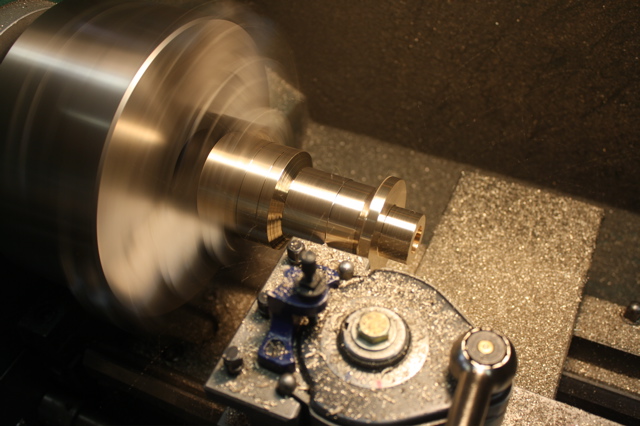
I ordered a short bar of bearing bronze, and took a few cuts. I did make a quick drawing on a piece of cardboard..

Here, the shape is being "roughed out". This is Machinist talk. Also, if you can use a lathe, but are not too skilled, you're a "rough turner"..
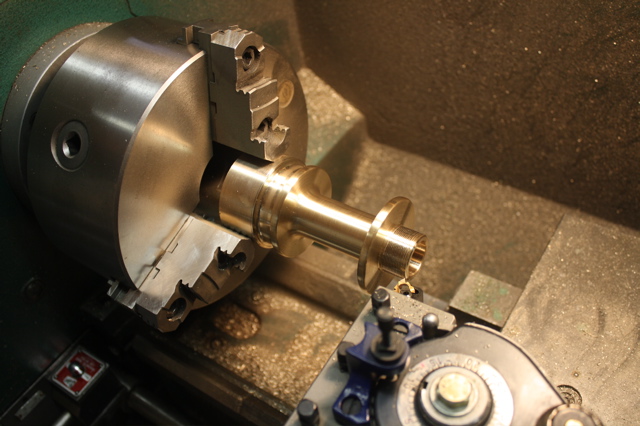
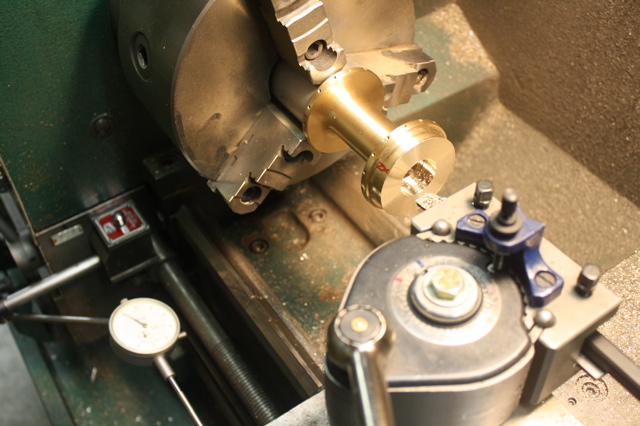
The hub shape is finalized, and the thread cut for the freewheel..
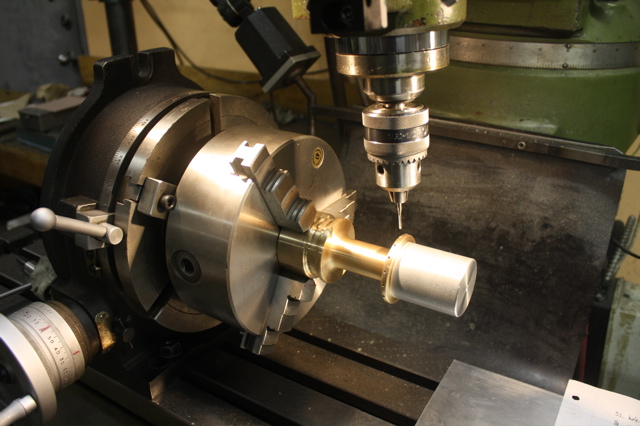
I took a short piece of 6061 aluminum, and cut an internal thread to go onto the freewheel threads. This will allow me to hold either end of the hub in future operations. Here, the threads are being cut with a very small tap.. I start the mill, and switch it off. When the spindle has almost stopped, that's when I bring the tap down and start the thread. The mill head has been angled to 6 degrees >
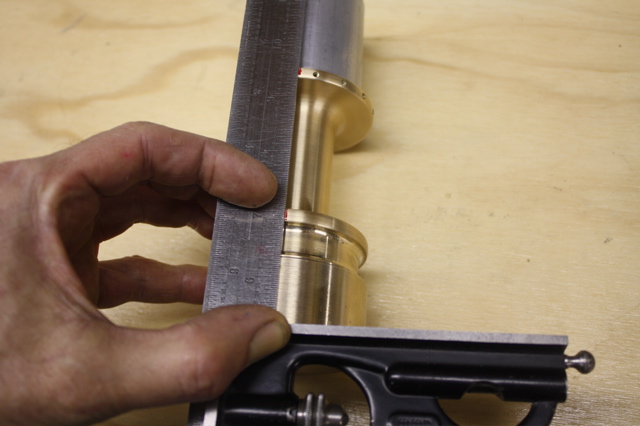
The first side is done, so a machinist square ( from a combination set..) is used to layout where to start drilling the holes on the other side. You can see the fine red felt pen marks. One side is offset from the other >
For each hole, you centre drill, tap drill .600" deep, go half way with a plug tap, then all the way with a bottoming tap. If you break a tap, you will never get it out, it's too small. Best just to take a break and order more bronze... It's a very time consuming process, and with 2 hubs there are 64 threads to tap >
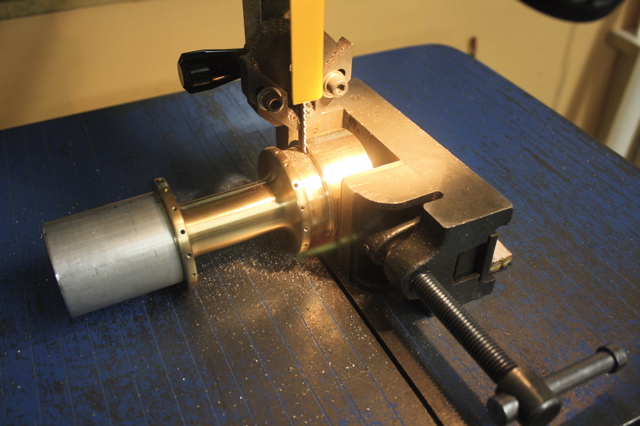
Cutting off the excess bronze in the vertical bandsaw >
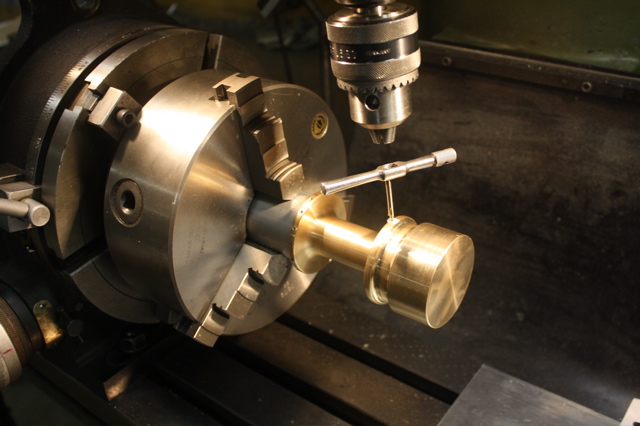
The 6061 aluminum is now holding the hub in the 3 jaw, and a small carbide tool bores the hub for a sealed bearing. The dial indicator is my "stop" >
The finished hub looks a little lonely without a freewheel >
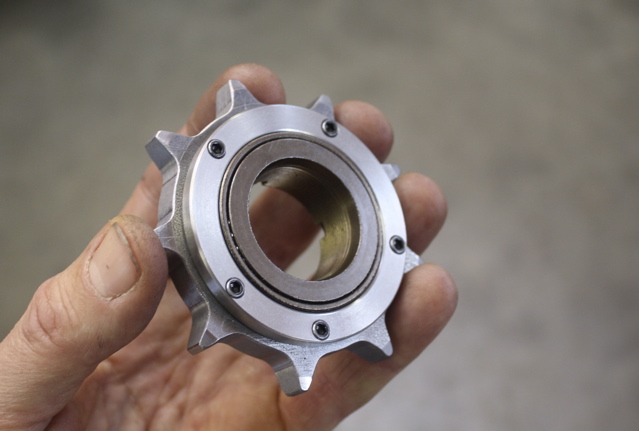
How exactly do you put a BMX micro drive freewheel into a custom block chain sprocket?
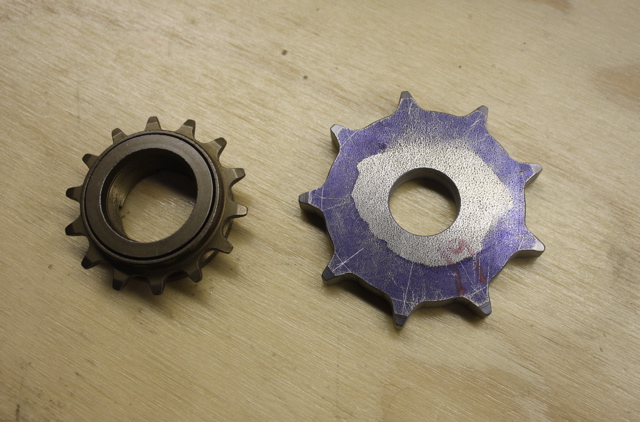
First step is to bore it out >
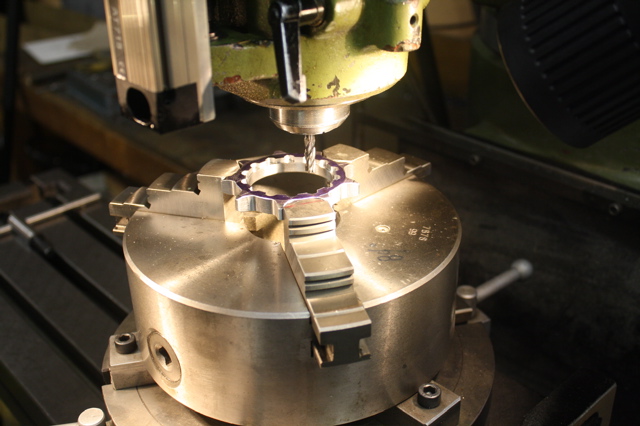
Second step: the freewheel was 14 teeth, so I cut 14 notches using a 1/4" carbide endmill in the rotary table. If i remember correctly, that's one cut every 25.714 degrees...
I belt sanded down the sprocket teeth a bit, and then I had a good fit >

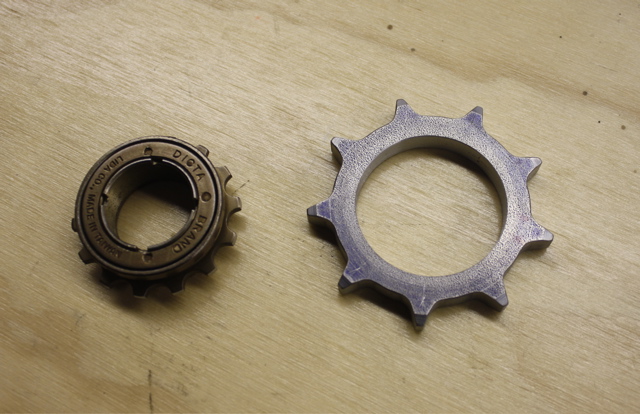
I mad a little stainless steel cover, and held it on with 5 allen screws. This will hold the freewheel and sprocket together very securely. You can't space 5 screws equally around a 14T sprocket, in case you wondered >
Mounted in the rear stays of the Whippet frame >
Felt good to finally get the wheels built. My list is slowly getting shorter, as NAHBS gets closer and closer >
Thanks for taking a mini tour of my shop!
Paul Brodie