Wold Ranger
Old School Grand Master
- Feedback
- View
I use a product called Maguires ultimate metal polish, available from Auto accessory shops, this not only puts a very fine mirror finish on Aluminium, bit it leaves a long lasting water repellent protective coat on the bare surface.
I use this on my Aluminium and Titanium frames and it does limit oxidisation a lot..
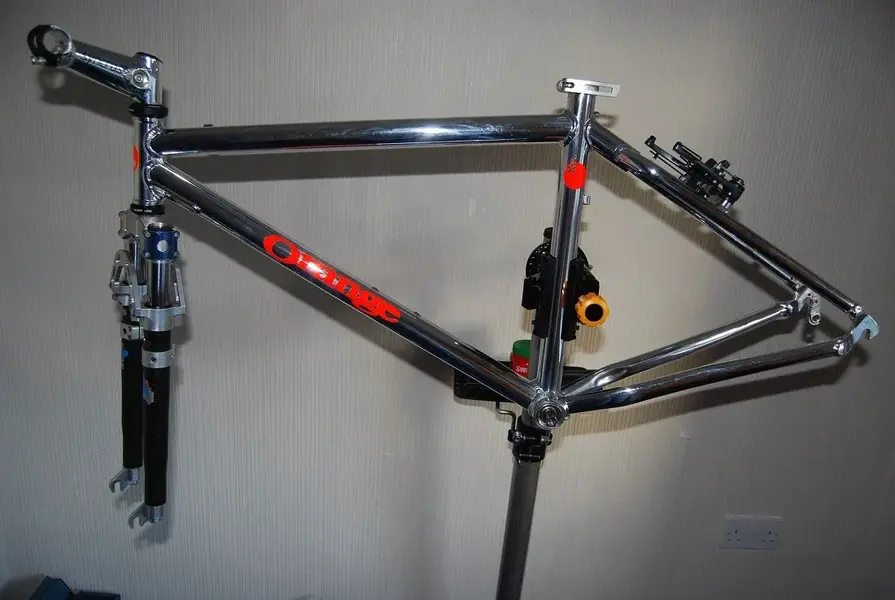
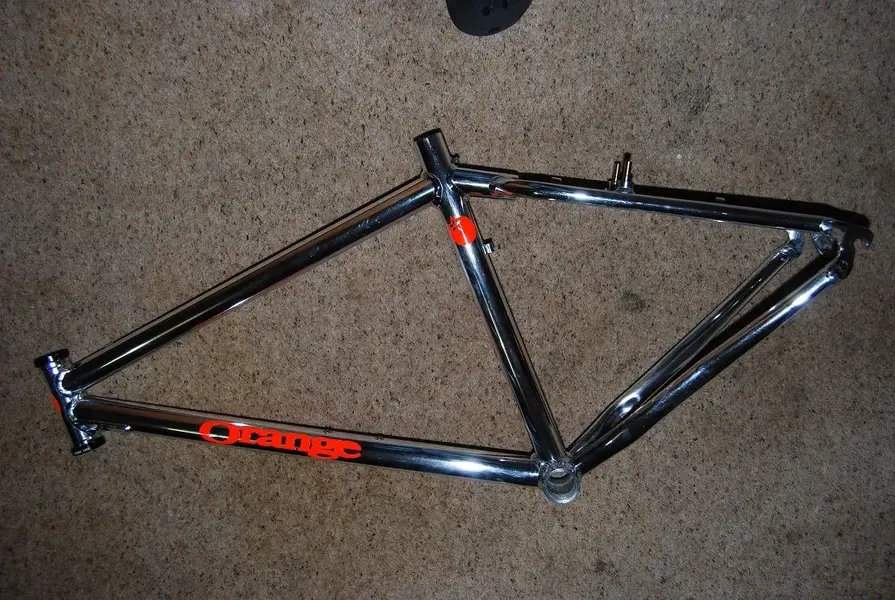
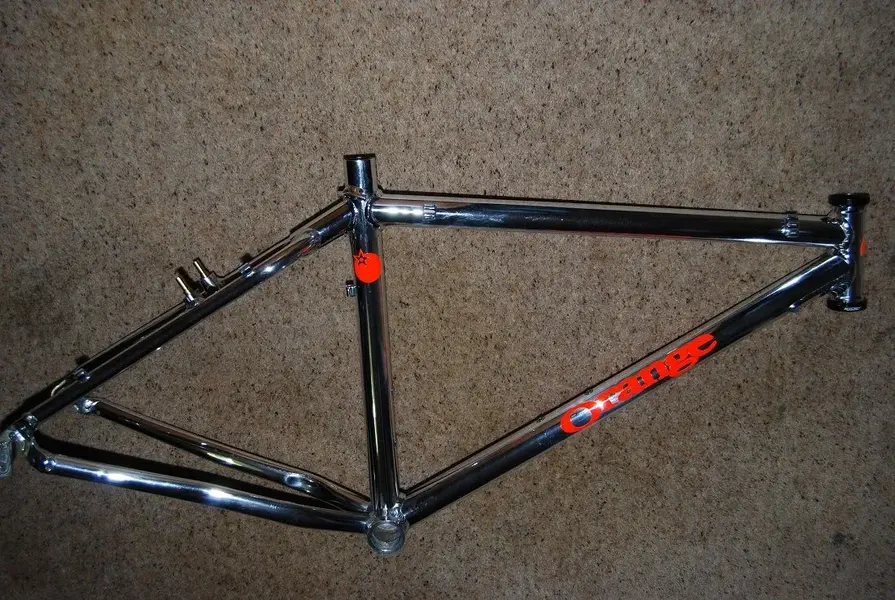
Nice work BTW, but make sure you use a really long seat post with at least 4 inches below the top tube in the frame, as these were really prone to cracking!
I use this on my Aluminium and Titanium frames and it does limit oxidisation a lot..
Nice work BTW, but make sure you use a really long seat post with at least 4 inches below the top tube in the frame, as these were really prone to cracking!

 OOH I SO WANT ONE, LOOKS REALLY GOOD!! Cant wait to see it built up
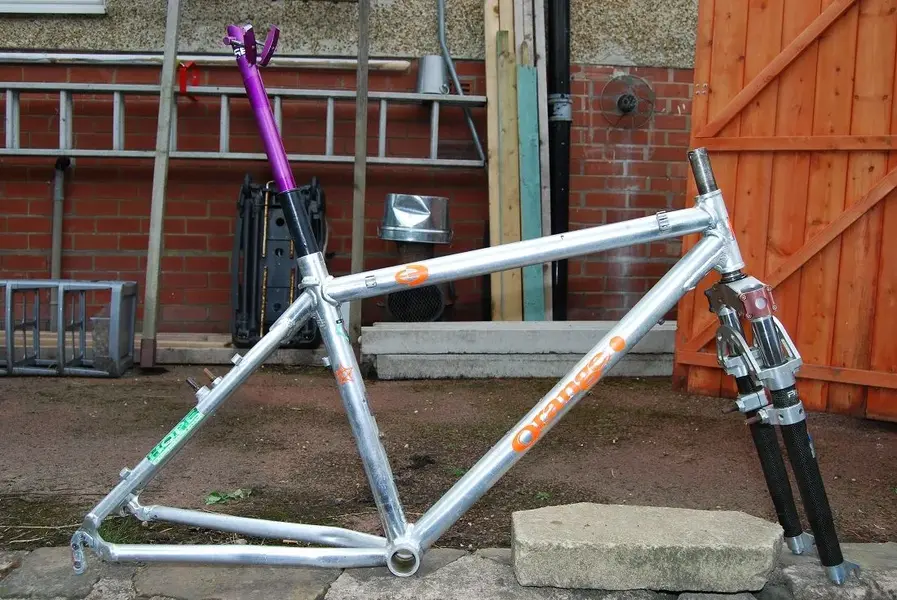
") .
.