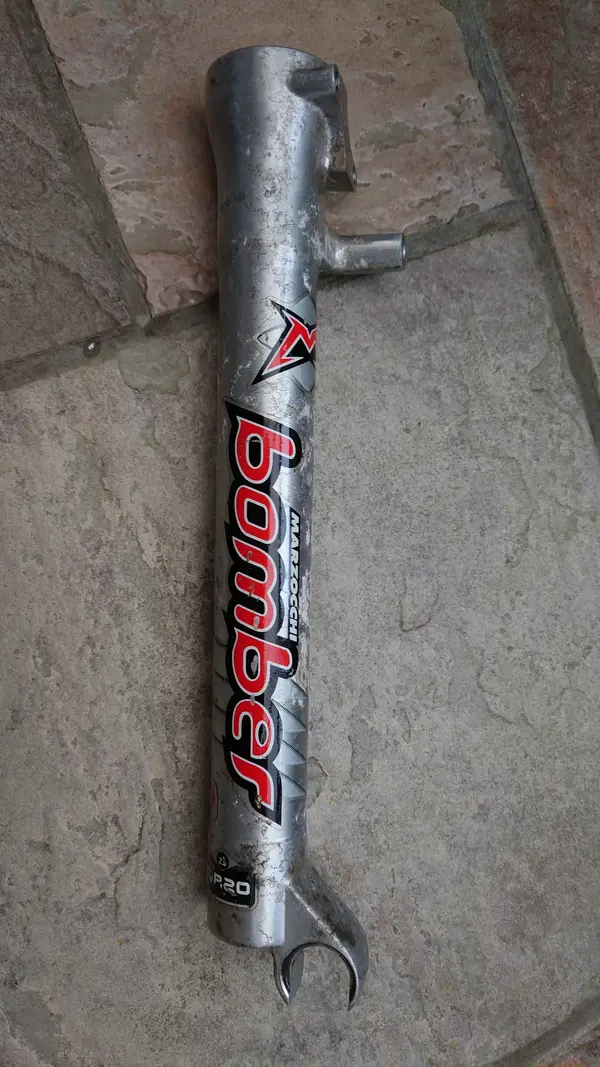
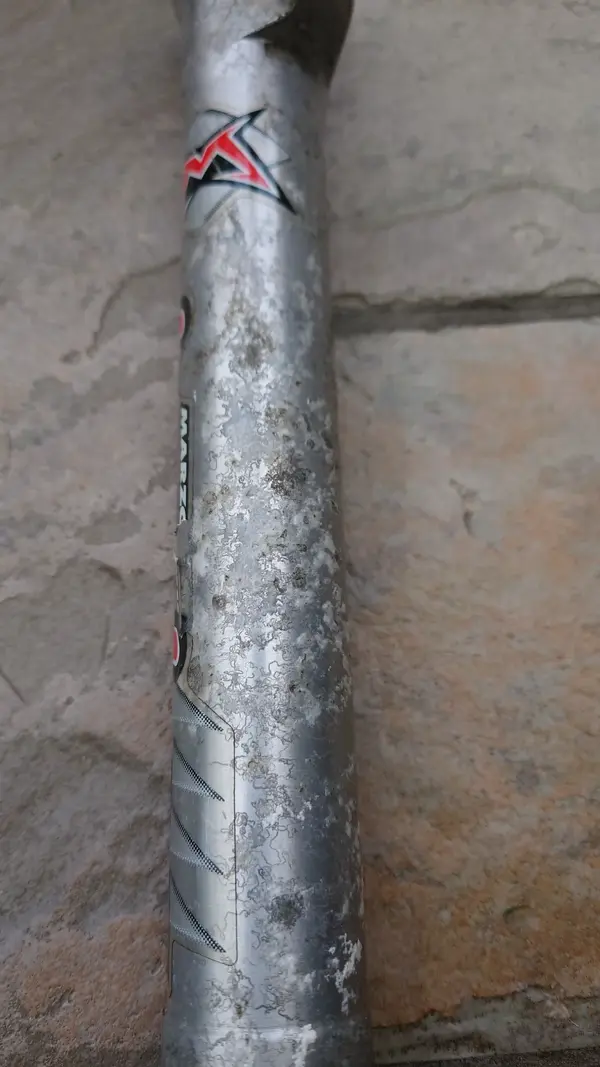
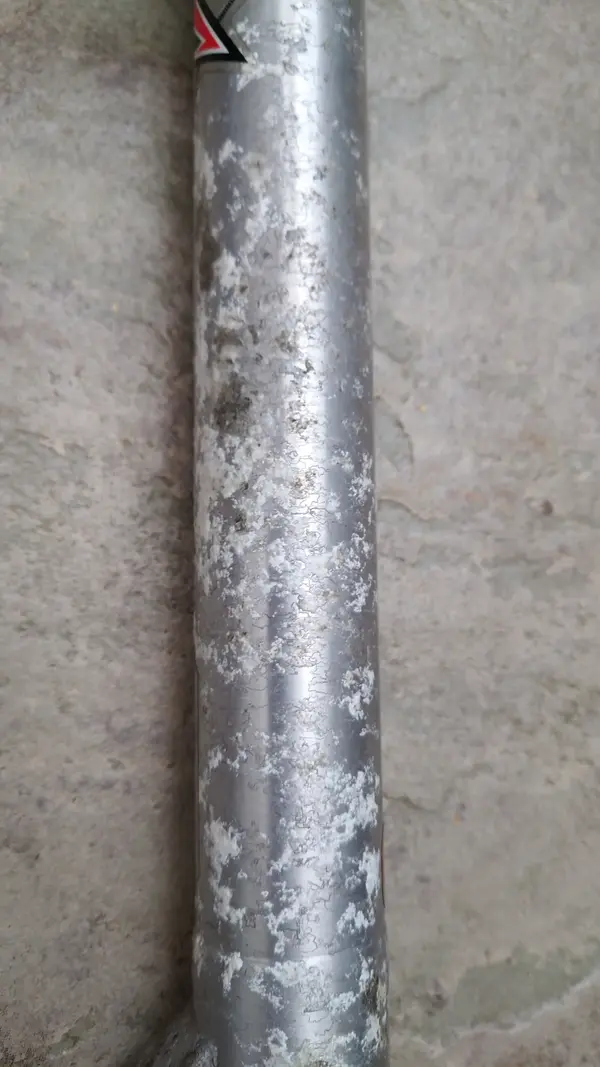
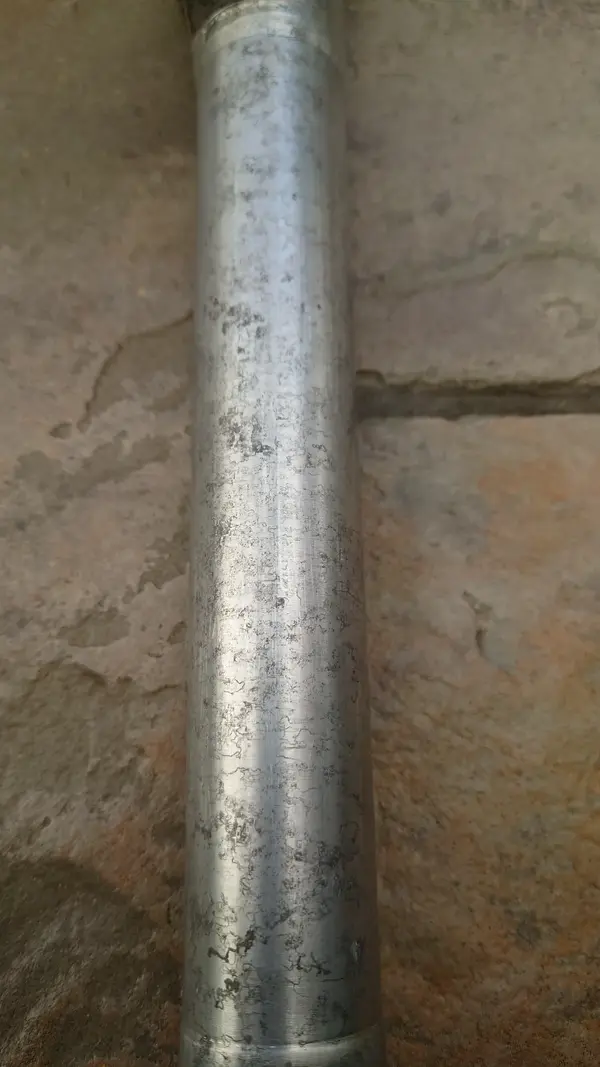
Before I start does any one know of the best place/person to get some new decals and the best place in Northampton/MK/Bedford to strip the paint off the forks?
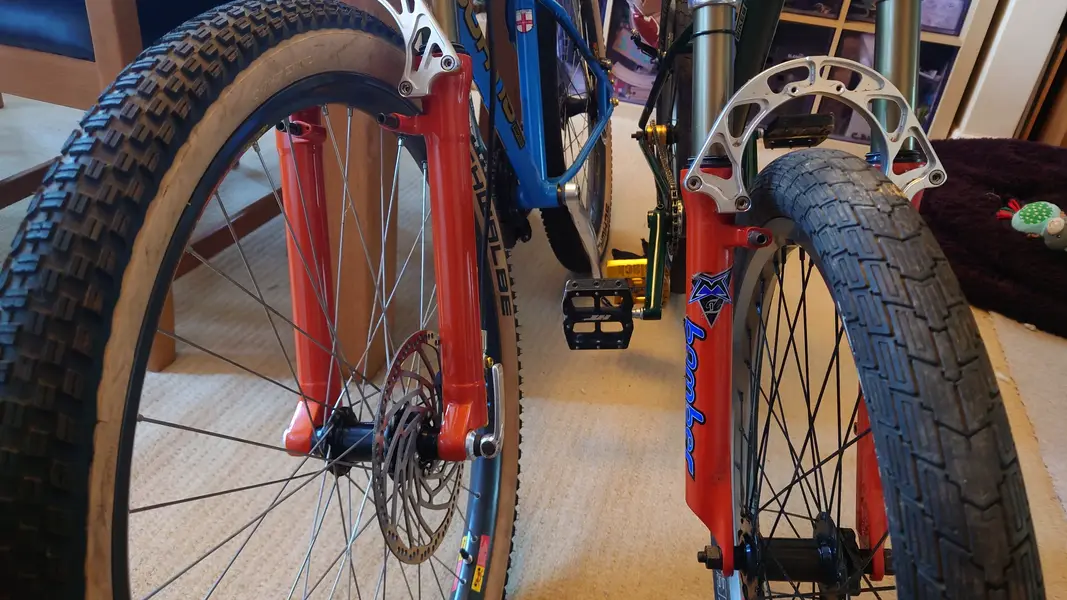
In a moment of stupidity I bought a set of Marzocchi Z1 QR20s off ebay. I already have a set on my Kona Roast so thought it'd be nice if they had a friend
There wasn't much of a description in the add but the pictures showed that they are bit tired cosmetically. This was fine as they were going to sit in my shed for years before I got round to putting them on a bike.

When they arrived the fork brace was slightly bent with a small crack meaning the forks were twisted. That just won't do for something that will sit in the shed so they need an immediate refurb.

First off, remove the brace and check that it is bent. Three of the bolts come out but the last one puts up a fight and rounds off the allen head.
Great, every small job is one broken bolt away from being a 3 hour ordeal. Next plan, bolt extractor tool. This did a really good job of completely destroying the head.
Next was to cut a slot in the head to get a screwdriver on it, but this would mean cutting the brace. Needs must and I'm sure it's bent and definitely has a crack in it so let's crack on. I got a nice sized slot cut in it and got some good purchase on it but it just sheared off half the head.
My last effort was to cut off the brace so I could put what's left of the head in a vice and twist it out, this appeared to work, until I realised it was just shearing off what's left of the head. But the good news is that the brace is indeed twisted.


That's everything I have in my toolbelt so village Facebook page to the rescue. A kind bloke took the forks away, welded a nut on the end got it out that way.

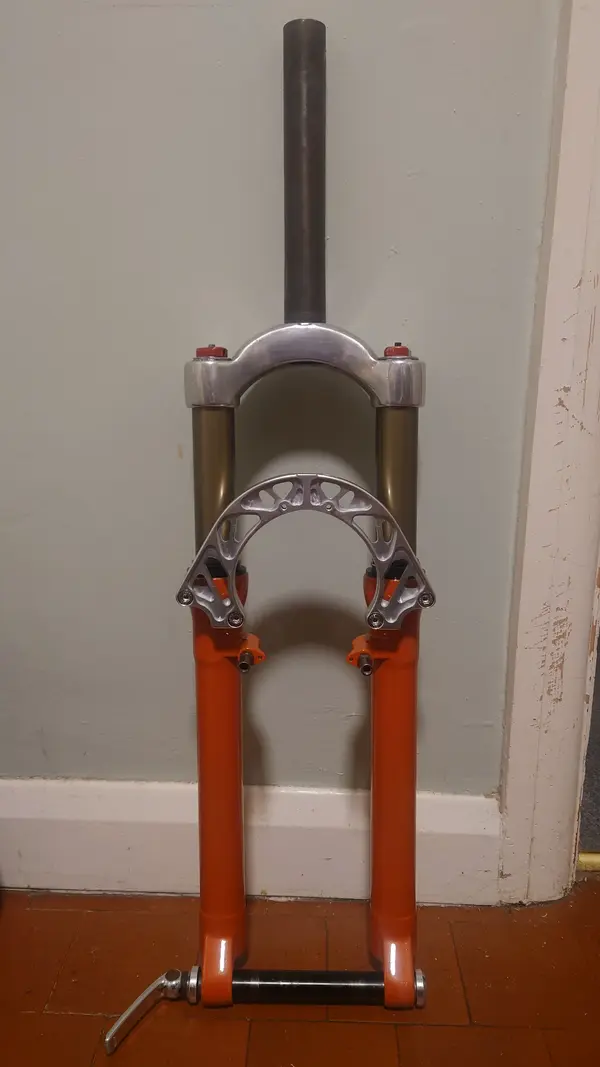
Now that I know the forks can be refurbed its back to ebay and hope there is a replacement brace, and there is only one on there. It's a later one but will do just fine.

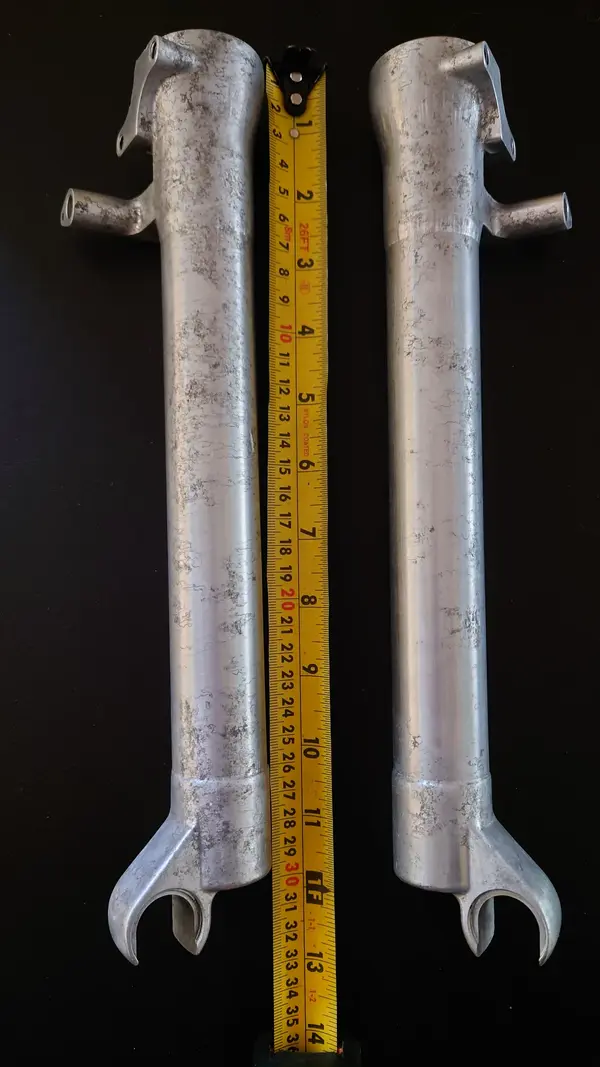
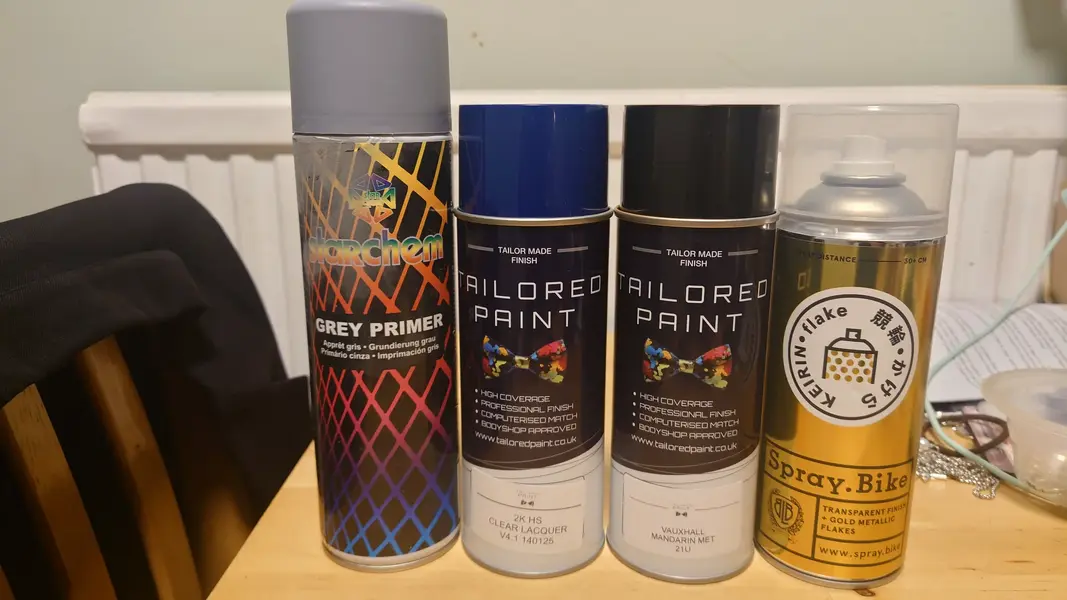
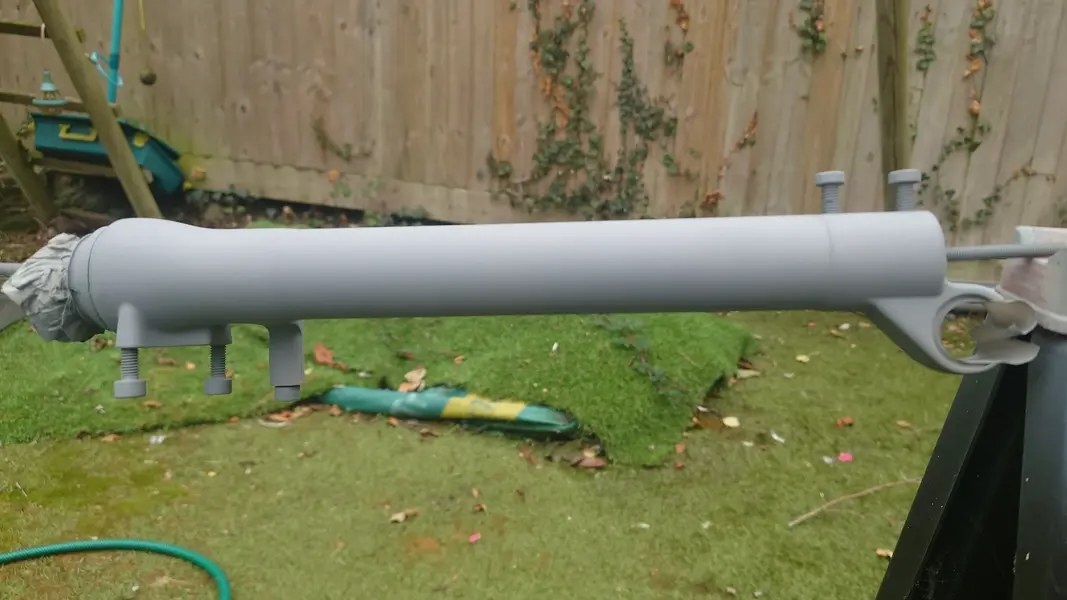
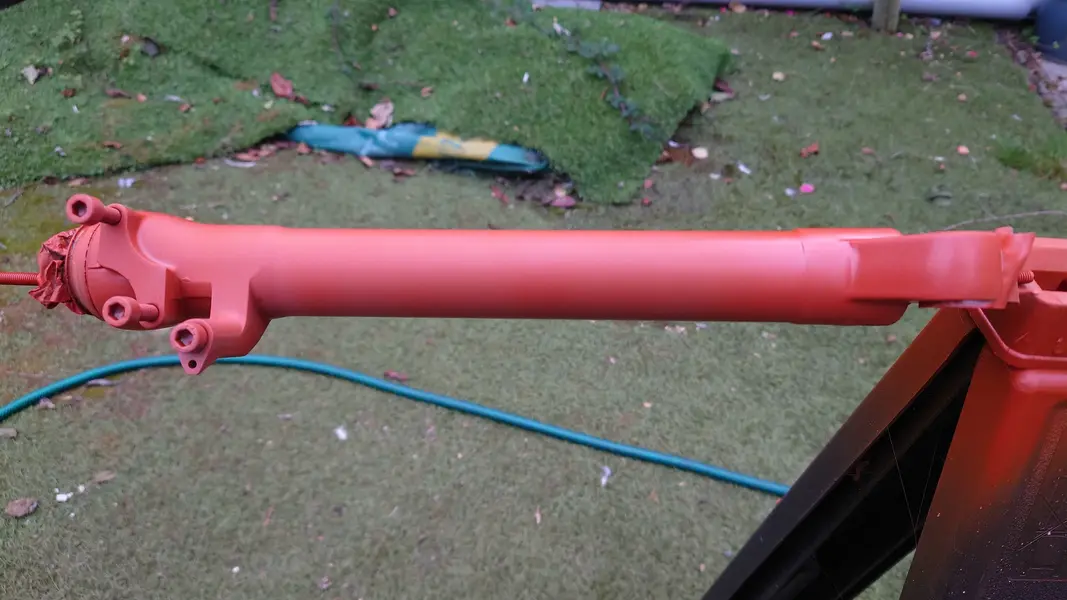
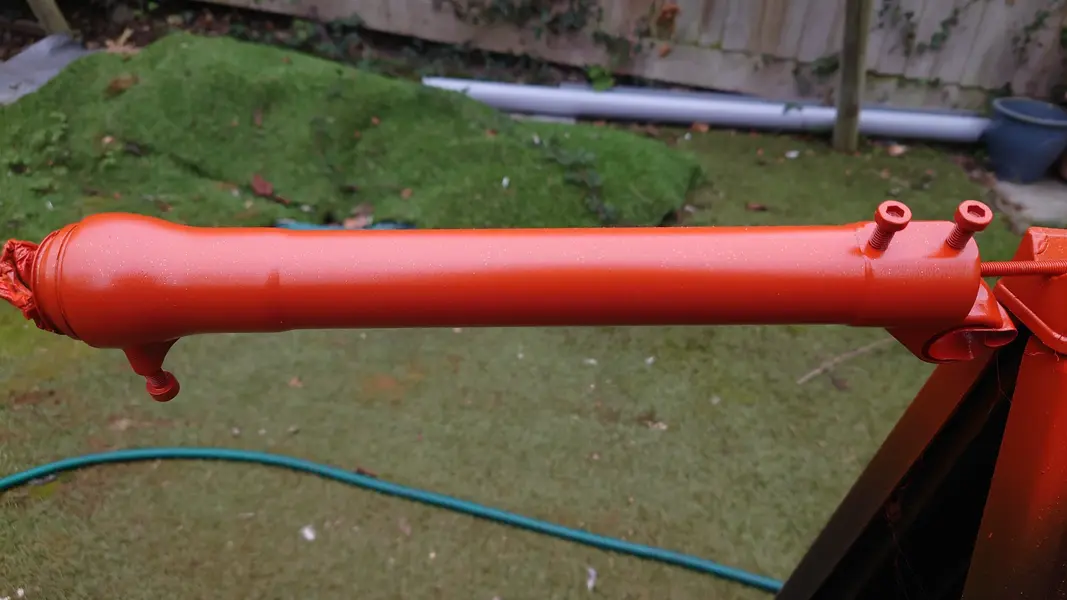
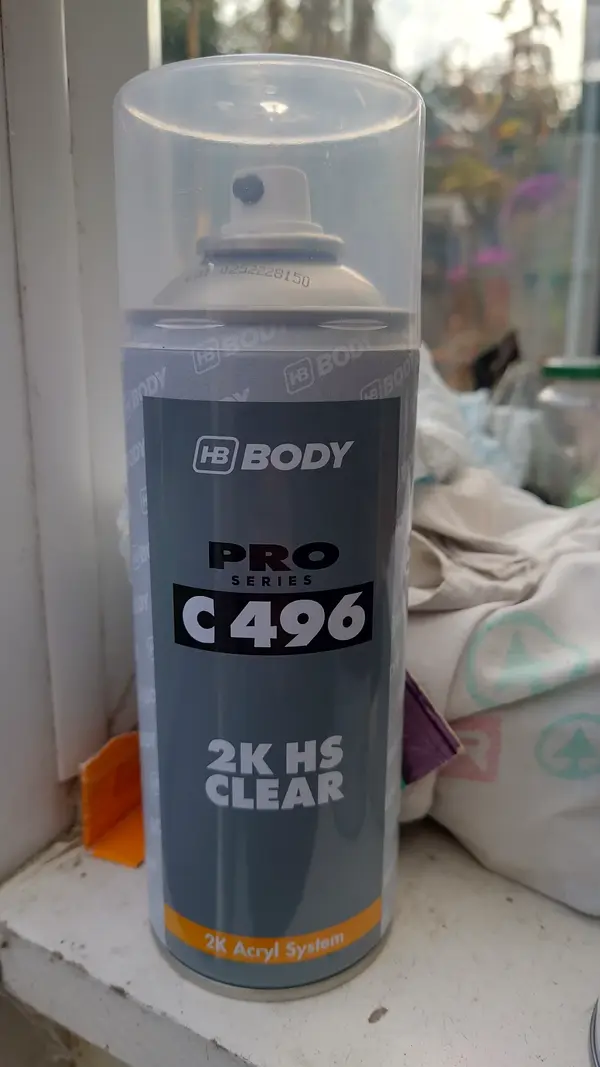
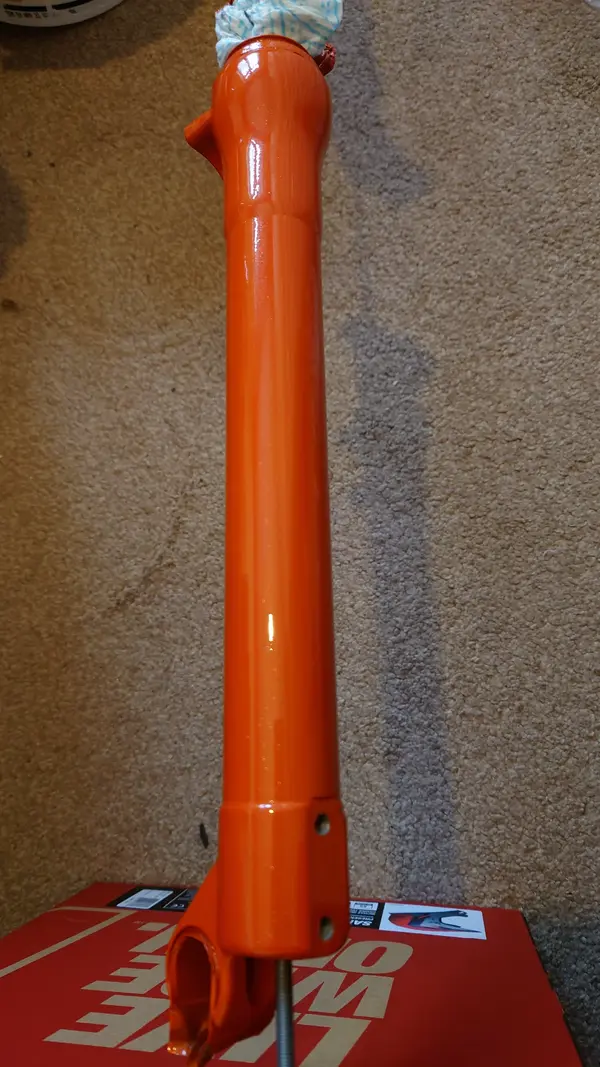
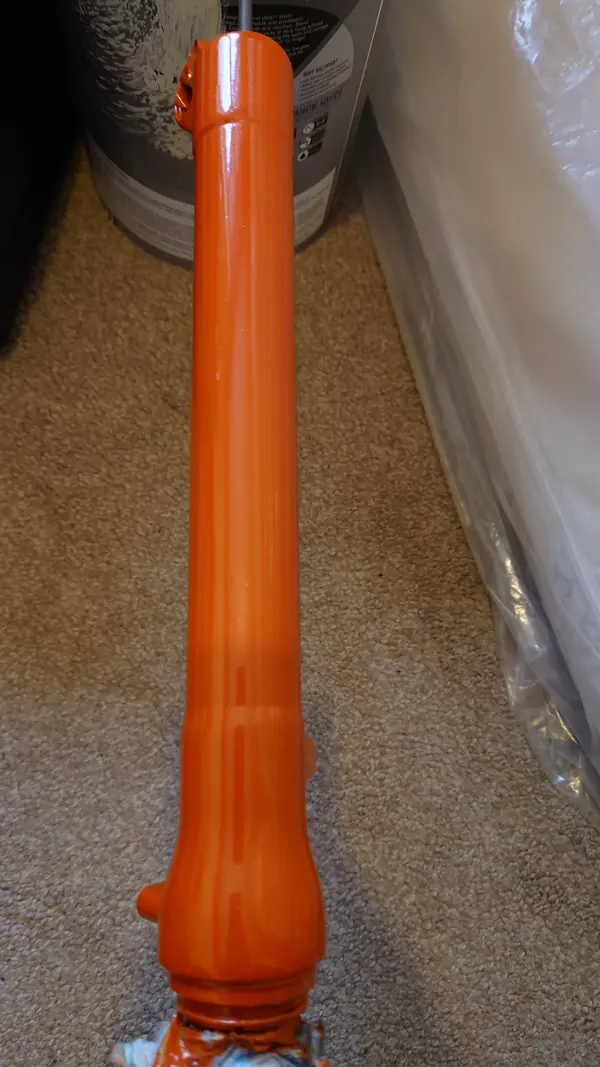
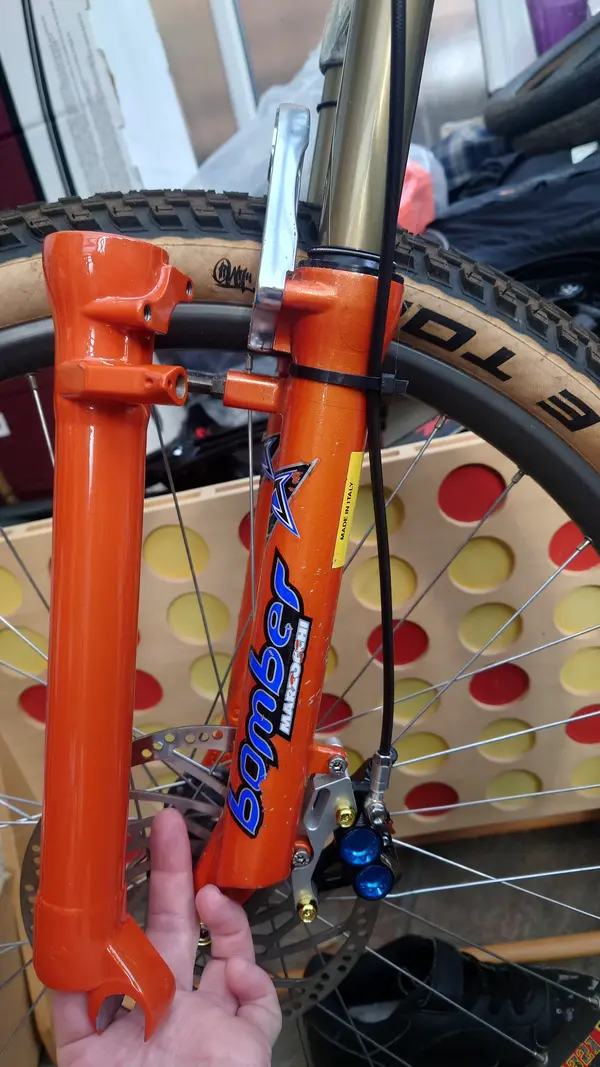
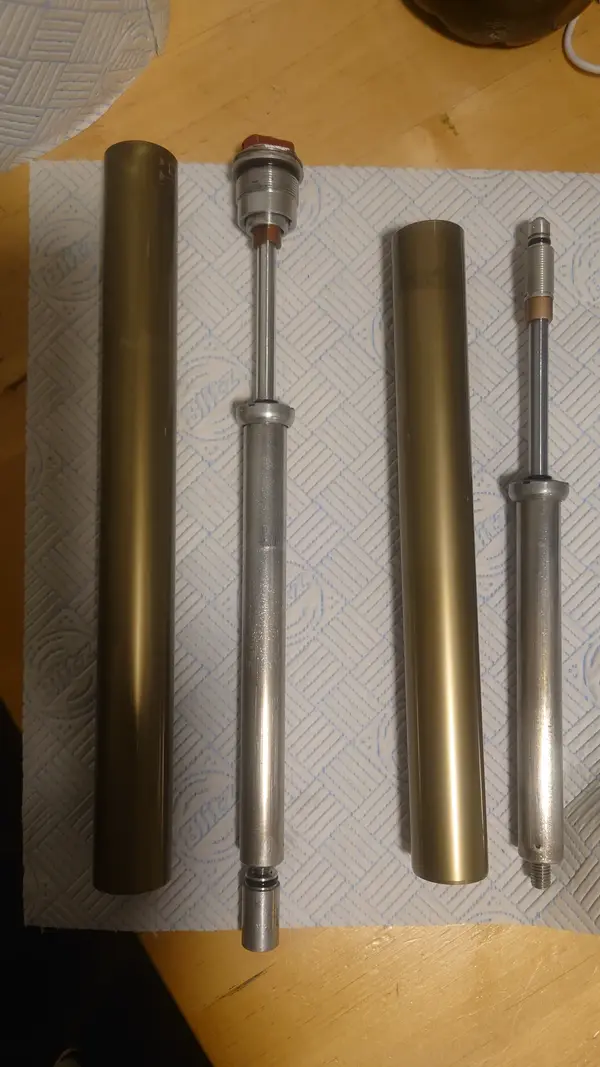
Next step is to get them stripped, painted and rebuilt and put on a bike. I want to get them built to look as original as possible with the brushed aluminium clear lacquer.
In a moment of stupidity I bought a set of Marzocchi Z1 QR20s off ebay. I already have a set on my Kona Roast so thought it'd be nice if they had a friend
There wasn't much of a description in the add but the pictures showed that they are bit tired cosmetically. This was fine as they were going to sit in my shed for years before I got round to putting them on a bike.
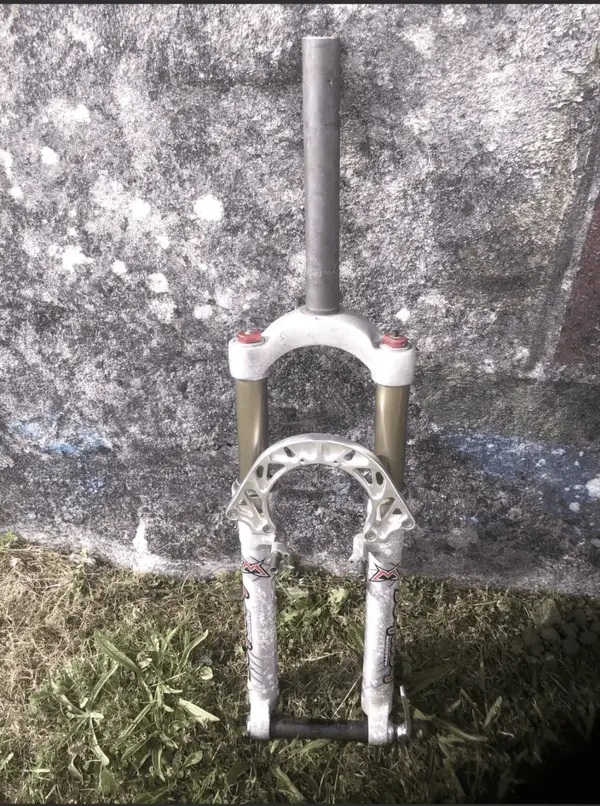
When they arrived the fork brace was slightly bent with a small crack meaning the forks were twisted. That just won't do for something that will sit in the shed so they need an immediate refurb.
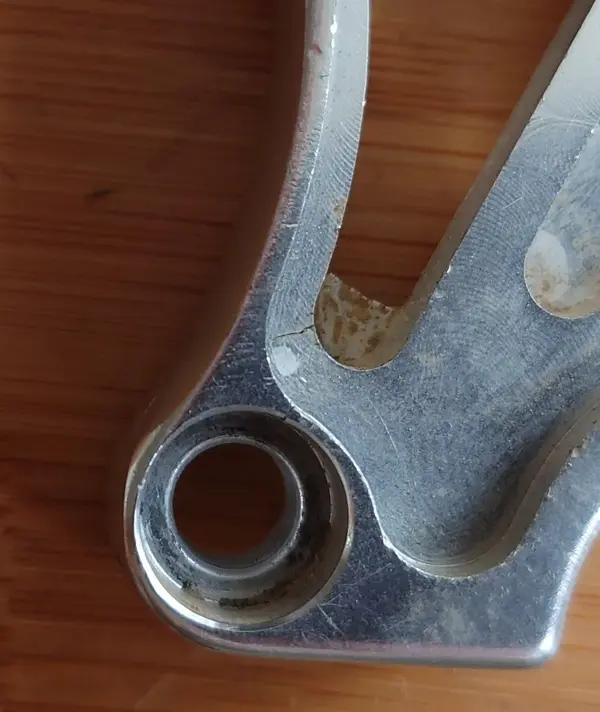
First off, remove the brace and check that it is bent. Three of the bolts come out but the last one puts up a fight and rounds off the allen head.
Great, every small job is one broken bolt away from being a 3 hour ordeal. Next plan, bolt extractor tool. This did a really good job of completely destroying the head.
Next was to cut a slot in the head to get a screwdriver on it, but this would mean cutting the brace. Needs must and I'm sure it's bent and definitely has a crack in it so let's crack on. I got a nice sized slot cut in it and got some good purchase on it but it just sheared off half the head.
My last effort was to cut off the brace so I could put what's left of the head in a vice and twist it out, this appeared to work, until I realised it was just shearing off what's left of the head. But the good news is that the brace is indeed twisted.


That's everything I have in my toolbelt so village Facebook page to the rescue. A kind bloke took the forks away, welded a nut on the end got it out that way.
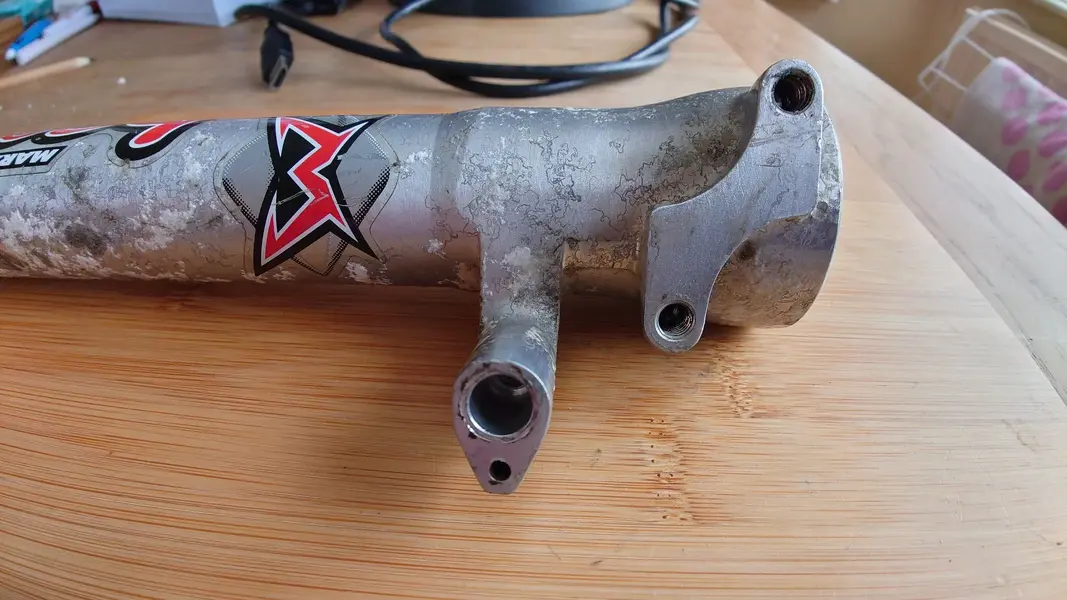
Now that I know the forks can be refurbed its back to ebay and hope there is a replacement brace, and there is only one on there. It's a later one but will do just fine.

Next step is to get them stripped, painted and rebuilt and put on a bike. I want to get them built to look as original as possible with the brushed aluminium clear lacquer.

