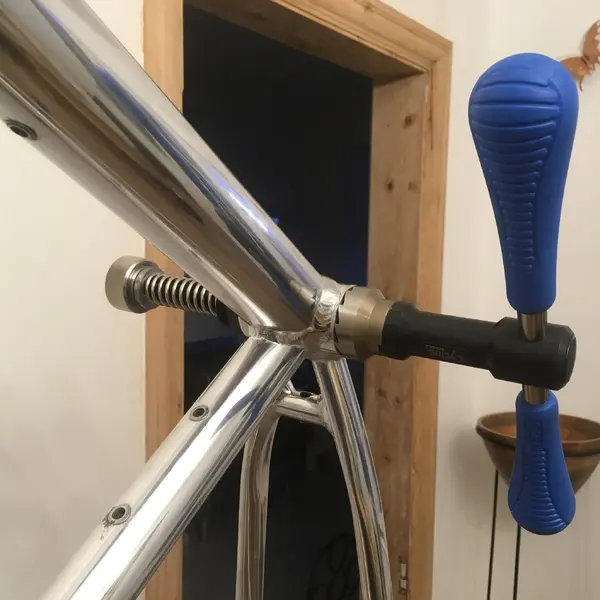
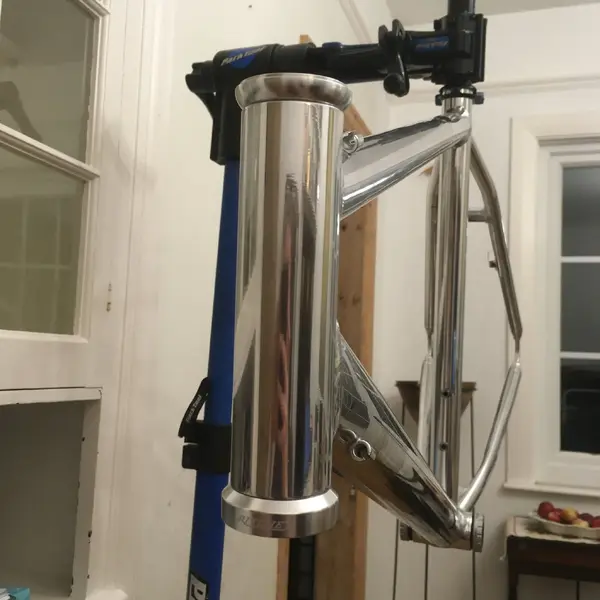
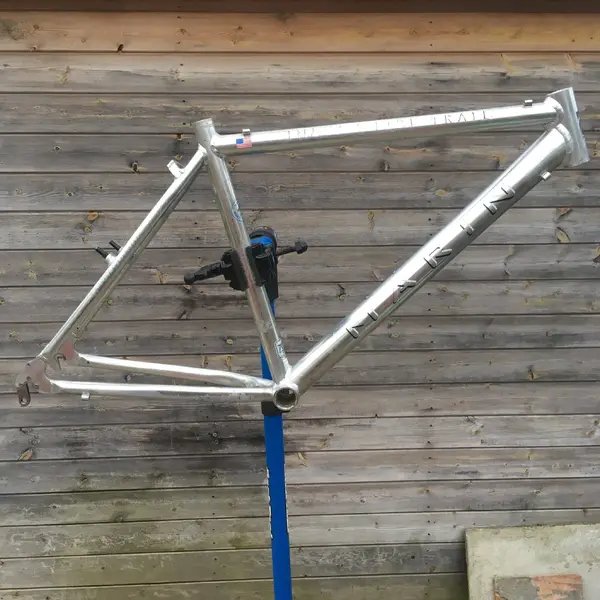
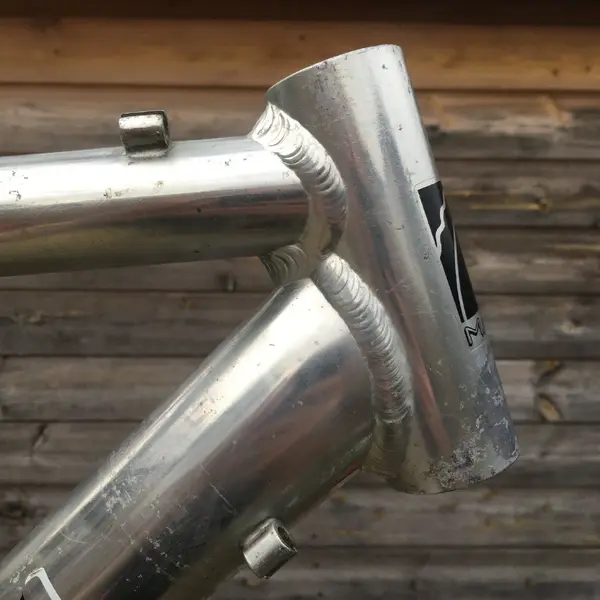
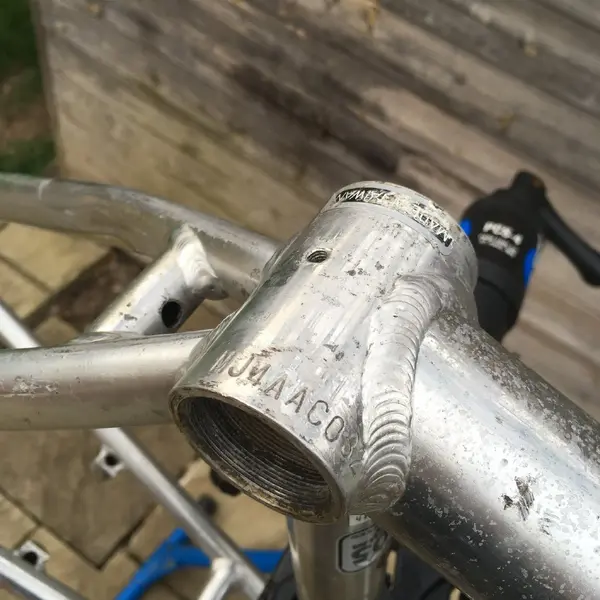
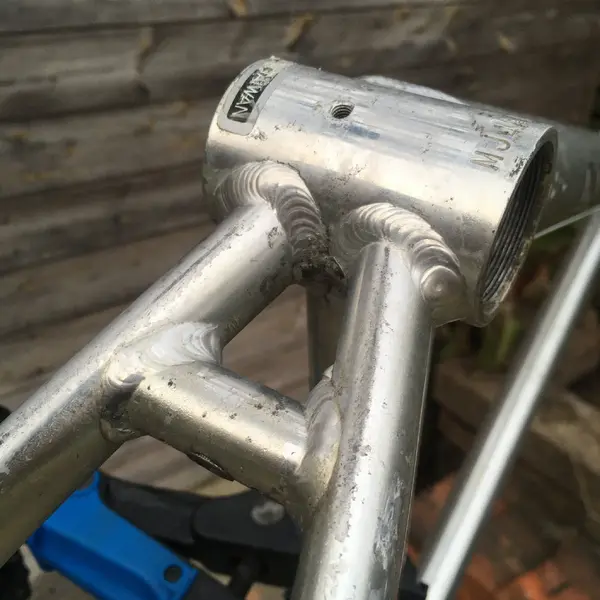
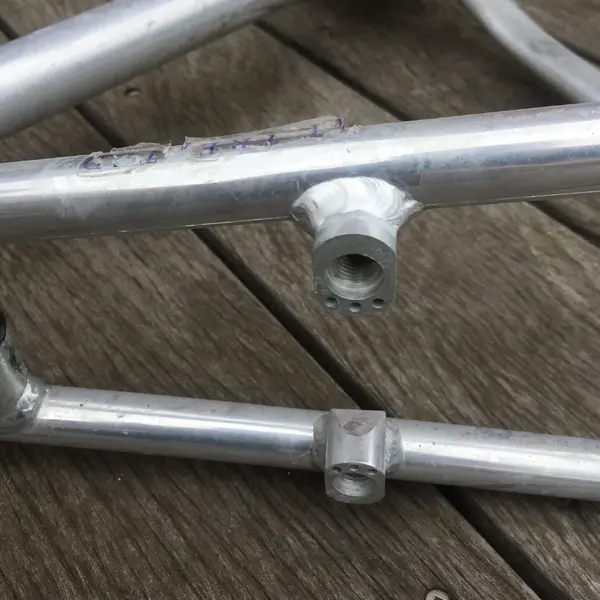
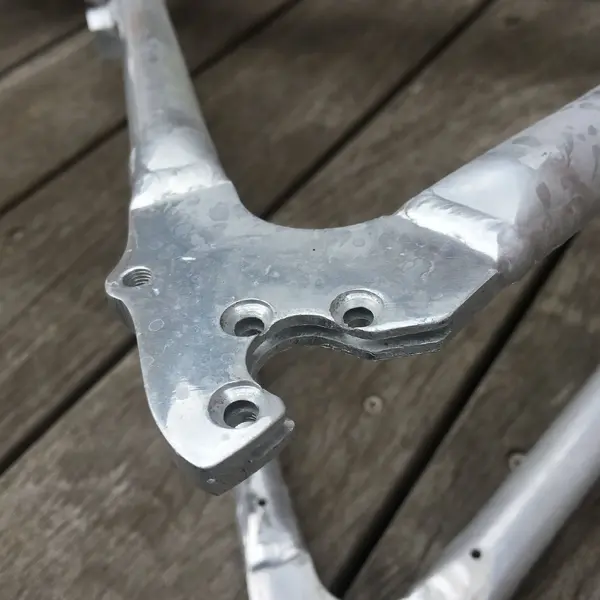
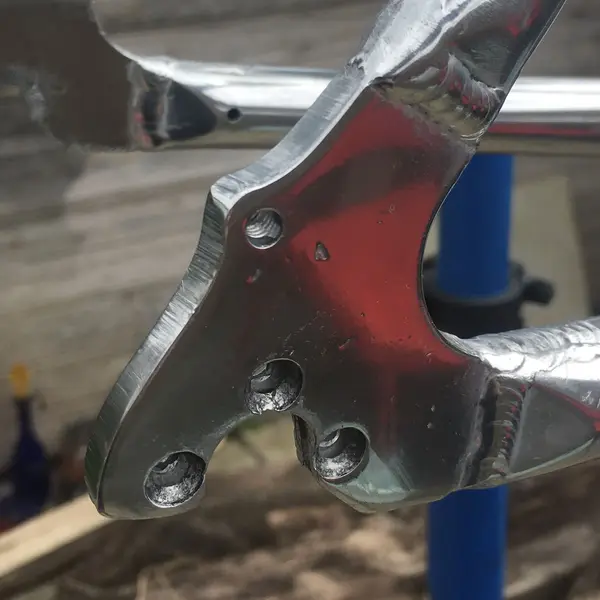
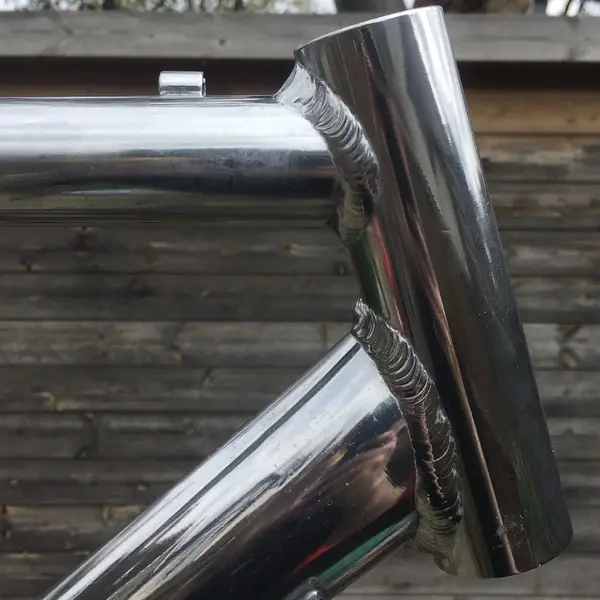
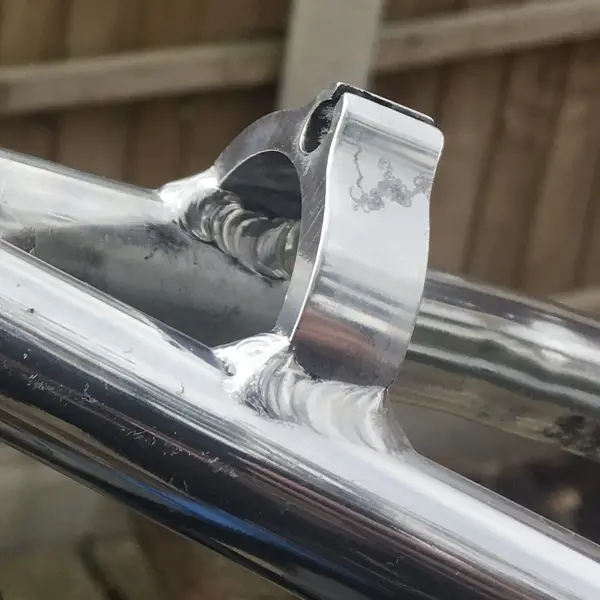
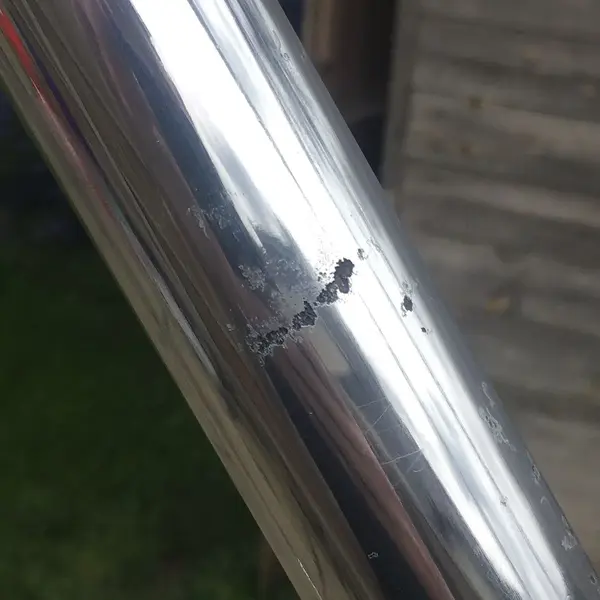
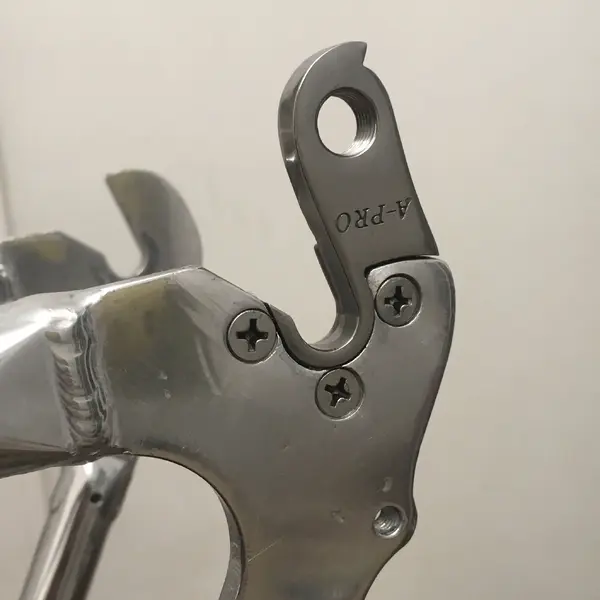
Is there a finer way to spend a Sunday morning than polishing an old bicycle? This is the RR frame. I used MAAS metal polish and a rag, then cleaned the residue off with WD40 and shop towels. Some areas need a bit more attention, but on the whole I'm pleased with the result. The shine is back, but the battle scars remain, which is important to me.
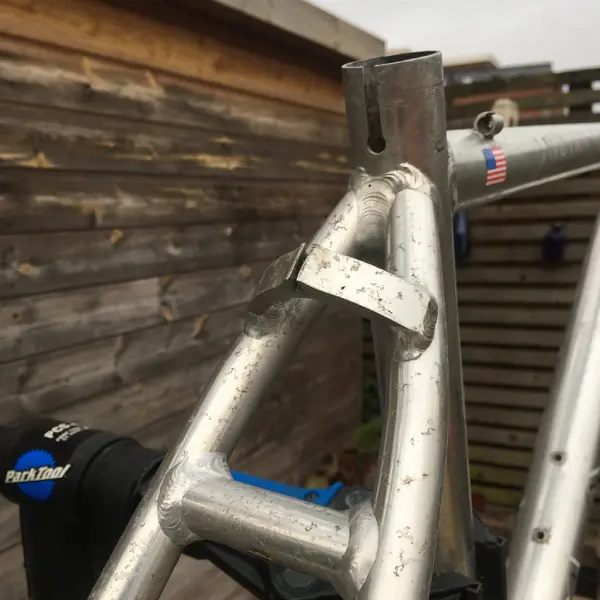
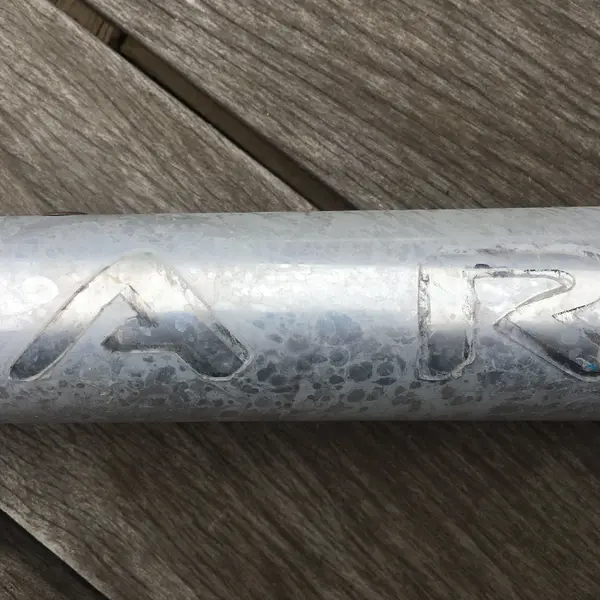
(Edit: Forgot to mention that because the decals sit on top of the lacquer, when I took them off there was a layer of lacquer underneath ... oops. It was easy enough to remove using Nitro-Mors, but I wouldn't want to do a whole frame this way.)


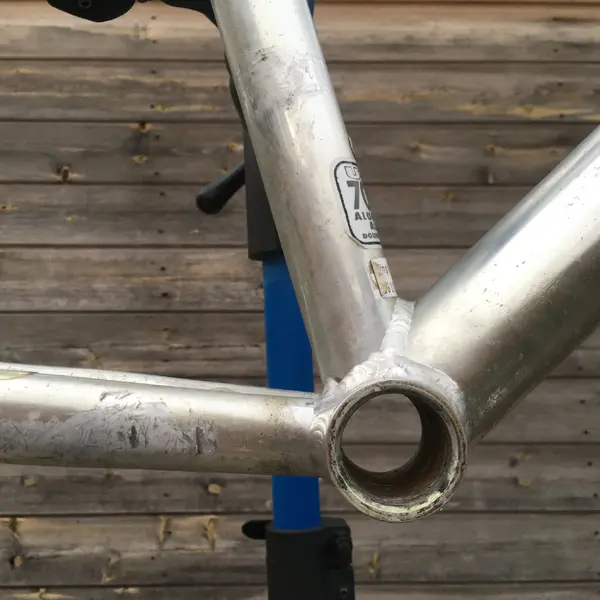
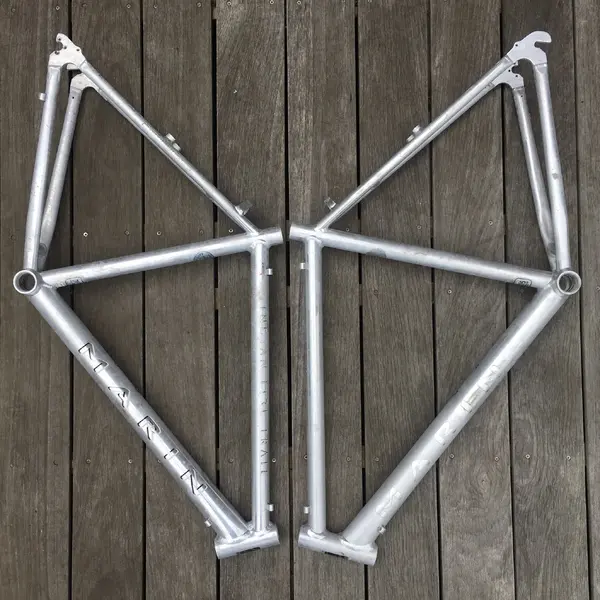
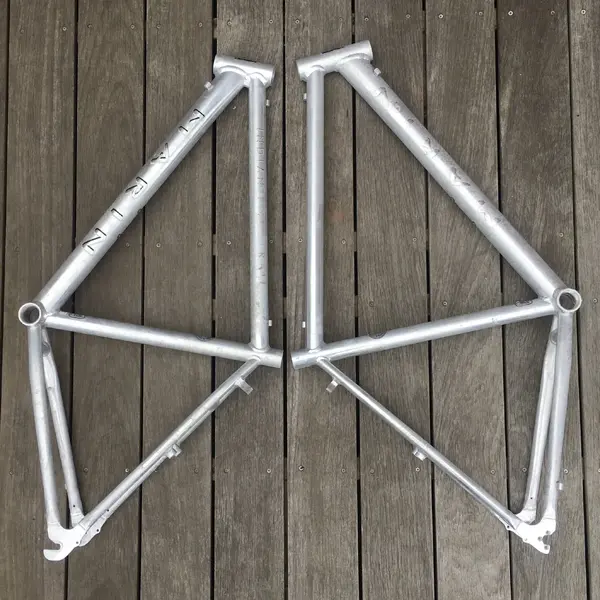


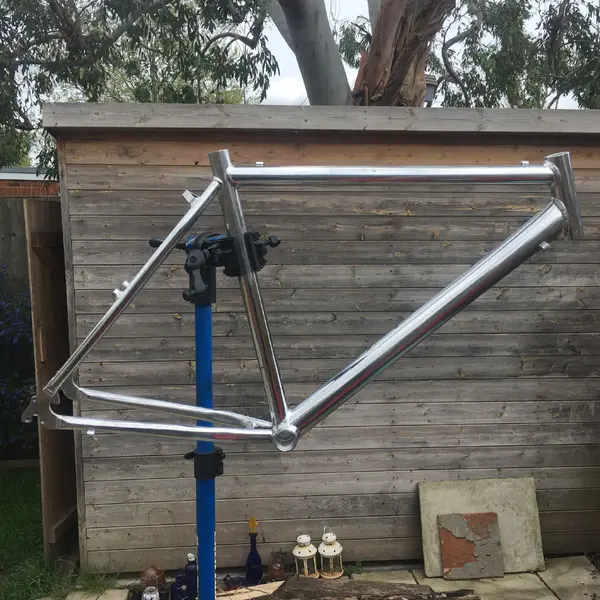


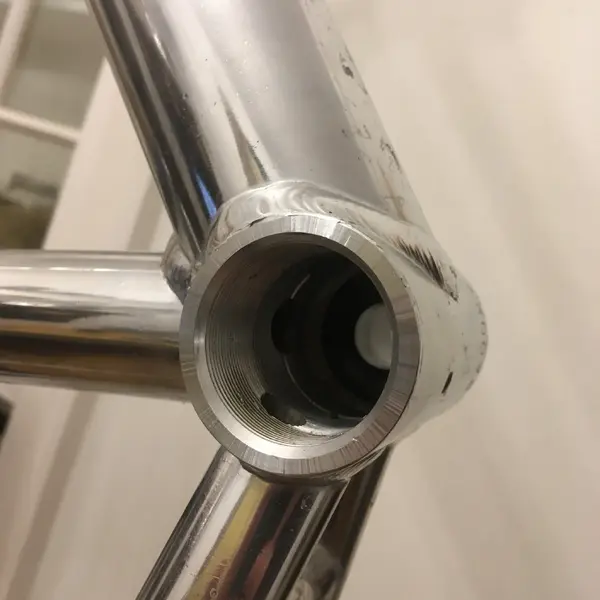
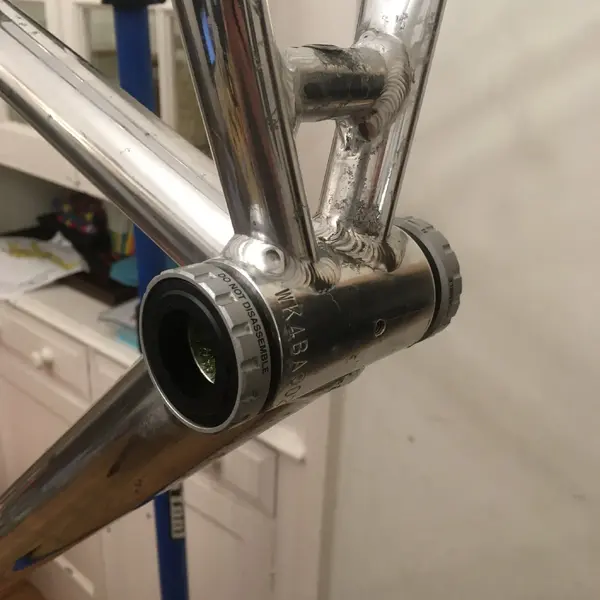
 . I really enjoyed the process though, and I think I did an OK job considering it was my first attempt. I also installed the BB and headset cups.