Lug less Frame Crack

dwscrimshaw

Retro Guru
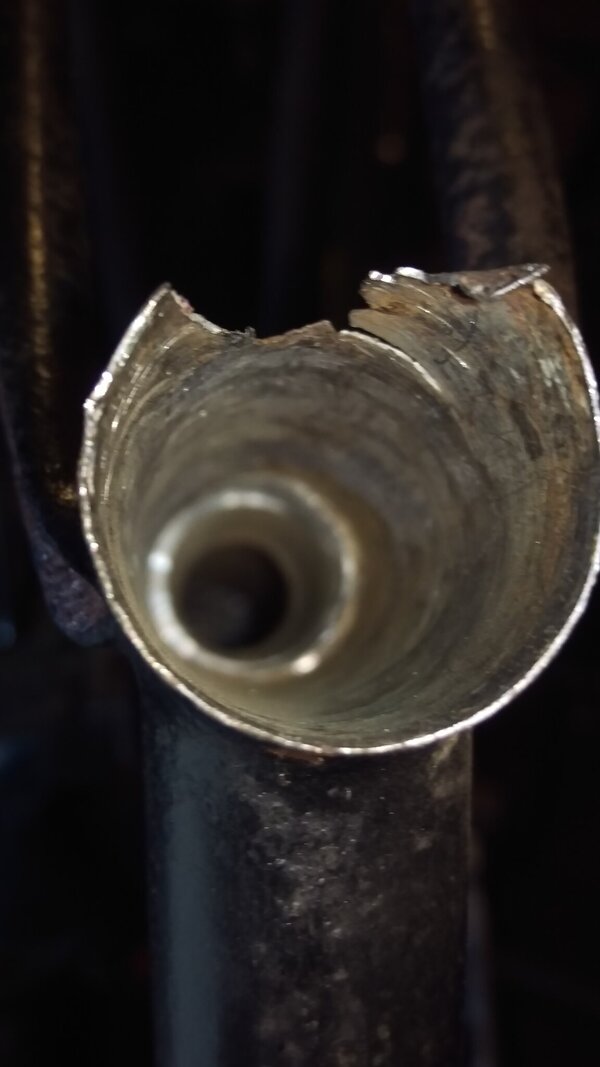
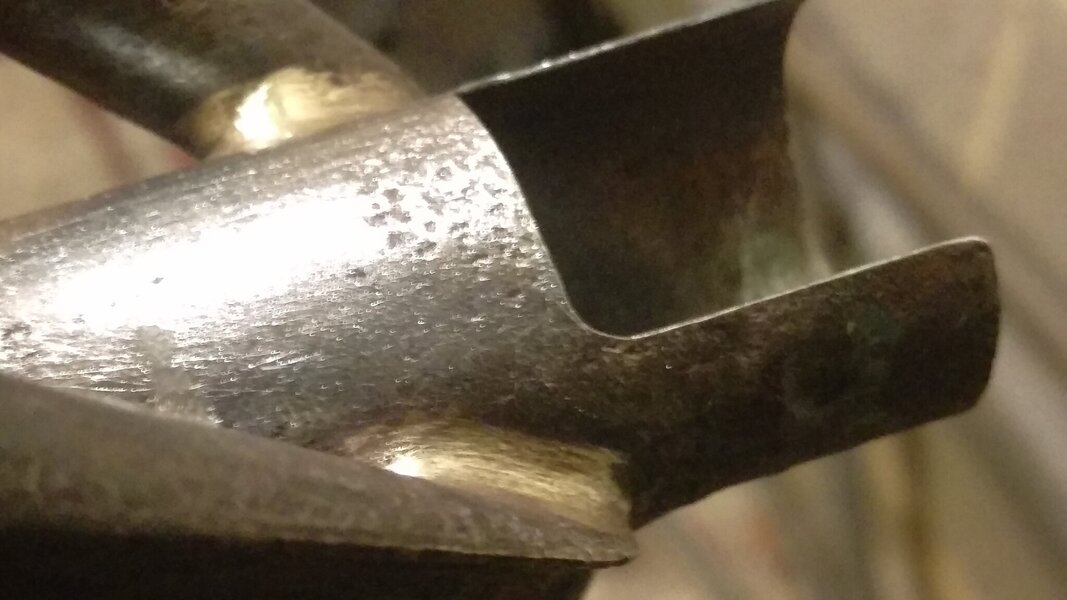
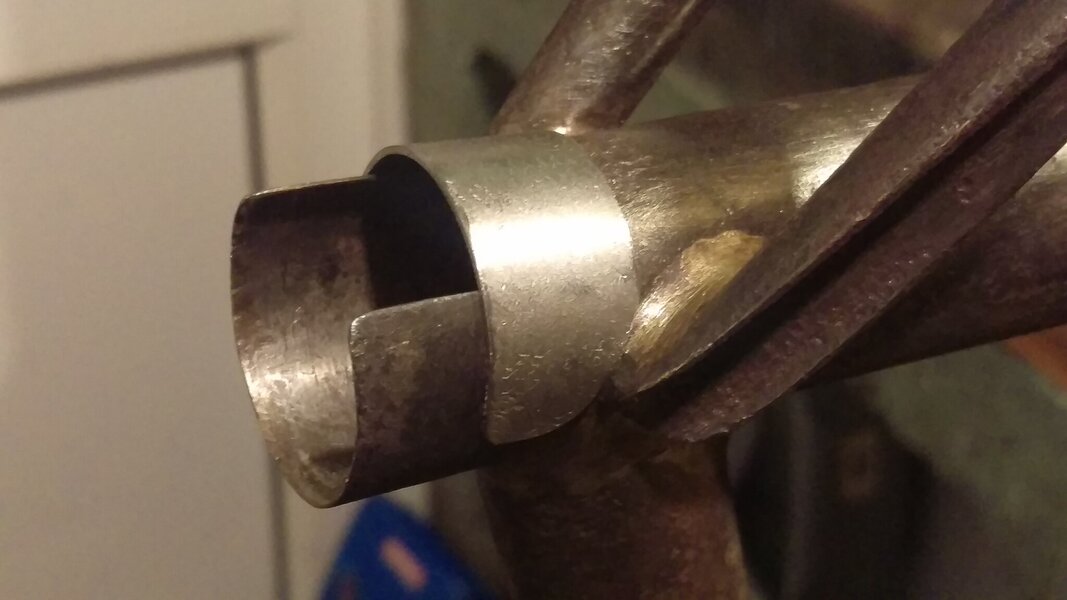
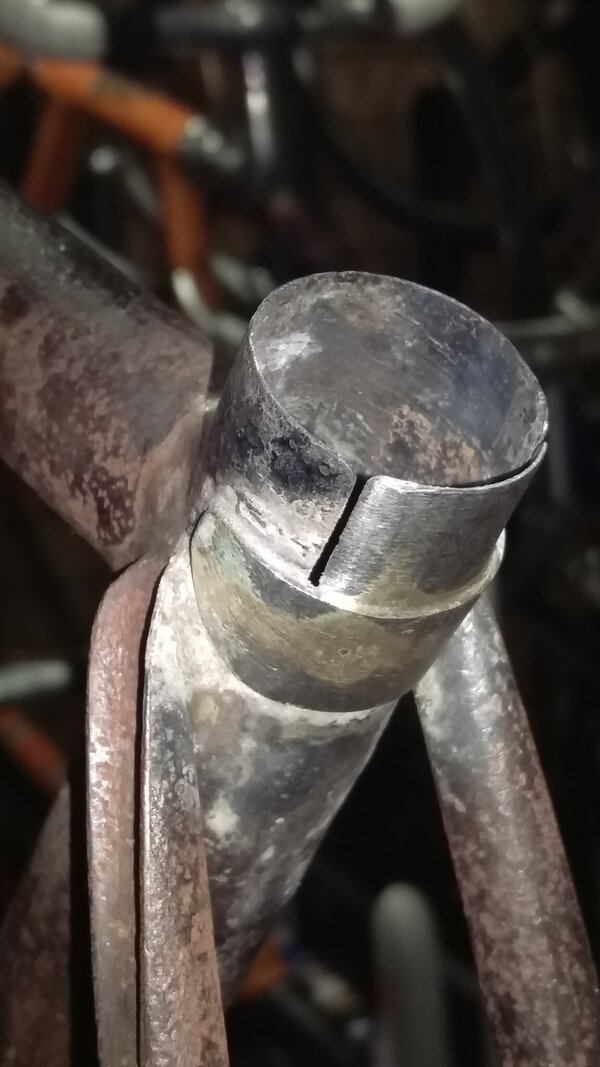
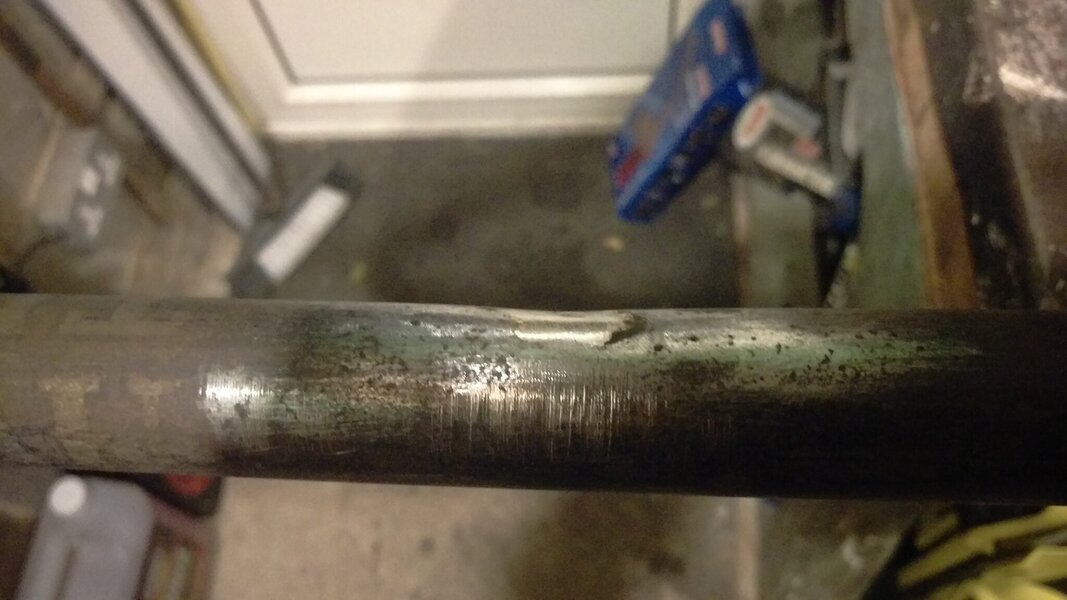
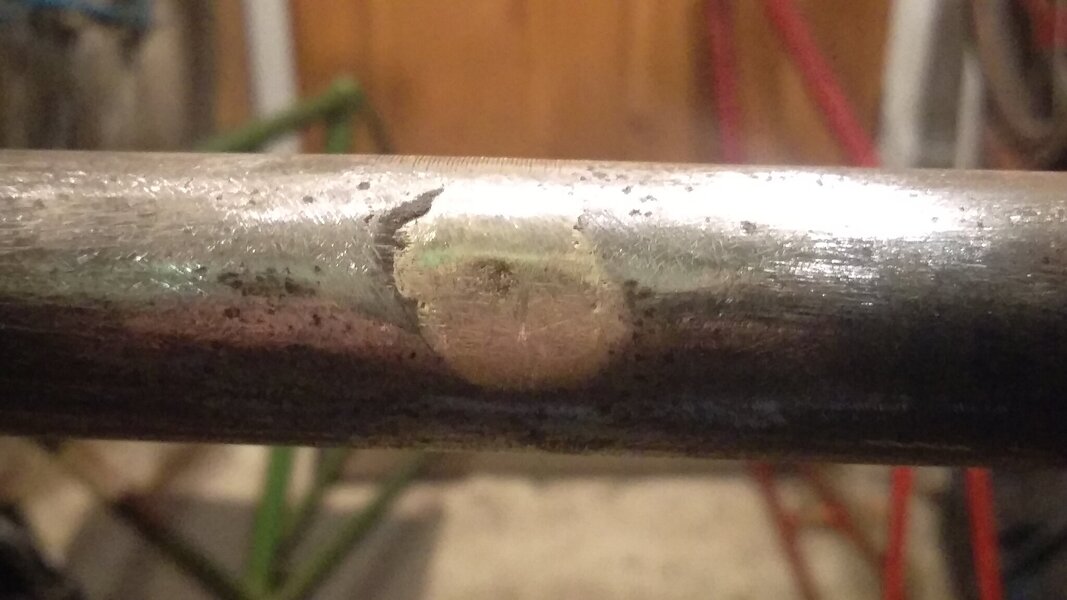
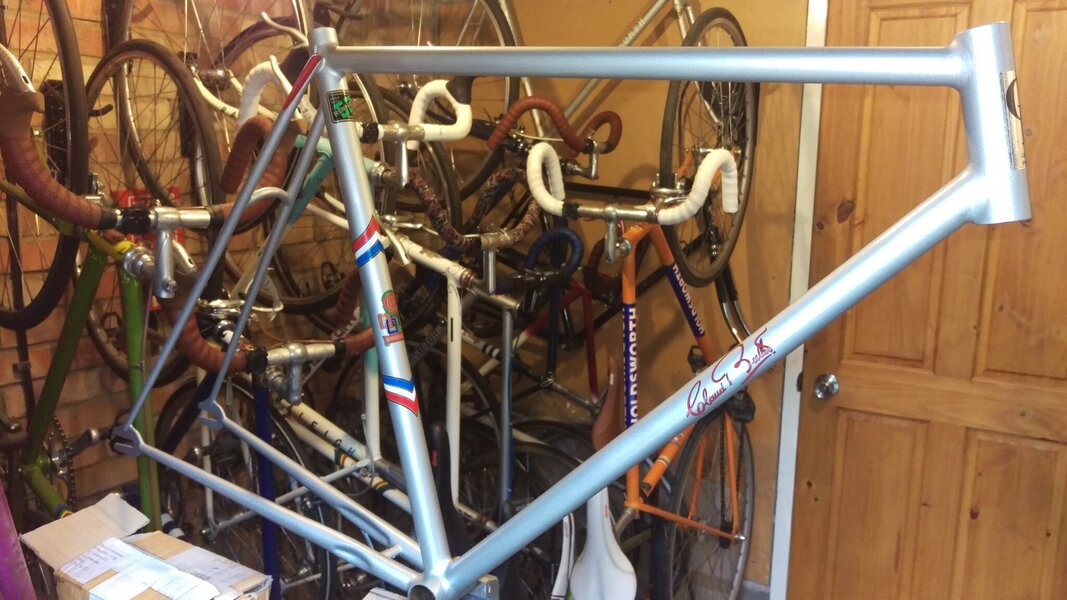
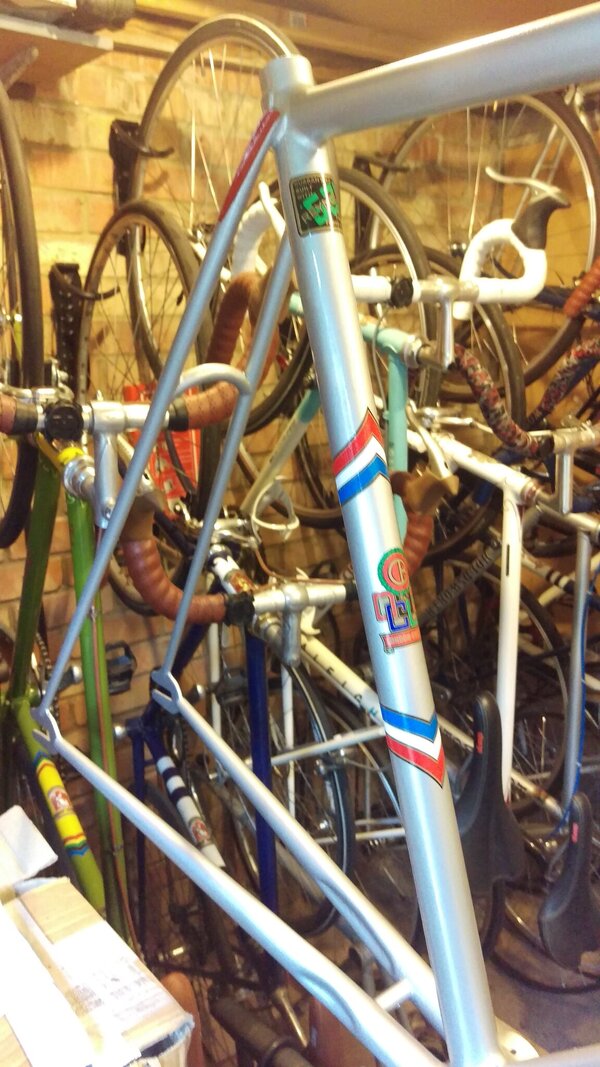
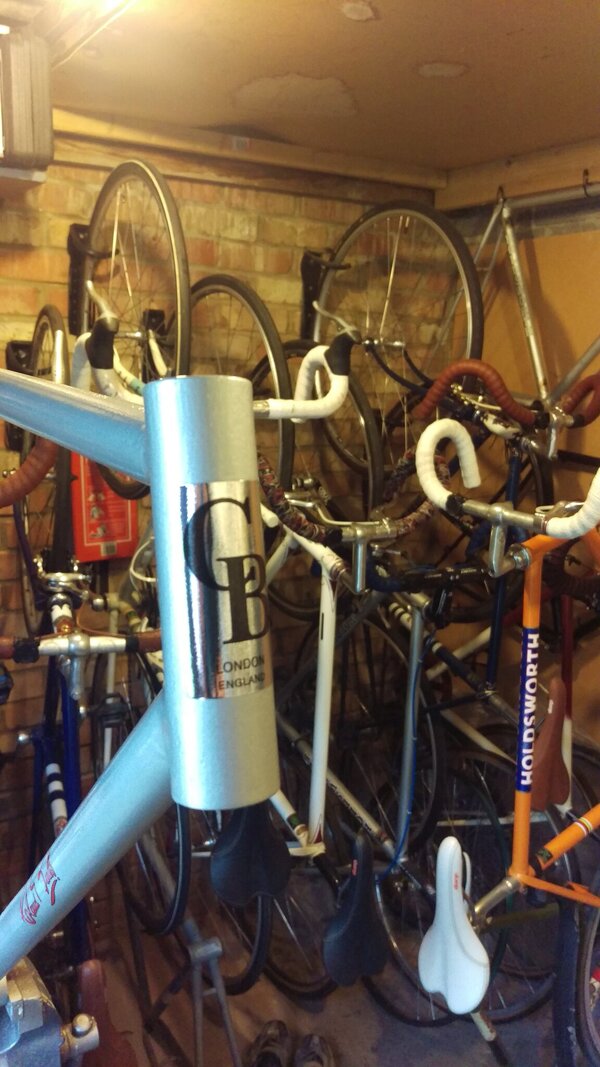
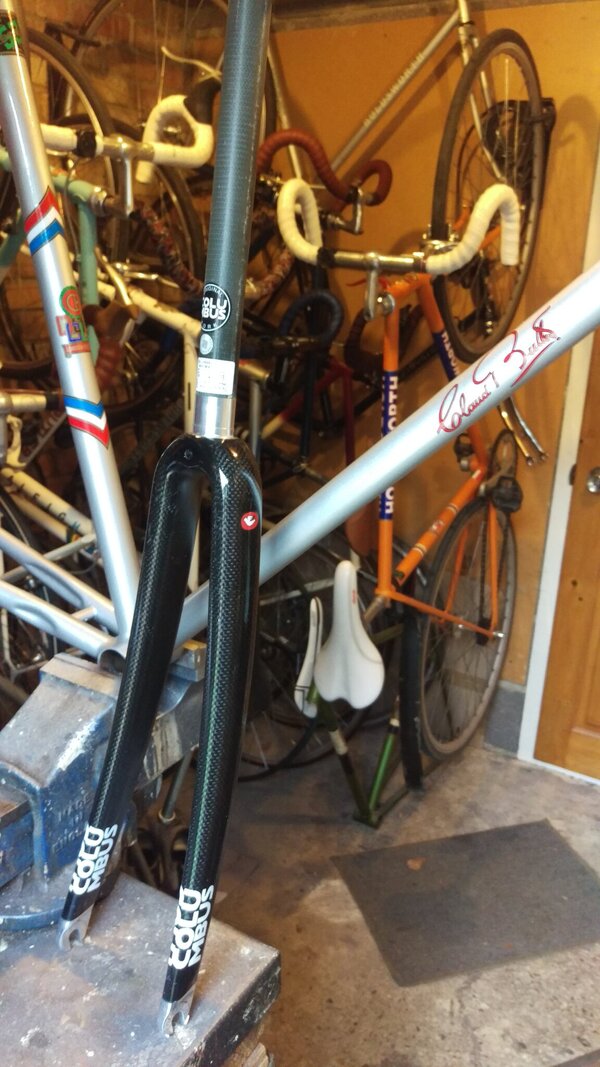
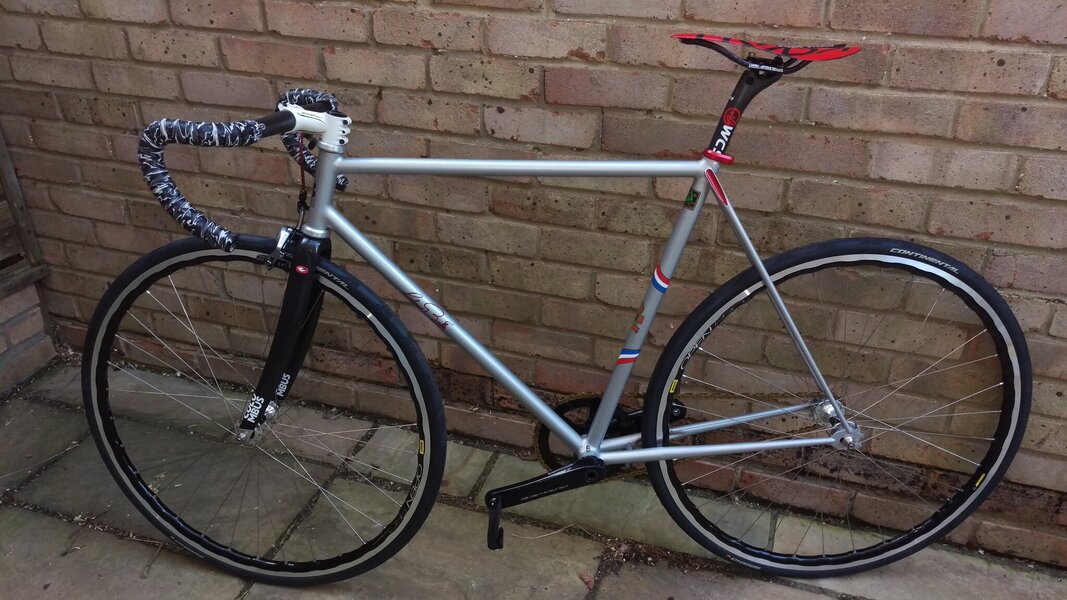
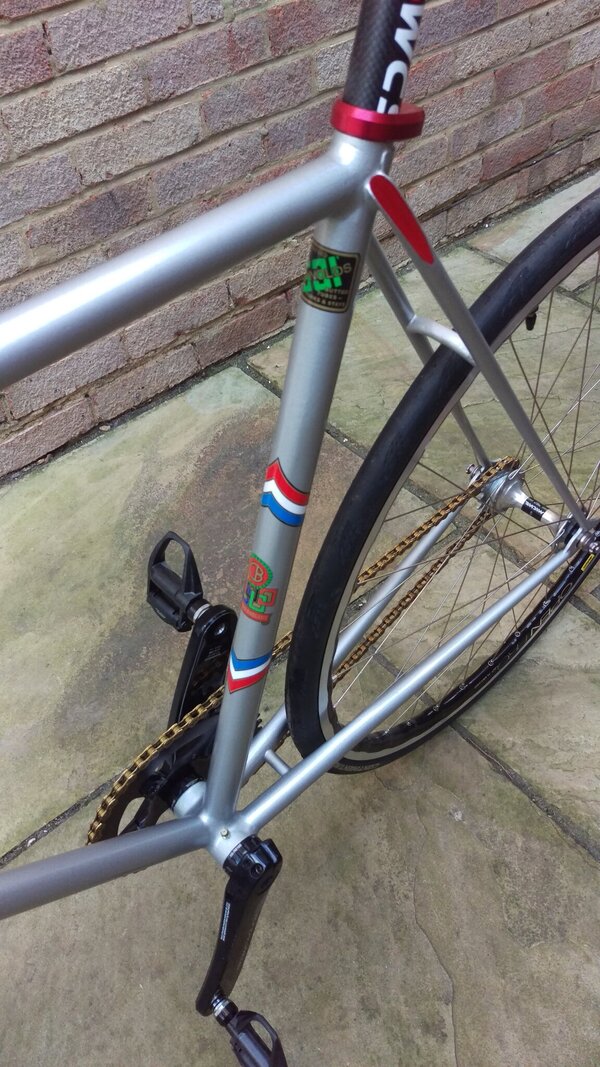
Bought this CB International path a while back. While working on it I found a crack in the seat tube which got worse while removing the remains of a stuck stem. Not sure what can be done without getting the complete tube replaced so had a go first. Cut out the damage and brazed in a replacement with some reinforcement between the seat stays. Did consider leaving it cut, but thought better of it. Will see how it goes once built up.
 

Attachments

  • IMAG8450.jpg
    IMAG8450.jpg
    118.7 KB · Views: 57
  • IMAG8541.jpg
    IMAG8541.jpg
    218 KB · Views: 54
  • IMAG8543.jpg
    IMAG8543.jpg
    159.3 KB · Views: 54
  • IMAG8553.jpg
    IMAG8553.jpg
    198.8 KB · Views: 57
Neat work DWS, interested to see how you get on with this as I’ve also just bought one of these.
What’s the plan? Near period correct or RetroMod like your Olympic?

Ps, is it an original Claud or one of the Holdsworthy ones from the 70’s?

 
You might want to investigate all the frame tubes internally, as there is a lot of corrosion in those pictures.
 
Neat work DWS, interested to see how you get on with this as I’ve also just bought one of these.
What’s the plan? Near period correct or RetroMod like your Olympic?

Ps, is it an original Claud or one of the Holdsworthy ones from the 70’s?

Yes its 1948 original and quite light; going to be a retro, more like the Pro SL done previously, so not overly fussed about how the repair looks. Target weight is 6.5kg, but I am struggling to get there, current estimate is 6.7Kg. It will give me a very light fixie to go with the Pro for club rides and the Lo-Pro for TT's. Not intending to do a mileage target next year, but just ride fixies so I need some thing to keep up on club rides.
 
You might want to investigate all the frame tubes internally, as there is a lot of corrosion in those pictures.
Yes given a quick look over, seems sound enough, will check again once the paint is off. There was also a fair size dent in the down tube which I tried to pull out with a brazed on bolt, then heat and rolling it between the jaws of a vice; hence the scratch marks. After that I filled the rest with braze and finish with filler. Again not structurally serious and I did consider only filling it.
 

Attachments

  • IMAG8536.jpg
    IMAG8536.jpg
    224 KB · Views: 15
  • IMAG8537.jpg
    IMAG8537.jpg
    207.2 KB · Views: 15
Painting done and decals on. Clearly non-std, just need to put it togather.
 

Attachments

  • IMAG8624.jpg
    IMAG8624.jpg
    324.5 KB · Views: 18
  • IMAG8626.jpg
    IMAG8626.jpg
    345.3 KB · Views: 17
  • IMAG8628.jpg
    IMAG8628.jpg
    289.2 KB · Views: 18
  • IMAG8632.jpg
    IMAG8632.jpg
    317.9 KB · Views: 17
“Clearly non standard” that’s an understatement! 🤣🤣.
But looks great all the same.

Ps did you see that 1945 (Sport Anglais I think) that I tagged you in?
 
All done, going for a spin out at the track tonight. I was aiming for 6.5kg its come in at 6.6kg so not too bad.
 

Attachments

  • IMAG8637.jpg
    IMAG8637.jpg
    421.8 KB · Views: 17
  • IMAG8640.jpg
    IMAG8640.jpg
    467.9 KB · Views: 16
  • IMAG8641.jpg
    IMAG8641.jpg
    459.7 KB · Views: 16
  • IMAG8644.jpg
    IMAG8644.jpg
    296.1 KB · Views: 16
I like the idea of this track retro-mod. And I know there is velodrome my side of York with reasonably priced training for velodrome accreditation.
So you've got me thinking about my 70's international frame but I've no experience of building a track/fixie from components newer than 1958! :LOL:
Can you expand upon your component choices? or make any recommendations?

Ps how has it been received by the track gang? raised eyebrows? Amused bewilderment? or pleasant interest?
 
Back
Top