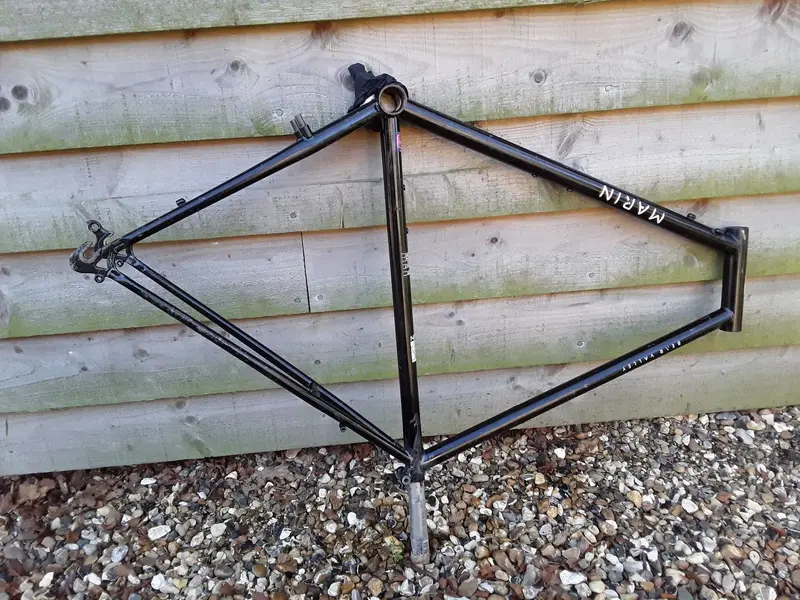
So as some of you will know, i took a chance on an 88 Bear Valley with a stuck post. Mainly as it was reasonably cheap and more importantly my humungous 20.5" c to c size .
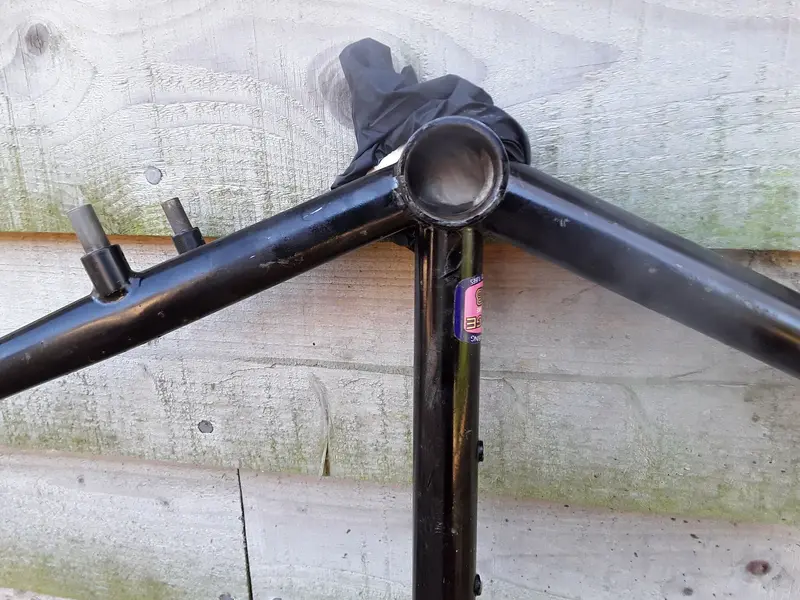
The previous owner was very honest and pointed out several times it was stuck......but then there's stuck and STUCK!
This one proved to be the latter......so.....
5 days of supercrack and penetrating oil....fail.
Concussive shock (not too much just air impact with an old socket on top).....fail.
Pipe freeze spray with lagging x3 goes till old tube ran out.....fail.
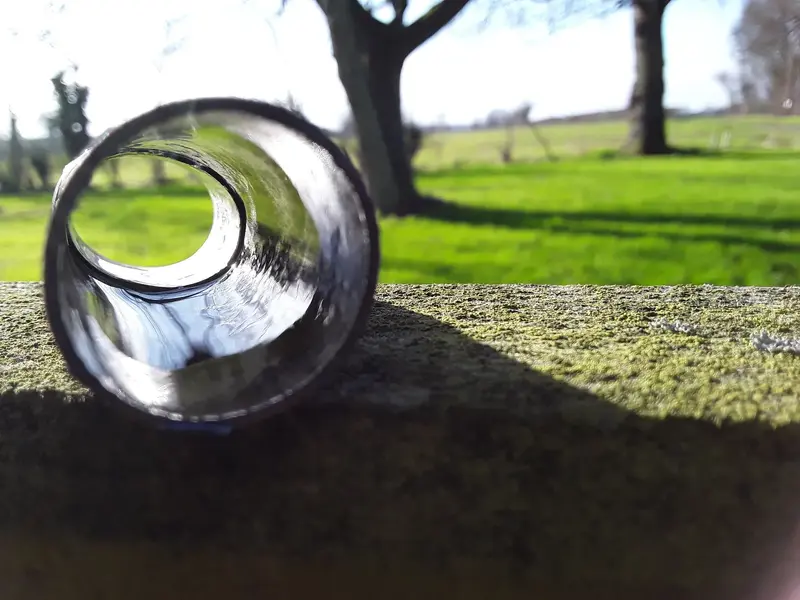
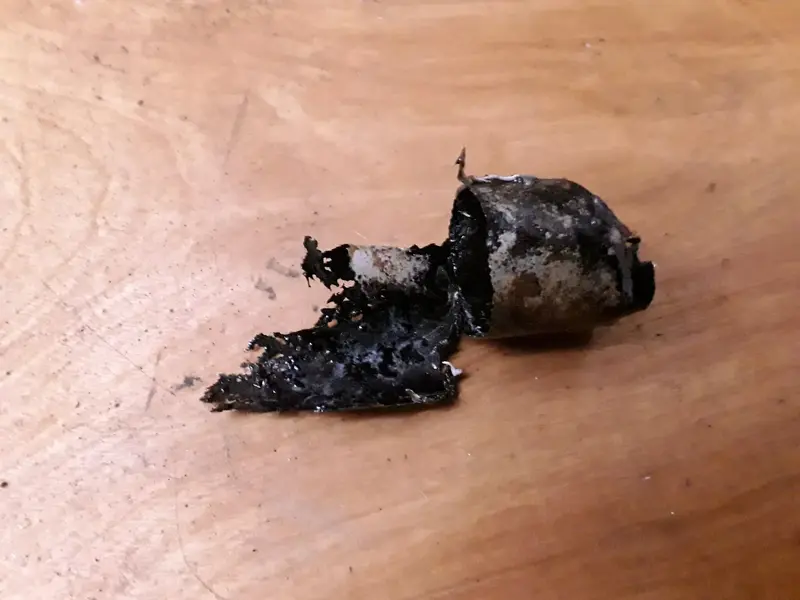
So its time for some alchemy. Which got it out. Thought i might share the method with you and what i learnt.
Firstly the post was already toast as the previous owner had had several goes in a vice, grips, hammer etc. Pitty as it was an xc pro post! But hey ho. If you want to keep the post try something else as you will have NOTHING left at the end.
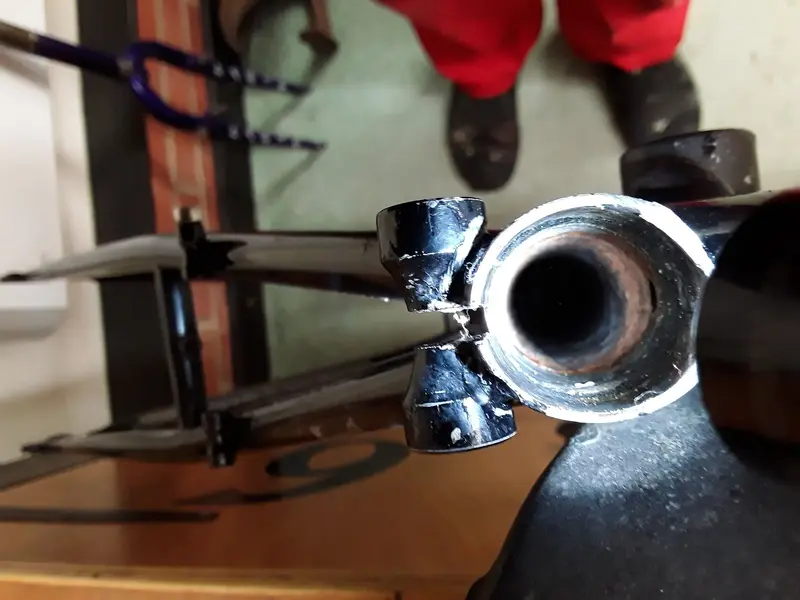
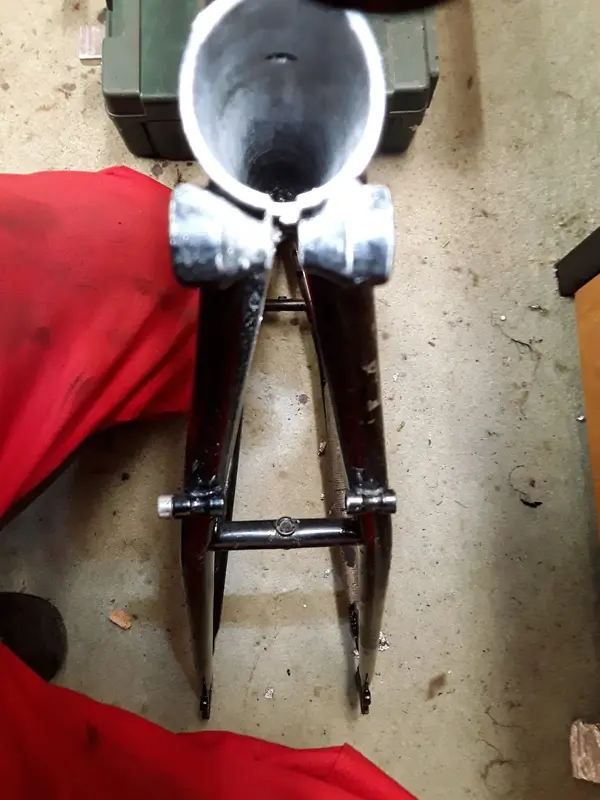
Secondly, this method ONLY works on ALLUMINIUM posts in STEEL frames.....i cant stress that enough. The chemicals can't dissolve steel, but can dissolve alluminium......THEY CANT TELL A FRAME FROM A POST, DONT USE THIS ON AN ALLUMINIUM FRAME!
Thirdly, safety first! This is dangerous stuff, it burns.....badly......and will blind you. It also gives of hydrogen as a byproduct. So out doors, no naked flames etc.
If you have any doubts....don't do it.
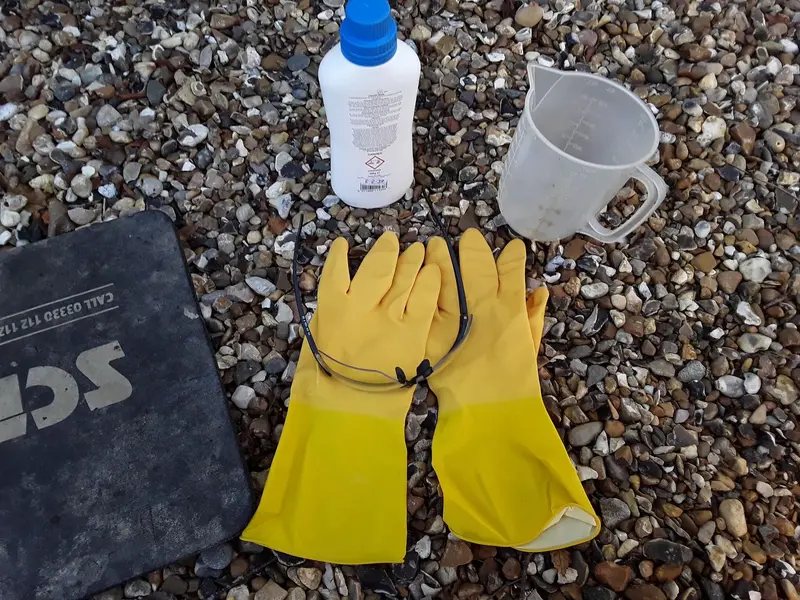
Still going to try.....excellent.....So you will need for this.
1kg of sodium hydroxide crystals (caustic soda....but check the percentage you need it pure)
Water
Pair of marigolds
Mixing jug......no....not the one from the kitchen!
Safety glasses or better goggles
Mask....able to cope with gas.....depending on location of experiment.
Mixing stick
Tape, bluetack, plumbers mate, potato, prosecco cork for bunging up holes.
The previous owner was very honest and pointed out several times it was stuck......but then there's stuck and STUCK!
This one proved to be the latter......so.....
5 days of supercrack and penetrating oil....fail.
Concussive shock (not too much just air impact with an old socket on top).....fail.
Pipe freeze spray with lagging x3 goes till old tube ran out.....fail.
So its time for some alchemy. Which got it out. Thought i might share the method with you and what i learnt.
Firstly the post was already toast as the previous owner had had several goes in a vice, grips, hammer etc. Pitty as it was an xc pro post! But hey ho. If you want to keep the post try something else as you will have NOTHING left at the end.
Secondly, this method ONLY works on ALLUMINIUM posts in STEEL frames.....i cant stress that enough. The chemicals can't dissolve steel, but can dissolve alluminium......THEY CANT TELL A FRAME FROM A POST, DONT USE THIS ON AN ALLUMINIUM FRAME!
Thirdly, safety first! This is dangerous stuff, it burns.....badly......and will blind you. It also gives of hydrogen as a byproduct. So out doors, no naked flames etc.
If you have any doubts....don't do it.
Still going to try.....excellent.....So you will need for this.
1kg of sodium hydroxide crystals (caustic soda....but check the percentage you need it pure)
Water
Pair of marigolds
Mixing jug......no....not the one from the kitchen!
Safety glasses or better goggles
Mask....able to cope with gas.....depending on location of experiment.
Mixing stick
Tape, bluetack, plumbers mate, potato, prosecco cork for bunging up holes.