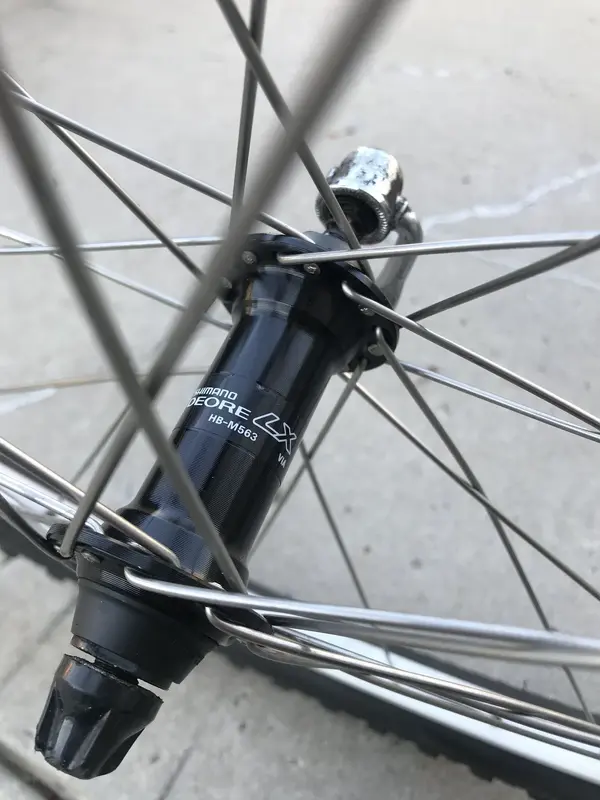
This 30 year old wheelset is like new. Really happy with these for the build. Bontrager Connection Trail tubeless? Not sure about these but will see how they perform…..eventually
Point of intrest found this online regarding the rims
Mavic Mountain Bike Rims
Mavic 26" Mountain Bike clincher rims
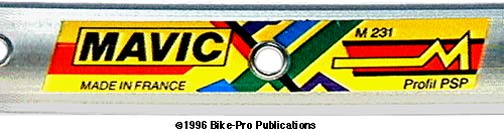
MAVIC PSP 231
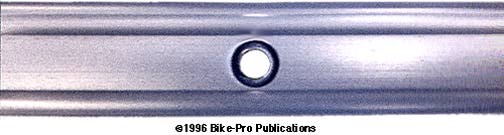
The P.S.P. 231 is one of the narrowest of Mavic mountain bike rims, easily one of the most popular rims we sell. Although the 231 is produced in both 700c and 26" diameters, we sell it only in the 26" size. The 231 is a Box shaped rim with flat sidewalls, that's unusual in design. Though it's a double wall extrusion, it also has round channels where the sidewall and spoke bed walls join. A thin cross-tie wall joins the two channels together. The two channels running the circumference of the rim give it a great deal of rigidity, and in many cases that alone would be structure enough, but add to that the cross-tie wall joining the channels and give the rim an incredible amount of lateral torsion stability.
The added weight of the thin cross-tie wall is negligible, and comprises a very small percent of the total rim weight. After extrusion the rim stock is Clear anodized leaving it a "buff" Silver SBP color, then rolled into the rim's hoop shape. The rim ends are joined using two 4.5mm diameter, tapered end, curved aluminum rod that are pressed into the channels of both rim ends. This process uses the channels as a tight fitting sleeve, and the rim contour, for the rod fasten and the rim together.
We've found the 231 joint to be consistently tight, with smooth sidewall contact and lacking gaps. The 231 uses a one-piece, single wall stainless steel eyelet. Let's briefly review what an eyelet's purpose is; first-most it is to displace the weight on the spoke when it is in the vertical position, at that point in the wheel revolution the majority of the weight the wheel supports "hangs" from the rim on the single spoke.
One-piece and two-piece double wall eyelets use the steel upper cup piece to "load" the top of both the cross-tie and spoke bed wall, this displaces the singular spoke nipple load over a far, far larger area to prevent pull through failure. The second-most purpose for an eyelet is to create a contoured resting point for the spoke nipple to contact. Remember, the "piercing" or drilling for the spoke nipple almost always leaves a square 90¡ surface, an eyelet smooths this common surface. An eyelet's last possible function may be to lubricate the nipple during the truing process, this would be accomplished by making the lower eyelet in a two-piece or the entire eyelet as brass. The eyelet used on the 231 shifts the load in the least significant way to the top of the spoke bed wall, least significant because merely the top of the small eyelet is suspending the load over the rather small surrounding spoke bed wall surface.
Although the eyelet provides a rounded surface for nipple to rest and turn in, the steel lacks the self lubricating quality of a brass or nickel plated eyelet. A one-piece or two-piece double wall eyelet would better achieve the purposes, even though it would add some additional weight. We found one of our production specimens for writing and weighing showed some distortion from the eyelet insert and peening process on the spoke bed wall. The amount of force from the peening machine was set just a little high. This is probably the best place to mention that the option of ceramic coating treatment on the Silver sidewalls of the 231 that was available in 1992 and early 1993 was discontinued in the 1993 model year.
Curious question as to the reassembly of the bottom brackets, do I glue the shaft to the bearings with the loctite 638? I was thinking of mounting one bearing to the shaft then inserting it. Once set in pace press the opposite side bearing on. This make sense?
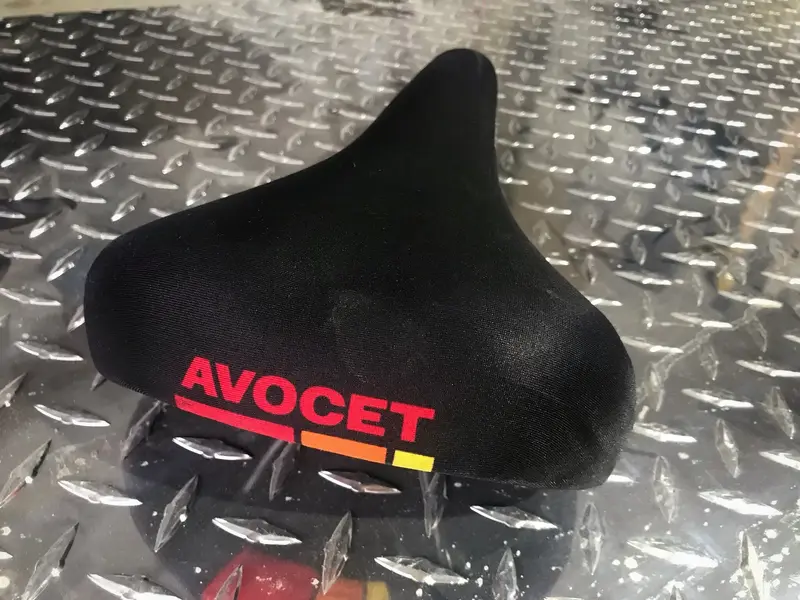
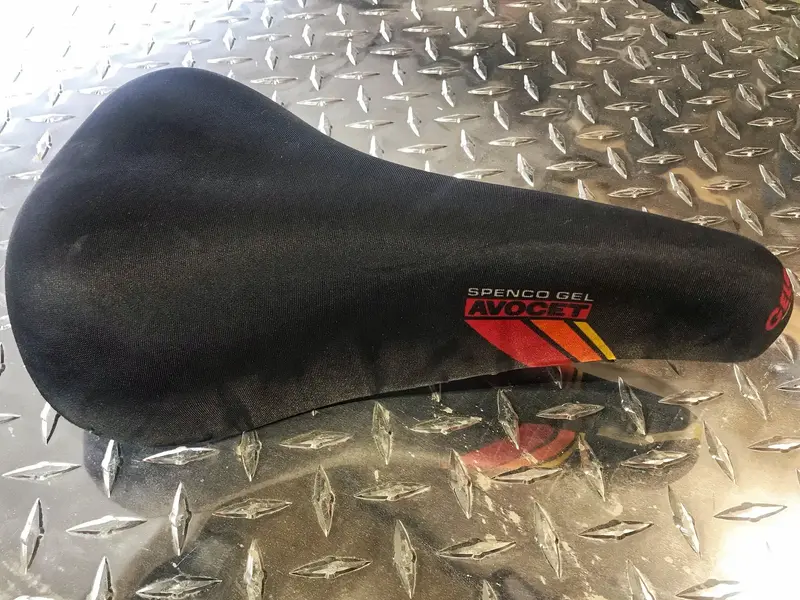
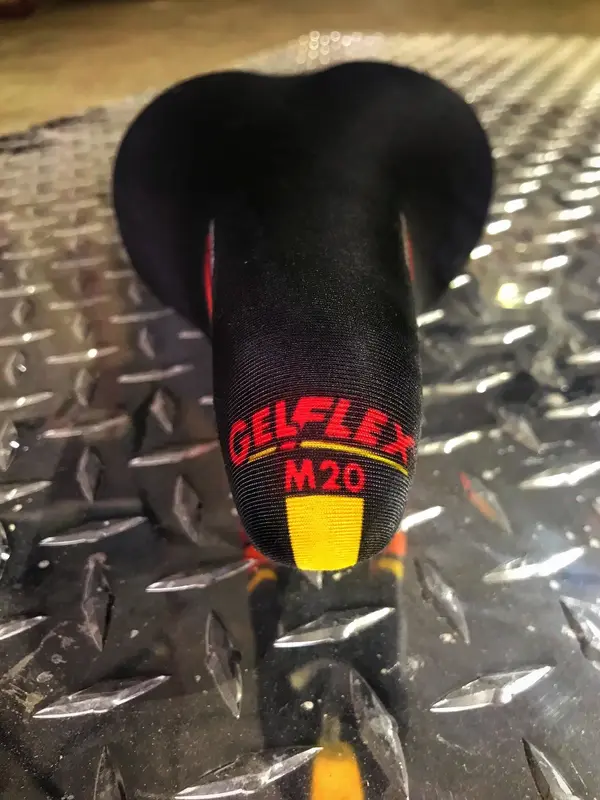
so i was travelling to a larger city on the weekend and ended up in a thrift shop. First time I’ve ever seen bikes in one, nothing special there though. I did however score this like new Avocet saddle for $8 cdn that may find a home on the Klein may have to wait and see. Thoughts on this?
well it’s frame reveal day.I tried to stay true to the original color scheme. Basically the pink has been replaced by the green. Still needs to cure for a bit before I can wax and polish and start to build up. Fade turned out pretty good for my limited experience and equipment consisting of spray cans. Kawasaki green with semi gloss black and purple. Fork has been powder coated high gloss black.
View attachment 562282
well it’s frame reveal day.I tried to stay true to the original color scheme. Basically the pink has been replaced by the green. Still needs to cure for a bit before I can wax and polish and start to build up. Fade turned out pretty good for my limited experience and equipment consisting of spray cans. Kawasaki green with semi gloss black and purple. Fork has been powder coated high gloss black.
Thanks, I'm very happy with the way it turned out. Lots of thoughts about what direction to go with the paint. Not gonna lie was last minute decisions at every turn. Yes there is 2K clear over this.


")