Re: 1997 Claud Butler Cape Wrath.. (a proper one this time)
Just returned to reality after wasting my time looking at 16 pages on a pointless Klown thread that spent more time on mindless rants on Scandinavian Postage
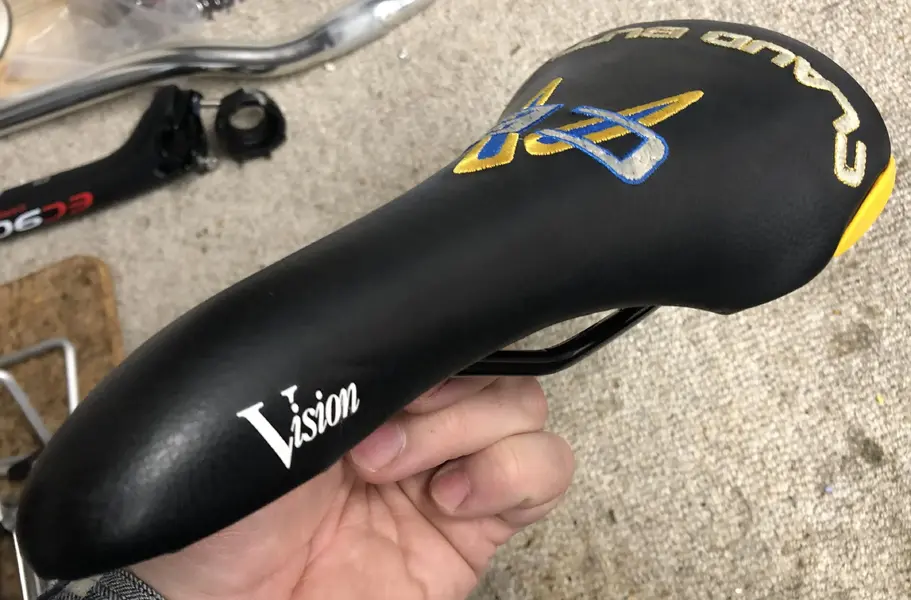
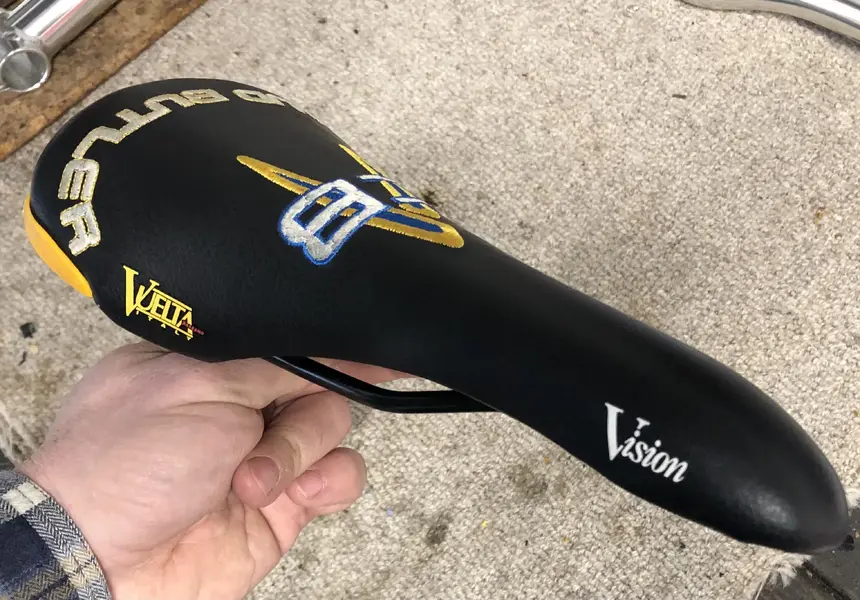
Never realised you had such a collection of Claud saddles ...
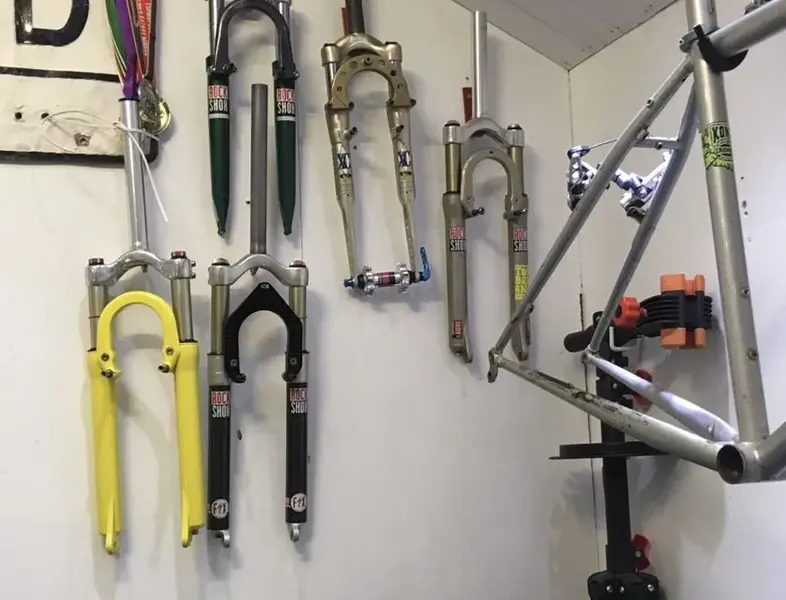
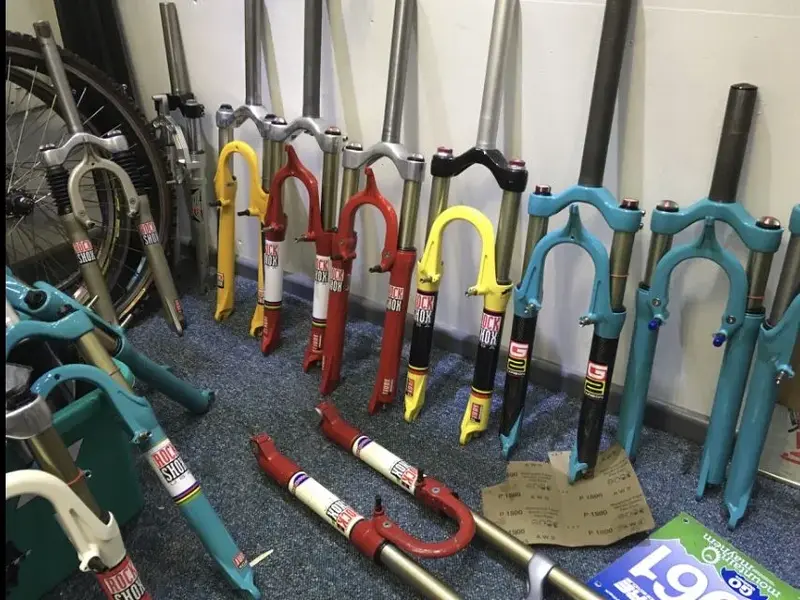
My weakness is Judy’s which has morphed into Rond now :facepalm:
This is what’s accumulated in the workshop and not mounted on the bikes or the wall in the home office
Re: 1997 Claud Butler Cape Wrath.. (a proper one this time)
I've been a good boy so was allowed a full morning to "arse about" in my workshop
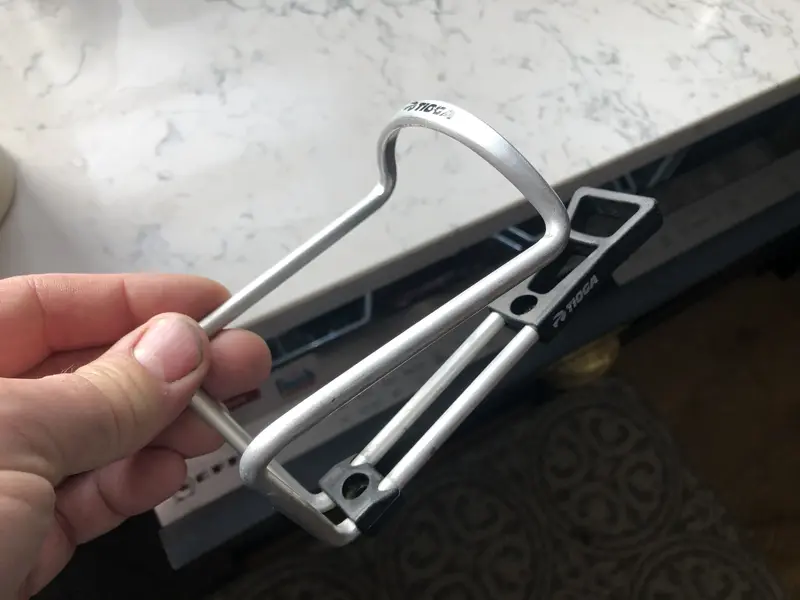
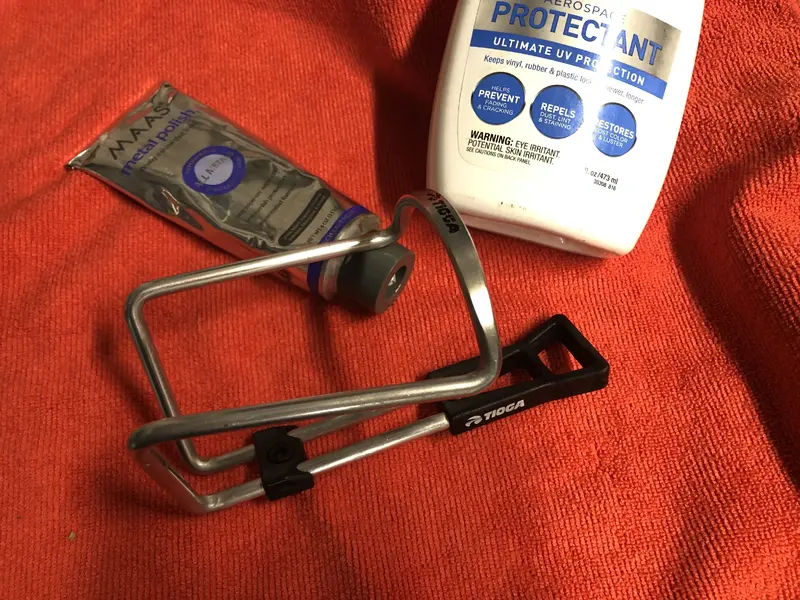
Thought I'd ease myself into it this morning by first running the Tioga bottle cage through the dishwasher whilst making coffee''
Then a cursery wipe over with MAAS and the obligatory dressing with 303 protectant and we're done
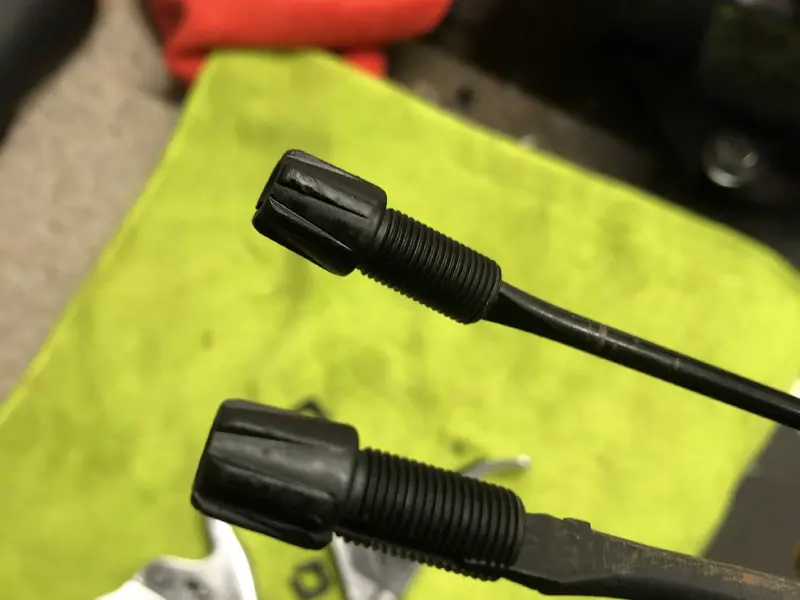
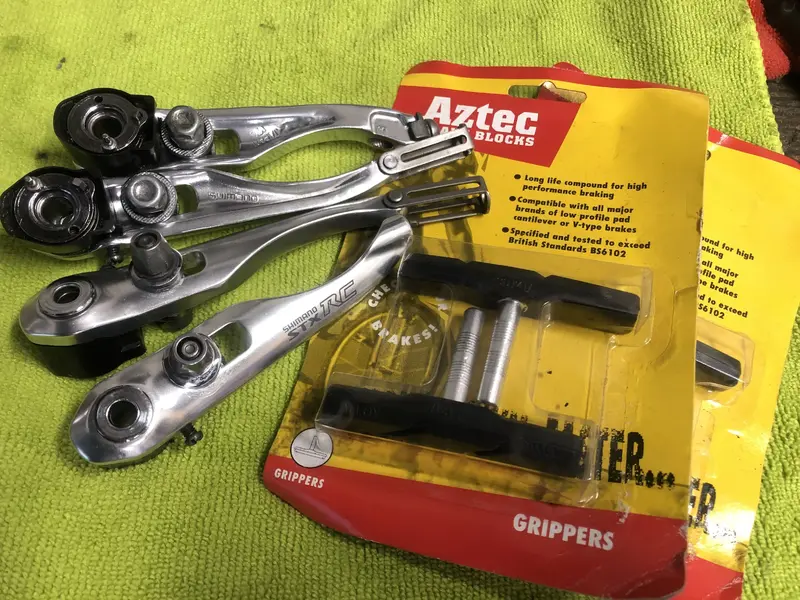
Next a quick whiff of black acid etch to smarten up the brake cable adjusters to be then put to one side for latter..
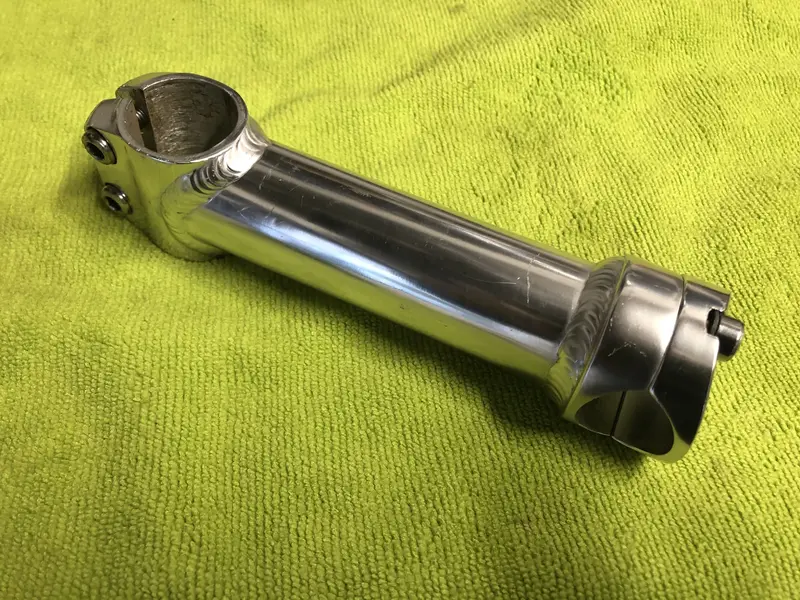
The Big Ass boat tiller style 130mm Zoom stem cleaned up well and with the addition of some new 1/4" UNC bolts looks just fine.
Re: 1997 Claud Butler Cape Wrath.. (a proper one this time)
Right.. I can't believe it's been nearly a month... but the Great Claud Cull had to take precedence... :shock:
A lot of spare time has been spent carefully treating corrosion then cleaning/cutting/polishing the clear powdercoat (I think), but also me and The Gil had to sort out a few issues with graphics..
First problem (after completely re-drawing the artwork all from scratch) was how to economically produce them as a short run with what Gil has on hand. The gold foil he has won't take/hold any print so unlike the originals (printed on foil then protected by a layer of clear polycarb) we had to first print the black drop shadow onto the clear polycarb, then laminate the cut foil text on top. :|
All good and fine accept these clear paneled stickers were always going to need to be applied wet, normally supplied with an opaque tissue which I would soak, peel off, then position the graphic before squeezing out the water/air bubbles from underneath. This wouldn't work with these cut foils on top of the clear as they couldn't all survive this heavy squeezing..
So.. new plan, Gil produced them with a clear backing so I could get the position correct and squeeze out the water & air whilst the foil was still protected, then the back was peeled away leaving only a few dots to sort locally... pleased of course with the result. :xmas-big-grin:
")