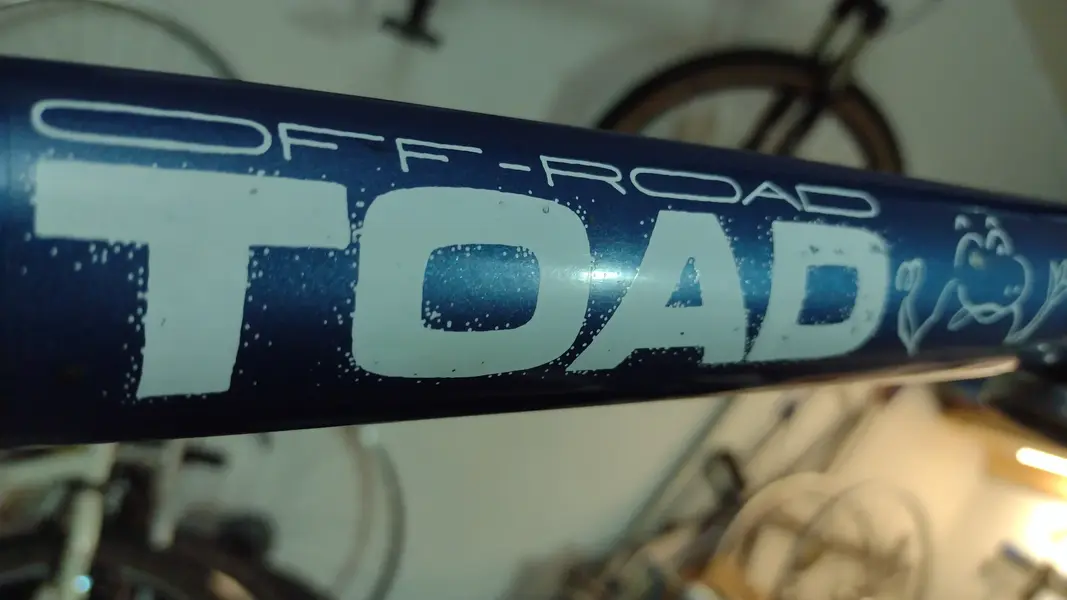
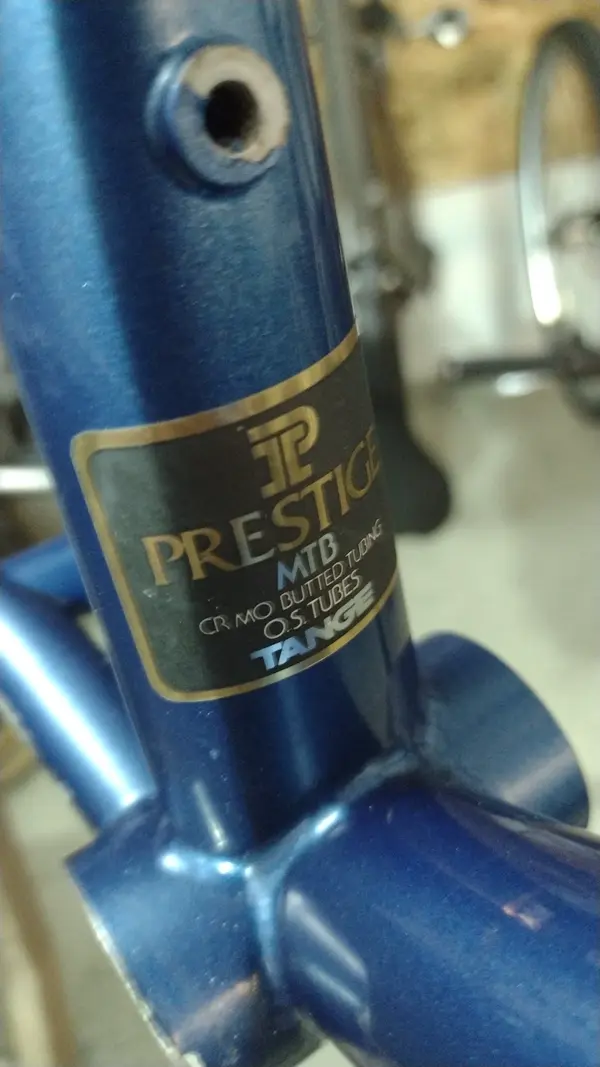
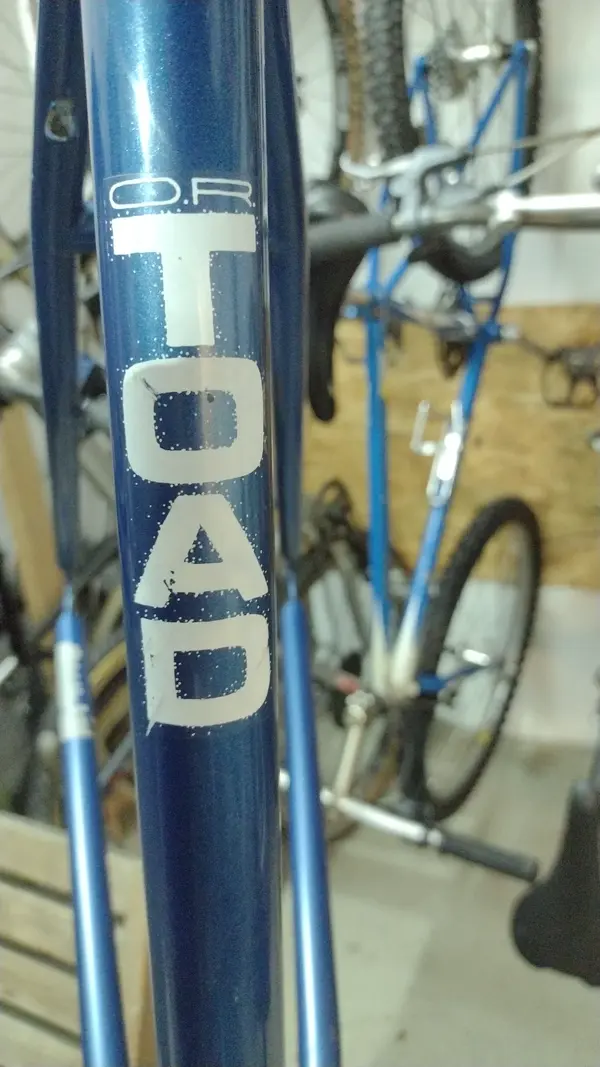
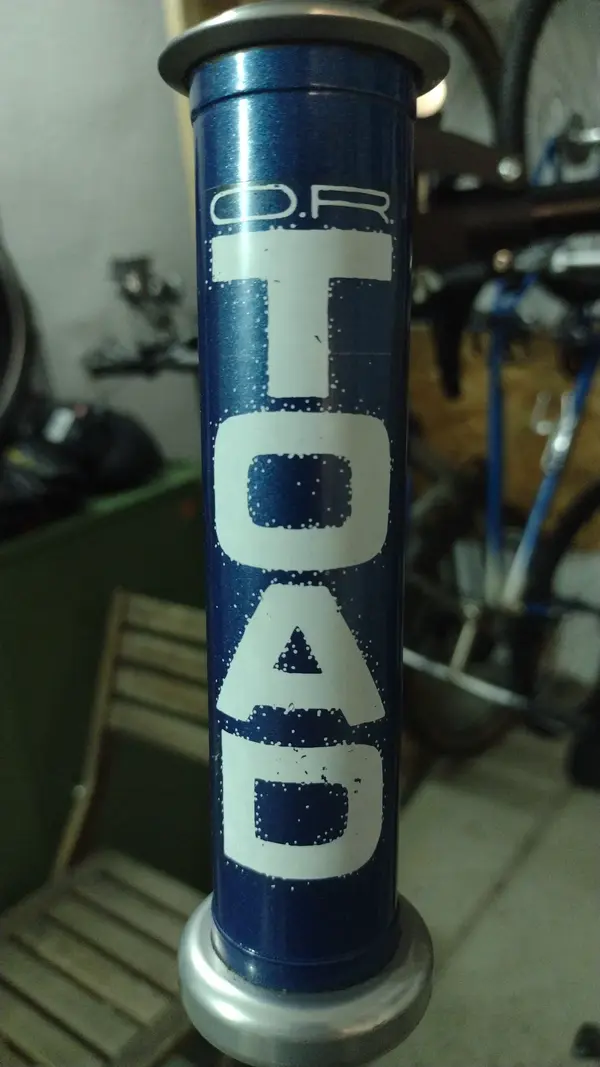
1991 Offroad Toad

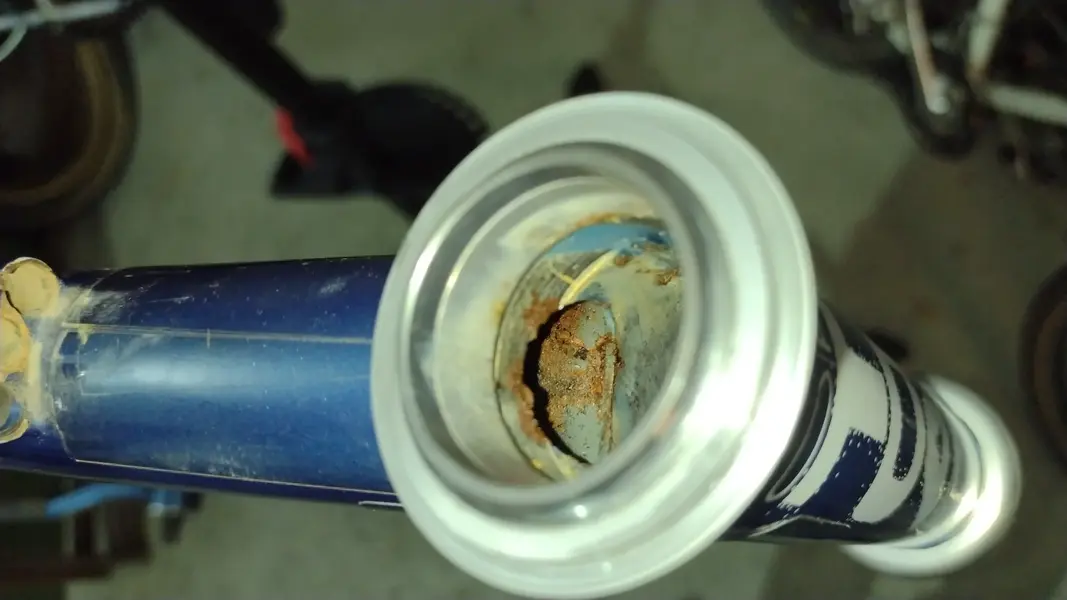
Unfortunately, the frame is not in as good a condition as I thought at first glance.
There is hardly any visible rust on the outside, but unfortunately it looks a little different on the inside.
IMG_20250625_203650.webp
I'll have to take a closer look.

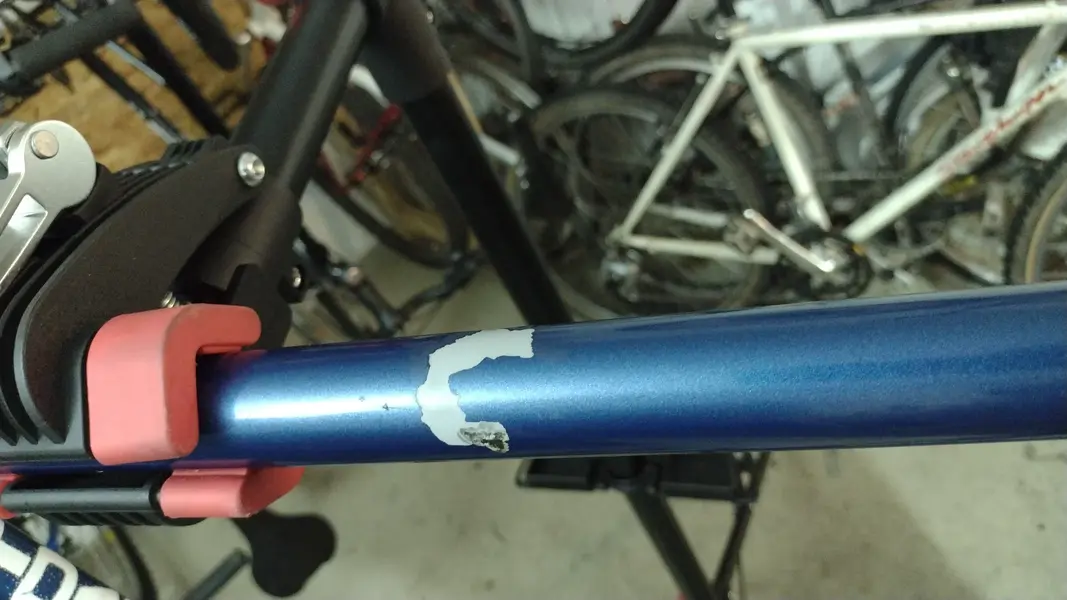
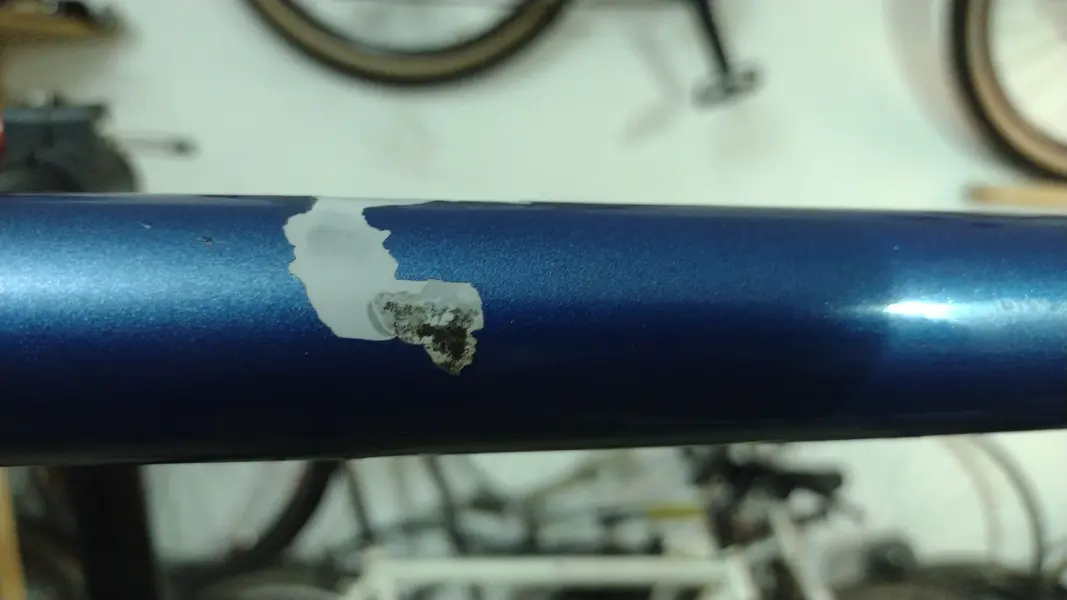
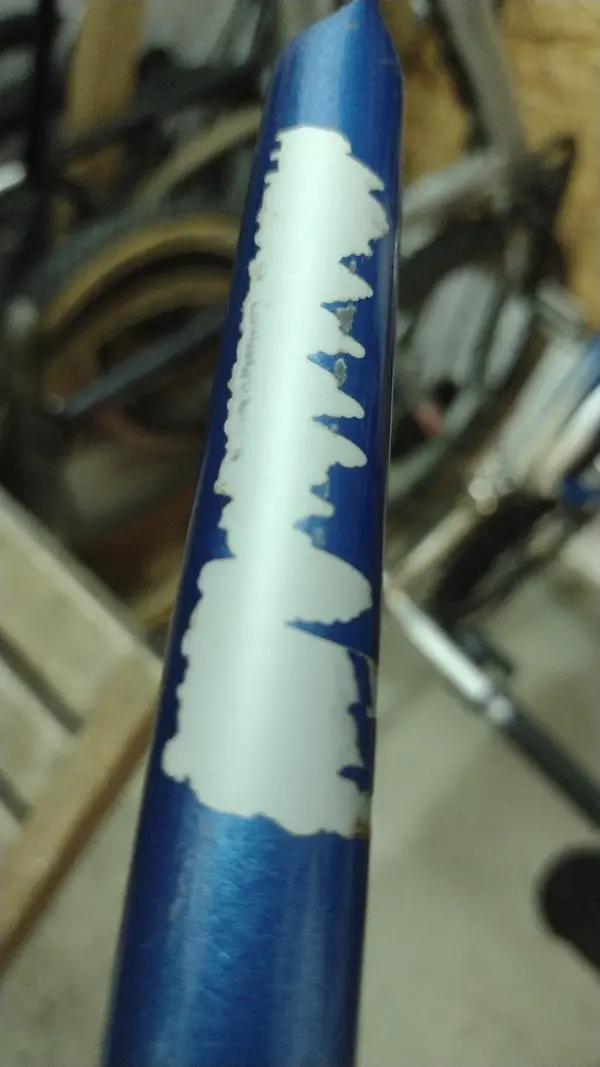
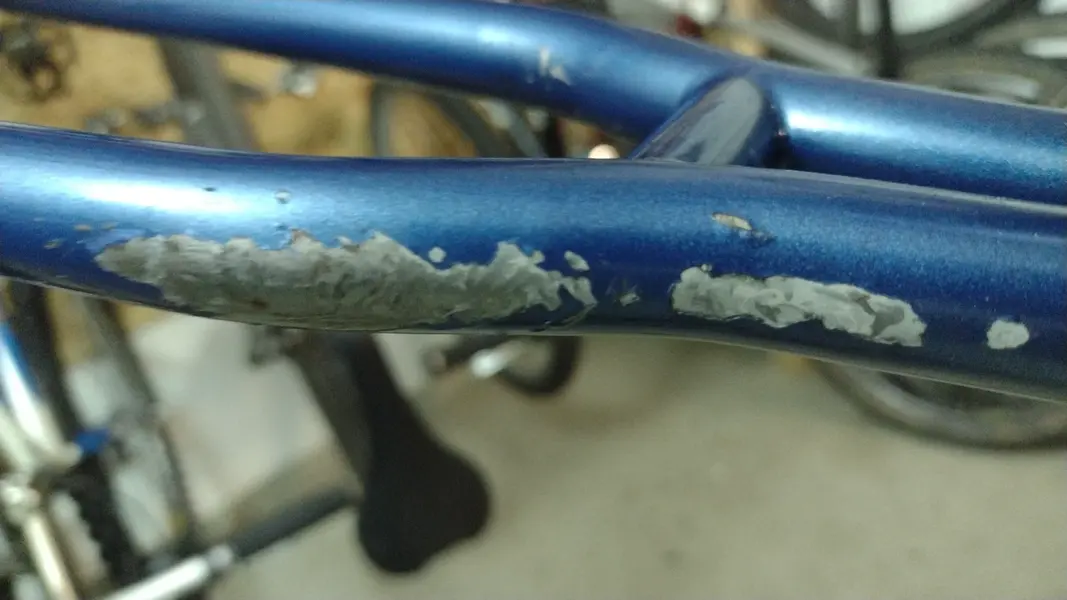
Most of the paintwork is beautifully preserved, but unfortunately there are numerous chips and a few places where the clear coat and top coat simply fell off during cleaning.
IMG_20250625_220929.webp IMG_20250625_221011.webp IMG_20250625_220953.webp IMG_20250625_221029.webp IMG_20250625_221040.webp

IMG_20250625_221101.webp I think here the reason was the impact of the handlebar ends.
IMG_20250625_221143.webp
And here it looked as if the adhesive of the improvised chainstay protector had attacked the paint, perhaps in combination with UV radiation and/or salt.
IMG_20250625_221117.webp
Here it was simply chainsuck...

I don't know what to do with the paint. I don't really want to repaint the frame or do a spot repair. I guess I'll just leave it as it is for now and watch if it gets worse.
 
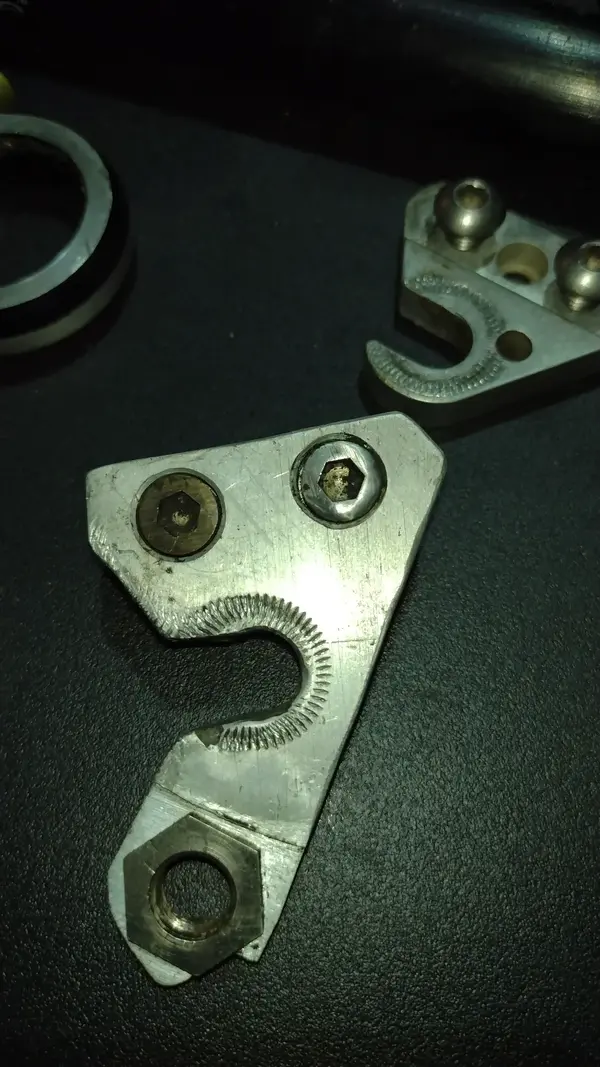
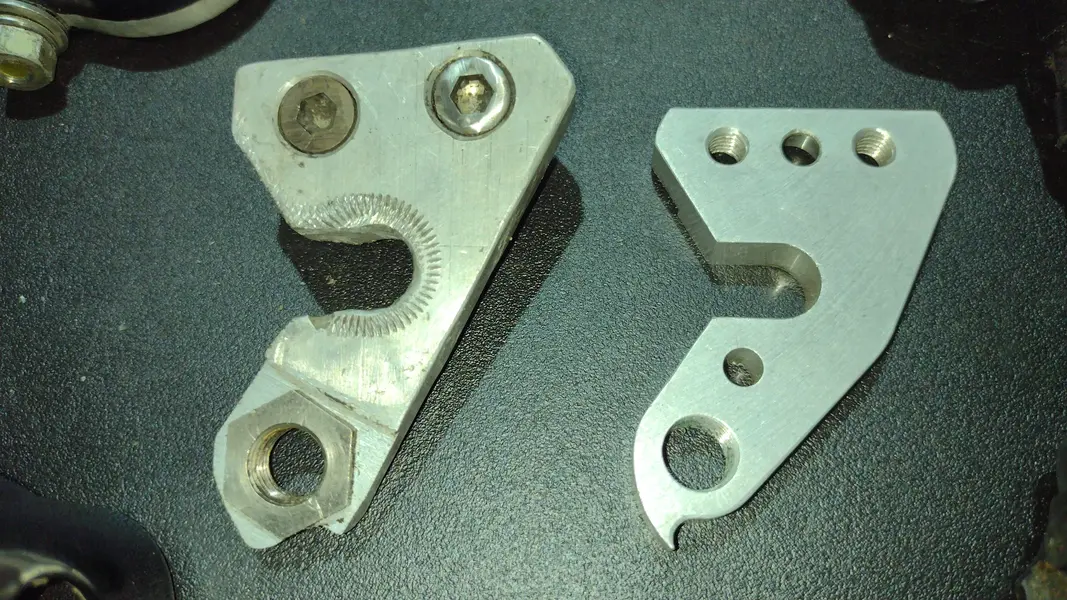
The dropouts are also interesting. The non-drive side was easy to dismantle and even has the frame number stamped on it.
IMG_20250625_203800.webp
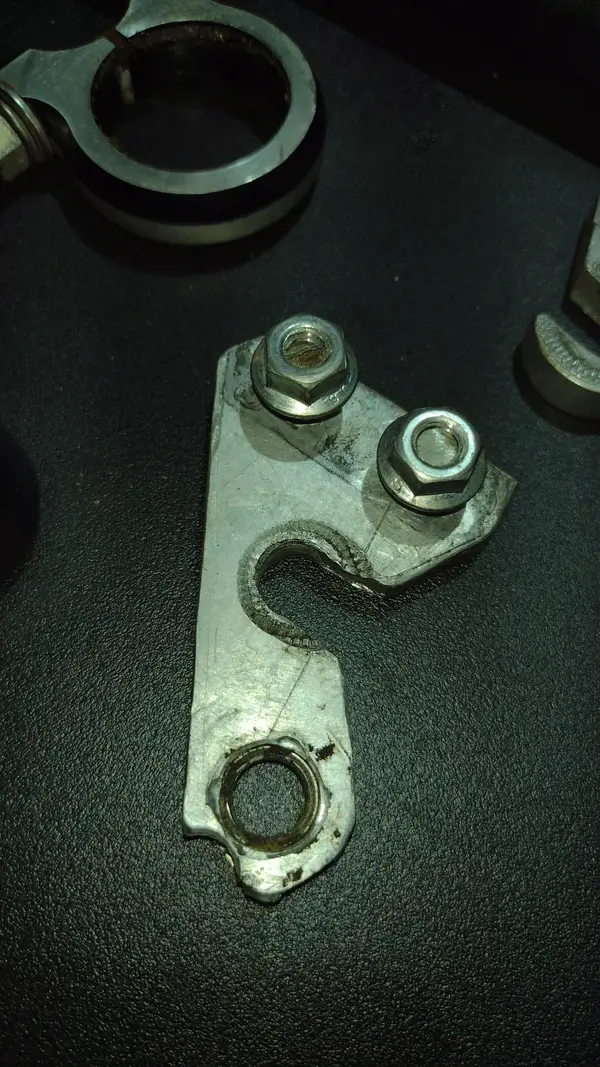
The driveside was replaced and doesn't look particularly nice.
IMG_20250625_203818.webp IMG_20250625_203829.webp
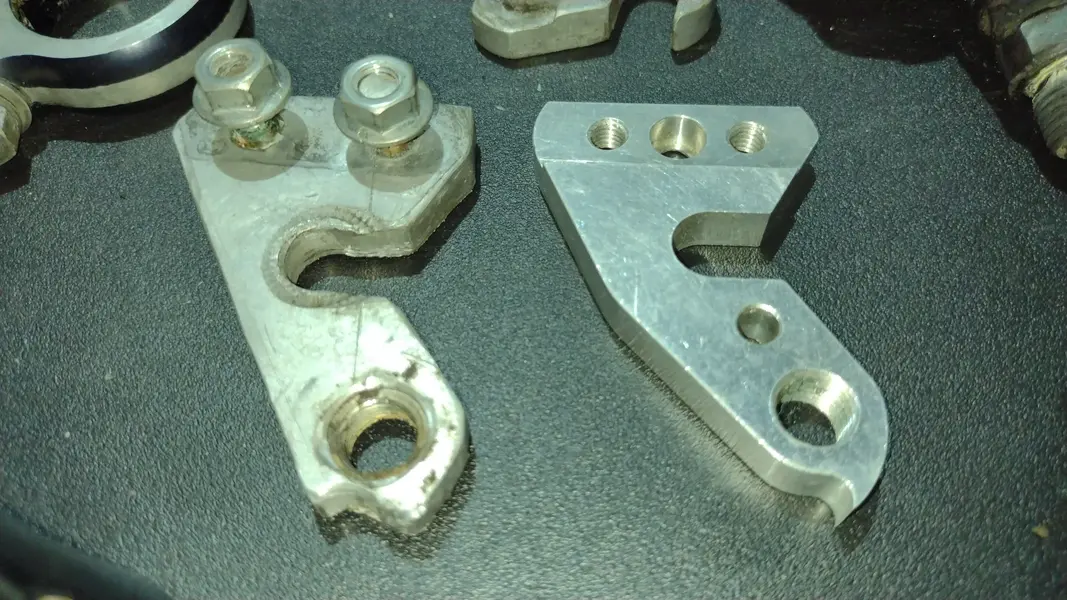
But thanks to @Retro_Roy who got Rod to rummage through his parts boxes, I now have an original dropout that I can install.
IMG_20250625_203907.webp IMG_20250625_203925.webp
Many thanks again to you and Rod for all your efforts!
 
The dropouts are also interesting. The non-drive side was easy to dismantle and even has the frame number stamped on it.
View attachment 975181
The driveside was replaced and doesn't look particularly nice.
View attachment 975182View attachment 975183
But thanks to @Retro_Roy who got Rod to rummage through his parts boxes, I now have an original dropout that I can install.
View attachment 975184View attachment 975185
Many thanks again to you and Rod for all your efforts!
The paint always looks worse when you have the frame stripped! Do you think you will spot repair in the meantime?
 
glad i could be of service. it is a good feeling to be able to help out.
especially to another toad brother. :)
looking forward to seeing it come together.
 
The paint always looks worse when you have the frame stripped! Do you think you will spot repair in the meantime?
I'm not sure yet. I'm not the best painter and I guess I have to learn some more and look for some matching paint. The primer is in top condition so I guess it should be possible to repair the paint.
This will be my July project...
 
Unfortunately, the frame is not in as good a condition as I thought at first glance.
There is hardly any visible rust on the outside, but unfortunately it looks a little different on the inside.
View attachment 975168
I'll have to take a closer look.

Most of the paintwork is beautifully preserved, but unfortunately there are numerous chips and a few places where the clear coat and top coat simply fell off during cleaning.
View attachment 975169View attachment 975170View attachment 975171View attachment 975172View attachment 975173

View attachment 975174I think here the reason was the impact of the handlebar ends.
View attachment 975176
And here it looked as if the adhesive of the improvised chainstay protector had attacked the paint, perhaps in combination with UV radiation and/or salt.
View attachment 975175
Here it was simply chainsuck...

I don't know what to do with the paint. I don't really want to repaint the frame or do a spot repair. I guess I'll just leave it as it is for now and watch if it gets worse.
Very neat work as always Kay!

The thing with the internal top tube rust is not so worrisome. I would use a flexible rod with some brush or sand paper on it end to rub the rust dry first. Then use a hoover to empty all the removed rust. An finally apply the frame saver. This would stop the rust in my view or prevent it from spreading.
I would agree...I've had (more than) a few like this 😄 I also use a syringe with a plastic tube on the end to squirt rust converter inside the tubes, give it a good shake (and wear old clothes!) then apply antirust spray.
 
I have a straight piece of wire coat hanger, which can be chucked in a drill. The other end has a bit of a twist on it, which holds a piece of steel wool. Can reach into tubes to remove rust. Can also be done with a fiberglass rod like a bike flag pole or tent post. Slit in the end to hold a flap of sandpaper
 
Thank you guys for all the input! That were my thoughts too.
I'll get a few things from home depot and report back.

Most of my rust converter turned into an abstract piece of art on my work bench some weeks ago because I'm stupid....

I also weighed the frame yesterday and with nearly 2.200g (almost 400g more than the brodie and the ibis) it is more on the robust side of things wich makes me confident that even with a little rust there is enough frame left to carry me around 😁
 
Last edited:
Back
Top