Fixing a Victorian

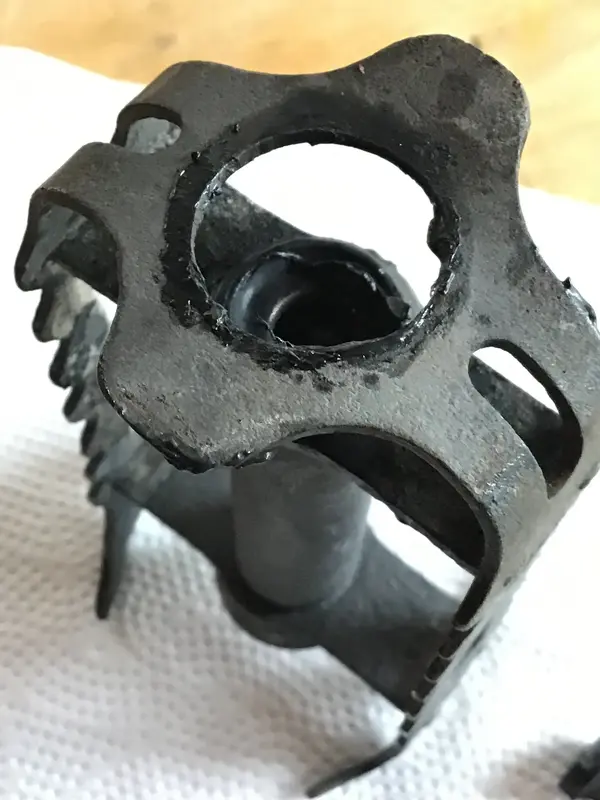
Ok...yes as a ball bearing type of race over the pond in old blighty we'd say it's had it's chips!
But.....bare with me...😁
I have a plan!
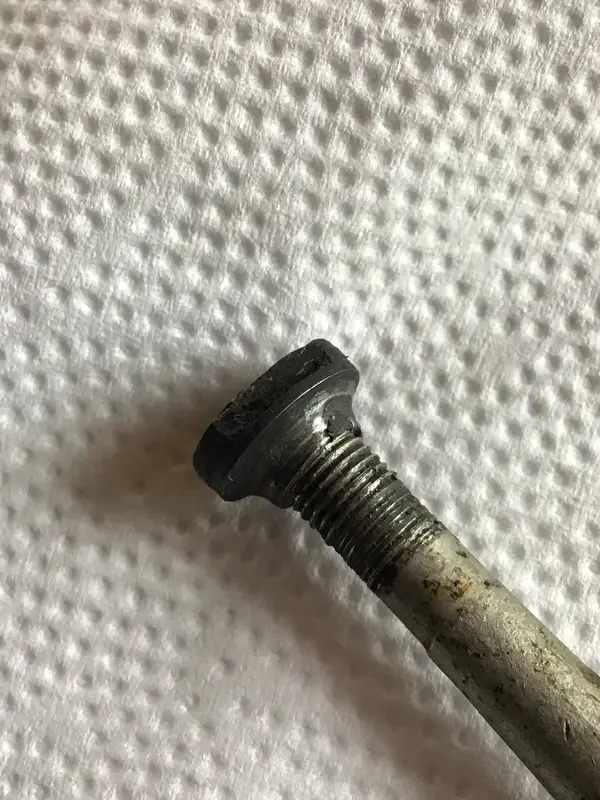
As it's not cracked all the way through it threads on ok 👍
Now if you pop the bonnet on a car you'll find loads of rubber tubing....I'd imagine the size you'd be after would be the type used for the windscreen washer jets....kinda soft and squidgy?...borrow a bit !
Wind that inside the the thread of the chipped bearing cone.... it wants to be a real tight fit!
Then using your preferred metal filler you used on the frame fill that chipped bit in as smooth and close to the original profile of the race.
Doesn't have to be absolute perfection just ...good enough perfect 👍
Return rubber hose to wife's car once the metal bondo has cured.
Now this is bit that you'll have to get cunning with on your drill press....that vertical lathe thing 👍
You need some nylon because your gonna make a solid bearing! No balls just a hoop of nylon.
So instead of point contact like a ball bearing this nylon bearing is gonna touch the hole surface of the bearing cone and the bearing cup.
Plasticine will give you an impression of the cup inside the pedal ....the cones in your hand so thats fairly straight forward to copy.
Now we've just got to find you some nylon material....
Wander into the kitchen...make sure the wife's elsewhere.....and grab that plastic chopping board...they're usually green ,red,yellow or white!
It's the type that when a sharp knife runs over it it leaves a mark but doesn't really cut it!
It's strange stuff to cut ok it's not metal it's not wood it's weird stuff...tools must be very sharp!
Wood chisels will do it👍 hopefully you might have a bunch of holesaws? Find the one that's nearest to the size you need IE ... the plug.
Nut and bolt through the hole and pop it into your drill press...
Clamp something on the drill press bed to rest the chisel on up right close to the chuck and use that as your steady/rest for the chisel and get turning! Be careful it's grabby stuff ...you might have a few attempts but it does work I've done it exactly like this a few times!

When you measure up for it allow a couple of full threads on the pedal spindle inboard....this means as and when the bearing settles/squidges you can tighten it up.
I'm 99% confident this will work and work well !

If I wasn't 10000 miles away I'd do it for you especially now I have a little lathe! Be nice to do a little bit on this bike 😊

Actually thinking about it....if I had some measurements I could just pop it in the post!?
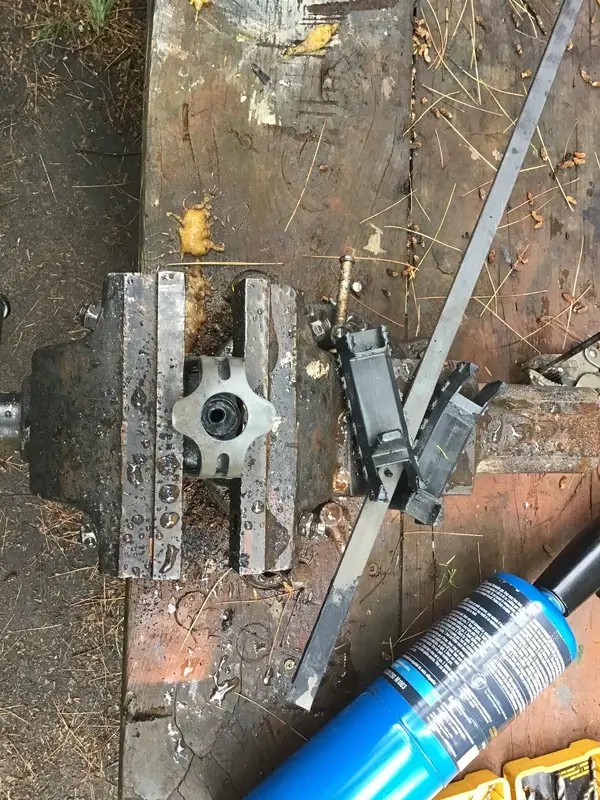
Man, that’s a lot of fussing, I’m lazy. I took a bolt that threads into the race a bit before binding, wrapped Teflon plumbing tape around the threads, threaded on the race a bit and put on epoxy steel reinforced filler. It’s drying. I heated a pice of cut off crap pedal nylon and ironed it into the pedal with torch heat, took the melted in nylon out, it’s a thin disk. Next, I’ll press the fixed heated race into it to make an impression. Hope this saves me work. This is fine work, which I’m not good at because my eyes are bad and I have a tremor. But my modifications to your concept might work around these problems. The nylon didn’t change with the heat, it still looks and feels the same. 4C5154A4-2F73-450A-B760-525EF7425B55.jpeg
 
Last edited:
That is another way of skinning the cat 👍
Nylon is a thermosetting plastic anyway!
Do what you can to keep the axle true in the peddle and all should be cool for school 😁
 
That is another way of skinning the cat 👍
Nylon is a thermosetting plastic anyway!
Do what you can to keep the axle true in the peddle and all should be cool for school 😁
I’m thinking of putting it together with bearings in the crank arm side and using heat to thread and seat the broken race. If it’s not straight I could do it again.
 
Bearing race repaired with JB Weld. 8C4A229E-D7AA-4EA6-B012-5FCF88617CE2.jpeg
Pedal bushing made by melting nylon into the space where ball bearings go and threading the repaired race into the molten plastic. Servicing will require melting in more nylon. I hope the whole plastic race doesn’t twist. It spins pretty well without the race insert turning. We’ll see when it’s on the crank arm. I’m waiting on the mail to bring my new 5/32 ball bearings. The bike shop has them but that’s 230 km round trip. 8C71D8E6-ED87-4CDA-BC76-F4DC848C95CC.jpeg
A second sealing layer of clear epoxy over the JB Weld. The JB Weld couldn’t get into the chip well enough as the race is paper thin at the top. CE0C74E6-971D-4591-8A07-B3F47CCC5AD4.jpeg
 
Last edited:
  • Like
Reactions: Woz
Fingers crossed it will wear in, but not wear out quickly. Job looks a good one!
 
Fingers are crossed 👍
It'll never actually wear just squidge....that's the technical term I believe! As long as there's a bit of thread to give it a nip up all's good.
 
Fingers are crossed 👍
It'll never actually wear just squidge....that's the technical term I believe! As long as there's a bit of thread to give it a nip up all's good.
My pedal bearings came today. 5/32 is too big. They must be 1/8 as they measure 15/128. Must have worn down. More surprises. I can use the 5/32, but I have to be patient and get the proper ones as I want to use this pedal. There should be enough thread, even without the outboard bearings. I actually tried to coat the old bearings with melted nylon but the melted insert broke, crumbled, so that was a flawed idea. You could put a washer in the pedal before the nylon to take up some of the bearing space. I think it will be adjustable like it is.
 
My pedal bearings came today. 5/32 is too big. They must be 1/8 as they measure 15/128. Must have worn down. More surprises. I can use the 5/32, but I have to be patient and get the proper ones as I want to use this pedal. There should be enough thread, even without the outboard bearings. I actually tried to coat the old bearings with melted nylon but the melted insert broke, crumbled, so that was a flawed idea. You could put a washer in the pedal before the nylon to take up some of the bearing space. I think it will be adjustable like it is.
Yes patience! Your showing plenty of it nabeaquam....a little more ....you'll be there...and it's so going to be worth it!
If you have any problems getting this crazy way of fixing these pedals to spin again I'm still happy to make a bush/bearing for you....free of course!

Any chance of a photo of the seat cluster whilst it's in that lovely red paint? The pic you've posted previously does look so good....and that seat cluster to me is the most stunning part of the bike I absolutely love it!
 
This is pretty fcuked up really.

Think you are on a winner with what you are doing, especially if you stay grounded with good enough is perfect.

I don't know if you are in a disadvantaged position in the US of A, but here in Europe we can get metric and imperial size ball bearings. The stash of weird ball bearings I save in jam jars from ripping old bikes from the tip is to the point I can't remember what hell they came from and what they should be for. I get to the fcuk-it point where I will put in something close enough, do a pre-load, and if it looks good enough, it all closes up, I consider issue solved, and hit the drinks cabinet for a reward. If it's gritty or tight spots, I live with it. If I wanted super smooth I could buy new shit. I think restoration / saving century old bikes is not about that; it's about other things and über frictionless just needs to take second place in the bigger picture.

In full admiration.
 
Yes patience! Your showing plenty of it nabeaquam....a little more ....you'll be there...and it's so going to be worth it!
If you have any problems getting this crazy way of fixing these pedals to spin again I'm still happy to make a bush/bearing for you....free of course!

Any chance of a photo of the seat cluster whilst it's in that lovely red paint? The pic you've posted previously does look so good....and that seat cluster to me is the most stunning part of the bike I absolutely love it!
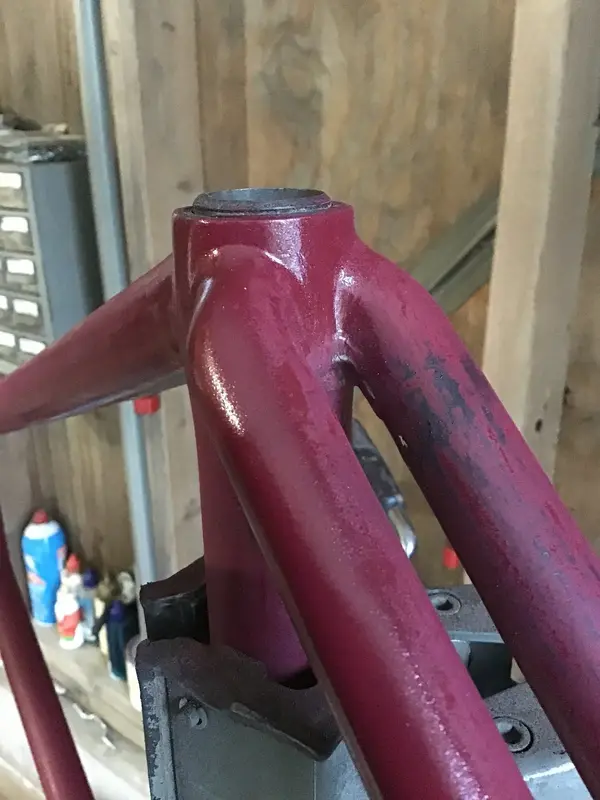
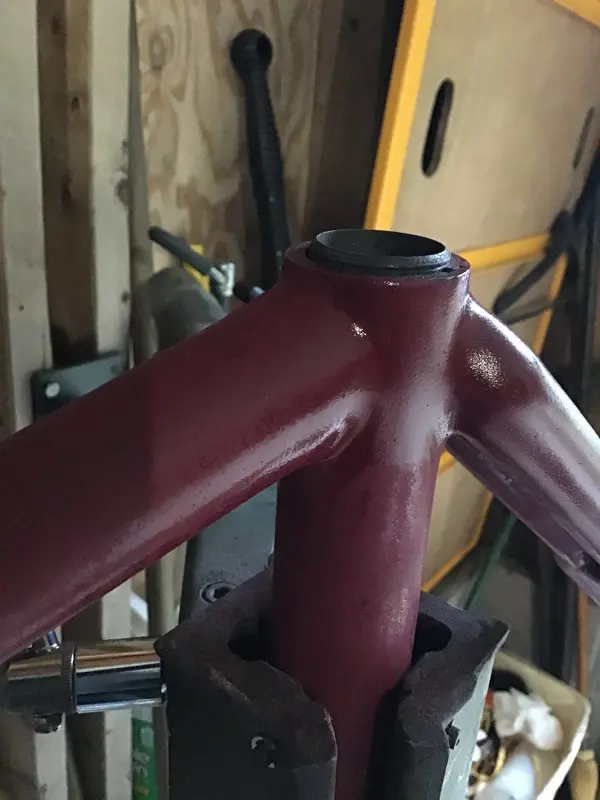
I started sanding it down so you won’t be too happy. I’m a little surprised how two skim coats have eliminated much of the pits and other imperfections. It’s far from perfect but good enough. The color is a cranberry and is a 38 to 41 Schwinn New World color. Most New Worlds had forward facing drops to compete with Raleigh, which was starting to sell pretty well here.

I’ll finish sanding it down and then start the final paint. EB6FA21A-E42D-4944-99DE-CFE9E8AE579F.jpeg 4622070A-852E-4EF7-9C63-ED5E34459B1C.jpeg
 
Last edited:
Back
Top