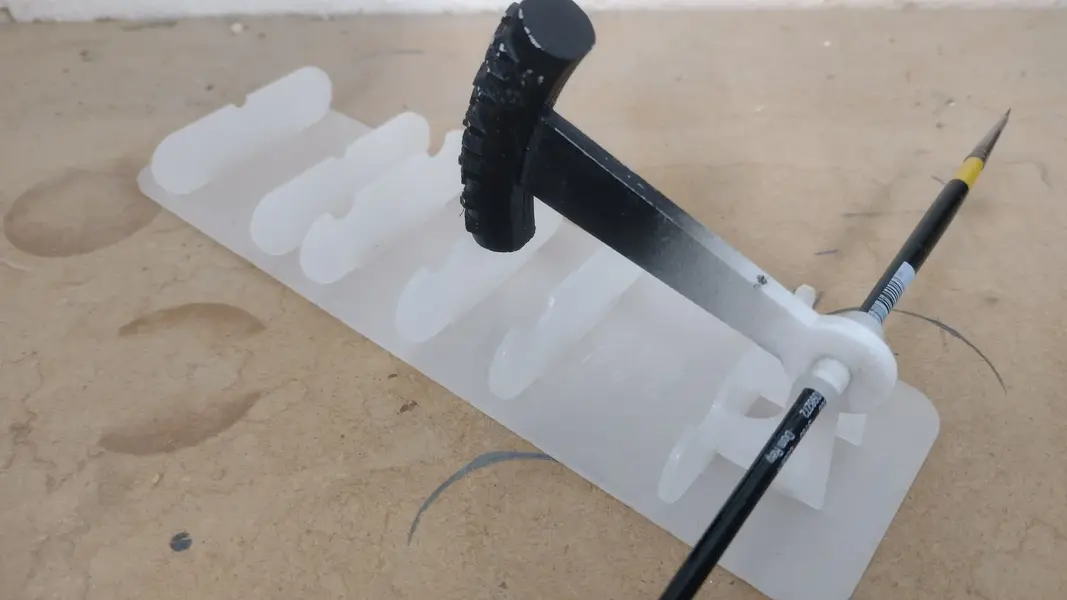
Yeti build thread. Not in the wrong section.

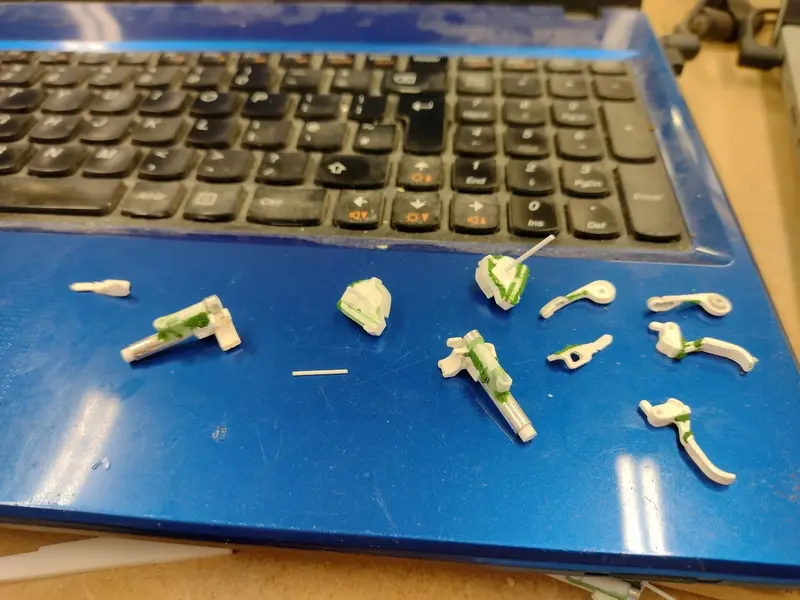
Levers (1).jpg
Brake master cylinder and bar clamp. These were pretty fiddly. There's 14 separate bits of plastic in this picture. Nearly every bit of this whole project started off as either a flat sheet of card/plastic, plastic or metal rod/tube, liquid or some type of filler.

Levers (2).jpg
Various bits of brake lever and shifter waiting for the green filler to set.

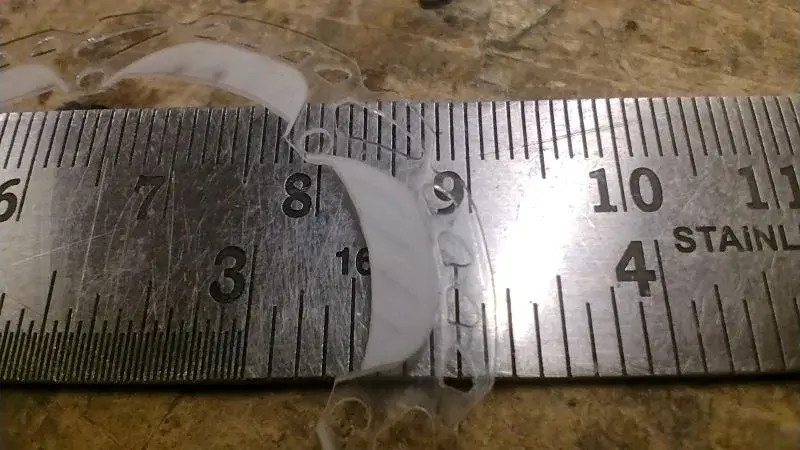
Rotors (1).jpg
Brake rotors cut out of 0.5mm thick acrylic. The engraving for the cooling fins was repeated on both sides, slightly staggered, so it has the correct wavy profile.

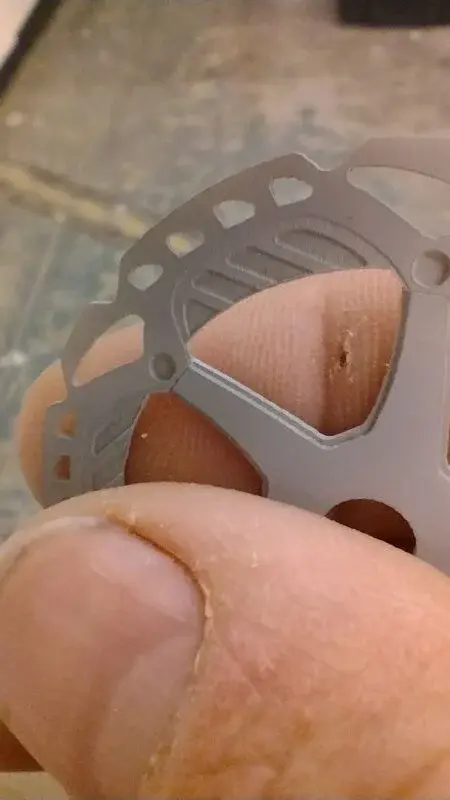
Rotors (2).jpg
Everything looks better with a bit of grey primer on it.

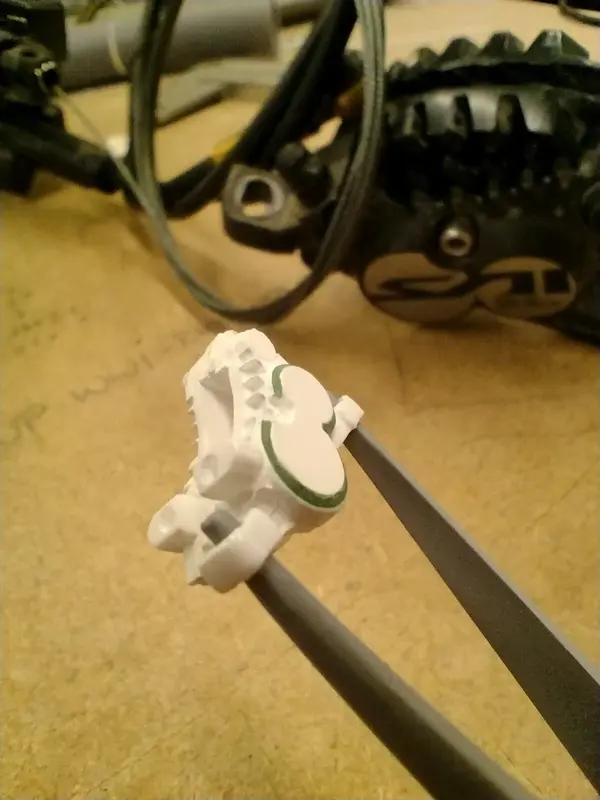
Calipers (1).jpg
11 layers of acrylic make up each caliper body. 8 more bits for the hose inlet, bleed port and frame mount.
 
Last edited:
Thank you - this is an amazing insight into both your skills and some model making techniques.

Appreciate this is respective but if there's any way you might be able to incorporate some of the tools, work holding and jigs you use I for one would be fascinated.
Good afternoon,

Dug a few jigs out of the loft if you're still interested.

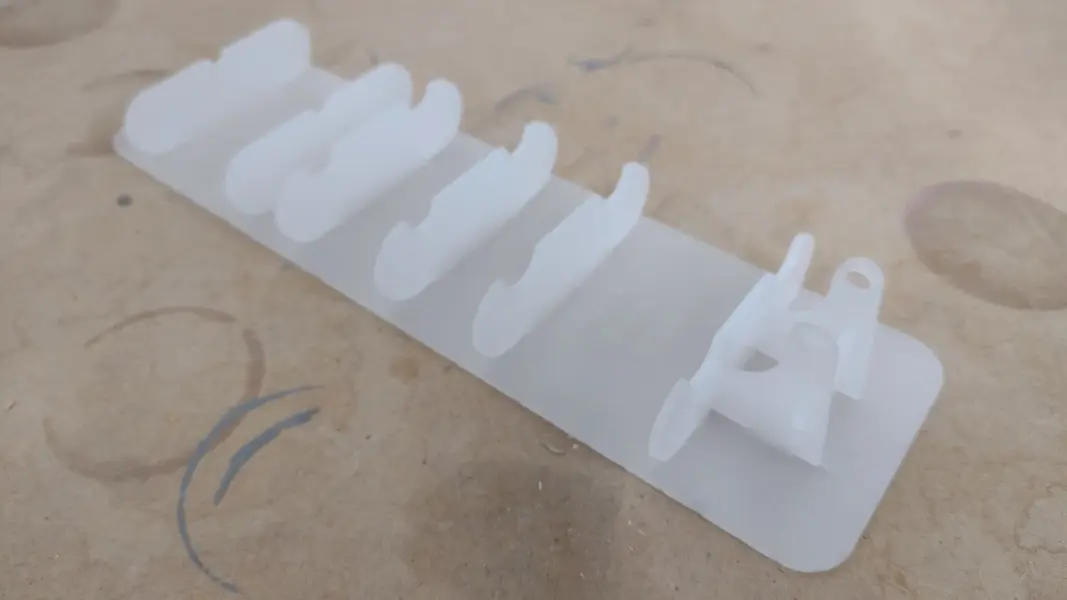
IMG_20240417_071445697.jpg
This was for building the forks. Steerer tube sits in the two furthermost left cradles, stanchions in the next two, sliders in the next. The two tabs at the right hand end hold an axle for lining up the dropouts. The various cradles are set apart at distance relevant to where various bits sit height-wise (crown, top of sliders etc.)
IMG_20240417_073649521.jpg
This is a mock up tyre section at the right distance from the axle to check that the fork arch had enough clearance and was centred correctly.

IMG_20240417_071751769.jpg
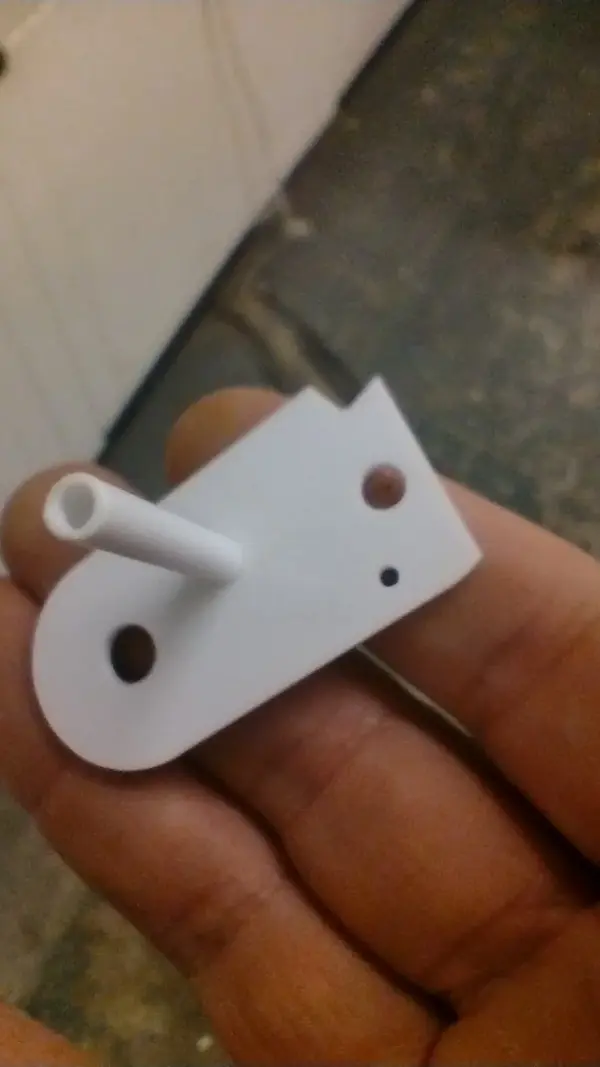
The holes in this one line up with the bottom bracket shell and pivot holes in the frame. The square cutout in the top left then show where the front mech mount needs to sit.
As I said before, stay tuned for wheel building, I think that they are the only pictures of jigs in use that I have.

Please do stop me if I'm getting boring.
 
You're an utter geek and it's bloody brilliant! As someone who's dabbled in various model making genres over the years with very little scratch building, because it's bloody hard work, I can well respect the amount of effort that's gone into this. Awesome.
 
You're an utter geek and it's bloody brilliant! As someone who's dabbled in various model making genres over the years with very little scratch building, because it's bloody hard work, I can well respect the amount of effort that's gone into this. Awesome.
Thanks Cloverleaf. It was a lot of effort, but not what I would could hard work. Being an "utter geek" (guilty) I really enjoy this sort of insanity. Even the excruciatingly monotonous bits like all those tyre treads.
I also decided from the off that I was only going to open the box when I felt like it, rather than feel that I had to.
That said, the chain did do some funny things to my brain that may not have completely healed yet.🤡
 
It would be amusing to see this bike in BOTM. There is nothing in the rules to say the bike has to be 1:1 ;)

Can't wait for the wheel building and the chain!

I take my hat off to anyone who can do this sort if thing. During my apprenticeship i made some bits for a couple of scale models. One was a Foden steam lorry and the other a Challenger tank. Everything was scratch built and it took a very long time and i struggled once things got too small. I just didn't have the finesse, or patience, for it.
 
Back
Top