Tubeless sealant who uses what and why?

wookiee

Retrobike Rider
Feedback
View
Hi

Right my current ride came fitted with tubeless tyres which I've had good experiences with having had 2 punctures seal whilst out on rides. But my current tyres are for dry-ish conditions...and guess what...those dry-ish conditions have turned into a mud fest round my trails! So I have a pair of Bonty XR mud tyres on the way but want to run them tubeless too. Not having had any experience of fitting tubeless tyres, what are the newbie tips? What is the best/easiest sealant to use? Heard good things about both Stans and Joes...what are you guys using?

All help appreciated,

Doug
 
Stans - cos tinterweb said it was best :D

My tip for airing them up / seating the bead (unless you have a compressor) - loads of soapy water + 1 Co2 cartridge = job done. Remove core afterwards then add sealant.

WD :D
 
WD Pro":3fjnvjk3 said:
Stans - cos tinterweb said it was best :D

My tip for airing them up / seating the bead (unless you have a compressor) - loads of soapy water + 1 Co2 cartridge = job done. Remove core afterwards then add sealant.

WD :D


Ok being a complete novice here...remove core then add sealant? I would have assumed that you put the sealant in the tyre prior to inflation???
 
I've been running tubeless for a few months now, and here's what I've learnt:

- No complaints about Stans sealant from me, although I've not tried any others. I think someone was selling a bottle on here for a good price recently?

- If you have a major puncture which takes a lot of sealing, don't forget to top-up the sealant afterwards.

- Yes to soapy water.

- I've always managed to seat the bead using a normal track pump, although there was one occasion where I needed to lay the wheel horizontally to stop loss of air from the flat bit of tyre at the bottom (does that make sense :?:). That's with tubeless rims and tubeless ready tyres.

Enjoy :D.

Regards
 
wookiee":4qom7a5o said:
Ok being a complete novice here...remove core then add sealant? I would have assumed that you put the sealant in the tyre prior to inflation???
Depends on your valves. If they've got removable cores, then there's a bit less mess if you add the sealant at the end.

Not all valves have removable core though :(, in which case you need to add the sealant before. You should still seat the bead first though, and then just unseat a little bit to pour in the sealant.

Regards
 
wookiee":3e7ocn8o said:
WD Pro":3e7ocn8o said:
Stans - cos tinterweb said it was best :D

My tip for airing them up / seating the bead (unless you have a compressor) - loads of soapy water + 1 Co2 cartridge = job done. Remove core afterwards then add sealant.

WD :D


Ok being a complete novice here...remove core then add sealant? I would have assumed that you put the sealant in the tyre prior to inflation???

I have mavic valves with removable cores - you can add sealant easily through the valve (core removed) and when it's removed it also allows for quick passage of air / Co2 = quick and easy bead seating :D

I did try with a track pump but it just wasn't happening ... :LOL:

UST rims (crossmax) with non UST tyres (kenda klimax and x kings). The beads dont half go with a bang when they seat :shock:

WD :D
 
I've run tubeless for the last 4 years or so-Stan's works great for sealant. I generally just mount the tires and ride them 'til bald-then get another set, having encountered no flats on the way. The way my LBS mounts them is to put the tire on the rim with one bead on and one about 3/4 on. Hang it from the bike stand with the last unmounted part of the bead at the bottom and pour in the Stan's-then finish popping the bead on and use a compressor to inflate. A tubeless compatible rim will usually have a screw in valve stem that you need to buy and install first, along with a tubeless Rim strip-Alternatively, you can buy a Stan's rim strip with an incorporated valve stem, or take a tube and slice the inner half all the way round to make a ghetto tubeless rim strip-the Stan's dries up in about 3-6 months and will need replenishing, also...Pat
 
I thought I had posted something about my learning curve, this was my first go from my airborne thread :

WD Pro":2bqv7ytk said:
Well I have now been playing with latex and rubber ;-)

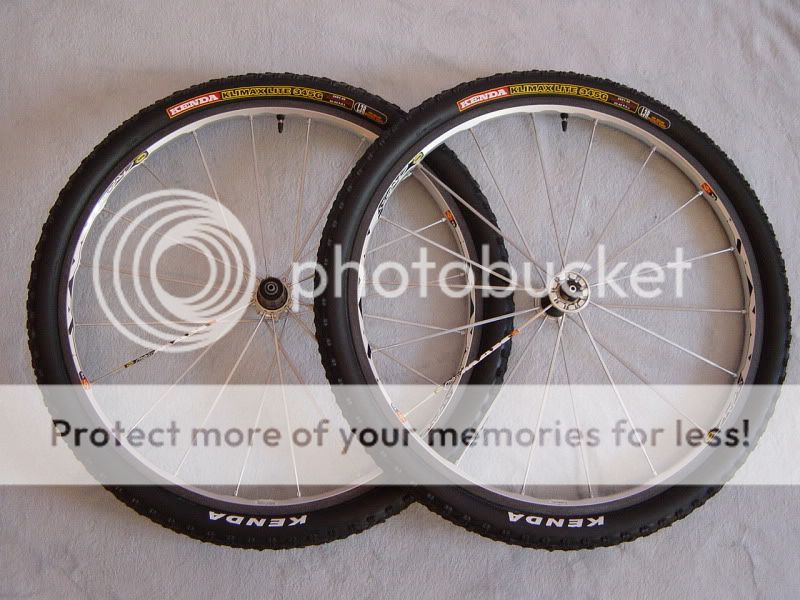
These are the crossmax’s of GT-Steve, I give them a bit of a clean up and am really happy with them :cool:

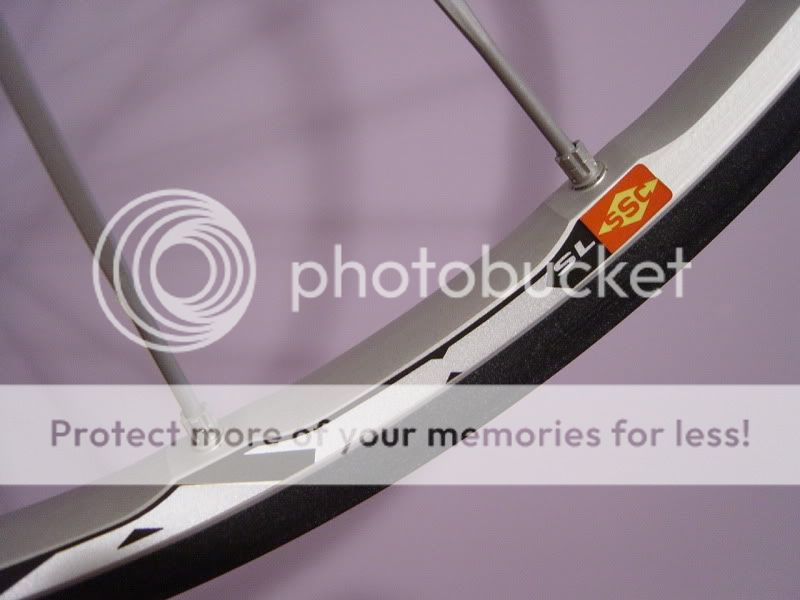
I wouldn’t mind replacing a few of the decals so if anyone has any, knows where to get them or knows someone that can get them – a pm would be greatly appreciated ;-) :cool:

DSC05907.jpg


DSC05920.jpg


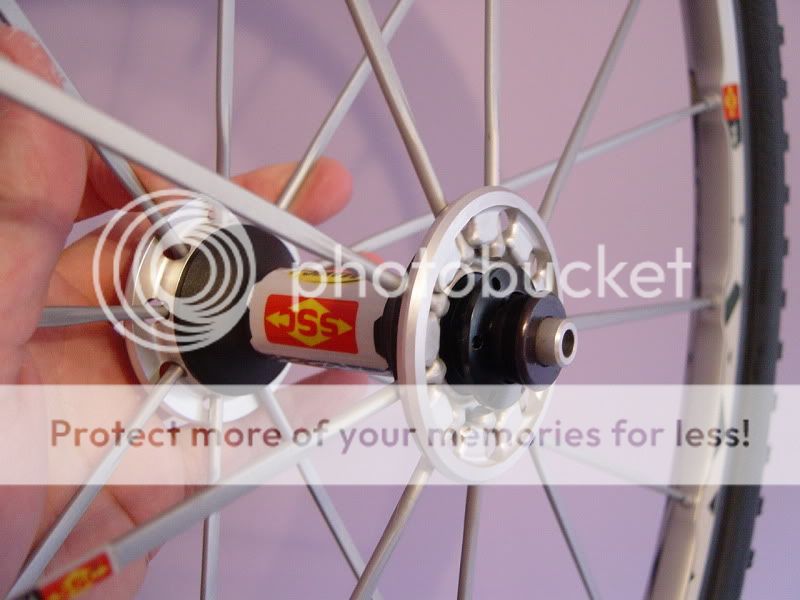
I think the adjustment collar is Ti ? :

DSC05936.jpg


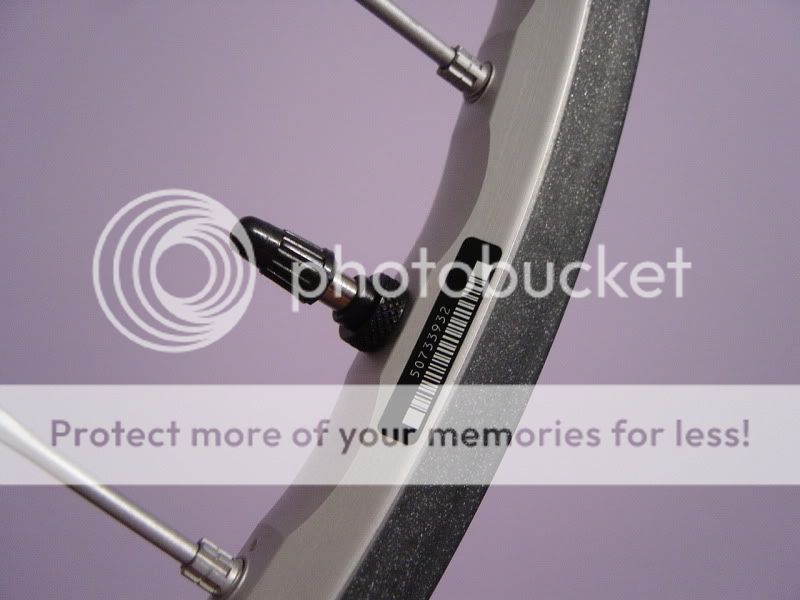
This had some surface rust on it but it cleaned off with a spray of GT85 and a light scrub with a toothbrush so I suspect it might have been transfer from the cassette ? – I don’t know what material it is ? :

DSC05906.jpg


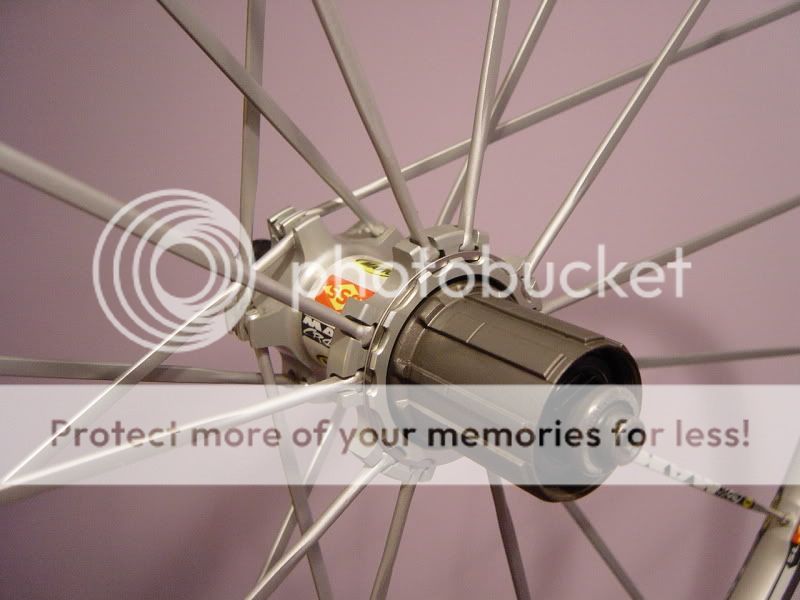
I cleaned the ceramic up with one of those rim cleaning blocks, I thought they were only for ally rims but Mavic say they are good for the ceramic to. I was surprised how much crap was baked / burnt onto the surface and they came up well :

DSC05917.jpg


DSC05924.jpg


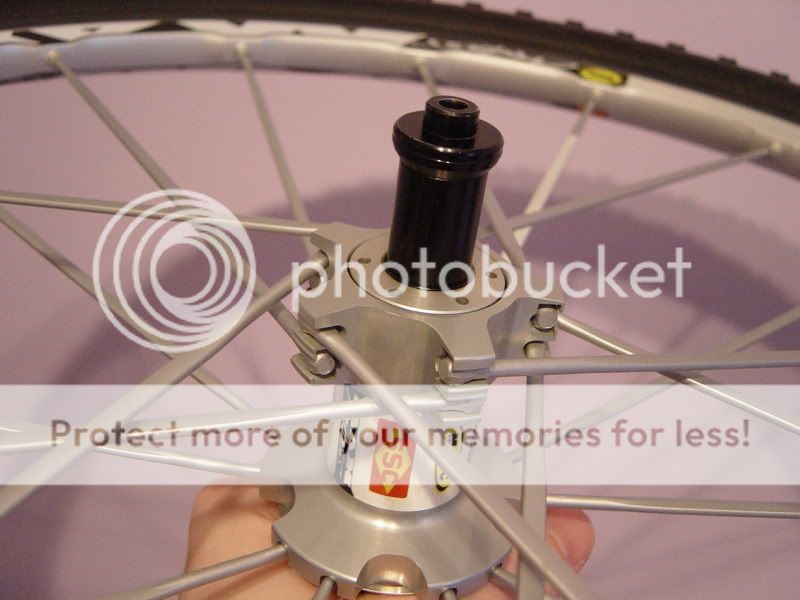
Spoke count / lacing patterns:

DSC05925.jpg


The geeky alignment shot :oops: :LOL: :

DSC05930.jpg


The tyres went on really well with the Stan’s sealant, after I had learnt a few tricks ;-) I am well impressed with the kit :cool:

I did a lot of reading on the Stan’s forum and the net before I started. I tried the compressor method (which was a small garage forecourt one) and it was crap, didn't suit the Mavic valves - I would have been better off having a curry and farting on it :? The Mavic valves will only accept a Schrader valve when the valve core is in and the valve core restricts the flow enough not to allow the beads to seat :?

So a rethink over night resulted in a method that involved no sweat and was all done (cleanly !) in the kitchen and watching telly :cool:

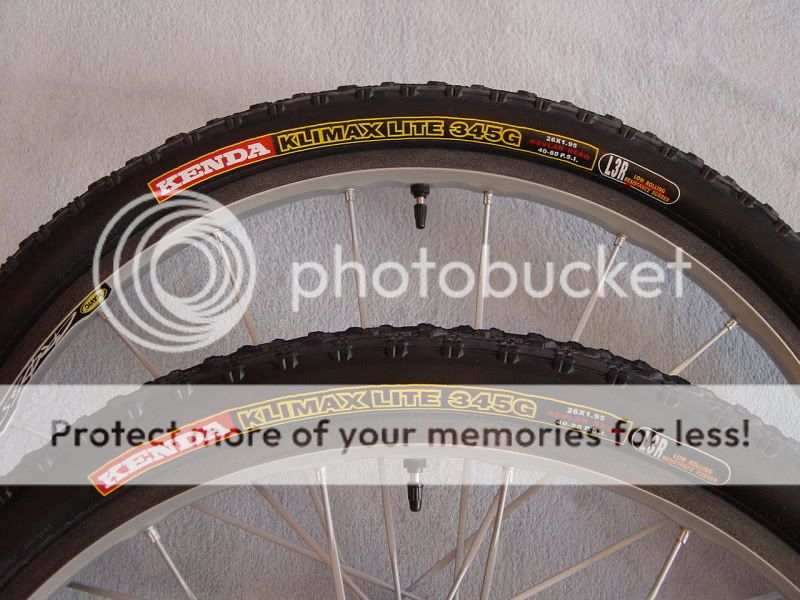
I have never tried these tyres or rims before but the combination has a really tight bead (60psi on a soapy rim to seat it - BANG !!). Tyres were new if that made a difference ?

I don't know if a bead / rim that grips like this is good for tubeless but I guess so ?

My method was :

Fit the tyre and an standard tube.
Soap up the rim and tyre bead (align the logo’s :oops:)
Inflate with a track pump to seat the beads.
Deflate.
Unseat one bead and remove the tube (don't unseat second bead but with how hard / tight mine fitted this wasn't a problem :shock:).
Fit the UST valve with no core.
Refit tyre.
Re-soap the rim bead.
Dump a full Co2 cartridge in the tyre to seat the bead. The Co2 pump slid onto the smooth part of the valve stem and sealed well, it even held itself on with 60 psi trying to push it off ?
Let the tyre deflate. This took about five mins with the leakage from the bead / rim joint.
Let the tyre temp get back to normal.
Inject the Stan’s (I used 2oz) though the valve.
Refit the valve core.
Inflate with track pump, I used 60 psi (Note : my tyres are good for 80 psi so be careful !)
I then followed the Stan’s method for sealing.

They got a lot of shaking / turning yesterday and then left from 5 to 11 last night whilst we were out (dads 70th) and they were both still inflated but had defo dropped some pressure, I gave them a good shake, left them for a while, inflated to 60psi, shook them again and then left them on their side on mugs overnight - This morning both were still rock solid :cool:

WD :D

The rims now have x kings on them, I used the same method but with the following changes :

• Didn't use the tube to initially seat the beads.
• Tried the track pump.
• Seated both beads at the same time.

I just went straight for the Co2. I now have a compressor for next time though :D

WD :D
 
Back
Top