Get the kettle on for this one. :facepalm:
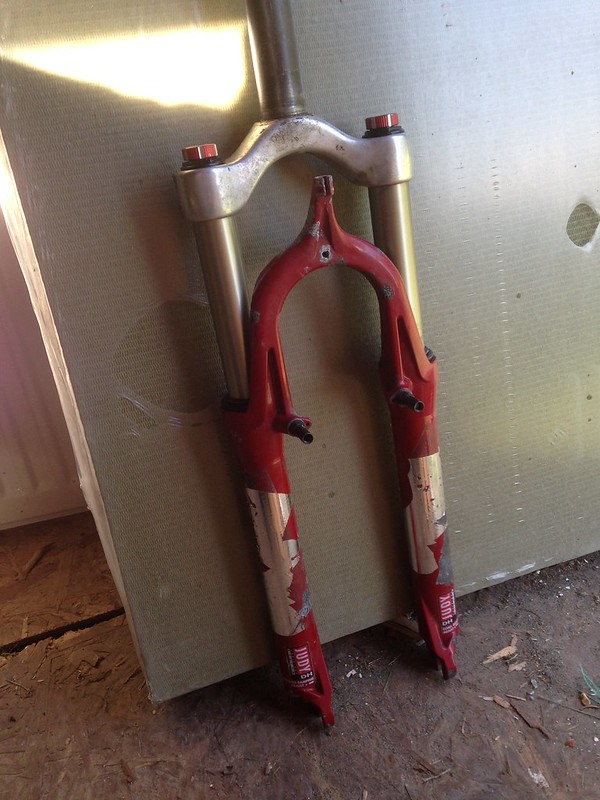
Bought these last year as a test the water job, trying my hand at refurbing an old unloved set of forks. When these were on sale BITD, I would have been around the tender age of 16, so a set of £400-ish forks was clearly beyond my £11 per week paper run would allow. They've always kept their coolness though IMO, so took a punt on these for a far more affordable £25.
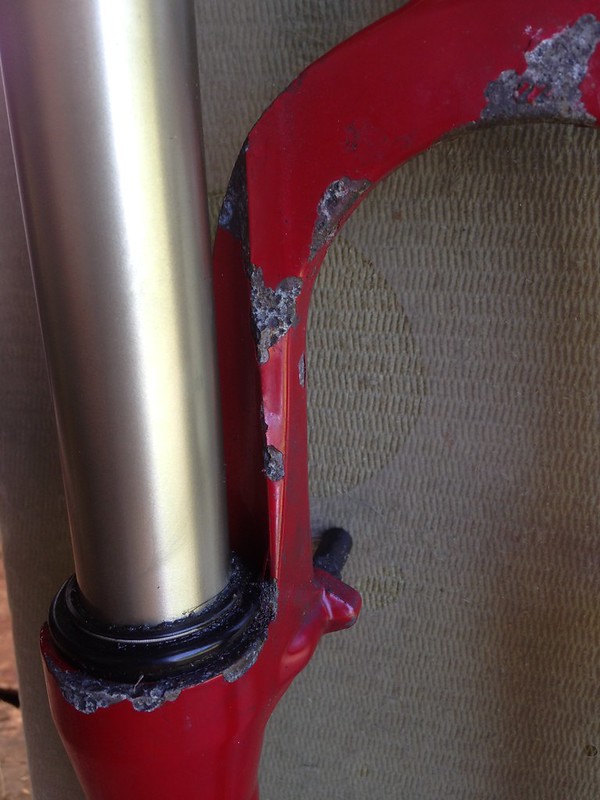
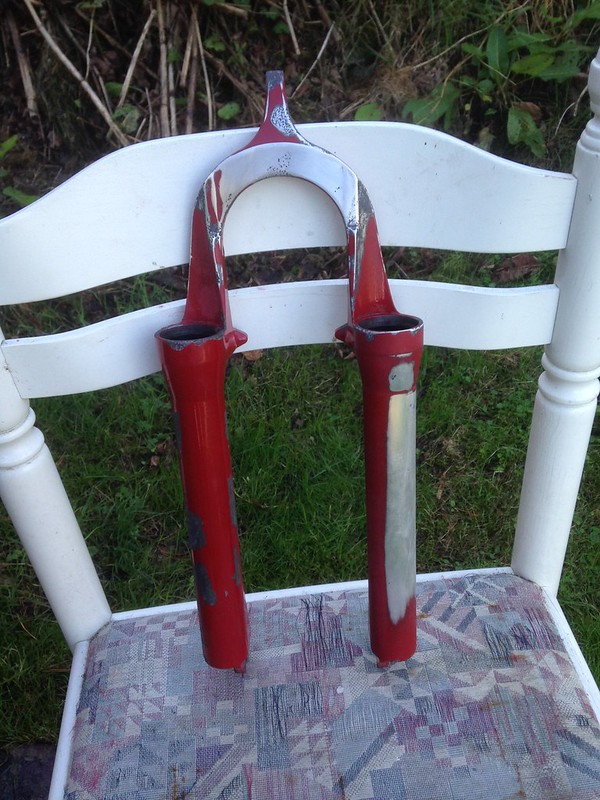
They came in fairly ropey condition: decals ripped off, shoddy paintwork, and quite a few spots of corrosion. However, one of the stanchions was/is in surprisingly good nick, although the other had definitely seen better days. As for the internals, these came with Type-2 springs (so them plus the canti hanger and preload dials means I'm dating the forks as '97s - open for discussion), but not knowing what good Type-2s are supposed to look like, I assumed they are knackered as well (pic below).
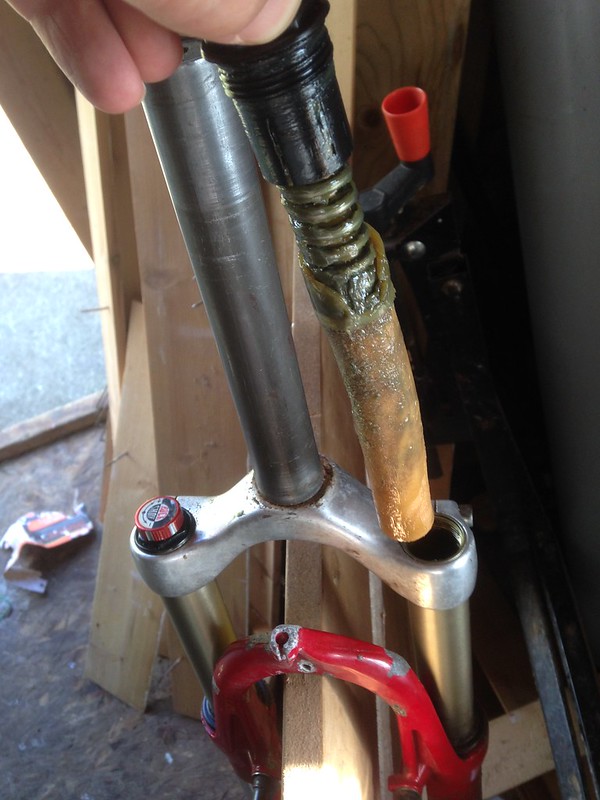
Any good? I still have them sealed away, but no idea if it is supposed to look like that or not.
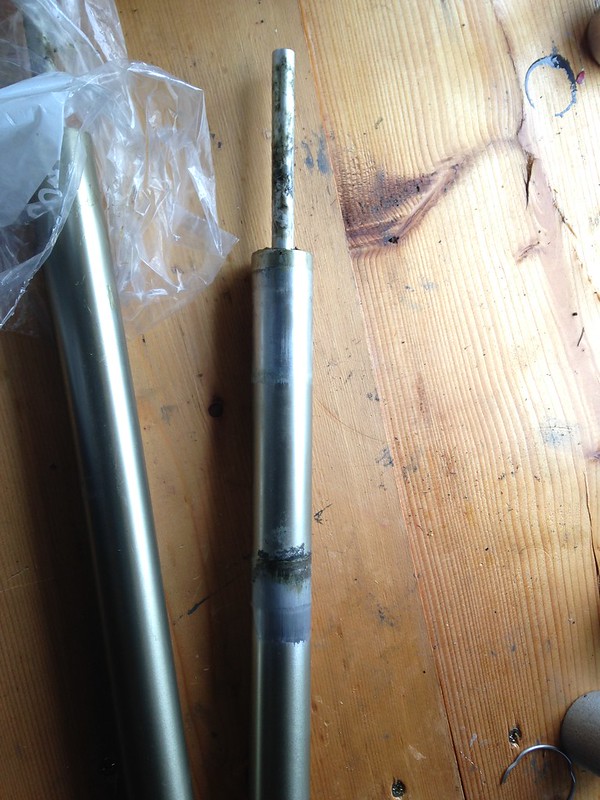
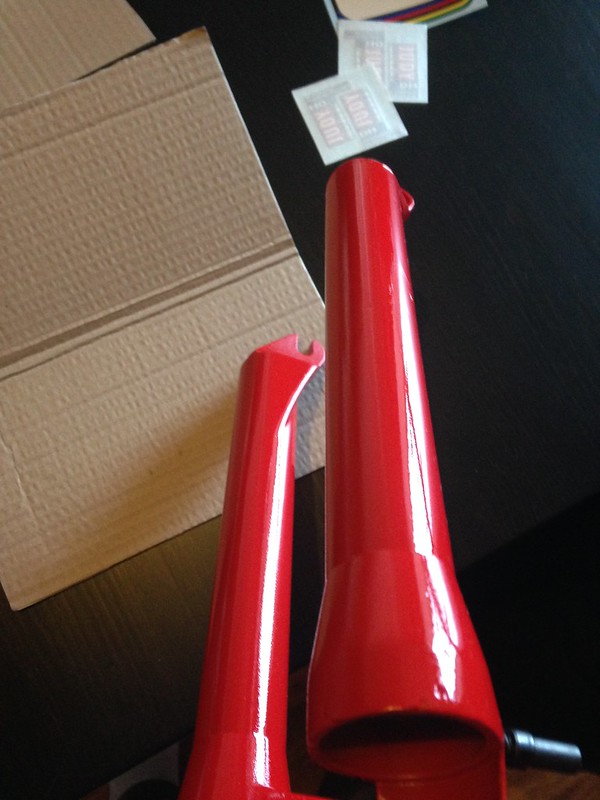
One good, and one not so good stanchion.
Set about sourcing some new decals, primers and paints, some new Kronos springs, and an encyclopedia's worth of wet & dry paper. The next few days and weekends were spent stripping paint, smoothing out corroded areas, and buffing the metal back to a nice smooth finish. DIY spray booth fashioned out of a cardboard box and garden string, and set about applying primer. The primer took really well, leading me into a false sense of security before it all came crashing down as I started to apply the top coat. The colour was nothing like the cap of the can indicated (more post box red, than Judy 'blood' red), and it would not stop bubbling when drying. This was all back in September / October last year, so after losing the rag several times and nearly binning them at one point, they sat in pieces, part painted, for around 6 months...until a couple of weeks ago.
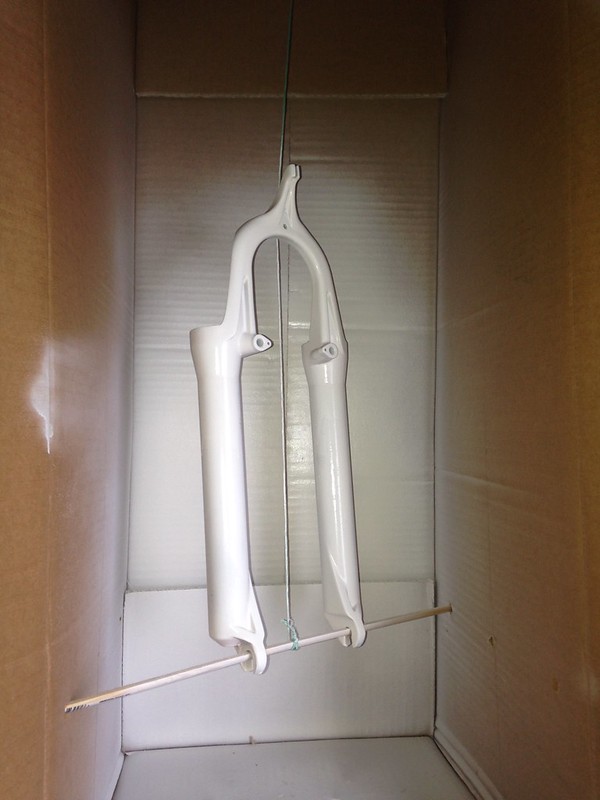
Primer going on like a dream, until...
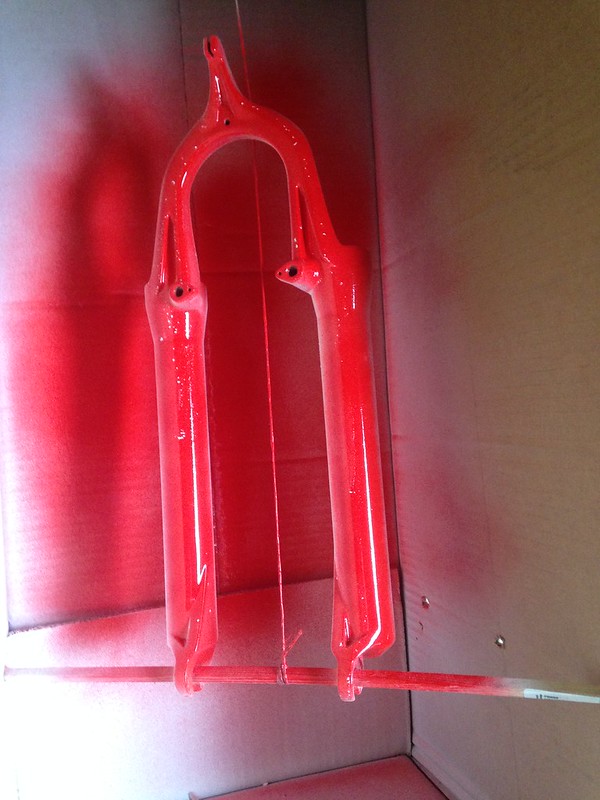
Feckin paint bubbling away all over the place :?
Fast forward to a couple of weeks ago, and buoyed with some recent success on a set of Z2/Z1 (viewtopic.php?f=1&t=300975), I decided to crack out the DH's again. Nitromors this time to remove paint, and using a different paint system than before, I set about re-applying primer. Like before, it went on really well - not perfectly, and I had to smooth out one or two runs and bumps - but overall, a nice finish. Three or four coats were left to cure, before three top coats (correct shade this time). Tonight was the nerviest bit of all though - applying decals! Knowing that stick it in the wrong place, and the whole set is wasted! Anyway, nerves of steel later:

Stripped and second attempt at priming.
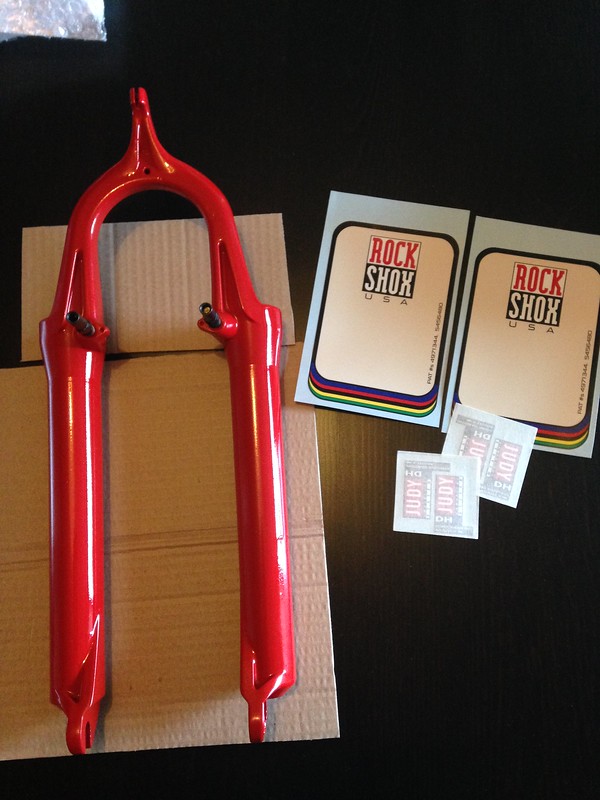
Primed and finished, and ready for decals.
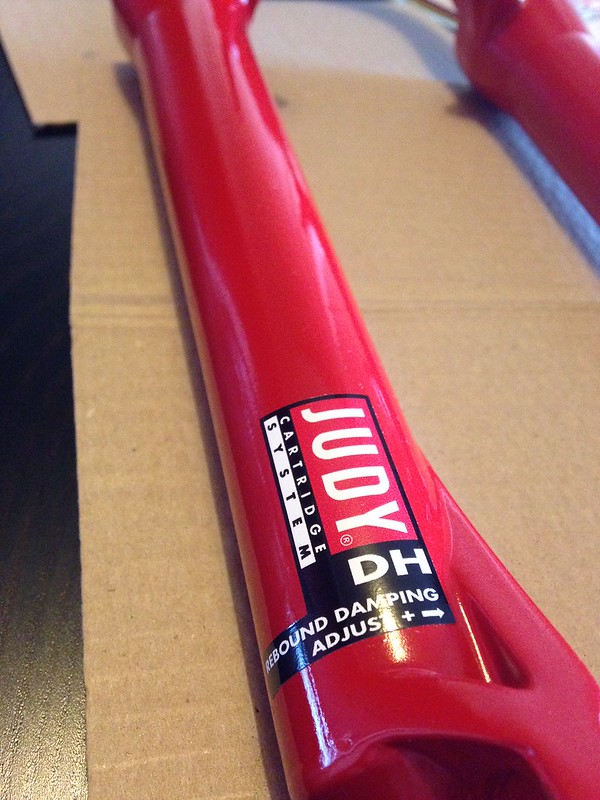
Shiny
First one on!
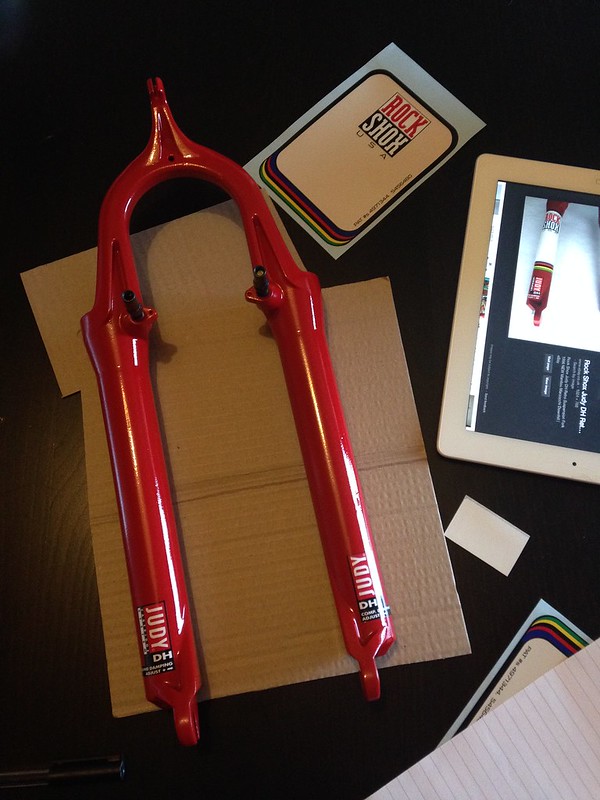
Two down, with point of reference on tap.
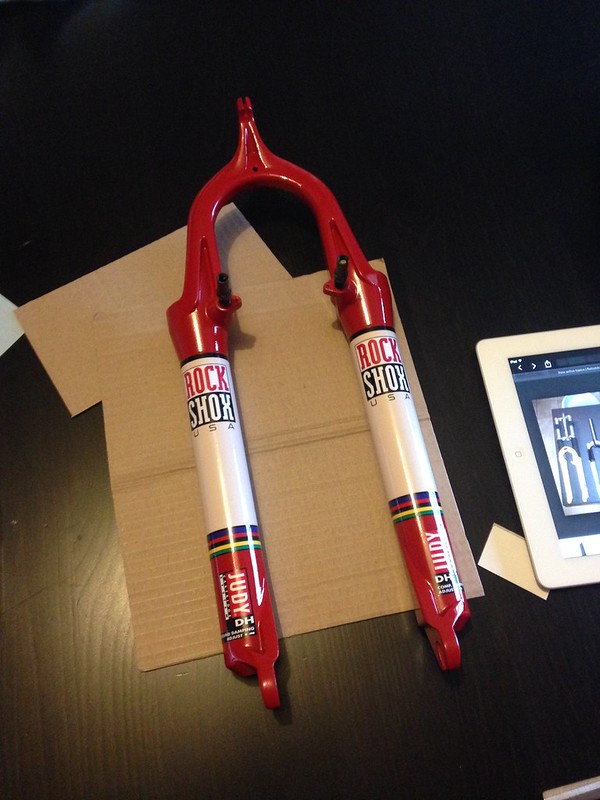
Done
So, if you're still awake, that's things as they are tonight. Next is replacing the stanchion, fitting the Kronos springs, and putting back together.
Cheers.
Bought these last year as a test the water job, trying my hand at refurbing an old unloved set of forks. When these were on sale BITD, I would have been around the tender age of 16, so a set of £400-ish forks was clearly beyond my £11 per week paper run would allow. They've always kept their coolness though IMO, so took a punt on these for a far more affordable £25.
They came in fairly ropey condition: decals ripped off, shoddy paintwork, and quite a few spots of corrosion. However, one of the stanchions was/is in surprisingly good nick, although the other had definitely seen better days. As for the internals, these came with Type-2 springs (so them plus the canti hanger and preload dials means I'm dating the forks as '97s - open for discussion), but not knowing what good Type-2s are supposed to look like, I assumed they are knackered as well (pic below).
Any good? I still have them sealed away, but no idea if it is supposed to look like that or not.
One good, and one not so good stanchion.
Set about sourcing some new decals, primers and paints, some new Kronos springs, and an encyclopedia's worth of wet & dry paper. The next few days and weekends were spent stripping paint, smoothing out corroded areas, and buffing the metal back to a nice smooth finish. DIY spray booth fashioned out of a cardboard box and garden string, and set about applying primer. The primer took really well, leading me into a false sense of security before it all came crashing down as I started to apply the top coat. The colour was nothing like the cap of the can indicated (more post box red, than Judy 'blood' red), and it would not stop bubbling when drying. This was all back in September / October last year, so after losing the rag several times and nearly binning them at one point, they sat in pieces, part painted, for around 6 months...until a couple of weeks ago.
Primer going on like a dream, until...
Feckin paint bubbling away all over the place :?
Fast forward to a couple of weeks ago, and buoyed with some recent success on a set of Z2/Z1 (viewtopic.php?f=1&t=300975), I decided to crack out the DH's again. Nitromors this time to remove paint, and using a different paint system than before, I set about re-applying primer. Like before, it went on really well - not perfectly, and I had to smooth out one or two runs and bumps - but overall, a nice finish. Three or four coats were left to cure, before three top coats (correct shade this time). Tonight was the nerviest bit of all though - applying decals! Knowing that stick it in the wrong place, and the whole set is wasted! Anyway, nerves of steel later:
Stripped and second attempt at priming.
Primed and finished, and ready for decals.
Shiny
First one on!
Two down, with point of reference on tap.
Done
So, if you're still awake, that's things as they are tonight. Next is replacing the stanchion, fitting the Kronos springs, and putting back together.
Cheers.