Is it worth the effort? To me of course it is!

What colour will it be ?
 
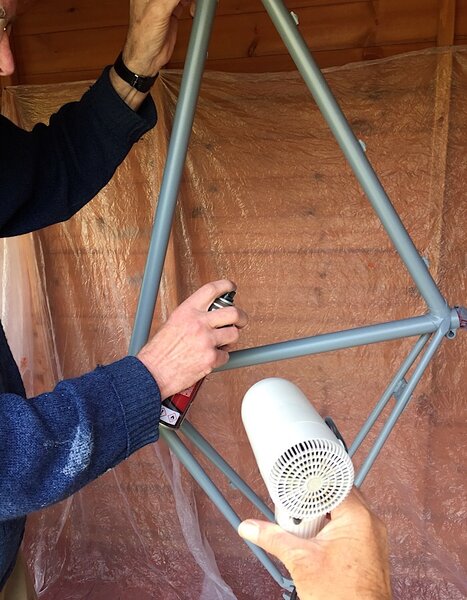
Thanks for the responses from The History Man, Jamiedyer, PeachyPM and the good spraying advice from allenh.

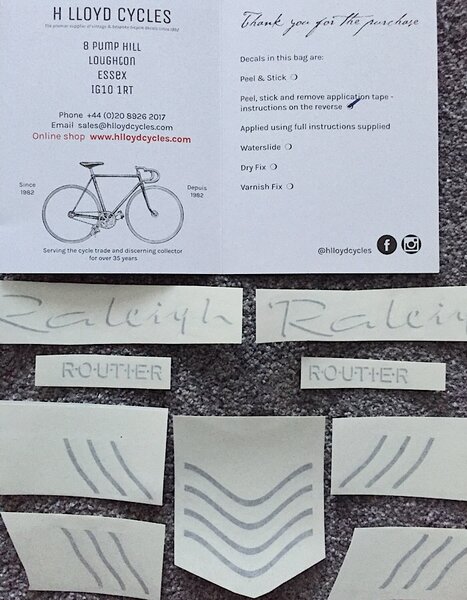
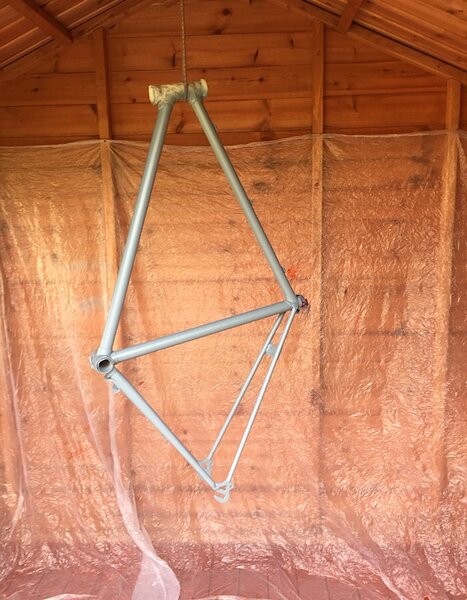
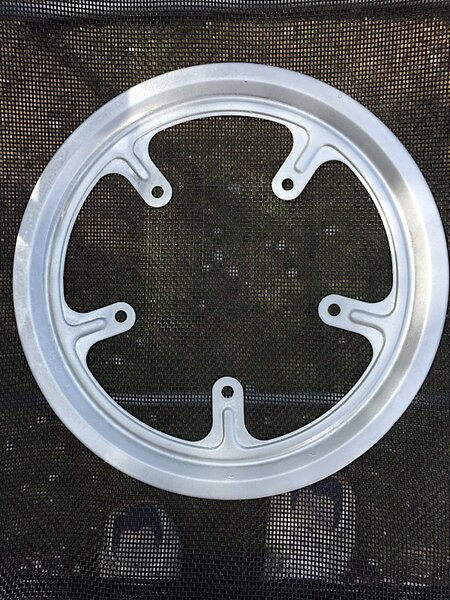
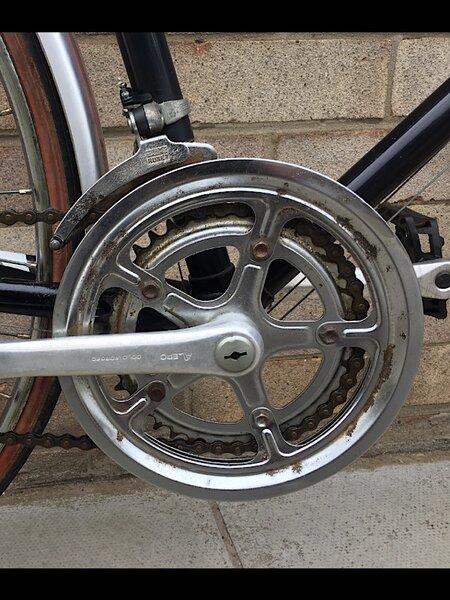
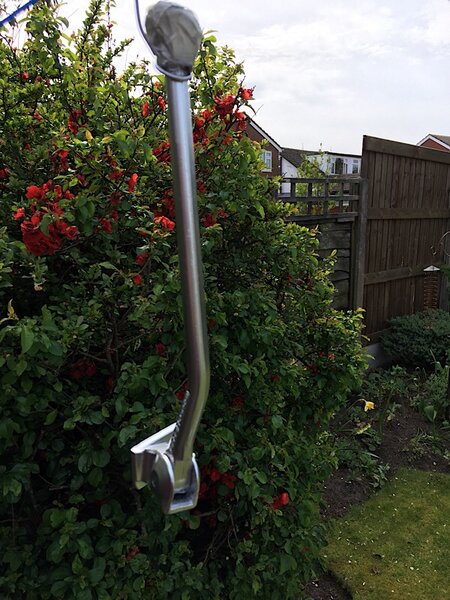
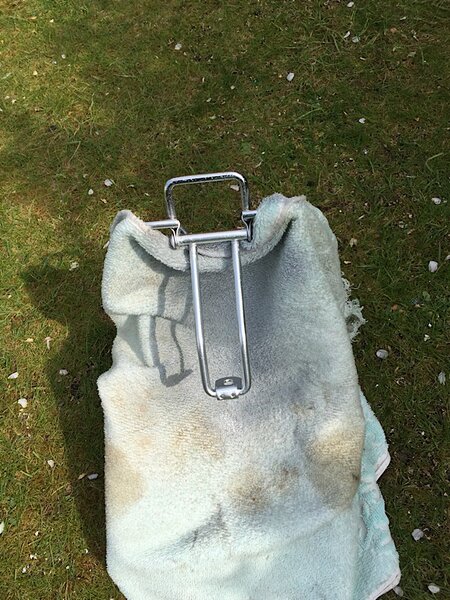
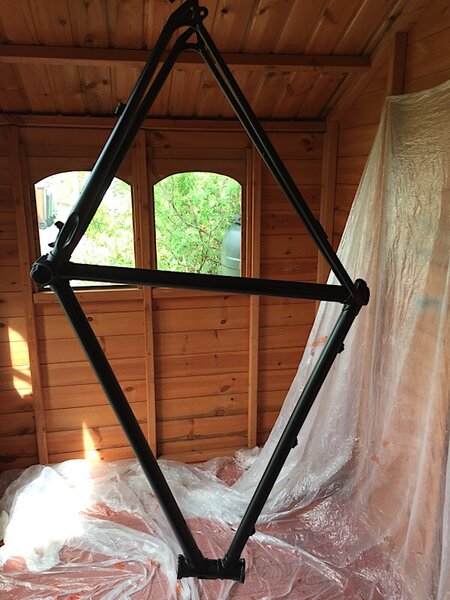
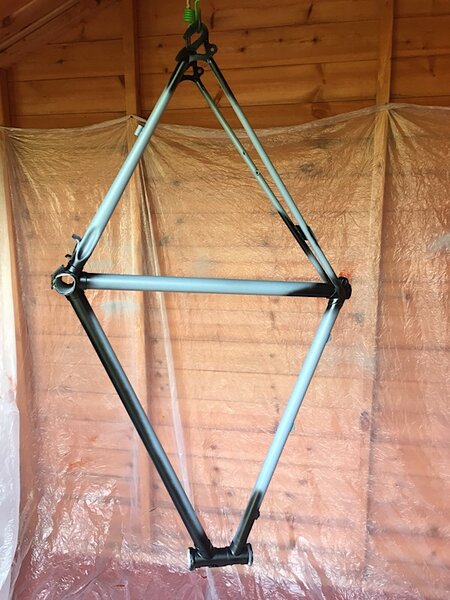
The bike when I purchased it was almost in original condition apart from a little chipped paint damage and excess thick paint where it appears to have been resprayed over original. All the build parts were as in the Raleigh advert on page one even down to the Raleigh rims which are salvageable. It will therefore be resprayed black. The decals were kindly reproduced by H Lloyd from my peeled off originals and my grandchildren helped me to strip the bike down as mentioned in an earlier post. All the original parts have now been thoroughly cleaned and polished, even the original chain guard has been treated and resprayed in silver then lacquered. I still have the pannier rack and stand to treat for a little rust and then they will be resprayed silver also. My grandchildren are keen to help put all the 'bits' back together with the promise that they can have the first ride on what is to them an 'old/will be almost new' road bike with drops compared to the modern bikes that they usually ride. So watch this space!
 
Cool, it’s great getting the kids involved... have you got the stickers back from Steve yet?
 
PeachyPM":3ahw9d6k said:
Cool, it’s great getting the kids involved... have you got the stickers back from Steve yet?

Yes.... he made them up from my peeled off originals that were quite damaged. New ones will be applied after paint job and first coat of lacquer and before the final coat of lacquer and polish, then the careful bits refit will begin.
 

Attachments

  • 1EDA0457-E0F7-4215-8D10-720F17B2AF26.jpeg
    1EDA0457-E0F7-4215-8D10-720F17B2AF26.jpeg
    121.7 KB · Views: 605
Progressing nicely.....After careful preparation and a light rub down between the two coats of primer.

Thanks go to my good friend who provided the second pair of hands and the expertise.

As you can see from the photos below we used my summerhouse as a paint studio which kept us out of the wind. After each light spray stroke we used a hairdryer just far enough away from the frame to ensure that no rippling occurred.

That second pair of hands was really useful......... I was the apprentice in charge of the hairdryer, but now feel confident enough to have a go at applying at least one of the two final black paint applications before fixing the new decals, and finishing the job with a couple of clear coats of lacquer then polishing.

More to follow.....
 

Attachments

  • IMG_0149.jpg
    IMG_0149.jpg
    119.8 KB · Views: 564
  • IMG_0148.jpg
    IMG_0148.jpg
    126.4 KB · Views: 564
It looks like it's coming along very nicely, keep up the good work and I'm looking forward to the next steps.
 
allenh":2qrxz35d said:
It looks like it's coming along very nicely, keep up the good work and I'm looking forward to the next steps.

Thanks for giving me the confidence to have a go. It was your article that sowed the seed.
 
What a lovely Easter.
Yesterday I brightened up a few of the Routiers bits. Today we applied two coats of paint to the frame and the project is going well. I will leave it a couple of weeks before applying the first coat of clear lacquer.
 

Attachments

  • 9E30FB69-F655-4319-88C4-8298E500EB6A.jpeg
    9E30FB69-F655-4319-88C4-8298E500EB6A.jpeg
    149.7 KB · Views: 480
  • 35BB8EF9-9FCA-483D-B304-20547EE0046F.jpeg
    35BB8EF9-9FCA-483D-B304-20547EE0046F.jpeg
    118.2 KB · Views: 480
  • C64848BE-38D4-4058-992C-B4D7A05098B6.jpeg
    C64848BE-38D4-4058-992C-B4D7A05098B6.jpeg
    121.9 KB · Views: 480
  • CF9A1D72-39C4-4F42-AEB9-1399319EA2E5.jpeg
    CF9A1D72-39C4-4F42-AEB9-1399319EA2E5.jpeg
    142.3 KB · Views: 480
  • 5D9A151E-9A7E-4492-BCC3-2910B857CBC5.jpeg
    5D9A151E-9A7E-4492-BCC3-2910B857CBC5.jpeg
    91.3 KB · Views: 480
  • 51D2E33F-356E-4AA8-A946-6CE1DBB7D163.jpeg
    51D2E33F-356E-4AA8-A946-6CE1DBB7D163.jpeg
    98 KB · Views: 480
Good progress Lacky
 
Back
Top