Re:
Day 6!
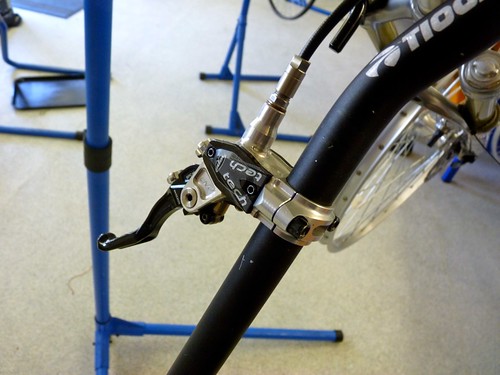
disc brake day 2, dot 4 and dot 5.1 fluid disc brakes, i was sort of dreading part of this day because i knew Avid brakes were on the list. we started first with Hope tech X2 brakes, which is useful for me as i have a pair of them on my ST4 and they needed work. we learnt the best ways to set up the caliper over the disc and how to centralise the pistons/pads to get the best performance, after this we then learnt the bleeding procedure which was the same as the first (and most often used) shimano system of bleeding, fill the master cyclinder and open close the bleed nipple while pulling the brake lever. there were some other little tips that also make a difference that Hope recommend that differ to other brands though.
tech x2 lever
 P1130396
 by
Dr. Branom, on Flickr
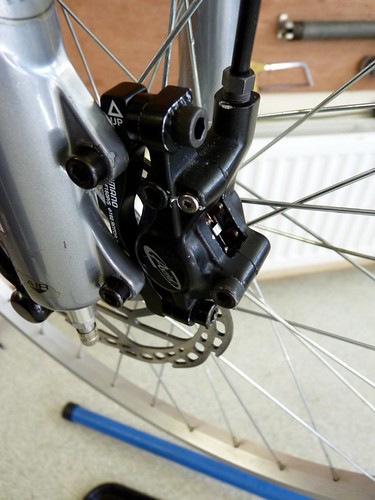
tech x2 caliper
 P1130397
 by
Dr. Branom, on Flickr
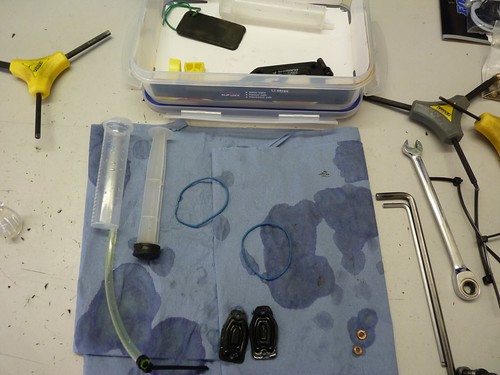
hope bleed kit, syringe, 2 bits of pipe and an 8mm spanner
 P1130399
 by
Dr. Branom, on Flickr
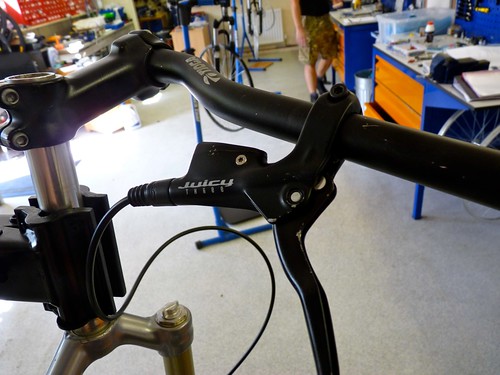
after Hope brakes we moved on to my dreaded Avids, i have always hated these brakes, every time i have seen anybody work on them it has been with alot of swearing and frustration! as a result i have never owned a set and i have never recommended anyone buying a set of them, we initially set them up on our fork/bar assemblies and got the alignment sorted, then proceeded to bleeding, this brake was a "juicy" it has a specific bleeding procedure that is different to other brands where you bleed the caliper then hose then lever, once this was done the brake felt better than any avid brake i have previously felt, we then moved on to the Avid elixr brake, similar in looks but again a specific bleeding procedure, with this one you bleed the hose first then the caliper then the lever, which seems like a small difference but it makes a big difference to the performance and feel of the brake. again it felt great, i would say that both felt better than any similar brake i'd felt in a shop before.
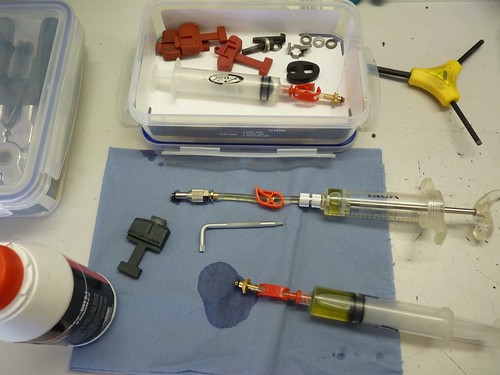
avid bleed kit, syringe times 2!
 P1130398
 by
Dr. Branom, on Flickr
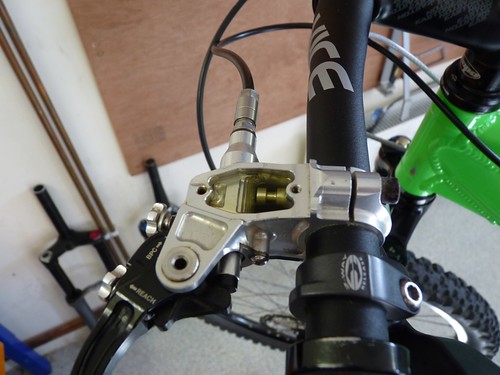
avid juicy brake lever
 P1130400
 by
Dr. Branom, on Flickr
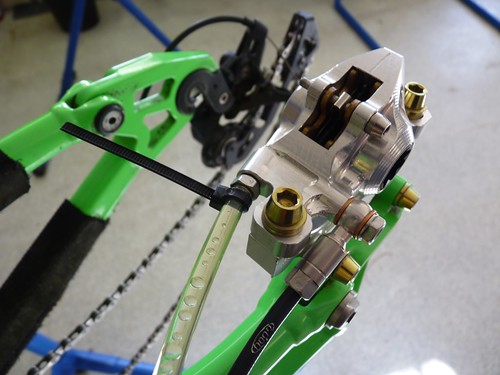
avid juicy caliper
 P1130401
 by
Dr. Branom, on Flickr
once we mastered those brakes it was the end of the training day although Bryan did show us one more thing, a strip and rebuild of a campagnolo record ergolever which had been delivered by post earlier that day, it was a used broken part in for rebuild, it was surprising how quick he stripped repaired and rebuilt it but then he's been doing it a long time.
after this we then started working on our own stuff, i needed to rebuild the brakes on my ST4, including replacing the hose, also i wanted to service the fox rp23 shock, i had already serviced the reba forks on this bike aswel so by the time i'd finished the whole bike was fully stripped and rebuilt, perfect for Morzine in August!

hope bleeding
 P1130402
 by
Dr. Branom, on Flickr
bubbles bubbles everywhere!
 P1130403
 by
Dr. Branom, on Flickr
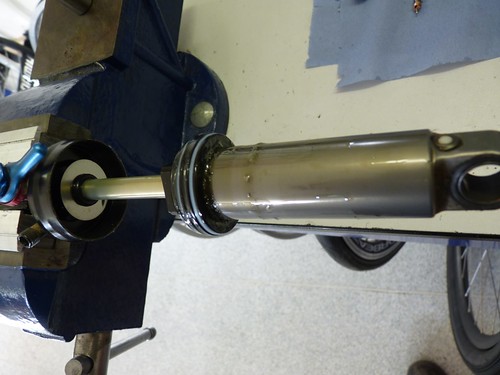
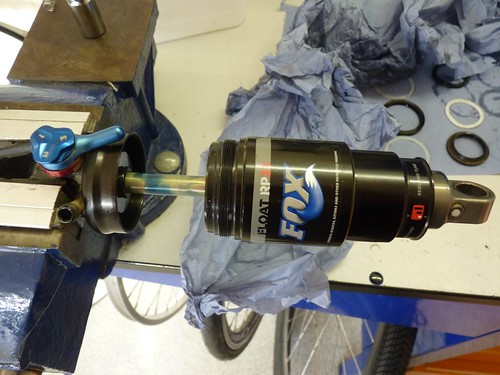
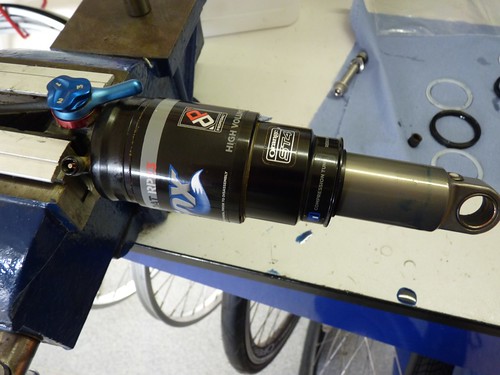
fox rp23, never been serviced in 4 years! although kept clean and lubed at the external seal, i was dreading opening this
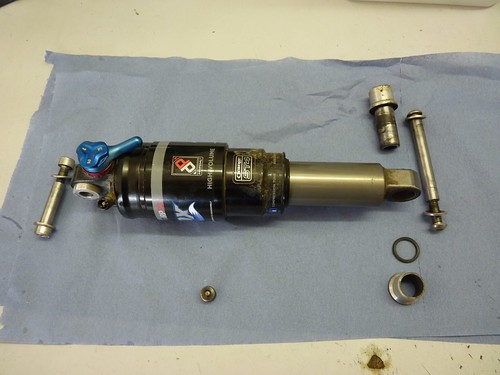 P1130404
 by
Dr. Branom, on Flickr
once opened i was surprised to only see a little bit of oil gone murky, so not bad at all
 P1130405
 by
Dr. Branom, on Flickr
 P1130406
 by
Dr. Branom, on Flickr
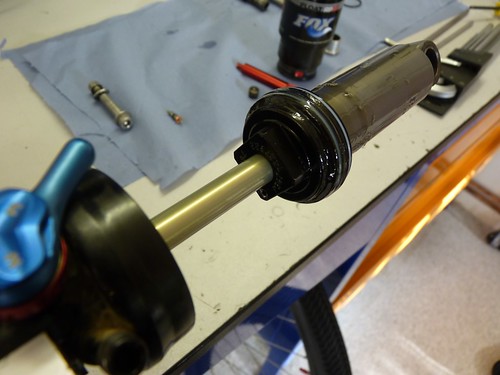
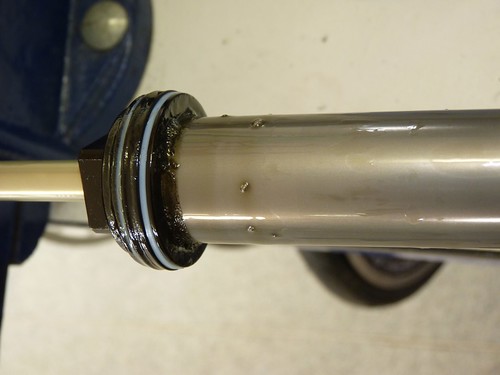
4 years of gunk, not too bad
 P1130411
 by
Dr. Branom, on Flickr
inside the air can
 P1130408
 by
Dr. Branom, on Flickr
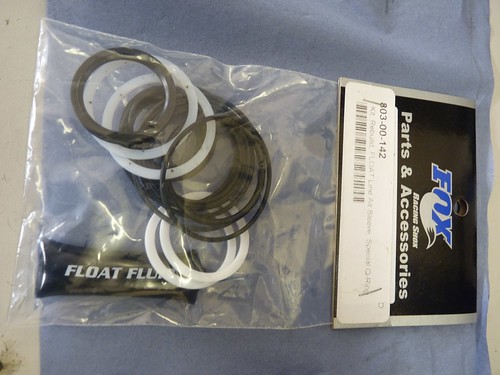
the seal kit
 P1130412
 by
Dr. Branom, on Flickr
the piston seal kit, new and old for comparison
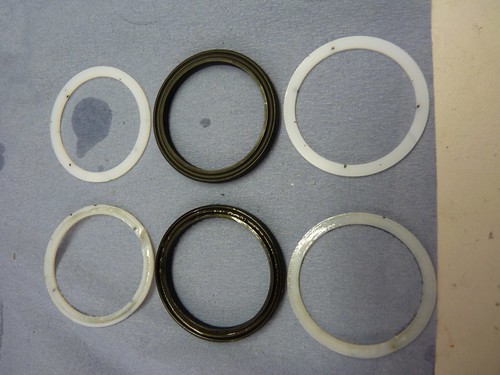 P1130413
 by
Dr. Branom, on Flickr
the air can seal kit and wiper seal
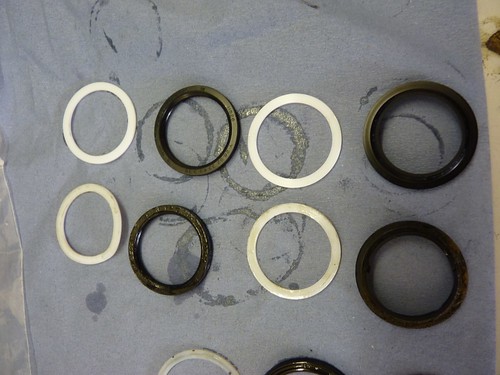 P1130414
 by
Dr. Branom, on Flickr
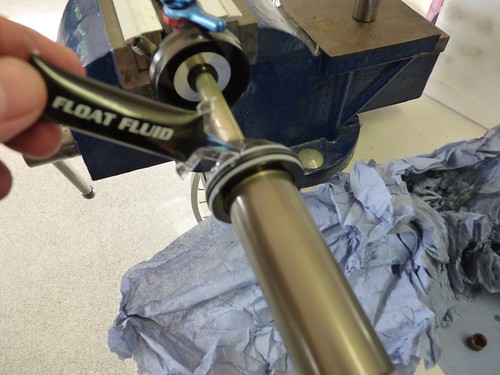
new seals fitted, lube with fox fluid
 P1130415
 by
Dr. Branom, on Flickr
on goes the can
 P1130416
 by
Dr. Branom, on Flickr
just needs air now, the can only does up hand tight, you need hardly any tools to service this!
 P1130417
 by
Dr. Branom, on Flickr
knowing what i know now about fox shocks i am embarrassed to not have known how to do this!
the ST4 is now running sweet!
after this we then spent some time finding out the answers to more of our workbook questions, some are really in depth,
for example:-
what are the 2 differences between campagnolo super record and campagnolo record ultra torque crankset. what are the implications if you have not read the technical manual before removing the crankset.
the answer for those that are curious:- super record has a titanium axle with a left hand threaded titanium bolt, if you didn't know that (or check) you could attempt to undo the crank bolt anti clockwise and then inadvertently over torque and snap the bolt head in the axle, which on super record would cost you £90 for a replacement bolt! also the bearings are ceramic and run on oil not grease.
one thing i have taken away from this course is DO THINGS THE RIGHT WAY AND READ THE INSTRUCTIONS, this makes a huge difference to the outcome of the job you are doing.