1996 GT LTS-2

Thias

Klein Fan
I have too many bikes! Really.
Now there will be one more, I guess. I'm having way too much fun...

As some may have seen, I'm currently building my LTS Thermoplast.
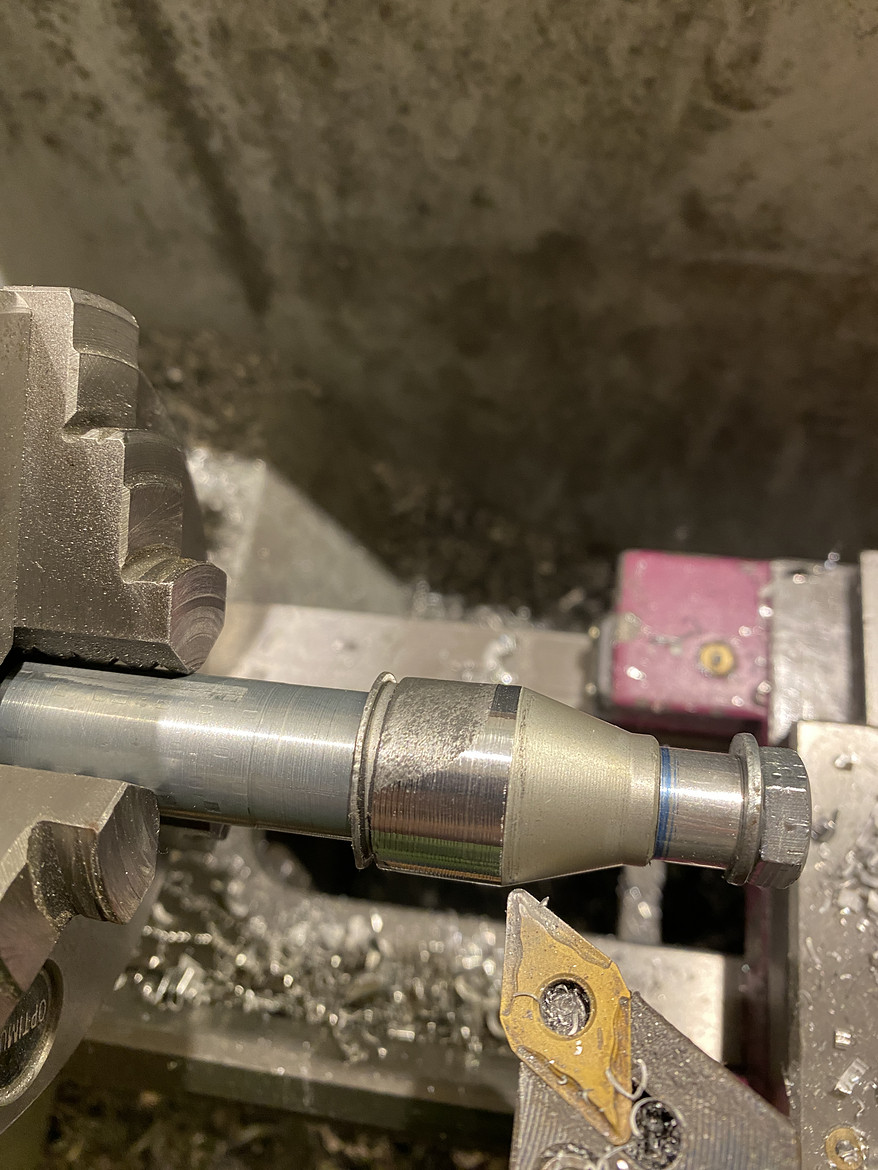
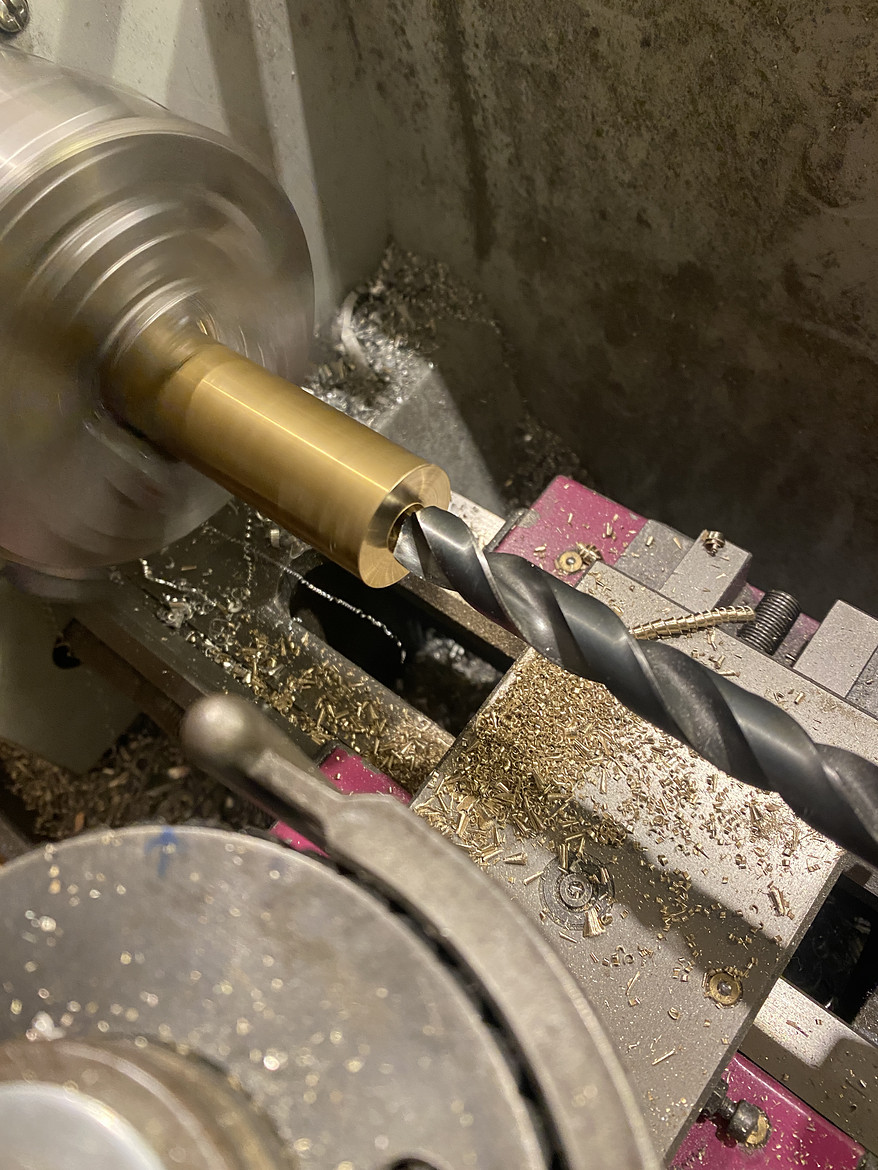
It has a very wired defect at the rear axle mount. It looks like someone has drilled or filed the slot for the axle. And while it's still possible to mount the rear wheel correctly, it's a hassle to adjust the position every time. And it's also "unworthy" for such a nice frame. So I was scouring the usual spots for a donor frame. I have been for the last few years. And now, finally, one came up. It was ratcher cheap so I snatched it.


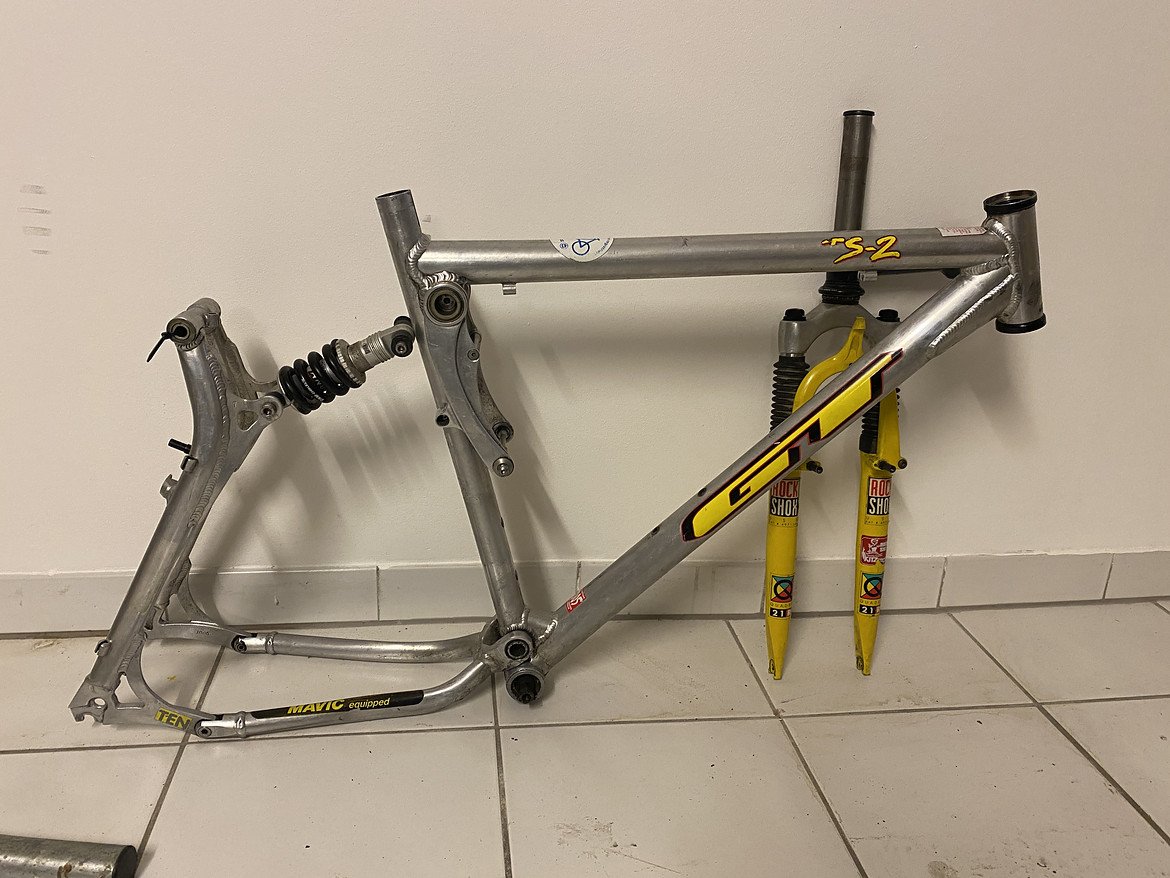
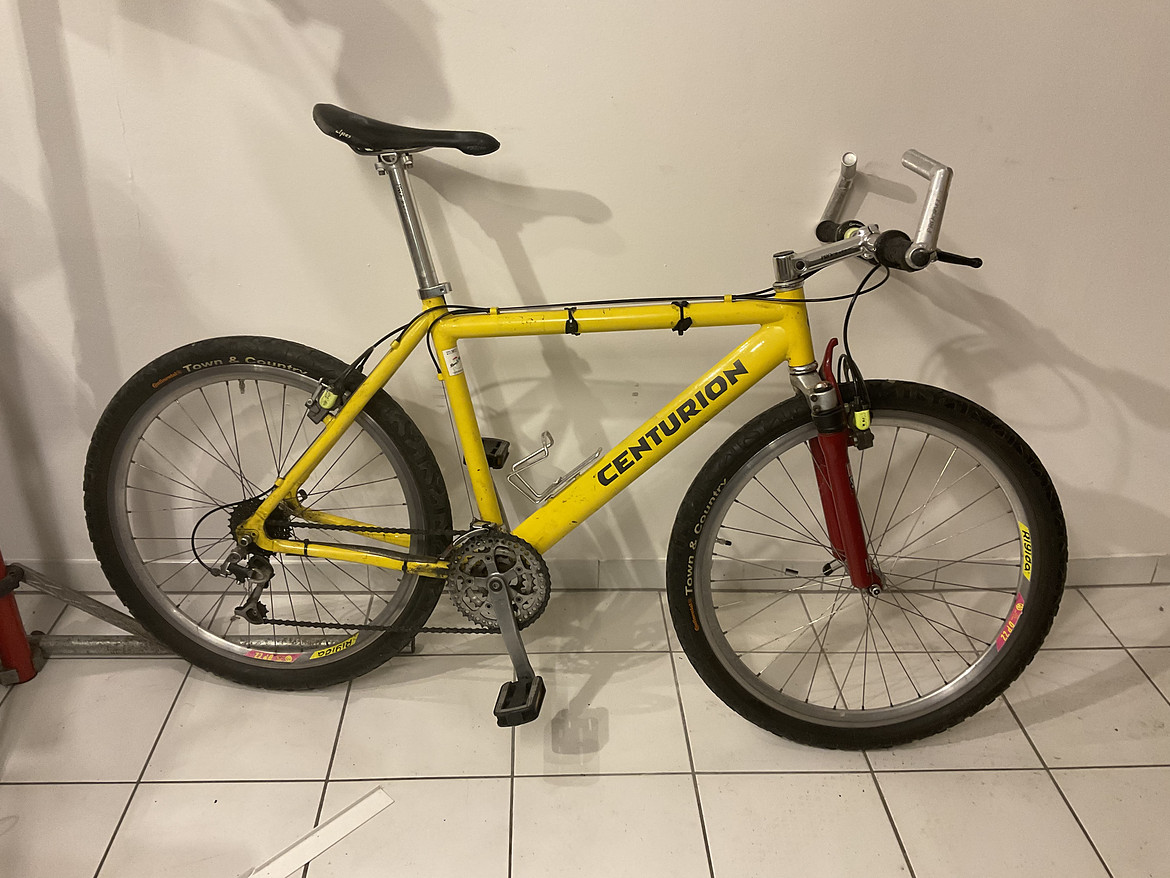
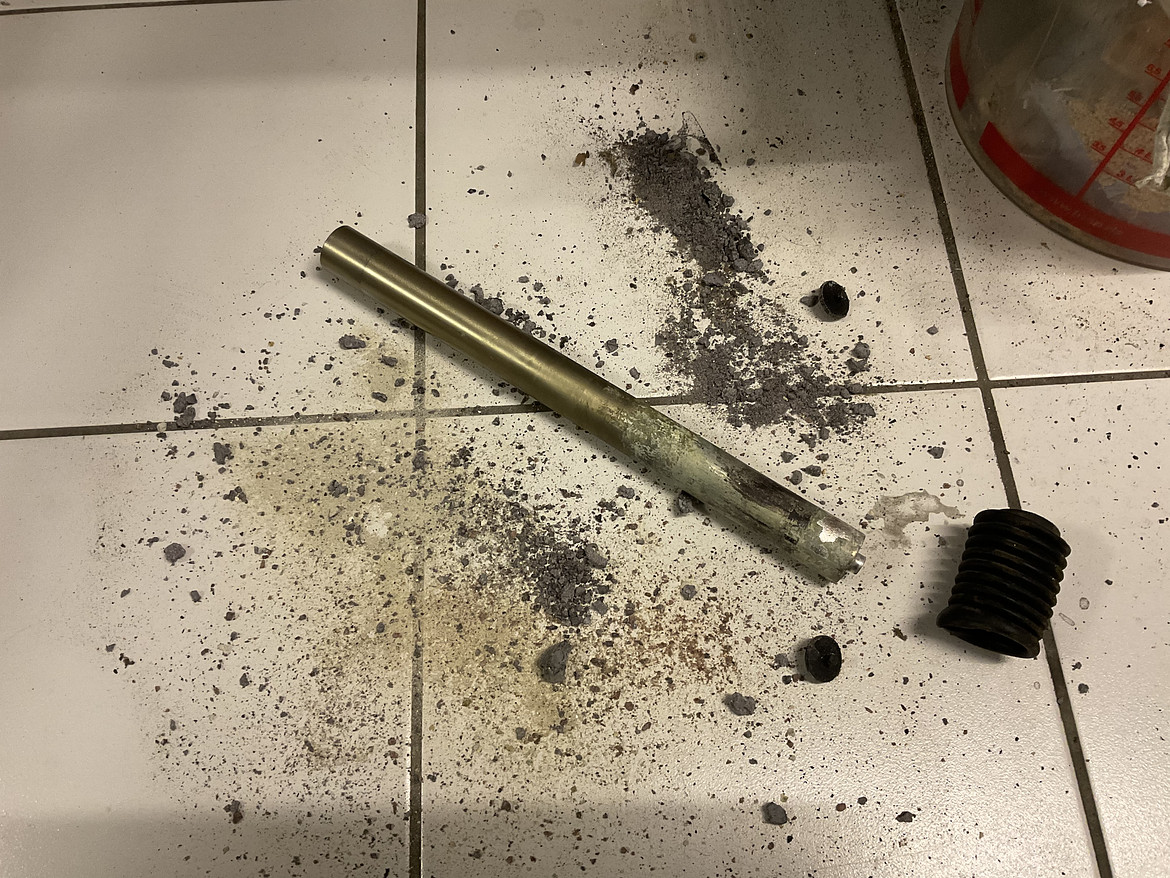
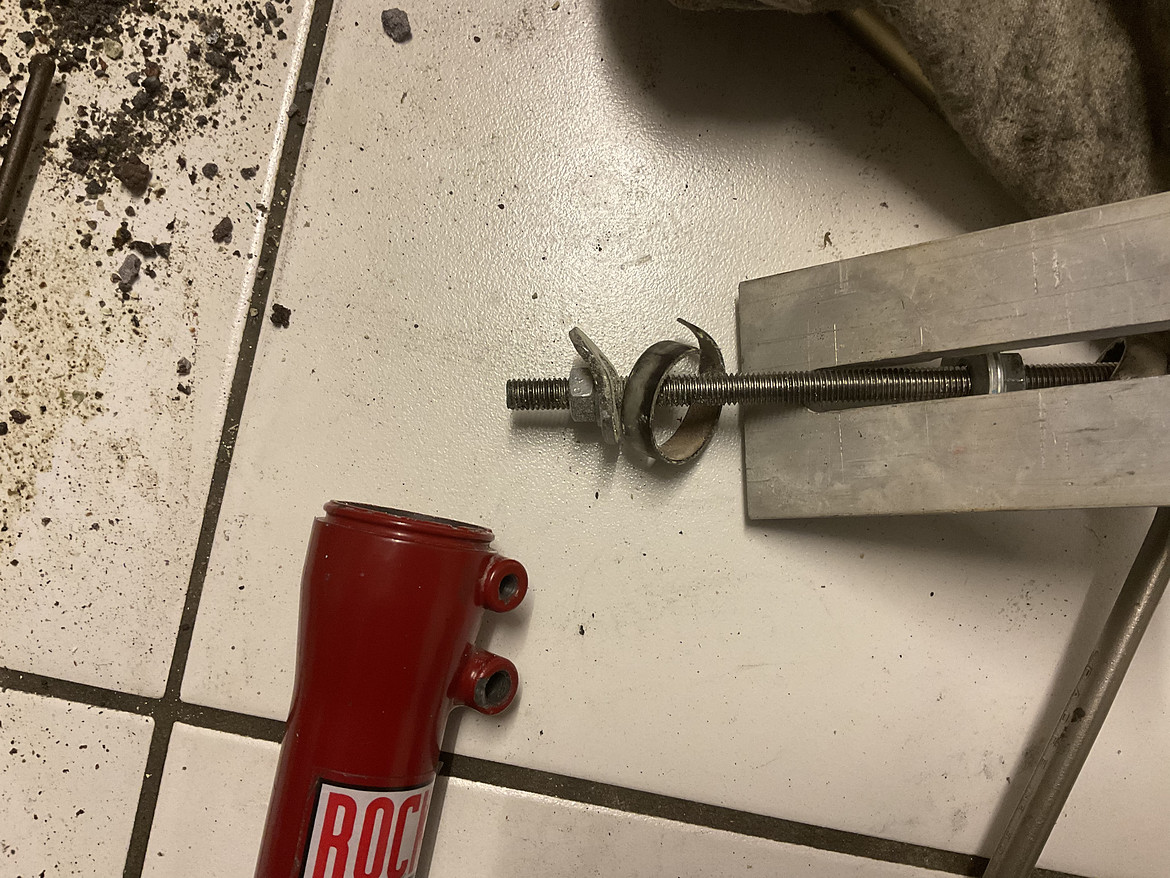
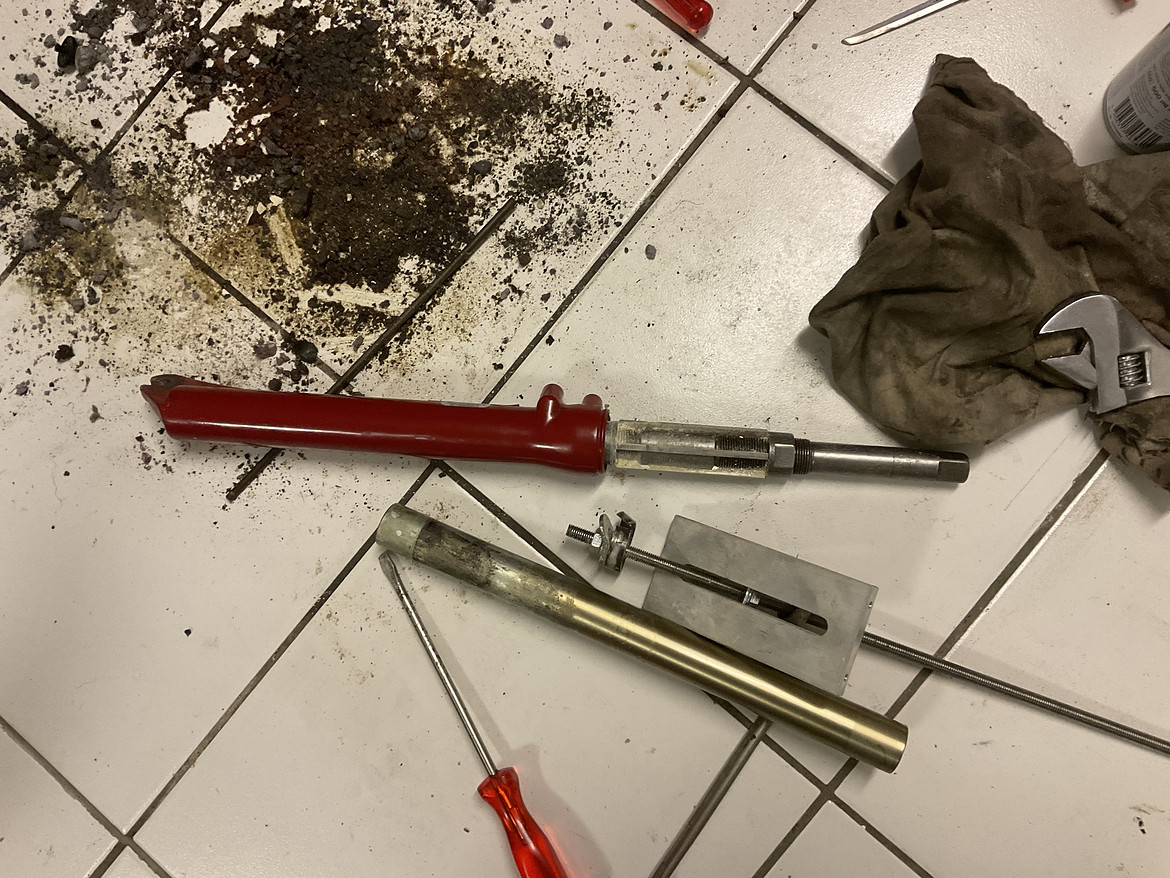
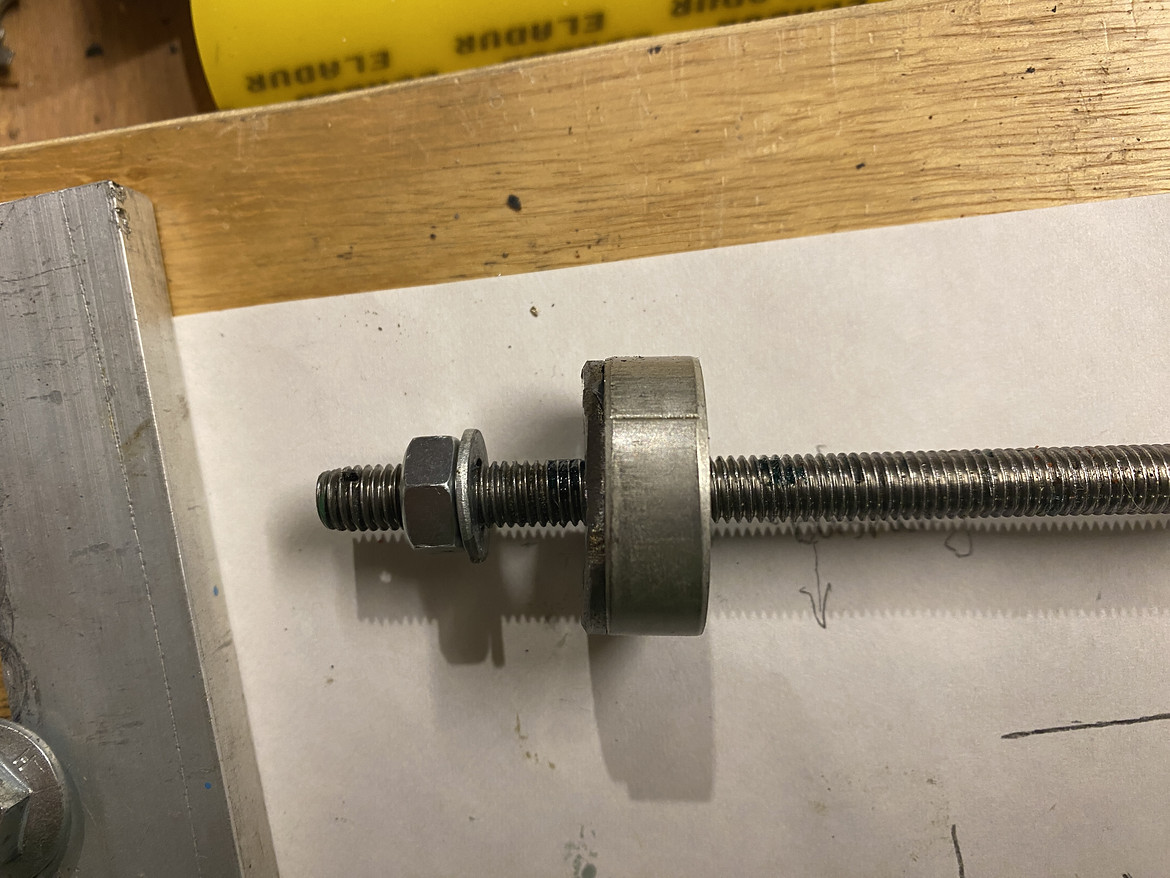
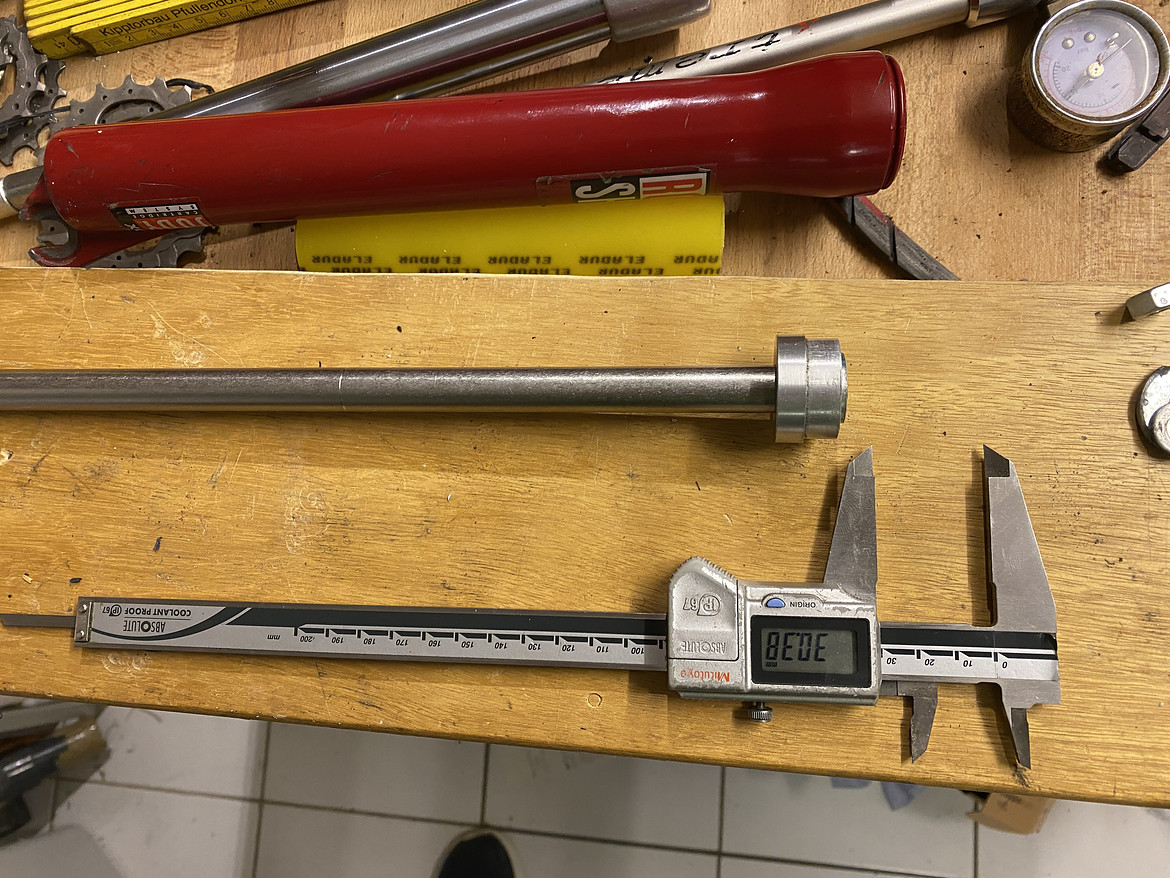
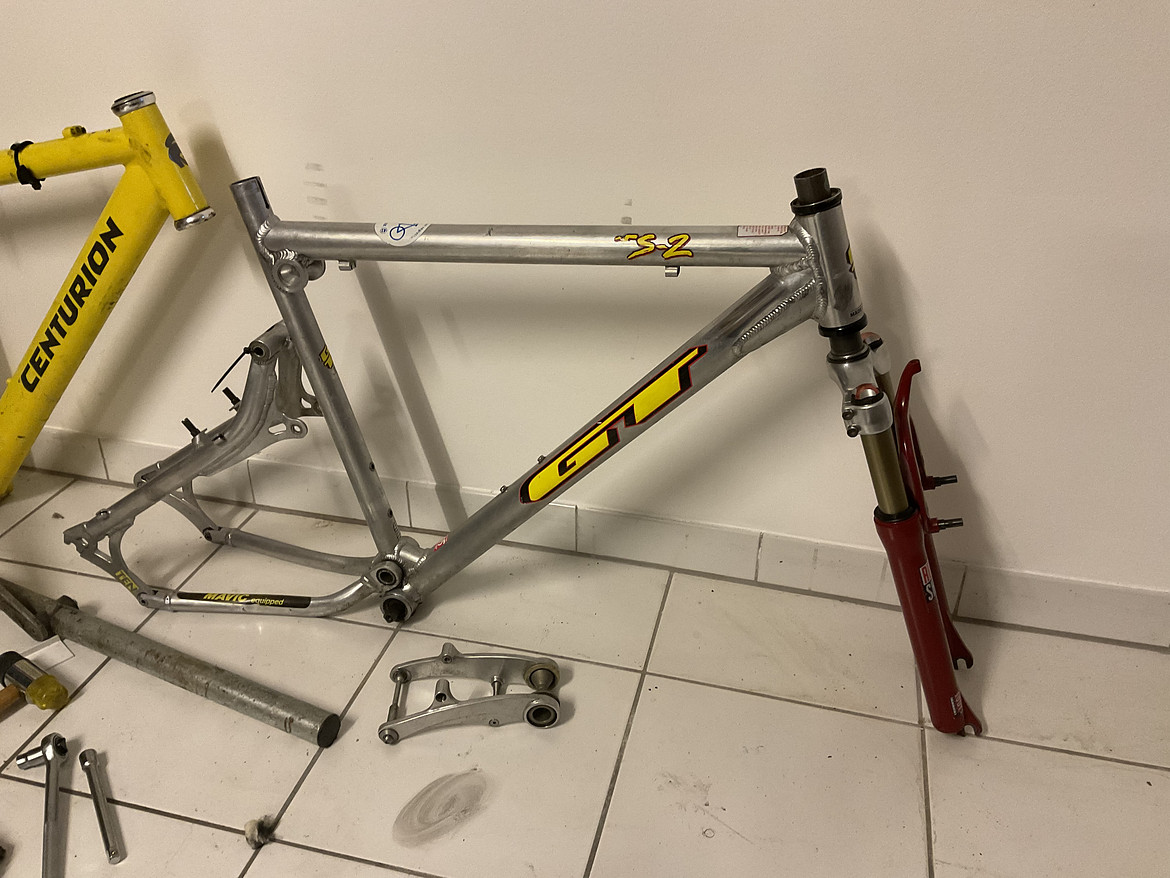
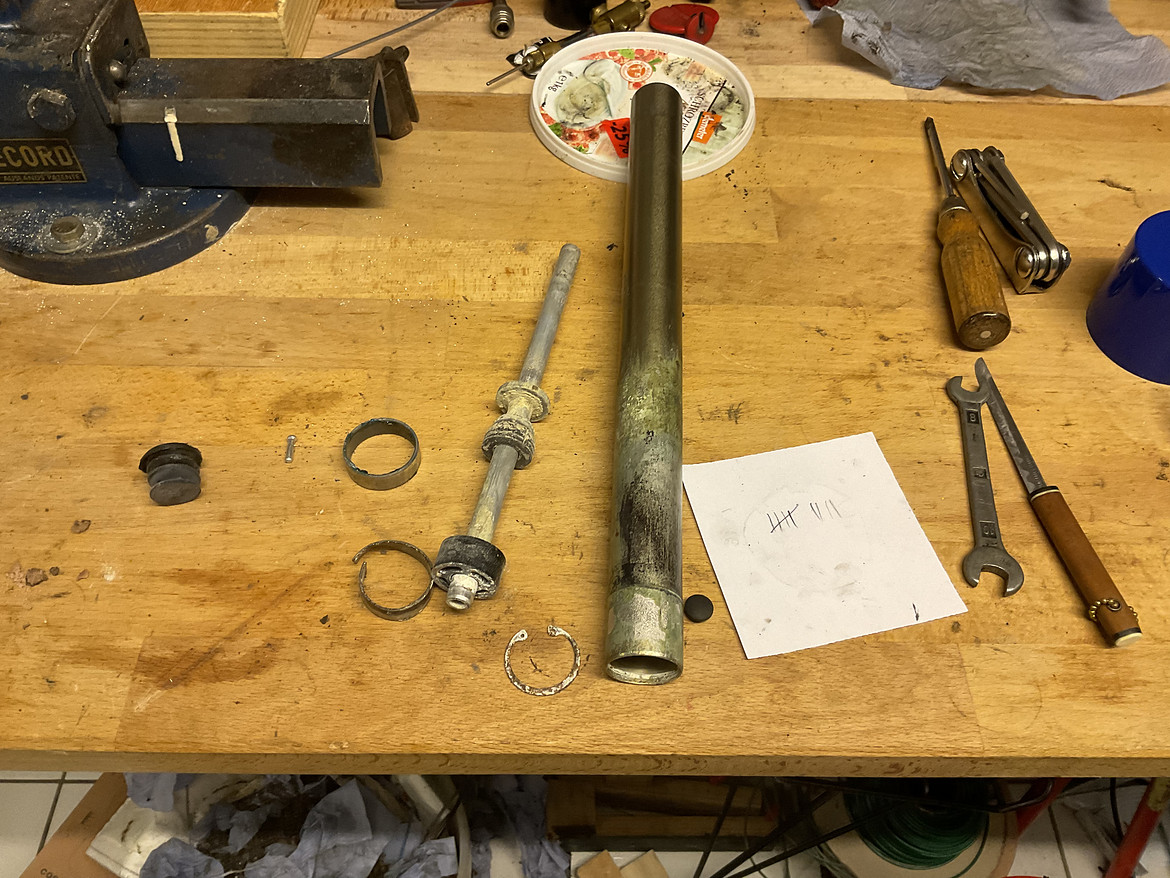
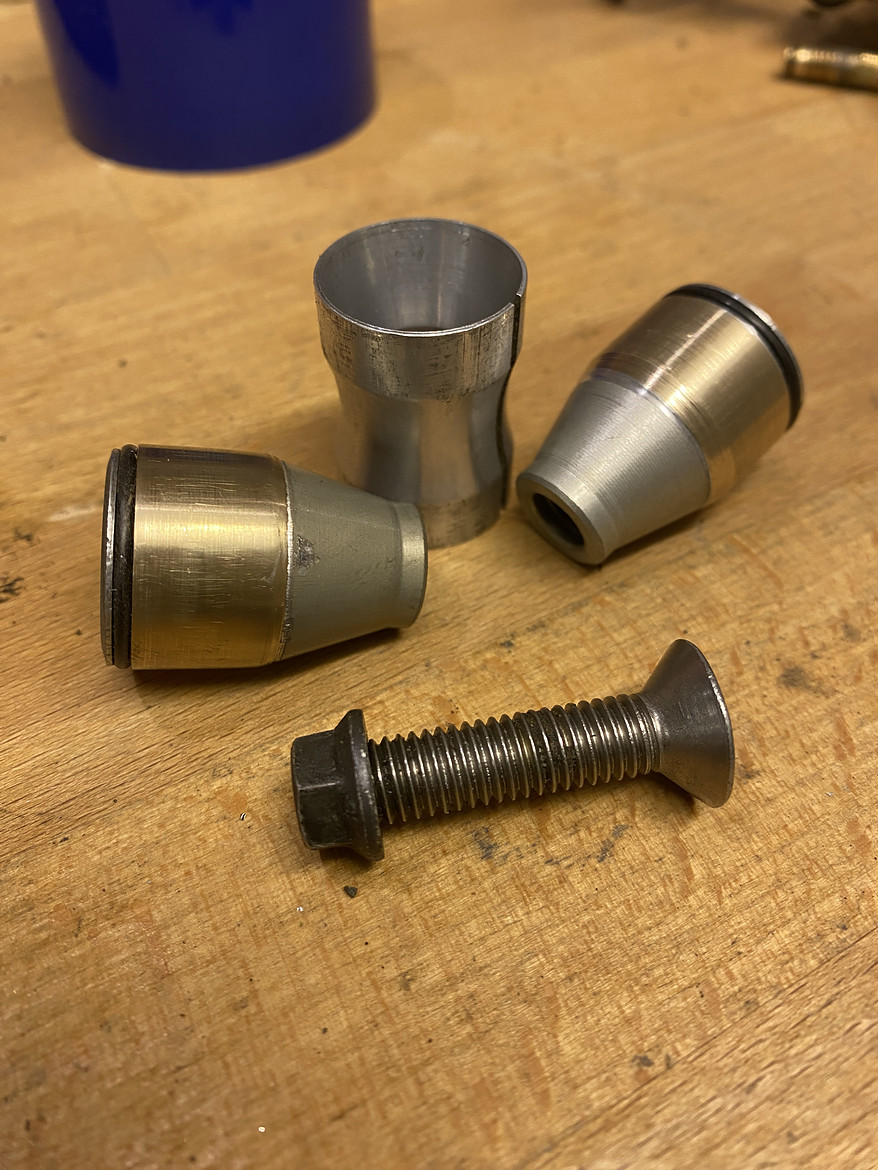
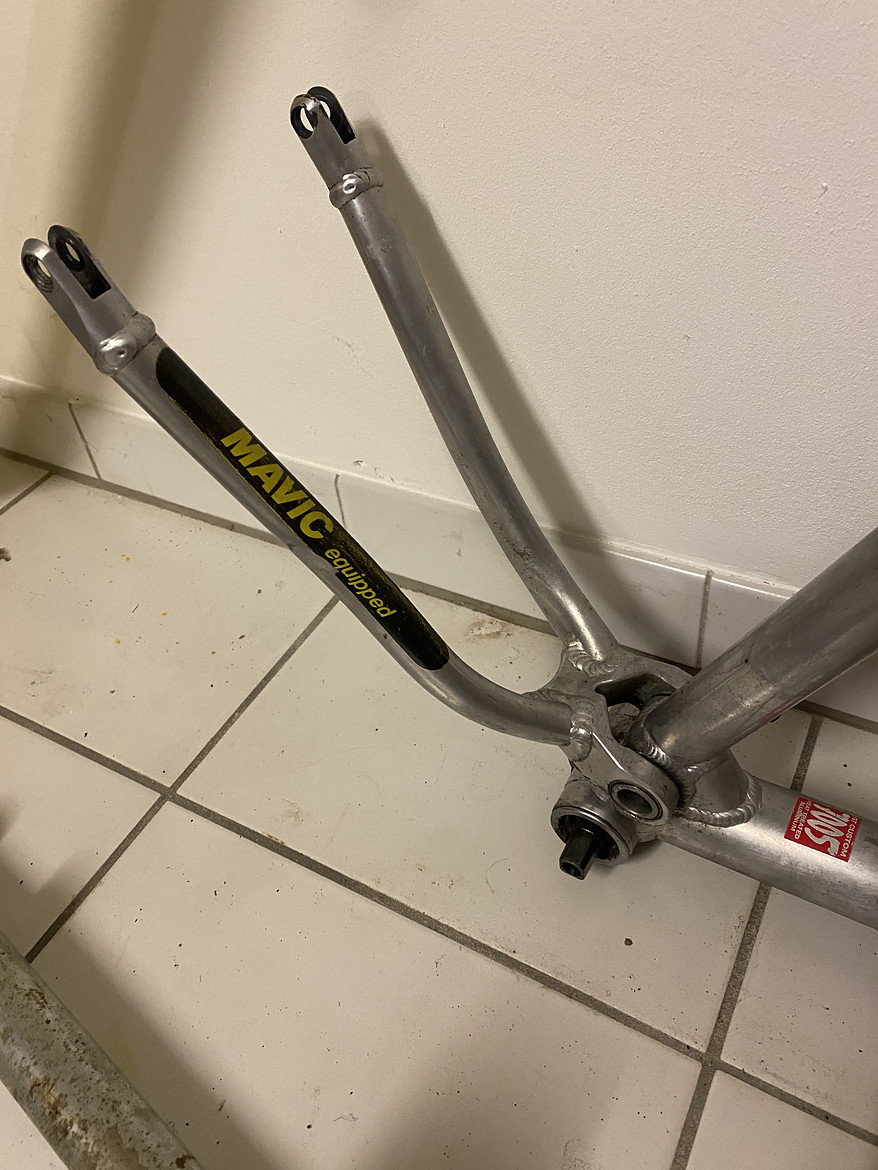
This is how it came. BB and original RS Quadra 21R forks. The bushings, especially the one near the bb are shot. But the metal parts are fine. No cracks, no major dents.
Looking at the sad thing, I made the decision to make it my next project.

It beeing a GT, I'm sure it will be really nice when polished. I'm already looking forward to it.
 
Last edited:
Now for the parts. I recently got my dirty hands on a very nice donor bike.
It's a Centurion from the same year (I think) as the LTS, so 1996ish. It has Maguras, XT M739 drivetrain, Flite, Gripshift SRT800s, a rather nice Hügi wheelset and a very collapsed Judy XC in (DH color). That's 80% of all the parts I need to make this LTS a driver.


I would heave used Maguras anyhow. They were the reason I bought this donor in the first place. XT also seems a reasonable choice for this build.

I haven't used Gripshifts for decades, so this is a good opportunity to try them once more. I did have them on my bike bitd. They are light. They did work well I think. I forgot the reason why I abandoned them. My snobbish attitude because I was able to afford XTR stuff at some point maybe? 😇

Judys would also be my go to forks in this case. I'm not a fan of the Quadras. They are way to simple of a fork. No dampening. Just ECUs. Ugh.

The Judys made me a bit worried though. As collapsed as they look, I expect the non-dampening-side to be badly corroded.
 
Last edited:
Just a s I thought. :eek:


The gray stuff is crumbled ECUs. But the white powder, thats Magnesiumoxide. And some Aluminiumoxide, too, I guess. :rolleyes:

I do have a spare leg, luckily. But no spare casting. So I'll have to try and swap the bushings.
 
Out comes the upper bushing. I have a makeshift tool, that I've been using for the last few years.


It did not make it this time though. The corrosion inside the casting was just too much and the puller plate bent while pulling the lower bushing. I guess I'll have to make another one.
I should be glad it was the plate that gave away and not the casting. 🥵


Now the "fun" part: using a reamer to scrape the corroded insides of the casting.


No. It's no fun at all. But I won't be able to put in the new bushing otherwise.
Hi, I think I need that tools to pull the bushing on my Judy but I confuse how your tools works, maybe you can help me to explain it?

Cheers,
 
It looks like two opposite sides of the washer are ground to less than the ID of the bushing while the two opposing ends are large enough to get under the bushing and catch it when tension is applied. The center hole is loose enough to let the washer tilt and get under the bushing. Pretty ingenious! That's my theory, anyway.
 
That seems about right. There is just a few more little details. ;)

I made some more pictures for clarification:


The most critical part is obviously that puller plate -I call it plate for lack of a better word... I made it out of a larger washer using a lathe. The outer diameter of that plate has to be slightly smaller than the bushing that you want to pull. (30.7mm for the Judy. The bushings are 31mm) The inner hole has to be big enough so the plate can be tilted, as @Motomax correctly described. It is shown in the following picture. That dimension is not critical.
Imagine the bushing still being inside the casting.


The puller plate outer edge should be rather sharp and precise, because the bushings don't have much wall thickness.
Also note the slightly V-shaped filing. Those edges are not parallel, because I found it easier to tilt the plate through the bushing with it shaped like that. One more important thing about that plate is the underside of the outer edge. It has to be rounded, so the plate can rotate back wothout binding against the casting wall. You might be able to spot it in the next picture. The edge of the plate facing the bushing is sharp. The opposite edge is rounded.


To put new bushings in, you will also need a tool. Mine looks like this:


Its a piece of round aluminium with again 30.7mm outer diameter and a step down to 29.9mm. The step fits the new bushing exactly. The steel rod came out of an old printer I salvaged. The new bushing is hammered in pisition using a wooden or rubber mallet.

Don't forget to "form" the new bushings after pressing them in. Or else they might scratch the legs immediately. That step is omitted by many DIYers. But I think it is rather important. Think about the fact, that the lower bushing can only be formed with the upper bushing not pressed in yet! I forget that every time. And then I have to pull the upper one again...
 
Last edited:
The fork is back together. I fit Hydracoil steel springs instead of the crumbled ECUs. And a dampening cartrige in both legs instead of just one.
With previous coil conversions I always had the feeling that the one cartridge was not enough dampening.


These are the parts that did not go back into the fork. Also you can see the reason why buying those kind of Judys is so risky. The upper part of the leg seems in perferct condition and that is all you can see without actually taking the thing apart. So the seller usually takes a glimpse underneath the "mudflaps" - all seems fine - so he writes "good condition" in the add and the buyer gets to see a nasty surprise later.


Next will be me either polishing the frame or trying to come up with some kind of creative bushing replacement.
 
That seems about right. There is just a few more little details. ;)

I made some more pictures for clarification:


The most critical part is obviously that puller plate -I call it plate for lack of a better word... I made it out of a larger washer using a lathe. The outer diameter of that plate has to be slightly smaller than the bushing that you want to pull. (30.7mm for the Judy. The bushings are 31mm) The inner hole has to be big enough so the plate can be tilted, as @Motomax correctly described. It is shown in the following picture. That dimension is not critical.
Imagine the bushing still being inside the casting.


The puller plate outer edge should be rather sharp and precise, because the bushings don't have much wall thickness.
Also note the slightly V-shaped filing. Those edges are not parallel, because I found it easier to tilt the plate through the bushing with it shaped like that. One more important thing about that plate is the underside of the outer edge. It has to be rounded, so the plate can rotate back wothout binding against the casting wall. You might be able to spot it in the next picture. The edge of the plate facing the bushing is sharp. The opposite edge is rounded.


To put new bushings in, you will also need a tool. Mine looks like this:


Its a piece of round aluminium with again 30.7mm outer diameter and a step down to 29.9mm. The step fits the new bushing exactly. The steel rod came out of an old printer I salvaged. The new bushing is hammered in pisition using a wooden or rubber mallet.

Don't forget to "form" the new bushings after pressing them in. Or else they might scratch the legs immediately. That step is omitted by many DIYers. But I think it is rather important. Think about the fact, that the lower bushing can only be formed with the upper bushing not pressed in yet! I forget that every time. And then I have to pull the upper one again...

Brilliant, thank you.
 
Decided to start with the bearings. Today, the lower front bearing. Though I could buy one at betd.co.uk, they seem too pricey, especially with shipping to Germany...

Those bushings of the LTS's are kind of funny. Aluminium cones that "lock" inside the frame and rotate against Teflon (?) bushings. In my frame those cones are extremely worn, while the bushing rings basically look still fine. So I decided to resurface the cones and make them fit the used bushings.

I managed to loose the before pictures. Thats why the first one shows one of the cones already partly turned down in my lathe.


This peace of brass rod will be the new bearing surface. I bore the inside to pressfit over the cone.


After pressing the brass ring onto the cone, the part is then turned down to fit the slightly worn Teflon bushings.

This is what the finished cones look like:


Mounted to whole shabang. Seems toight. Maybe even a bit too tight. I hope it will settle a little after a few kilometers.

 
Back
Top