1977 Carlton project

daugs

Senior Retro Guru
Feedback
View
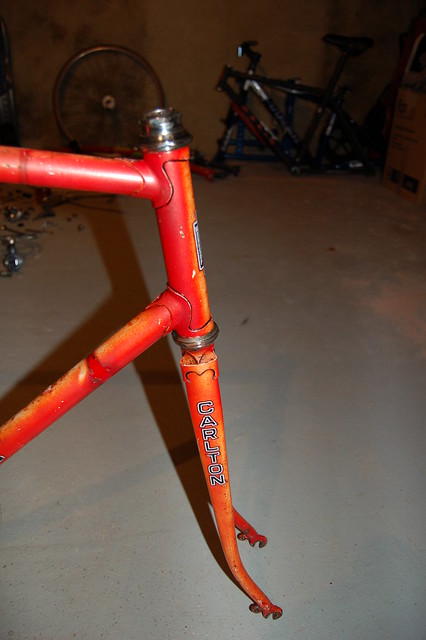
my youth involved a second hand carlton (continental or something similar from early 1970s) which I had in the 80's with various bits added including 3 years at uni on a fixed. The frame died in the early 90s but still have lots of the other period bits that ended up on it.

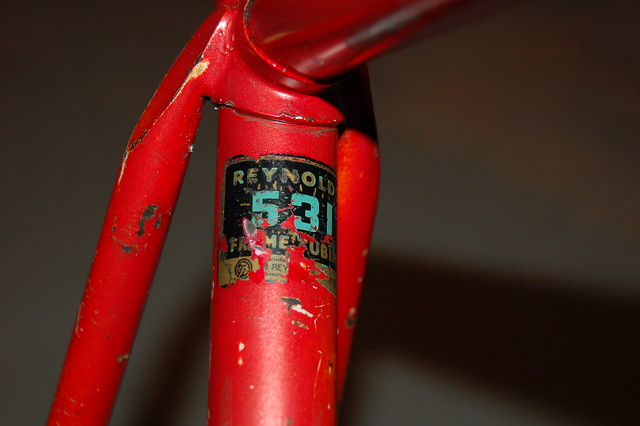
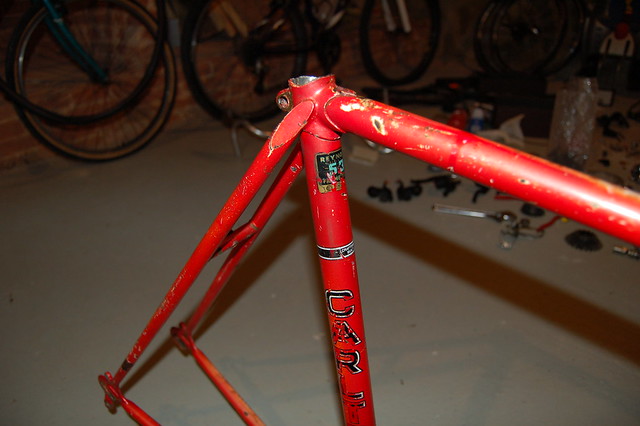
Anyway picked this up on ebay not that far from me. Not sure exactly what it is but fairly low level judging by lugs despite the 531 badge and seat tube diameter seems more like 26.2 rather than 27.2 ? Any thoughts as to what it is ? a bit of research suggests it may have been one of the ones just supplied as a frame set ?

8276076166_d3c312bac5_z.jpg
8276079248_13d46270a0_z.jpg

8276080754_6d834e9494_z.jpg
8276077716_83154cefc4_z.jpg


Serial number is WS7000xxx so December 1977 but not worked out much else. Any insights gratefully received.

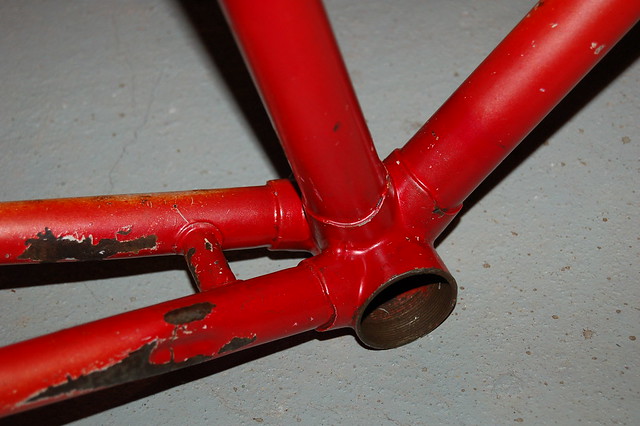
Also it's probably not worth getting professionally resprayed so any hints on diy resprays to avoid the paint chipping easily.

cheers,
 
I am no expert but my Raleigh is WE70....... and was made in Worksop
in April 1987 they repeated the year date every decade.
 
Could well be a Competition which was sold as a frame set only. it was available in mauve colour. The block lettering signals it was a late 70s product, about 77-78. May only be 531 main tubes only... In my view, and its only mine! All Carltons are worth 'doing up' and preserving... well most! This one could look very nice built up with some good quality, period parts.
 
IanSmalley":2kbtw1iy said:
I am no expert but my Raleigh is WE70....... and was made in Worksop
in April 1987 they repeated the year date every decade.

yes that was what I found with the numbering system but I think they stopped using the Carlton brand in the early 80s hence my thought that must be Dec 77. That fits with Spokesmann's comments on dates.

spokesmann":2kbtw1iy said:
This one could look very nice built up with some good quality, period parts.

yes that was my thought (aspiration/hope) when saw on the dreaded auction site not too far from me. At the moment the parts will be whats been knocking around from other one, definitely period, wheelset with LF Normandy free/fixed rear hub, similar front on mavic rims, stronglight chainset, sedis chain, suntour gears, weinmann brakes

similar to this http://www.retrobike.co.uk/forum/viewto ... ompetition but different lugs
 
Looks great! Will be nice when it's finished.

As for the DIY respray it's possible to achieve a good finish with a can, but is time consuming (and still fairly expensive). I spent £40 on my current project (Raleigh Dyna Tech). It's my second DIY respray. Couple of tips I've picked up:

1) if you're not using a chemical paint stripper, use a medium grit (rather than coarse) sand paper to remove the lacquer and top coat. In my limited experience the primer underneath is in generally good condition, so I prefer to cut into it, rather than remove it completely. A fine grit will achieve this, once the top coat is removed.

2) you want to ensure the smoothest surface possible on the primer coat, as any blemishes will be reflected in the top coat. This is why running over the bike with a very fine grit (after removal of the top coat) is a good idea. Once you are ready you can apply a few coats of your own primer. The colour you choose is dependant on your top coat colour. A pearl white for example will require a white primer. Take your time applying the coats and rub down with wet and dry between coats to smooth out. I'd say 90% of the work in a bike respray is getting the frame ready for the top coat.

3) once you have a nice smooth surface on the primer you can apply the top coat, again rubbing down between coats with wet and dry paper (but with the paper wet). A 500ml tin might give you three light or two heavy coats. If you keep the tins in warm water before use it will ensure a good flow. Also shake them well. Keep them about 8 inches from the frame to avoid runs in the paint, and try to keep the tin moving. Lots of videos on YouTube of people spraying cars with spray guns etc and you can see the technique they use.

4) after my last top coat I allowed the frame to dry and then dulled it down with some wire wool (very light pressure)

5) the lacquer seems to respond better to the dulled down paint. I gave it a few coats of this. Some people continue to rub down between coats. I chose not to.

6) leave to dry. In mild conditions or inside a house, the paint will actually take a couple of weeks to fully harden, so be careful putting the componentry back on.


That's my 2 cents. I'm by no means an expert - I'm a complete amateur! But I enjoyed it immensely and it's very satisfying knowing you did it yourself :)

Good luck!

N
 
Best of luck with the build. You beat me out on eBay for this frame. Look forward to seeing it renovated.
 
BigFoz":1xdbvyvs said:
Best of luck with the build. You beat me out on eBay for this frame. Look forward to seeing it renovated.

pressure's on then, guess being down the road as opposed to the other end of the country helped as well......

looking at 531 lable I'm guessing just main tubes and not forks ?

8277163481_44285c3a36_z.jpg
 
Interesting Shaun as I had read your posts on the other Carlton thread I mentioned. The one thing that confused me was the lugs on the head tube being different but I guess there was a fair bit of interchangeability in Worksop from what I've read ? would that be right ?

any ideas who would sell Royal Carmine paint ?
 
Back
Top