Gazelle Champion Mondial

Did a bit more this morning.

Before:
seatpost01.jpg


After:
seatpost04.jpg
 
Here's the rest of the seat post. Why would someone do that? :shock:
Trying to make it fit into a smaller tube?

seatpost08.jpg


seatpost07.jpg


seatpost06.jpg


seatpost09.jpg
 
Yes, that doesn't look tidy anymore. You put quite some effort to get everything back to nice condition so far, but with that post you face a new challenge. Good luck :)

jCymbal":2sitb5b7 said:
Here's a close up:
Gazelle002_.jpg

I do not recall seeing these guides before. Not typical for that era. On top tt was standard. I have seen braze ons left under tt on later models, but those braze ons look slightly different. I must say it is imo the superior way to route a cable in case of aero levers. Maybe it was a specific custom request, but I also think I can not eliminate the assumption that it has been refinished at some later point.

Btw I would think that you could get that 1st braze on tidy again. Dremel rust away with steel brush, a good base and than yellow - should look good in the end if done properly.
 
Well, apart from the serial (1986) and the reynolds decals (1981-1985) everything else looks from 1989. The Gazelle catalogue from that year shows (2nd page) a yellow gazelle with with those cable stops exactly.
 
Yes, I noticed. I thought on your pic the stops/guides looked slightly different. Moreover the catalogue bike has a later aero inspired crown.
 
Even without any kind of polishing technique I managed to do this:

seatpost10.jpg


seatpost11.jpg


Got read a bit more about aluminum polishing . I think this one can still be saved. :D
 
jCymbal":c6tctdj2 said:
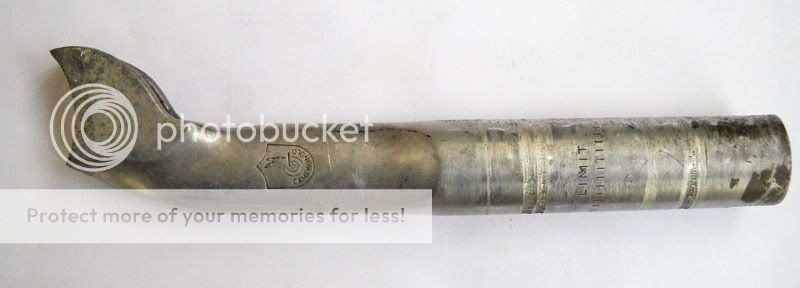
I'm thinking of getting some caustic soda to get me rid of this.
Steerer02.jpg


Maybe cut it shorter first but as I never done it before I'm getting some second thoughts. Will it "eat" the steerer paint along with the aluminum? Can I leave the caustic soda with the forks in a plastic bottle or will it "eat" the plastic too? Afterwards what should I do the remaining solution? Flush it down the toilet? Doesn't seem very environment friendly...

I have never had this problem but maybe leave enough alloy stem so you can grip it with "multis" or maybe even grind/file a "flat" on it for a large spanner (if there is enough wall thickness?). If you block that hole off you will be able to pour(penetrating) liquid of some type from the bottom of the quill now
 
latman" If you block that hole off you will be able to pour(penetrating) liquid of some type from the bottom of the quill now[/quote said:
I did that while the stem was still in one piece but with no results... I'll try the 1st idea. Thanks! :cool:
 
jCymbal":1n5r5pah said:
latman":1n5r5pah said:
If you block that hole off you will be able to pour(penetrating) liquid of some type from the bottom of the quill now

I did that while the stem was still in one piece but with no results... I'll try the 1st idea. Thanks! :cool:

Back in the old days I've read a tip that you could use a hacksawblade, put the end through the tube and cut it lengthwise, possibly twice at different places. Then first take the smallest part out (presumably with some force) and then the larger part.
 

Latest posts

Back
Top